Learn how to make the best chocolate pinwheel cookies with this easy recipe with step-by-step photos to show you how one dough can be split into two to make chocolate and vanilla cookies. This is a slice-and-bake cookie recipe, meaning you can make the dough logs ahead of time and freeze them to bake later. This recipe makes perfect pinwheel cookies every time!
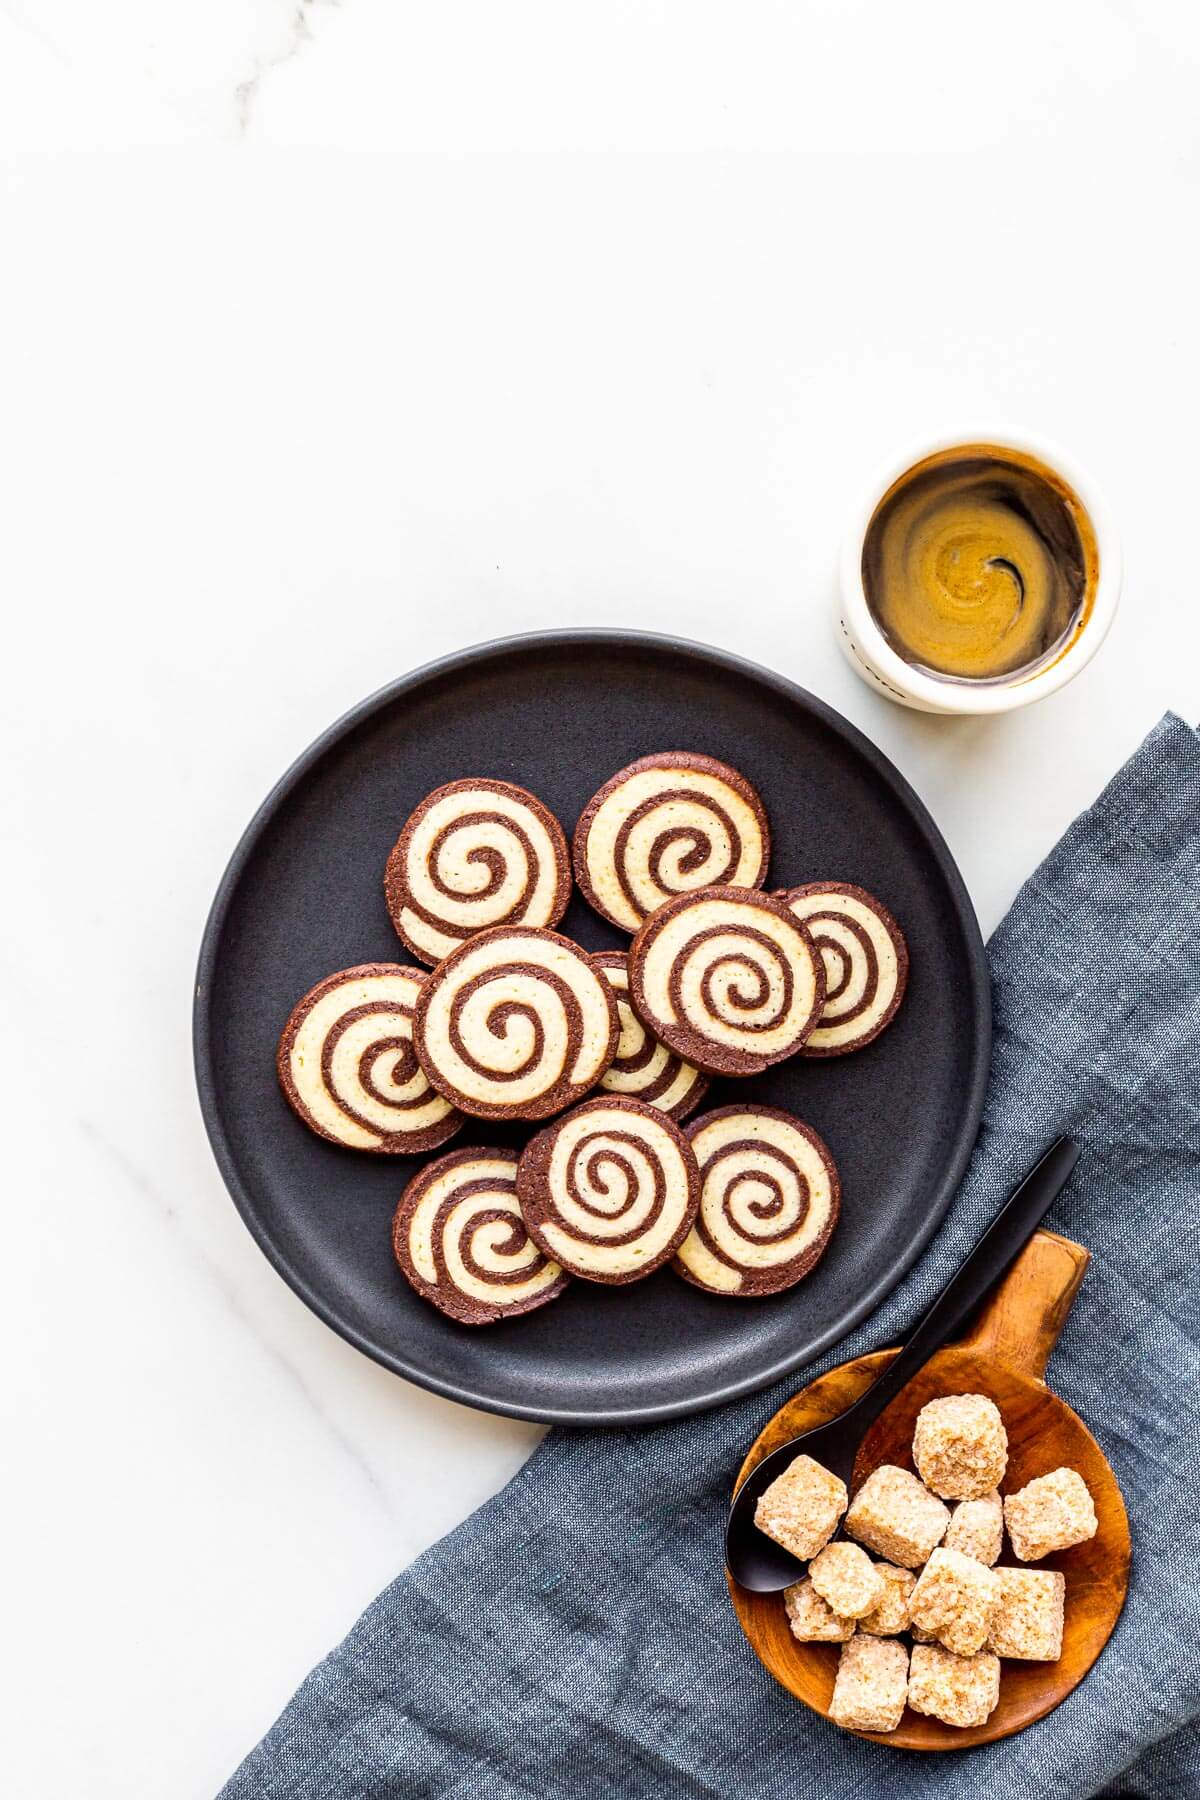
Chocolate and vanilla pinwheel and checkerboard cookies are always the most popular. They get eaten the fastest on any cookie tray! Find out how to make these popular icebox cookies below, including step-by-step photos of the process of shaping the layers of dough to make this unique spiral cookie shape.
Jump to:
Ingredients to Make Pinwheel Cookies
Pinwheel cookies combine two cookie doughs, usually of contrasting flavour and colour, which are rolled together to form the swirl pattern they are known for. If you want to make chocolate and vanilla-flavoured pinwheel cookies, you will need the following ingredients:
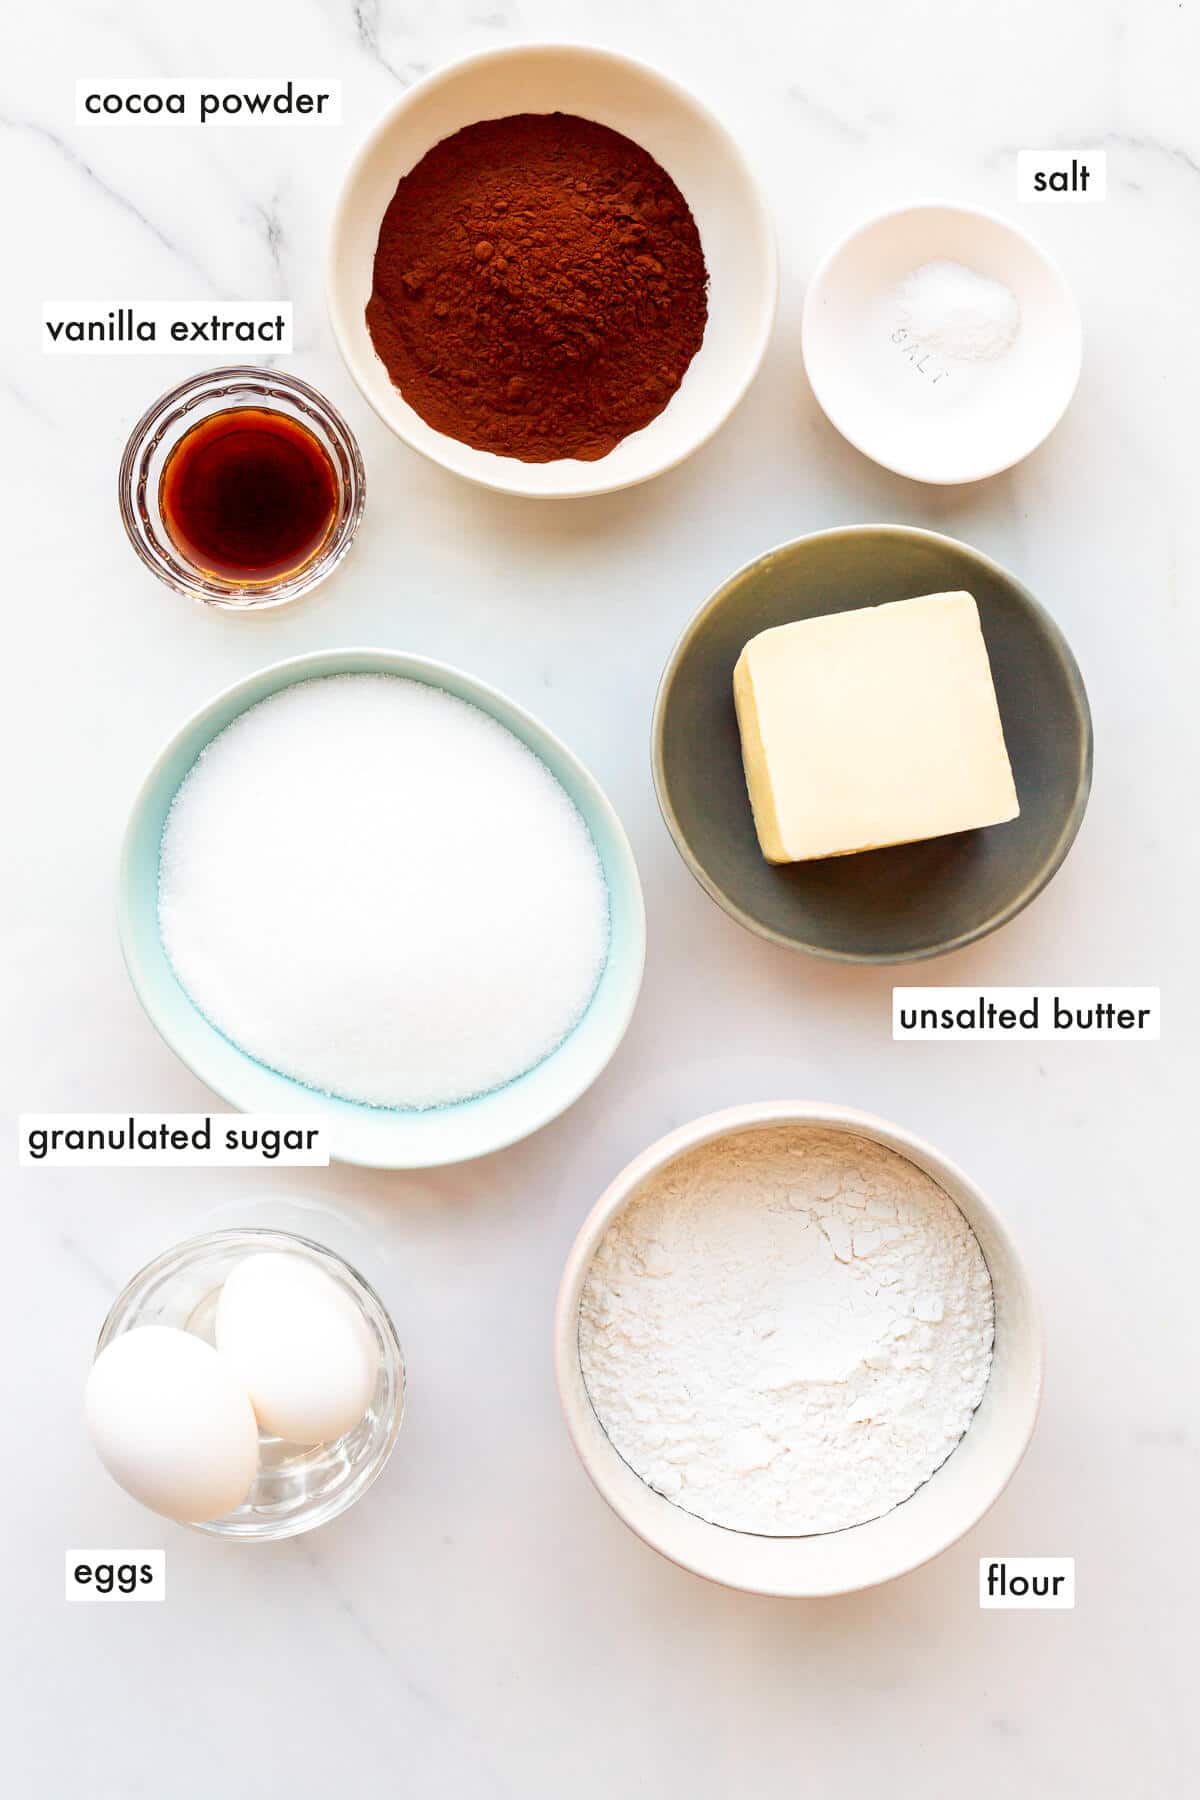
- butter, preferably unsalted butter because you will add salt to the dough. If you have salted butter, it will work. Just adjust the salt in the recipe accordingly. Otherwise, your cookies may be too salty
- granulated sugar is preferable in this recipe because we don't want the flavour or colour of brown sugar in this recipe
- large eggs—don't use smaller eggs because your cookie dough may be too dry and your cookies won't spread enough, but don't use extra large eggs because they could cause the cookie dough to puff too much as it bakes, leading to a more cakey cookie
- all-purpose flour is needed to bind all the ingredients together and give the cookies structure. If you don't use enough flour, your cookies may spread too much as they bake
- salt is really important to balance out the sweet molasses flavour. Don't skip it. I like to use Diamond Crystal fine kosher salt, but table salt will work, though the cookies will be saltier and you may want to halve the salt in that case.
- vanilla—I use real vanilla extract in this recipe. Artificial can work, but you may want to reduce the quantities as it is more potent.
- cocoa powder, specifically Dutch-processed cocoa powder, contributes the dark chocolate flavour that you need to balance out the sweet flavour of sugar cookies. Don't use natural cocoa powder because the colour of the cookies will be lighter and the flavour won't be as good. I like to use Cacao Barry Extra Brute cocoa powder, which is a dark cocoa powder with a rich flavour.
Please see the recipe card for the exact ingredients and quantities.
Substitutions and Variations
With such a simple list of ingredients, there aren't many substitutions to make in this recipe.
- Cocoa powder: we use cocoa powder, specifically Dutch-processed cocoa powder because it has a rich flavour with a higher fat content and a darker colour necessary to stand out when the chocolate cookie dough is layered with the vanilla dough. You could try a natural or black cocoa powder, but the results may vary. Do a test batch!
- Vanilla: this recipe uses vanilla extract in the base cookie dough. You could also try almond or peppermint extract (use less since they are potent!). Remember, both layers of dough will have the flavour since you add it early in the cookie dough process.
- Colour: some bakers like to use gel food colours to dye the vanilla dough a festive colour, like red or green. This is an option if that interests you. Be sure to use a gel food colour, as opposed to the liquid food colours sold in grocery stores.
Some recipes will call for using melted chocolate instead of cocoa powder, but to do so, it's best to use unsweetened dark chocolate with a high percentage (greater than or equal to 90 %). This type of chocolate is appropriate for imparting a deep chocolate flavour without adding more sugar. If you used semi-sweet or bittersweet chocolate in the dough, the chocolate flavour would likely be muted by all the sugar in the recipe.
How They Are Made
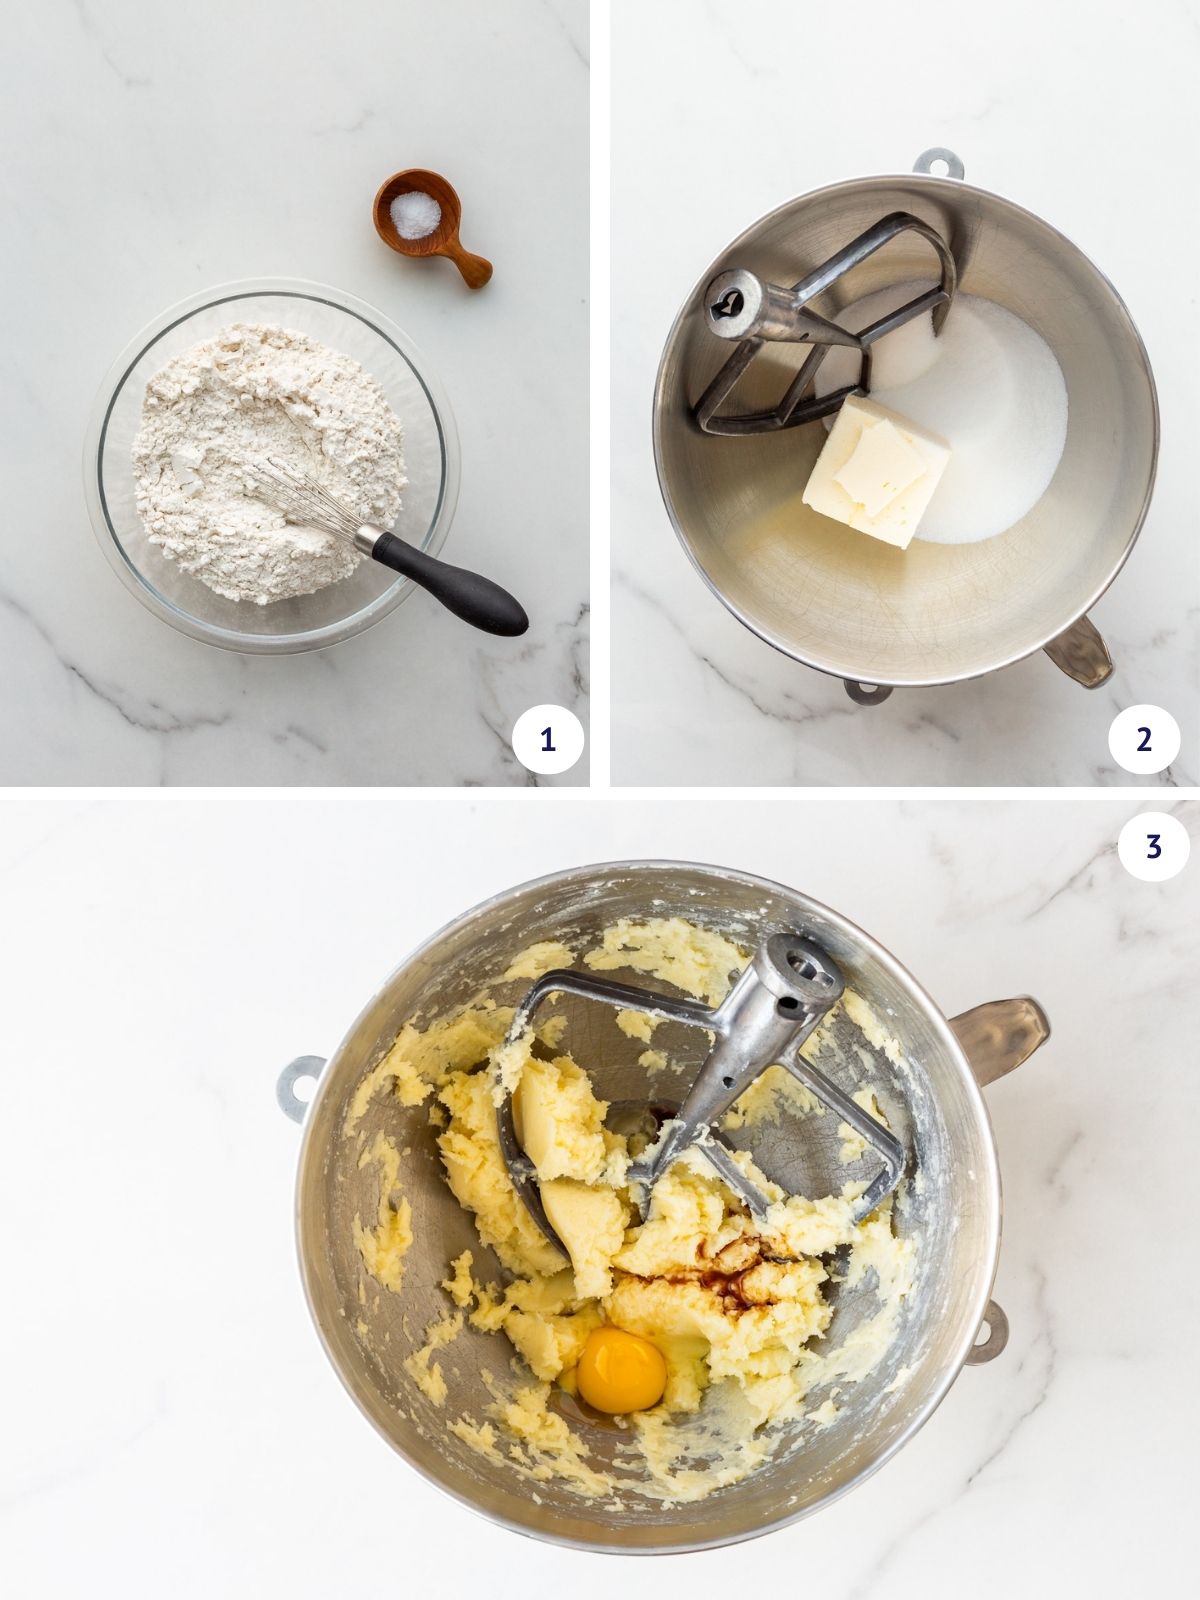
Step 1: combine the dry ingredients (except the cocoa powder) in a medium bowl and whisk them together (image 1).
Step 2: combine the butter and sugar in your mixer bowl (image 2) and cream them until light and fluffy before adding the eggs, one at a time, and vanilla (image 3).
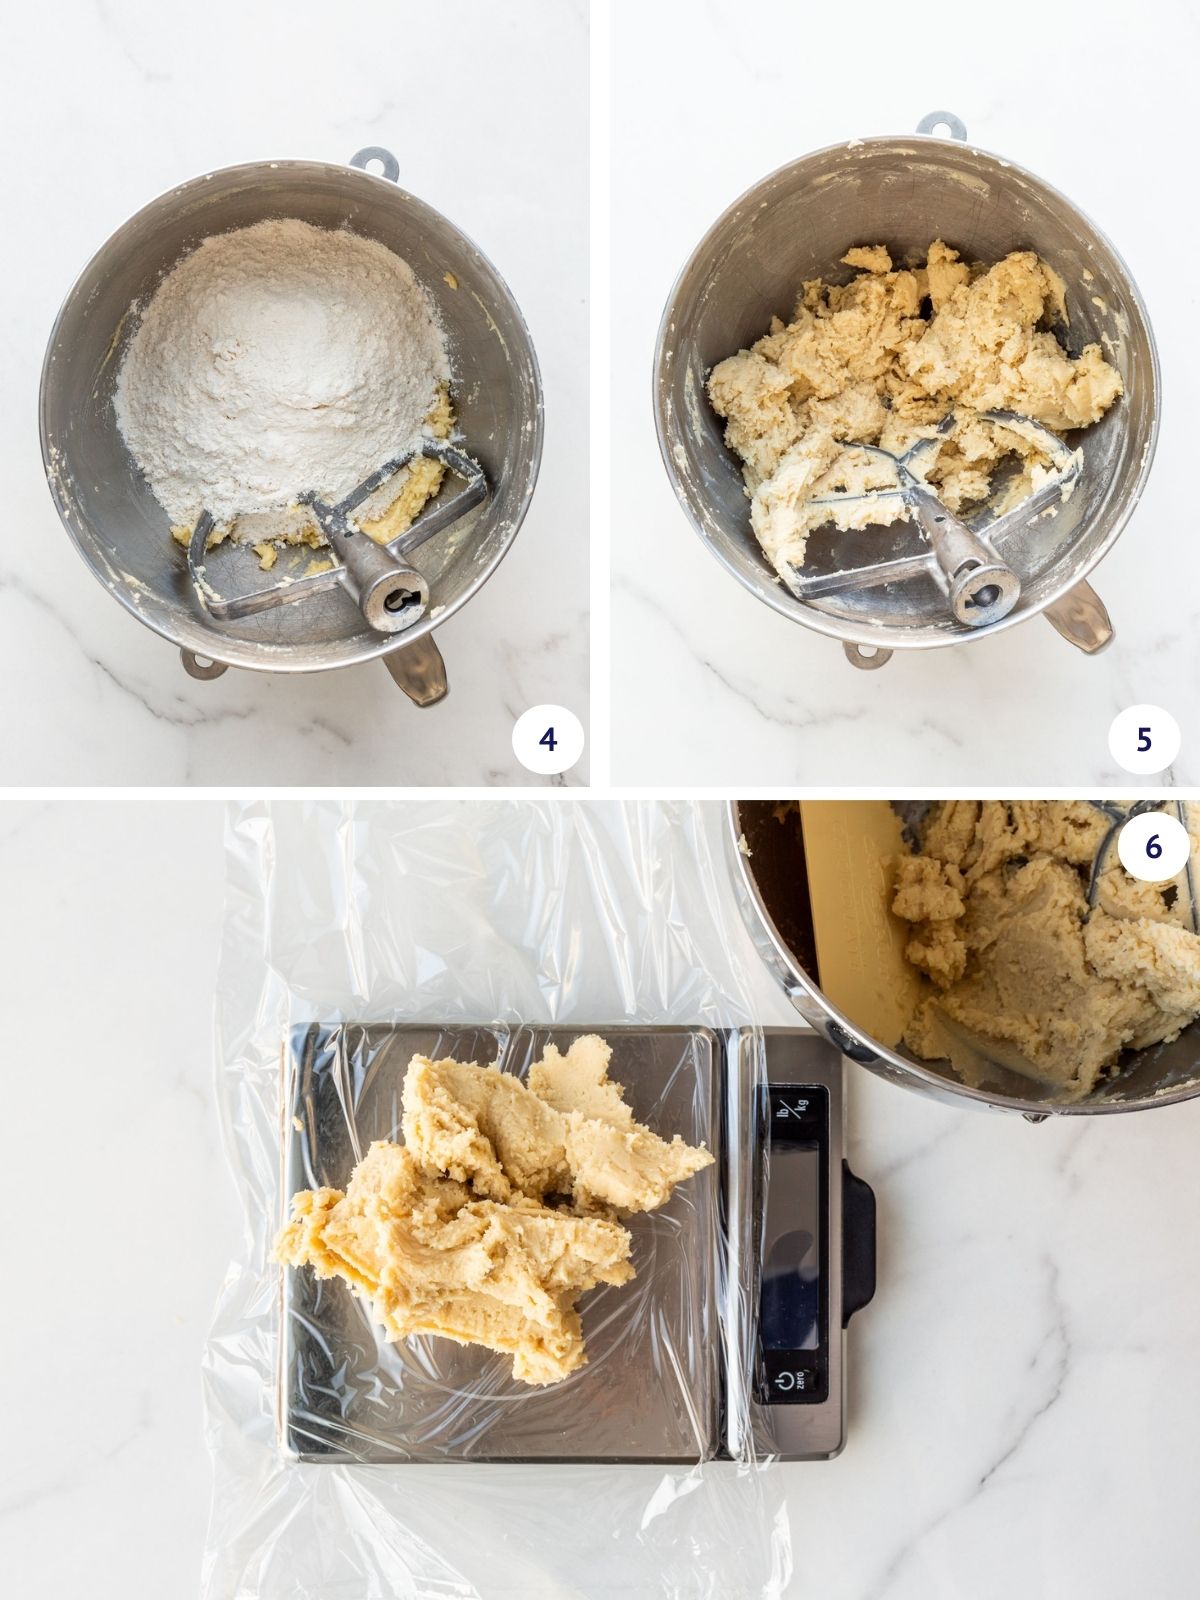
Step 3: Add the whisked dry ingredients to the mixer bowl (image 4) and stir them in, forming a slightly sticky vanilla dough (image 5). Weigh out half the vanilla dough on plastic wrap (image 6).

Step 4: Add cocoa powder to the remaining dough in the mixer bowl (image 7) and stir it until the chocolate dough is evenly mixed and uniform in colour (image 8). Shape the two doughs into disks (or flat squares) and wrap them tightly in plastic to chill them in the fridge (image 9).
IMPORTANT TIP: this dough is quite soft, which makes it tricky to work with at times. You must chill it until it is cold and firm before proceeding. When you roll it out, chill it again. Chill it at any point when it is too soft to handle or your pinwheel shape will not be as perfect, especially when you are ready to roll the two doughs together. You may put the two doughs in the freezer for 15 minutes to speed up the chilling process and ensure they are firm enough to work with.
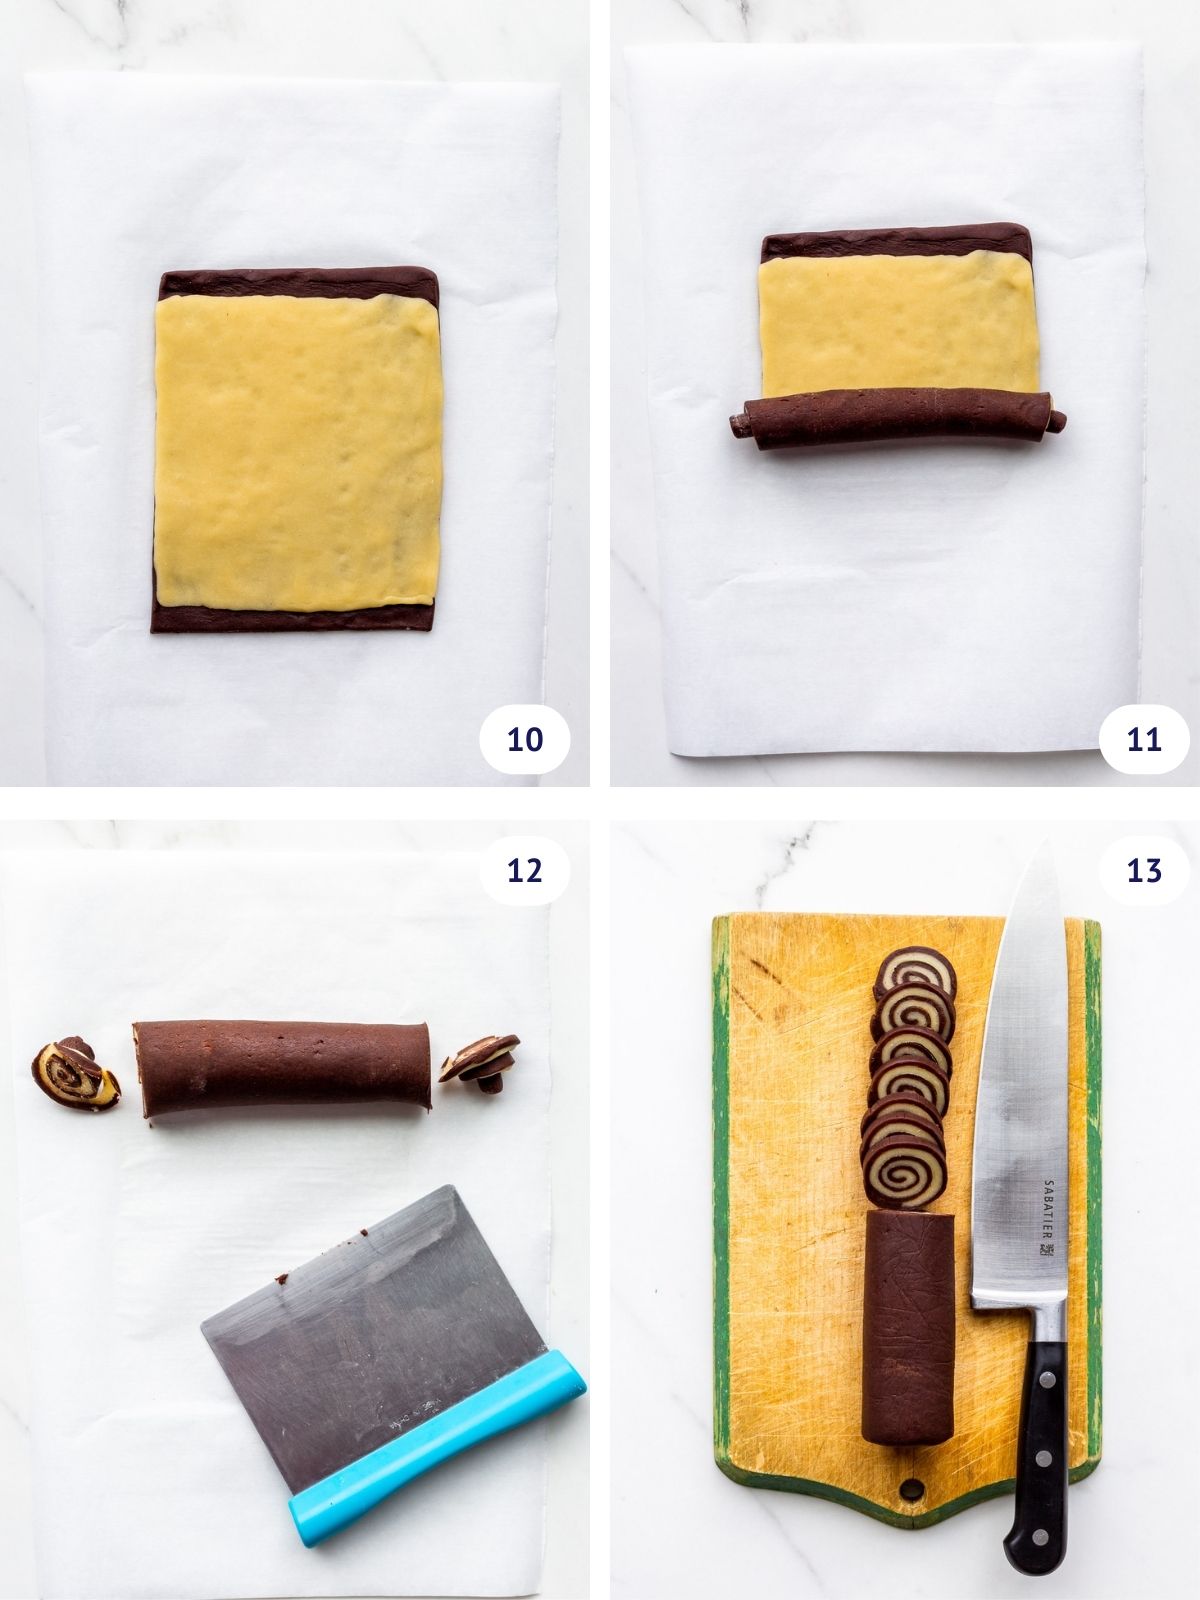
Step 5: Roll out half of the chocolate dough into a 6x7-inch (15x18 cm) rectangle and half the vanilla dough into a 6x6 (15x15 cm) square before stacking the vanilla over the chocolate dough (image 10). Roll the two doughs together tightly to form a log of dough (image 11), trimming the ends with a bench scraper (image 12).
Step 6: When you are ready to bake the cookies, slice the log of pinwheel dough on a cutting board (image 13).
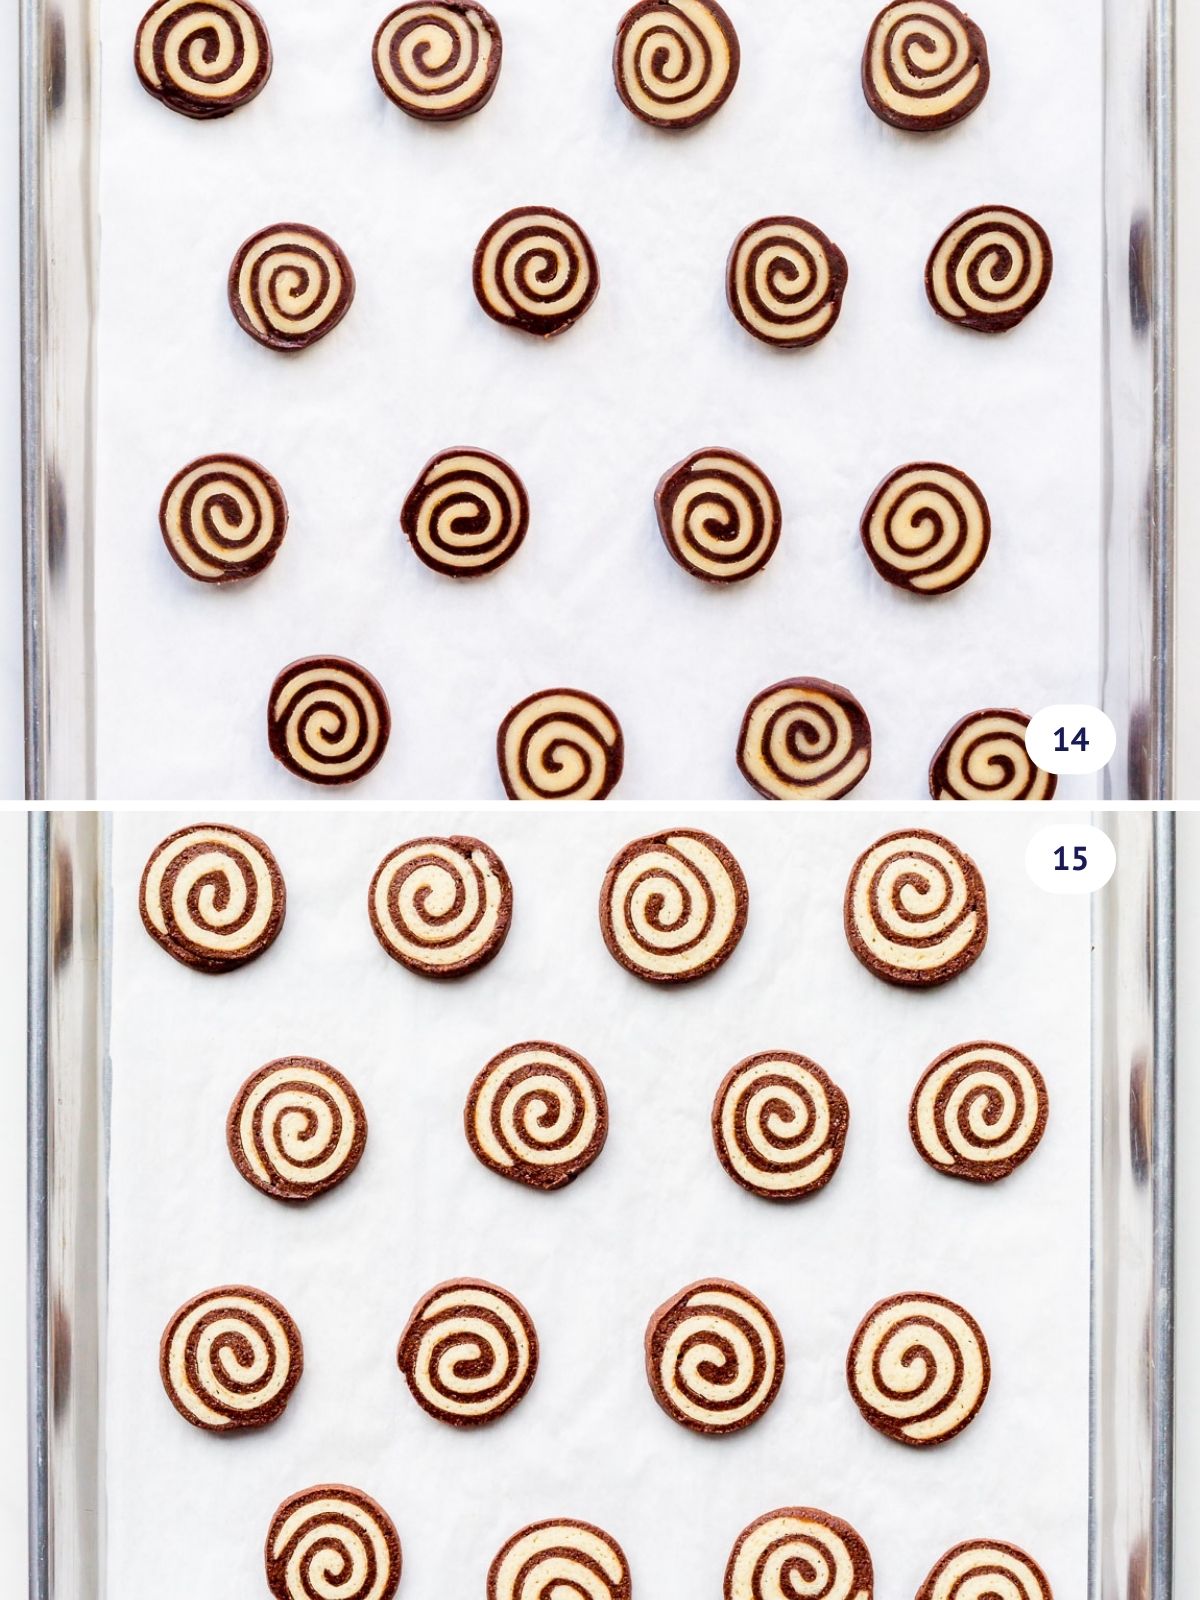
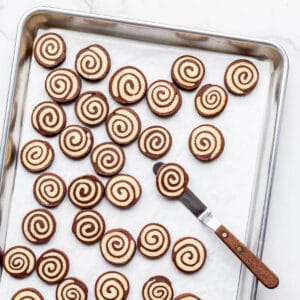
Step 7: Place the pinwheel cookies on a parchment paper-lined sheet pan, spacing them out evenly (image 14). Bake until set and dry (image 15).
Tricks For Perfectly Round Slice-and-Bake Cookies
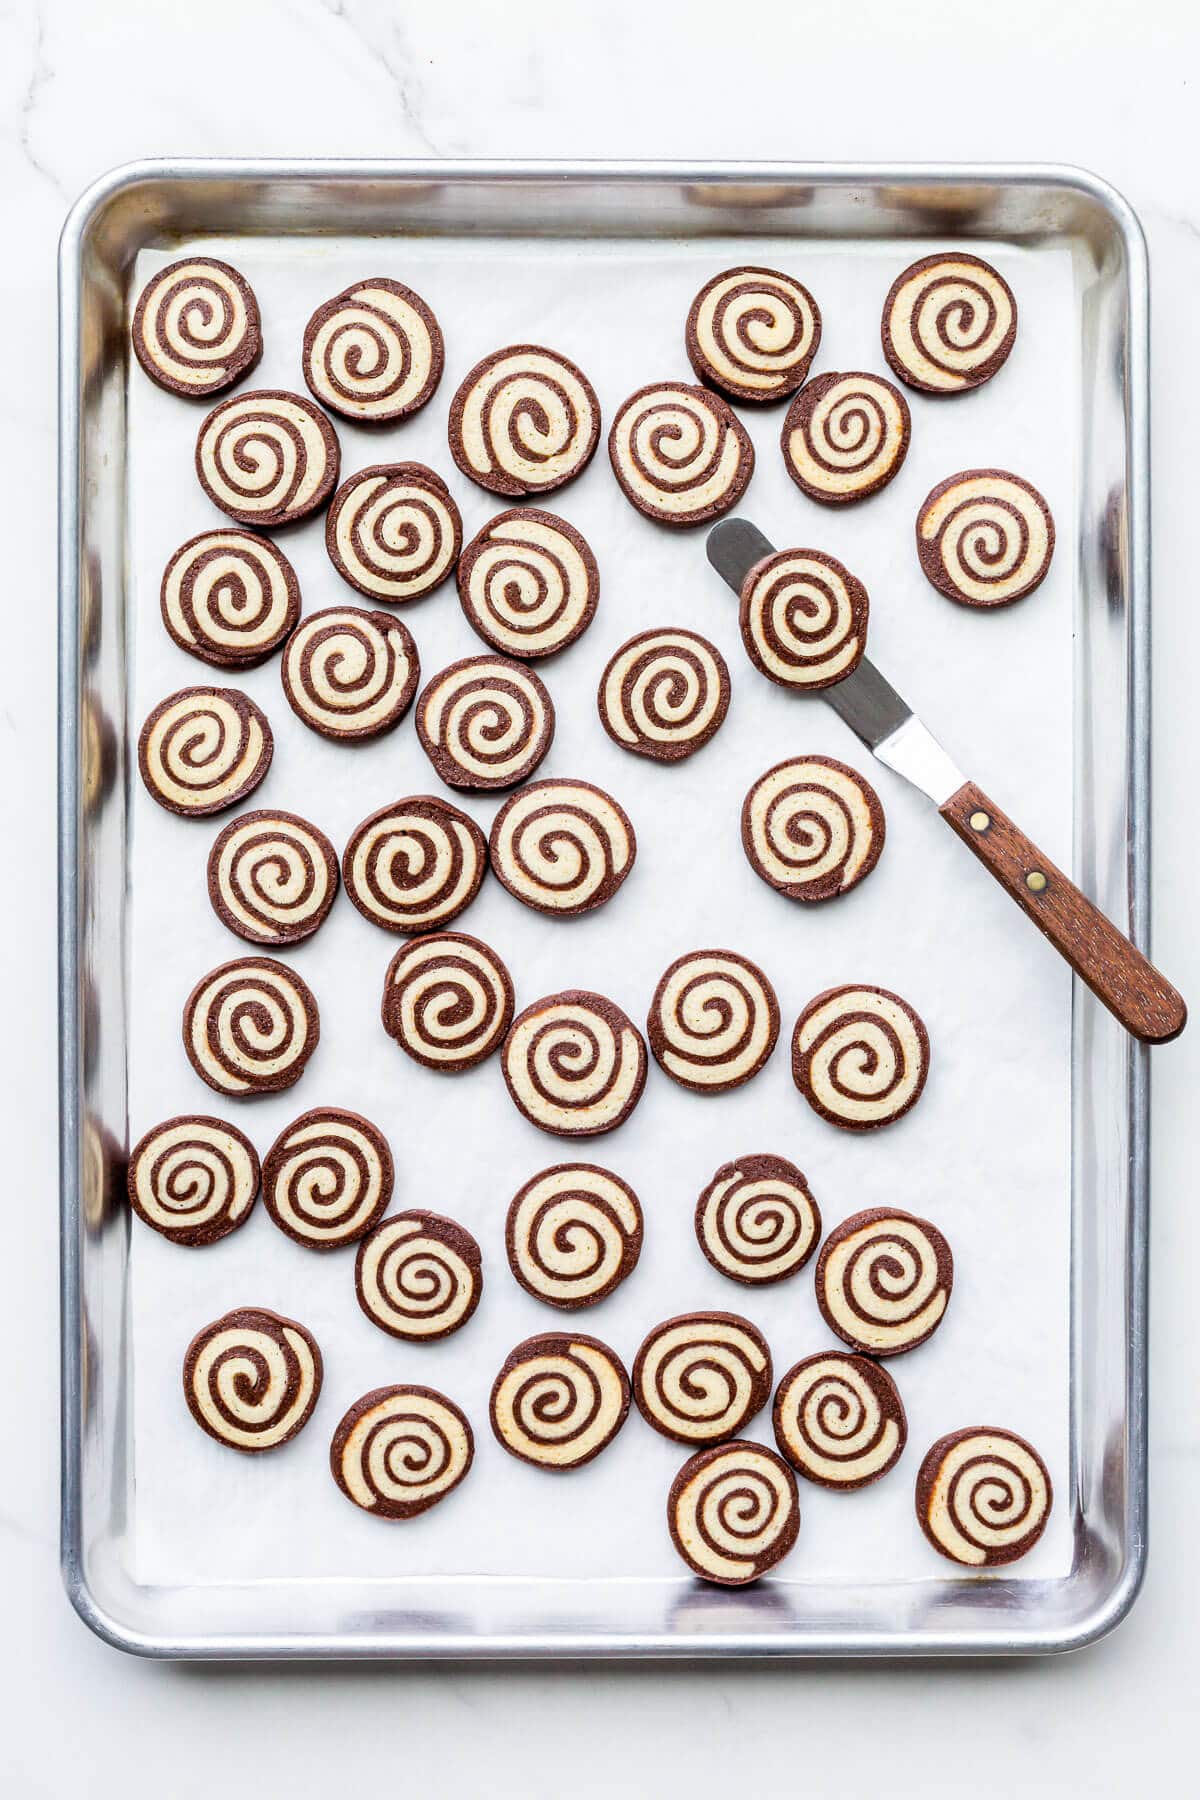
It can be difficult to bake round slice-and-bake cookies because as the log of cookie dough warms up and with the pressure of the knife as you slice, the round cylinder of dough is compressed, forming oval-shaped cookies. Here are a few tricks for baking perfectly round slice-and-bake cookies:
- Before chilling the dough, make sure the logs of slice-and-bake cookie dough are round. Roll the log back and forth several times to tighten any seams and to smooth any bumps.
- While chilling the dough, take the dough logs out of the fridge and roll them back and forth on the counter to ensure they are still round. If you don't do this, the weight of the dough in the early stages of chilling will cause the log to be flat on one side.
- To chill the rolls of pinwheel cookie dough, store them in empty toilet paper or paper towel rolls, which will help maintain the round shape of the log as the dough chills.
- After chilling the dough and while slicing the cookies, rotate the dough log every few slices so that the pressure is evenly distributed on all sides as you slice it. Otherwise, you will have a flat side from the knife's pressure.
Tips For Sticking Two Layers of Cookie Dough Together
There are some key steps to making sure these two separate layers of dough stick together:
- When rolling out the dough, minimize the flour you use or, better yet, roll out the dough between sheets of wax or parchment paper. This will make handling the dough easier and ensure the layers stick once stacked.
- When stacking the layers of dough, brush off any flour from the top and underside of the dough (if you rolled the dough on a floured surface). Otherwise, they will not stick together.
- When the two doughs are stacked, take the time to press them together using a sheet pan and/or a rolling pin to press the doughs together to fuse them.
- If all else fails, brush an egg white wash on the doughs before stacking them. The egg white will wet the surface and act as glue to fuse the layers. Sometimes, even water may do the trick.
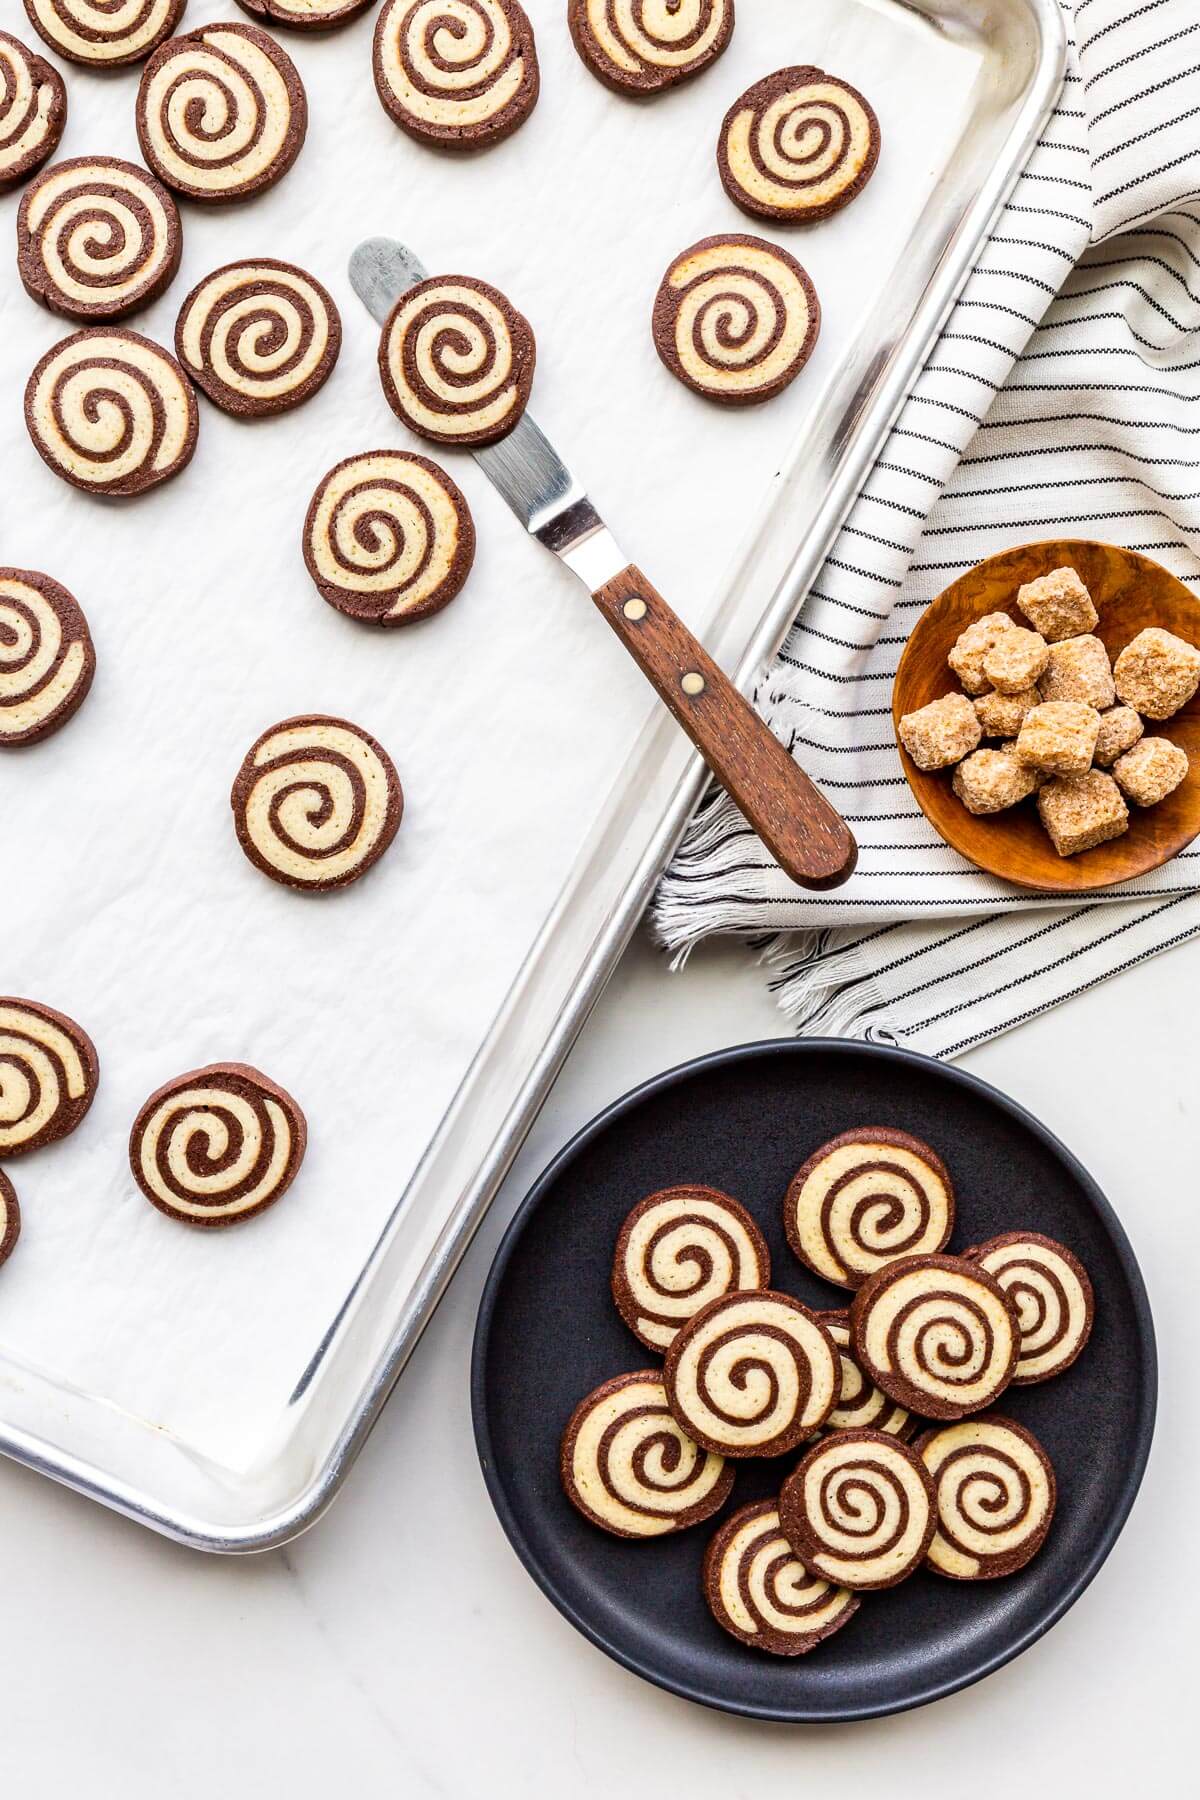
Once you've made the chocolate and vanilla cookie doughs, you can use them to make many different cookies, including checkerboard cookies, zebra cookies, or even marble cookies. It's just a matter of layering the doughs in different ways to achieve the desired pattern.
Other Slice-and-Bake Cookies To Make
Chocolate and vanilla pinwheels are always impressive on a Christmas cookie platter. They aren't as hard to make as most people would expect but they do take time and patience. All the more reason to practice making them!
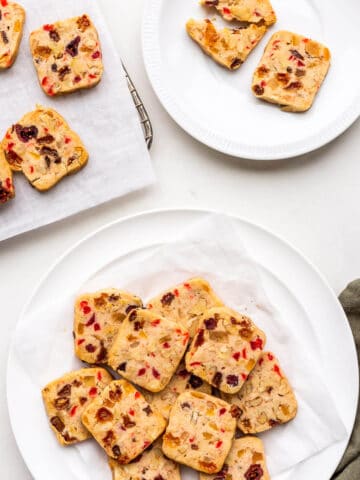
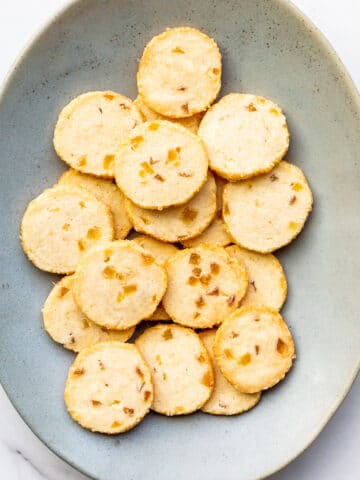
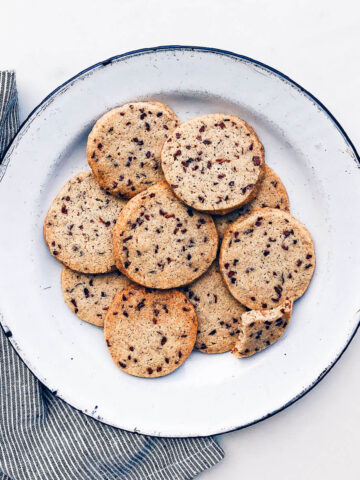
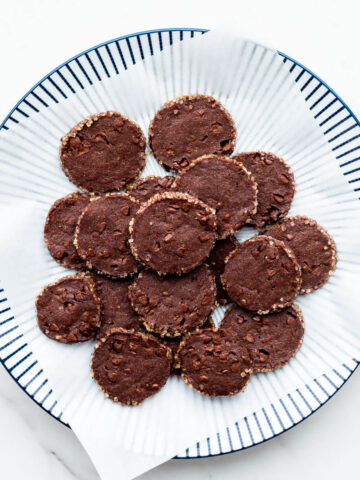
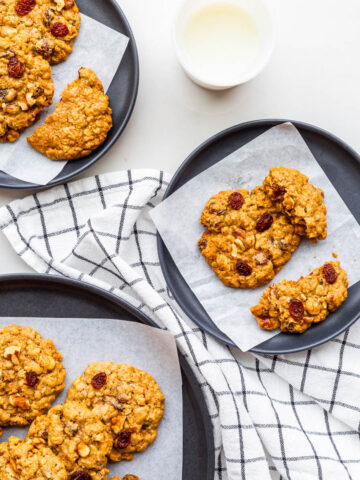
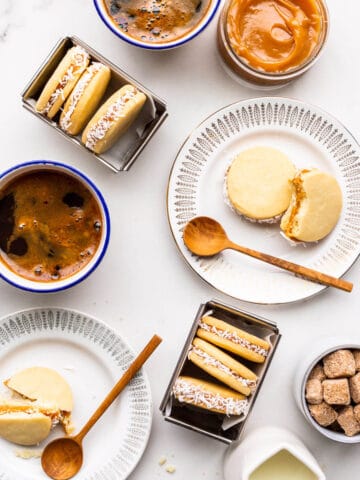
Here are some other slice-and-bake cookie recipes to try:
If you tried this pinwheel cookie recipe (or any other recipe on my website), please leave a ⭐ star rating and let me know how it went in the comments below. I love hearing from you!
📖 Recipe
Chocolate Pinwheel Cookies
Ingredients
- 375 grams bleached all-purpose flour
- 2.5 mL Diamond Crystal fine kosher salt
- 230 grams unsalted butter room temperature
- 200 grams granulated sugar
- 2 large egg(s)
- 10 mL pure vanilla extract
- 23 grams Cacao Barry extra brute cocoa powder
Instructions
- In a bowl, whisk together the flour and salt. Set aside.
- In the bowl of an electric fitted with the paddle attachment, beat together the butter with the sugar until fluffy. Add the eggs, one at a time, beating between additions and scraping down the sides of the bowl as needed. Mix in the vanilla. The mixture should be smooth and light.
- Add the flour and stir it in on low. Mix until just combined.
- Remove half oof the dough (roughly 450 grams or 1 lb of dough). To the dough left behind in the mixer bowl, add the cocoa powder and stir it in.
- Pat each dough into a disk, wrap in plastic wrap and chill at least 1 hour.
- Divide each disk into four pieces. Store extra pieces of dough in the fridge while you work.
- Roll one piece of chocolate dough to a 6x7-inch rectangle between pieces of wax paper.
- Roll one piece of vanilla dough to a 6x6 square between pieces of wax paper.
- Chill both rolled doughs for 10 minutes in the freezer.
- Remove wax paper from both sheets of dough. Place the vanilla dough over the chocolate dough, leaving a half inch border on top and on bottom. Press together with a cookie sheet to help them adhere (or using a gently using a rolling pin). If the dough feels at all soft, chill it again.
- Roll the dough tightly into a cylinder to form a pinwheel using the paper to help keep the roll tight. Roll the log back and forth to seal the layers together and form a perfect cylinder.
- Repeat with remaining doughs to form 4 logs of pinwheel dough. Wrap the logs in plastic wrap and chill overnight.
- Preheat the oven to 350ºF (175 °C). Line two sheet pans with parchment paper.
- Unwrap a log of pinwheel cookie dough and trim the ends off. Slice cookies to about ⅛–¼ inch (3–6 mm). Place 1 inch apart on parchment-lined baking sheets. Bake one sheet at a time until cookies look set and dry, for approximately 13 minutes.
Notes
- Use Dutch-processed cocoa powder, though natural or black cocoa will also work. The resulting chocolate cookie dough taste, colour, and texture may vary depending on the type and brand of cocoa you use.
- Sift the cocoa powder to remove any lumps.
- The cookie dough becomes very soft if it is warm. Chill the dough thoroughly to be cold and firm before rolling them out. Once rolled, chill them again before layering them. And then chill them again after layering them. The pinwheel spiral may be distorted or deformed if the dough is not cold enough.
- Roll the dough between layers of parchment paper or wax paper. Don't use flour, as the flour may prevent the chocolate and vanilla dough from adhering together when you create the pinwheel.
- The thicker you slice the cookies, the fewer you will get and the longer they may take to bake. The thinner you slice the dough, the more cookies you will make, and they will take less time to bake.
- For peppermint-flavoured pinwheel cookies, add 2.5 mL (½ teaspoon) peppermint extract.
- For almond-flavoured pinwheel cookies, add 2.5 mL (½ teaspoon) almond extract.
- If you want to use food colouring, use gel food colours to dye the vanilla dough red or green, for example.
Nutrition
Adapted from the book Great Cookies. This is a fantastic cookie book that we've been baking cookies from for over 10 years.




Leave a Reply