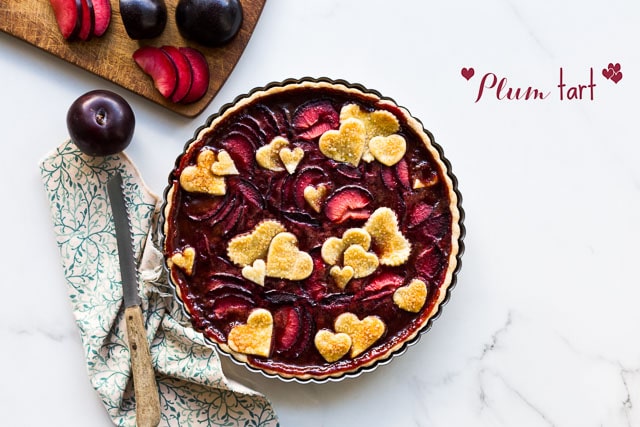
I made this recipe twice while trying to tweak the filling to achieve a better set than what is pictured. The first time I made this tart, I used only 7.5 mL (1.5 teaspoons) of tapioca starch to help thicken the plum compote filling. The set was soft, and a little runny, and not super stable over time.
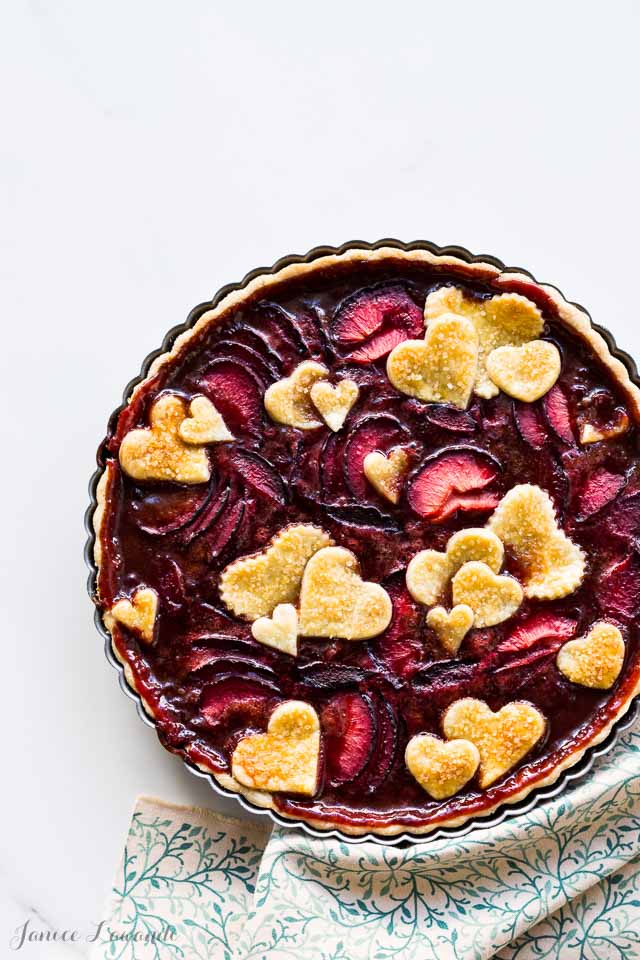
The second time around, I thought I compensated with a little too much tapioca starch, using 2 tablespoons instead. But actually, my "mistake" proved to be a smart move. I wound up with a tart that had the perfect set, with no starchy mouthfeel and no gummy texture. Actually, using 2 tablespoons of tapioca starch yielded a pretty perfect tart! So I actually had to eat two tarts in the span of one week while working on this recipe. See how I sacrifice my waistline for you and this blog? Now you probably understand why I destroy myself at the gym. I do it for the tarts.
After making two plum tarts, my conclusions are that, firstly, this plum tart is fantastic, and secondly, I need to practice making pie crust. I don't think my technique is a problem, but I feel like I'm either not using enough butter these days (see recipe) OR I'm perhaps using a touch too much water and it's resulting in a super crispy crust. Flaky, but very crispy. So crispy, in fact, you can pick up a slice of pie and eat it like a slice of pizza.
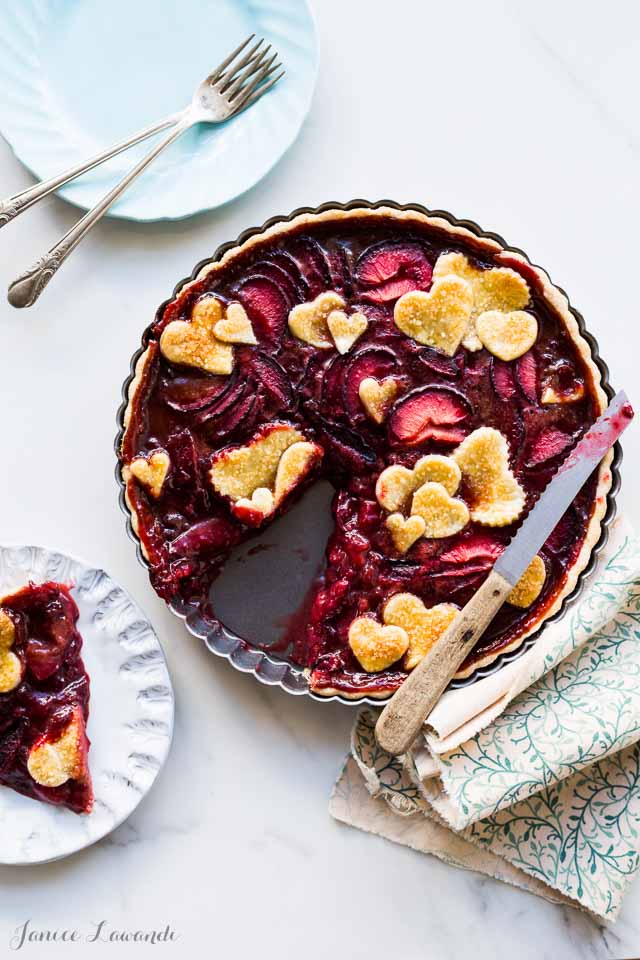
For this plum tart, I was inspired by a French apple tart we made in pastry school, which is quite different than a typical pie. For the apple tart, the fruit filling consisted of an apple compote (dry caramel + butter + diced apples) topped with thinly sliced apples to finish and create a decorative spiral top.
At first, I thought I would do just that, a buttery caramel that I would cook the plums in. But then I considered how, though I've made my fair share of caramels (dry or wet), you may not have as much practice. And some of you (and me too, to be honest) might have trouble with that step. So, I skipped the caramel altogether (I wasn't lying when I mentioned earlier I was trying to cut corners!). Instead, I started with muscovado sugar because muscovado lends a lovely caramel flavour to the plum compote filling of this plum tart without the risk of fire, 3rd degree burns, or pesky sugar crystallization.
📖 Recipe

Plum Tart with Muscovado Sugar
Equipment
Ingredients
For the crust
- 250 grams bleached all-purpose flour
- 3.75 mL Diamond Crystal fine kosher salt
- 18 grams granulated sugar
- 173 grams unsalted butter cold and cut into chunks
- 120 mL cold water
For the plum compote filling
- 750 grams plums about 7 or 8, pitted and chopped into pieces
- 200 grams muscovado sugar
- 1 pinch Diamond Crystal fine kosher salt
- 58 grams unsalted butter cut into small pieces
- 16 grams tapioca starch
Garnishes & extras
- 25 grams ground almonds
- 2 plums pitted and sliced thinly
- 1 large egg(s) whisked
- turbinado sugar
Instructions
- First make the dough for the crust. In the bowl of a food processor, combine the flour, salt, and sugar. Pulse to mix it all together. Drop in the cubes of butter, then pulse the mixture about 10 times. Spoon in the water (6 tablespoon at first), then pulse again just a few more times. Open up the bowl and see if the dough clumps together when pressed. If it doesn't, add another spoonful or two of water, pulse a couple more times.
- Dump the messy dough carefully on a very long piece of plastic wrap. Gather all the bits and form a rough disk. Wrap and chill the dough for a full hour, at least.
- Now make the plum compote filling. In a medium saucepan, combine the chopped plums, with the muscovado and a pinch of salt. Heat everything together on medium (or even medium-high), stirring fairly often so it doesn't catch at the bottom or burn. Let the fruit compote boil until it is jammy and thickened, not syrupy. You want to boil off a fair bit of the water. This can take a good 20 minutes for the fruit to release its juice and boil down. When the compote is jammy, take it off of the heat. Stir in the ¼ cup of butter. Transfer the compote to a bowl and chill it in a freezer to speed up the chilling process. Stir the compote every 5 to 10 minutes until it is cold, but not frozen. When it's cold, you can leave the bowl of compote on the counter until you are ready to use it.
- Roll the chilled dough on a lightly floured surface until it's about 15 inches in diameter. Fold the dough over and transfer it to a 10-inch tart pan ( I like this tart pan set from Wilton). Carefully fit the dough into the corners of the pan, pressing it lightly into the sides of the pan. Trim the excess by running a rolling pin over the tart pan. Place the tart shell in the fridge for 30 minutes to chill it.
- Press the trimmings together to save them, and wrap and chill for later.
- Preheat the oven to 375 °F (190 °C).
- When the tart shell has chilled, place it on a large baking sheet. Dock the pastry with a fork, then line it with parchment and fill it with pie weights. Bake the tart shell in the preheated oven for about 25 minutes.
- Take the pan out of the oven and carefully lift off the parchment with the pie weights and set them aside to cool. Bake the tart shell again for another 5 to 10 minutes until it begins to look dry.
- Remove the blind-baked tart shell from the oven.
- Meanwhile, roll the remaining dough fairly thinly and cut out hearts of different sizes. Brush them with the whisked egg.
- Stir the tapioca starch into the cold compote and pour it into the blind-baked tart shell, smoothing it out. Top with fanned out slices of plum, don't worry about covering the entire surface. Fill the gaps with the heart cut outs, arranging them decoratively, like in the picture. Sprinkle everything generously with turbinado sugar.
- Bake the plum tart for 60 minutes. After about 45 minutes, you might want to reduce the oven temperature to 350ºF. The tart should be quite bubbly and the filling very thick when the tart is baked. The edges should be golden brown.
- Let the tart cool overnight before serving, or at least 5 to 6 hours.


Leave a Reply