Apple tarte tatin is an apple dessert baked upside down, just like an upside-down cake, then flipped onto a platter when it's still warm to reveal the golden-coloured soft apples that were cooked in a caramel tucked under a layer of golden pastry. The crust can be either a regular pie crust or puff pastry. Apple tarte tatin is a classic French dessert that is best served warm with a scoop of vanilla ice cream!
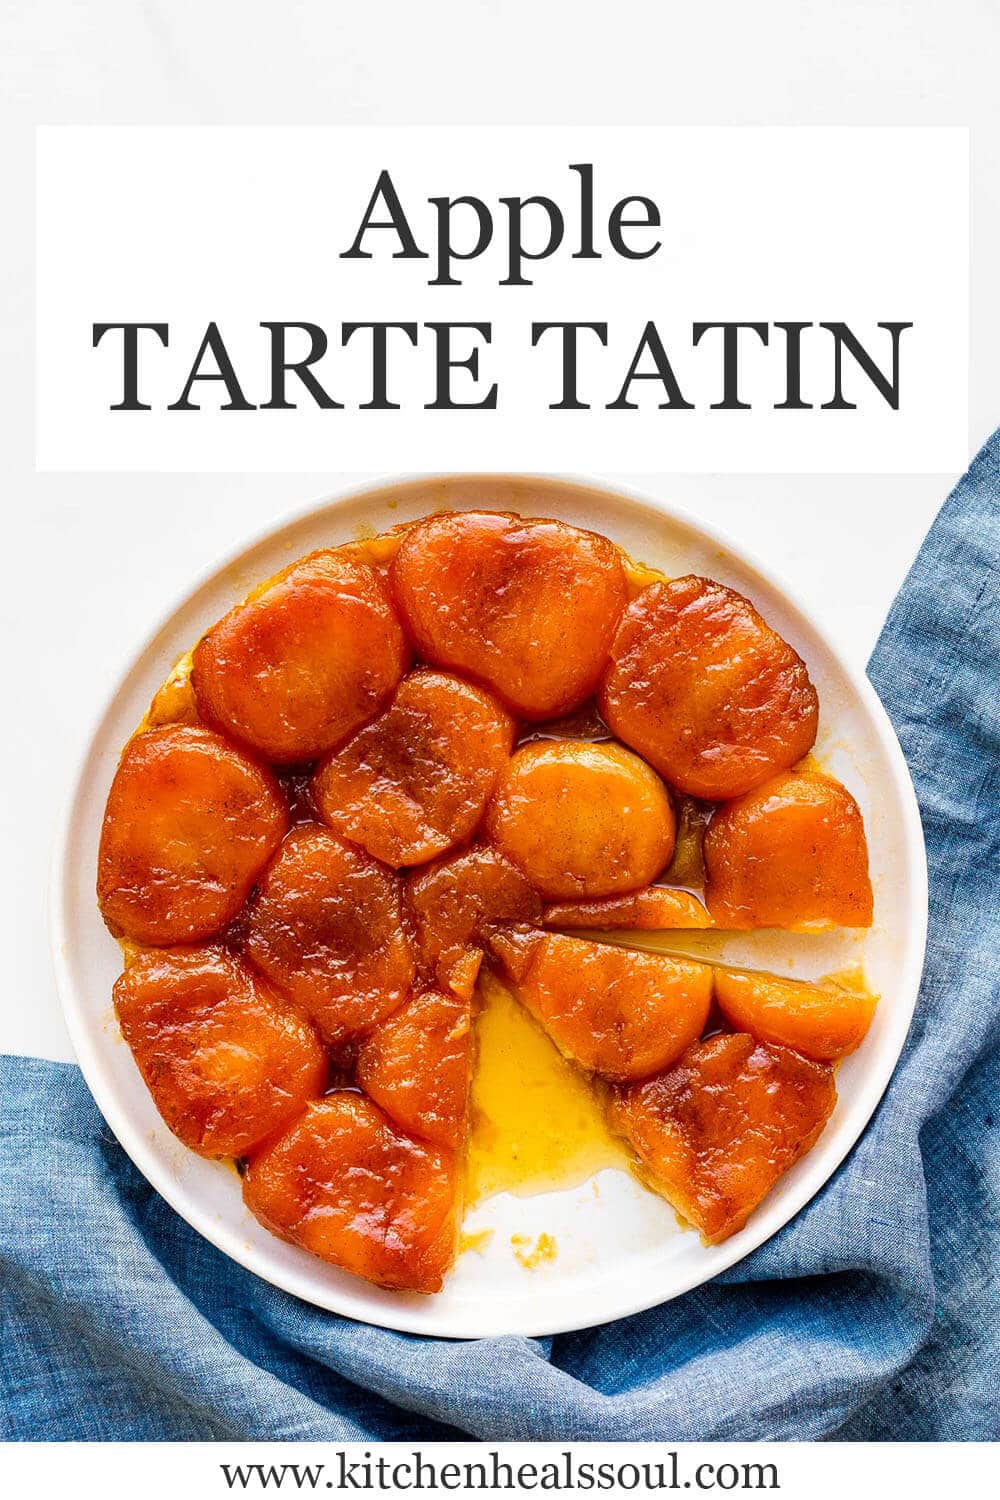
Classic French desserts can be a little daunting, even the "simpler" recipes. Apple tarte tatin is definitely simple, calling for only a few ingredients, but the steps can be a little scary, especially because it involves making caramel from granulated sugar. Some recipes will have you melt the sugar and make the caramel at the same time as you cook the apples, but I find that can be a little stressful because you can't see exactly what's happening under the apples.
I've broken the recipe down into the four big steps it takes to make an apple tarte tatin at home, to help alleviate some of the stress and the worry, and to help us all get a little control over the whole process:
- make the dry caramel and stop the cooking by cooling it down with butter
- add the apples and roast them to get them par-baked
- put the pastry on top and bake the dessert a final time
- unmould it to serve warm
If you go through the recipe, step-by-step, you shouldn't have any trouble with this dessert, and using store-bought puff pastry or pie dough will take a good amount of stress away so you can focus on having fun!
Jump to:
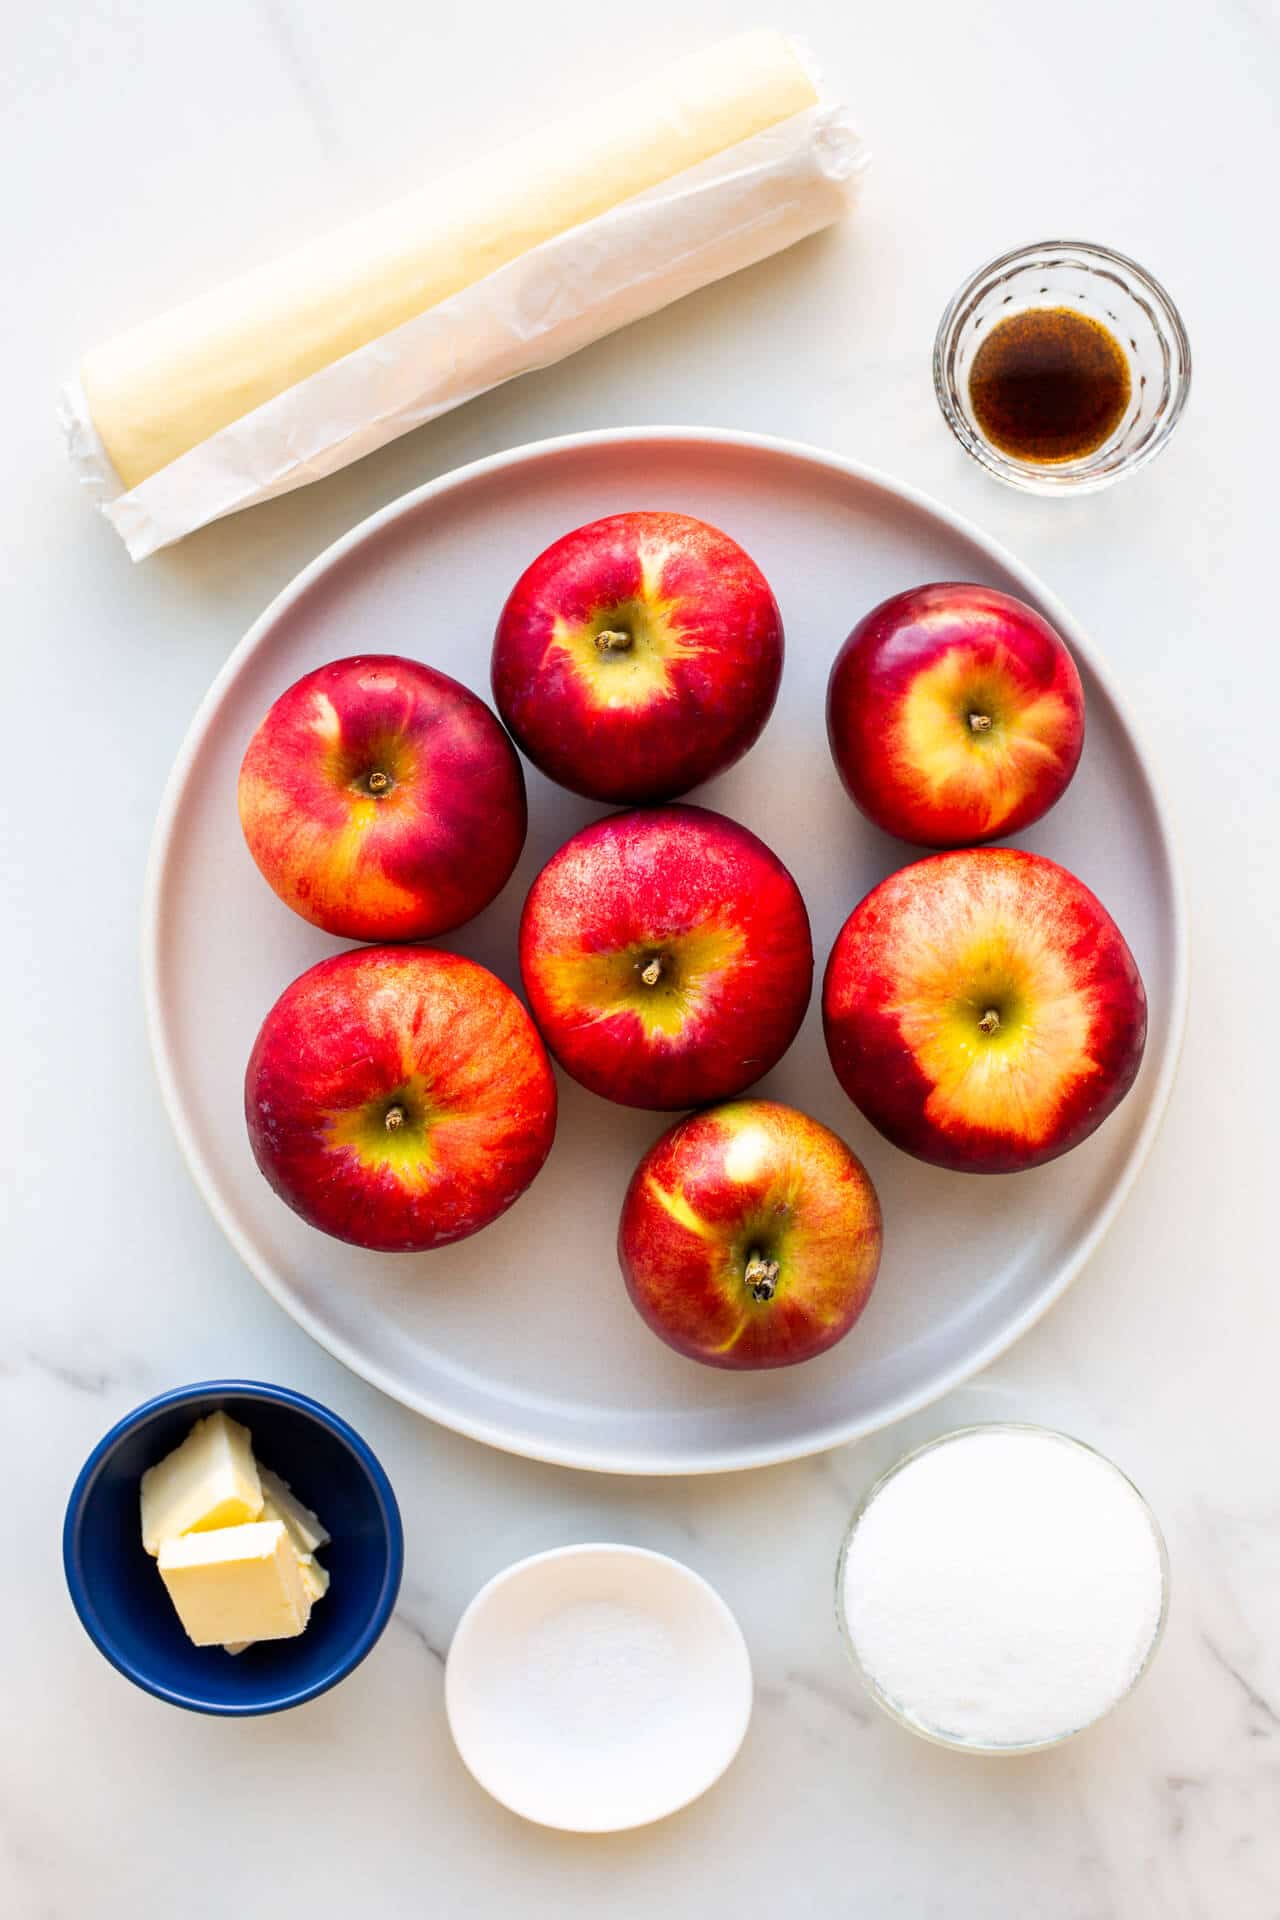
What you need to make this apple dessert
The ingredients to make an apple tarte tatin are very simple!
- butter, preferably unsalted, but if you use salted butter, just omit the pinch of salt
- apples that hold their shape when cooked, such as Cortland, Gala, Honeycrisp, or Golden delicious apple varieties,
- sugar, preferably white granulated sugar so that you can more easily monitor the caramelization
- salt, preferably Diamond Crystal fine kosher salt, which is less salty than table salt
- vanilla bean paste, though vanilla extract will also work and both are optional
- one disk of either pie dough or frozen puff pastry (enough for a single crust with approximately 10–11-inch diameter)
See recipe card for quantities.
Best apples for tarte tatin
Like for the maple apple pie, choose an apple variety that will hold its shape when cooked. These are the most common apple varieties that bakers favour, but you may have to find a suitable substitute in your area if one of these varieties isn't available:
- Gala
- Golden Delicious (also called Yellow Delicious)
- Jonagold
- Fuji
- Cortland
- Granny Smith
- Bramley
- Braeburn
Personally, I find Granny Smith apples are a little sour for this dessert because though it does have a fair bit of sugar, the sugar is caramelized so it's not that sweet.
I don't recommend varieties that are suited for apple sauce because they break down when they cook and they become too soft. The varieties that you shouldn't use include:
- Macintosh
- Empire
- Spartan
Where I live, the apple we bake with usually is the Cortland variety. Cortlands are large apples that look a lot like jumbo-sized Macintosh apples, so red and yellow/green on the outside with very crisp, bright white flesh. The Cortland apple can hold its shape, even when heated for an extended period of time. This is the type of apple I used to make this maple apple pie and this easy apple galette, for example.
For best results, use Honeycrisp apples. Honeycrisp apples are large, crunchy, firm, and very juicy. The flesh of this apple is more yellow than the Cortland. Honeycrisp apples are more expensive than the other varieties, but in this dessert, they work extremely well and stay firm!
The area you live in will limit your choices and you will may have to choose an apple that I might not have mentioned. If you aren't sure which apple to use, I'd suggest visiting your local market and talking to the vendors and growers. They should be able to guide you to find a suitable apple that can be cooked without falling apart.
Tip: Older apples tend to go soft as they mature off the tree, which means that an older apple may set you up for a tarte tatin with a soft, mushy apple layer... Use fresh apples that were recently picked!
Puff pastry versus pie crust
Some people prefer puff pastry, while others prefer an all-butter pie crust or a pâte brisée (the French baking term for the dough used for quiche, for example). I've seen people even suggest pâte sucrée (the sweet cookie crust you use for tarts). What you decide to use is entirely up to you, but I highly recommend that you bake the tart long enough so that the pastry turns golden-brown delicious (GBD, for short). You want to make sure that the crust has baked long enough that it isn't raw, especially in the area that's in direct contact with the fruit. Don't skimp on the baking time!
Now if you decide to go the puff pastry route, you can make your own puff pastry, but that takes a lot of extra time and quite a bit of patience. If you don't want to go there, I highly suggest visiting your local bakery and seeing if they sell all-butter puff pastry frozen. They will often sell it rolled out into a sheet that is then rolled with a layer of parchment. They've done all the hard work for you!
The only problem with puff pastry is that when you invert the tart, the fruit will sit on the crust, and the moisture from them will begin to soak into the base almost immediately. The longer it sits, the more the pastry will absorb and the tougher the pastry becomes because saucy puff pastry becomes tougher and tougher. For this reason, many bakers prefer to use a pie crust or pâte brisé that holds up better to the moisture of the fruit and doesn't become so tough as it sits.
Steps to make it at home
There are three major components to the apple tarte tatin:
- the caramel
- the apples
- the crust
Let's break them down to understand the ins and outs of this French dessert and what your options are.
Dry versus wet caramel
Most of us make caramels, like salted caramel sauce or salted caramels, from a combination of sugar and water. Usually, you start with the water at the bottom of the saucepan and you add the sugar on top. The water isn't necessary, but it helps to dissolve the sugar so that when you bring the mixture up to a boil, you might have an easier time caramelizing the sugar without it crystallizing. Of course, there are other tricks to keeping caramel from crystallizing, but starting with a little water in the pan does help.
Dry caramel is made from sugar and nothing else. Some pastry chefs put all the sugar in the pan, then heat it slowly over medium heat, tilting the pan and swirling the sugar often so that as it melts, it stirs itself. The tilting and the swirling help mix the unmelted sugar with the hot melted sugar. If you don't mix the dry caramel as you heat it, you may end up with a burnt patch of caramel surrounded by granulated sugar. Not ideal. Keep it moving!

Dry caramels are actually easier to make than wet caramels. With dry caramel, you are literally melting the sugar crystals with heat. On the other hand, with a wet caramel, you start by dissolving the sugar in water and a little heat. But the more you heat the mixture, the more water evaporates, and there's a point when the sugar has so little water to keep it dissolved that it may "crash out" or crystallize.
Though dry caramels seem scarier to do, they are harder to screw up (well, unless you heat the sugar so much that it smokes and burns...). By all means, if you prefer to start your caramel with a splash of water in the pan to dissolve the sugar, do that! All roads lead to caramel!
Cutting and arranging the apples
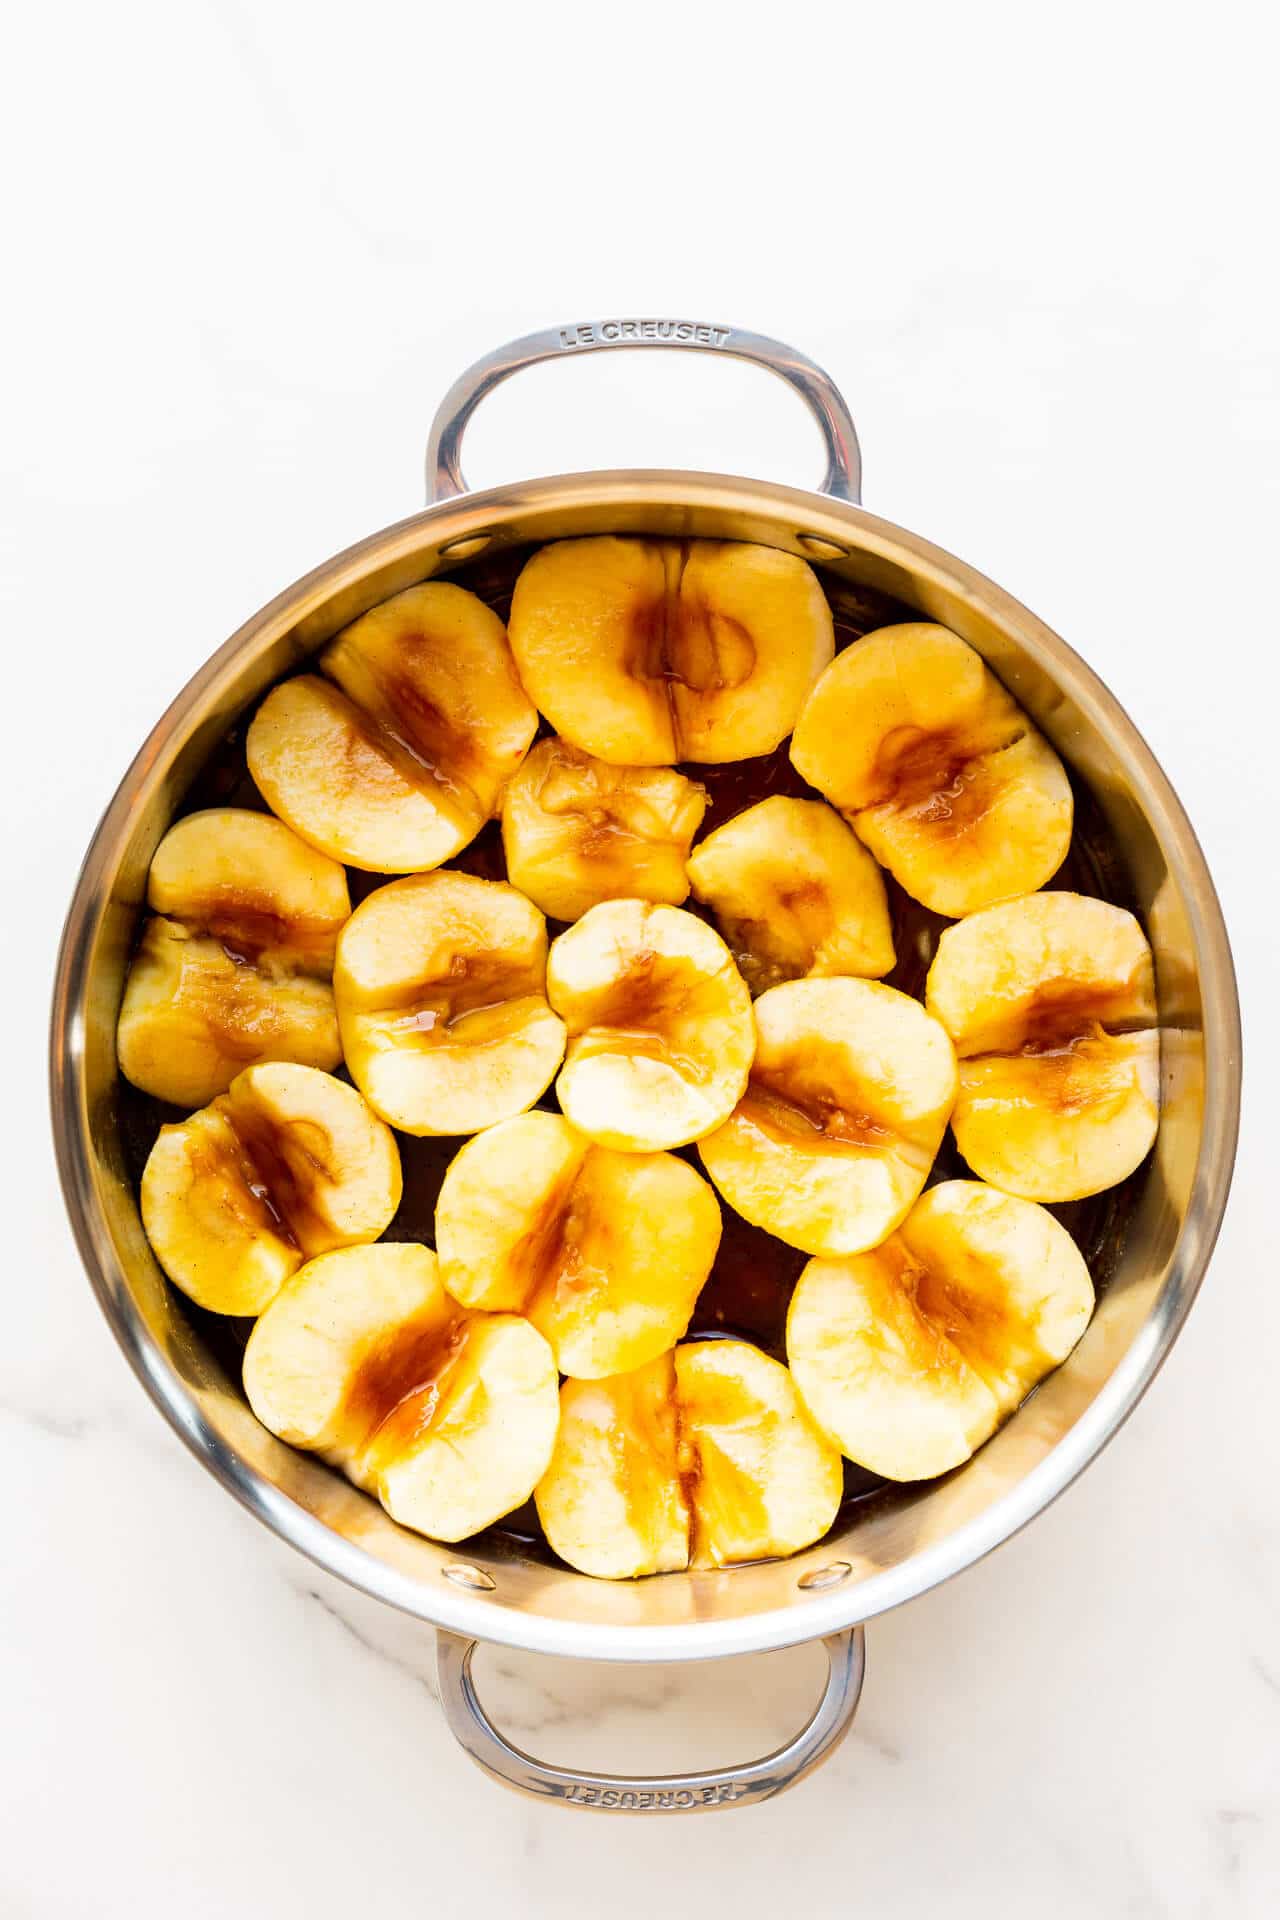
Some recipes will have you quarter or slice the fruit to arrange in a decorative pattern on the bottom of the pan, but if you slice the fruit too thinly, the risk of the fruit breaking down and turning soft and mushy is even greater. I suggest cutting the apples in half and using a pairing knife to cut out the core. The bigger apple pieces will be able to withstand more heat without falling apart.
When you first arrange the fruit, it might not all fit. When you par-bake the fruit in the oven, they will lose some water, soften, and shrink a little. You'll be able to rearrange them before you top them with the pastry layer so that they all fit in an even layer.

Best pan for tarte tatin
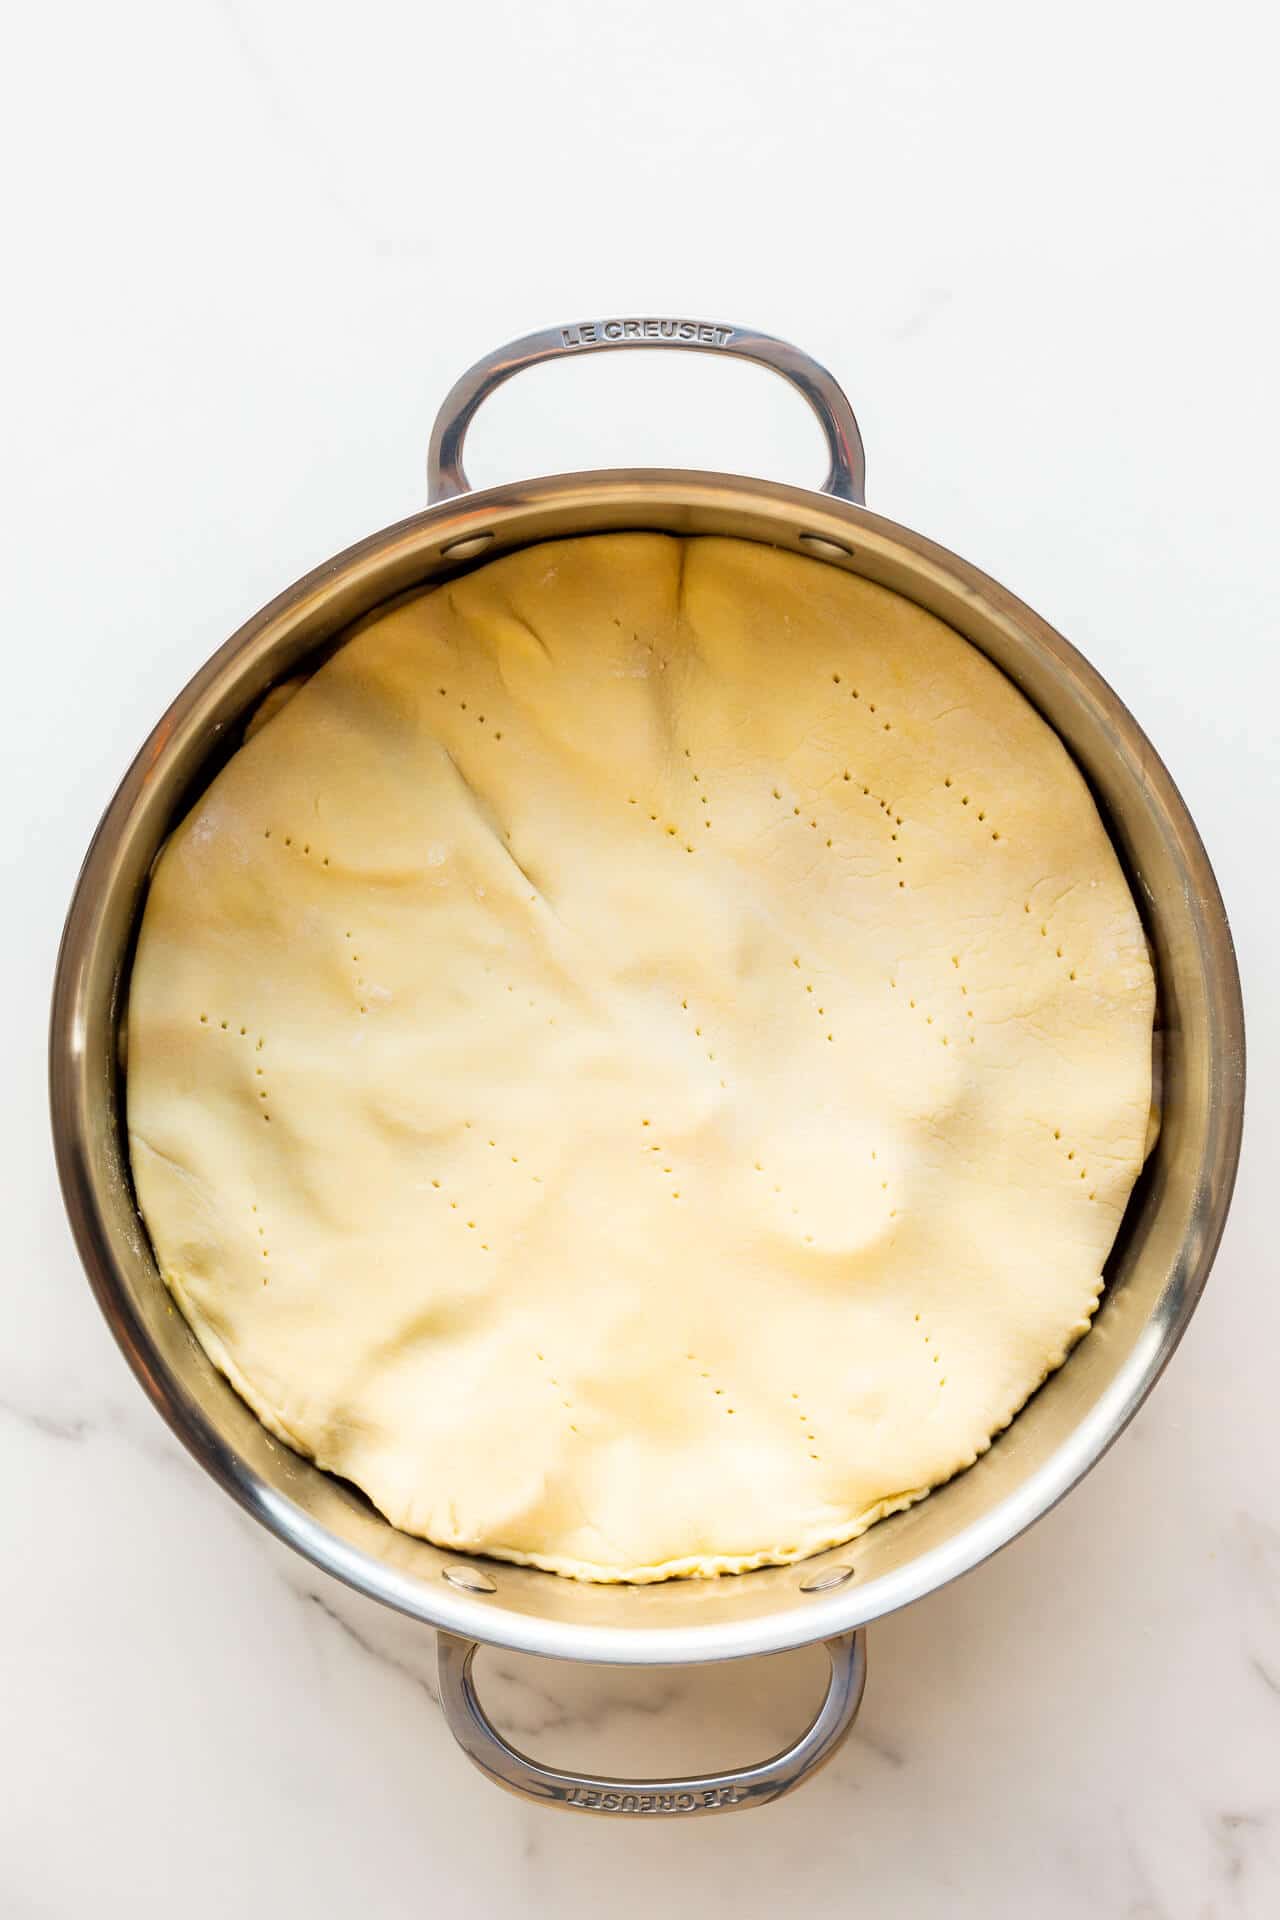
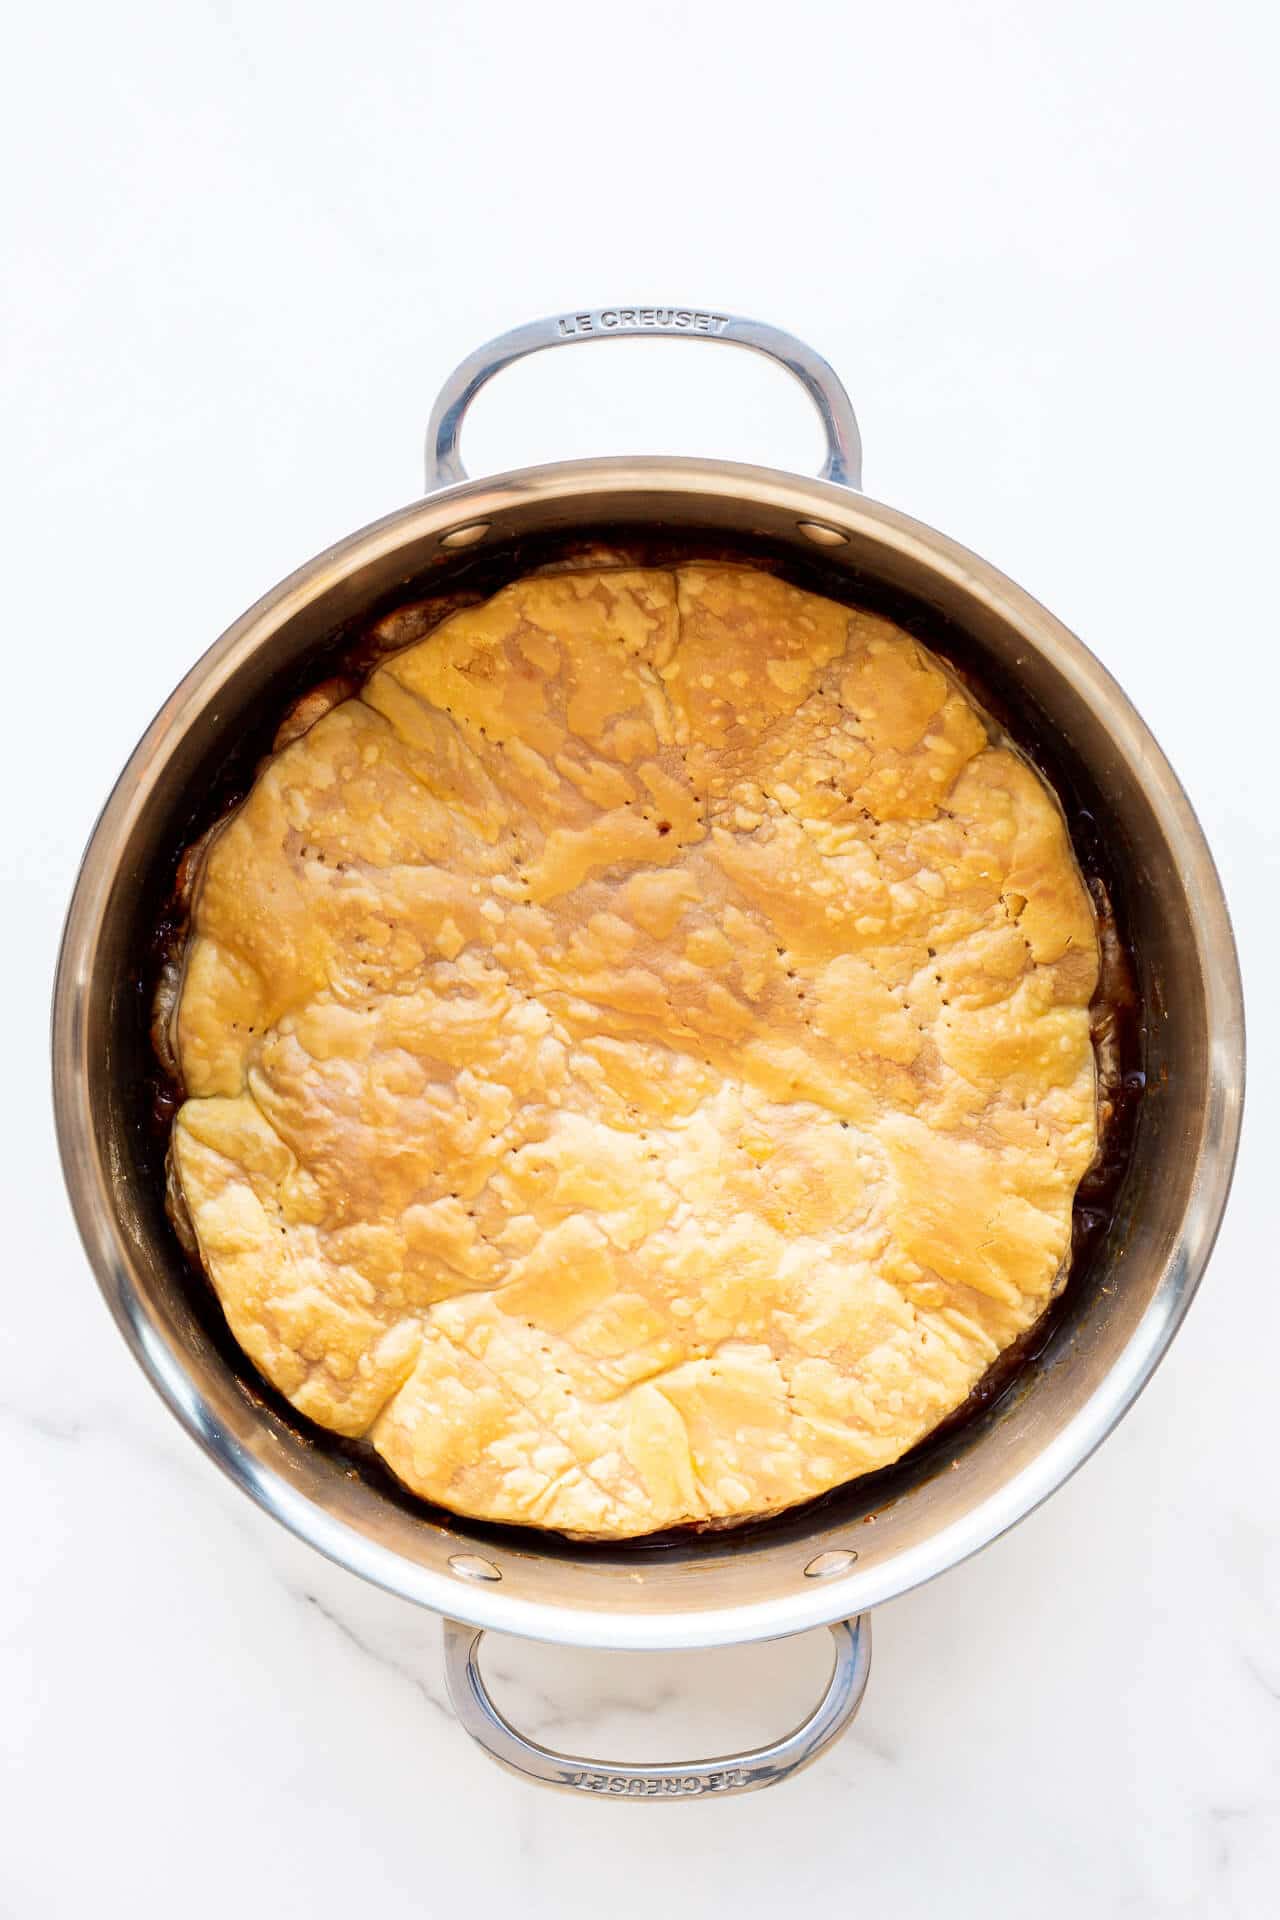
To make a tarte tatin, any large oven-proof skillet will work here. I tested this recipe on purpose in a stainless-steel pot to make sure it can be unmoulded without trouble from a regular pan that is not non-stick. It works! A lot of bakers suggest using cast iron pans or enamelled cast iron, but you don't have to. Don't worry about buying a new pan. Use what you have, as long as it is ovenproof and has a large flat surface where you can lay out as many apples as possible. I used a 10-inch Le Creuset stainless steel Rondeau pan. It's my favourite pan for poaching fruit. I use it to make wine-poached pears and poached quince, for example.
The rondeau pan is a wide pan that isn't too deep and it has two handles which makes inverting the tart easy. Feel free to use a cast-iron skillet or an enamelled cast-iron skillet. A "sauteuse" pan would also work, again because it has a flat bottom and straight sides.
If you don't have a large oven-proof skillet, cook the caramel on the stove and transfer it immediately when it's still hot to a 10-inch baking dish. You can butter the inside of the dish if you are worried it will stick to the pan.
Unmoulding the tart
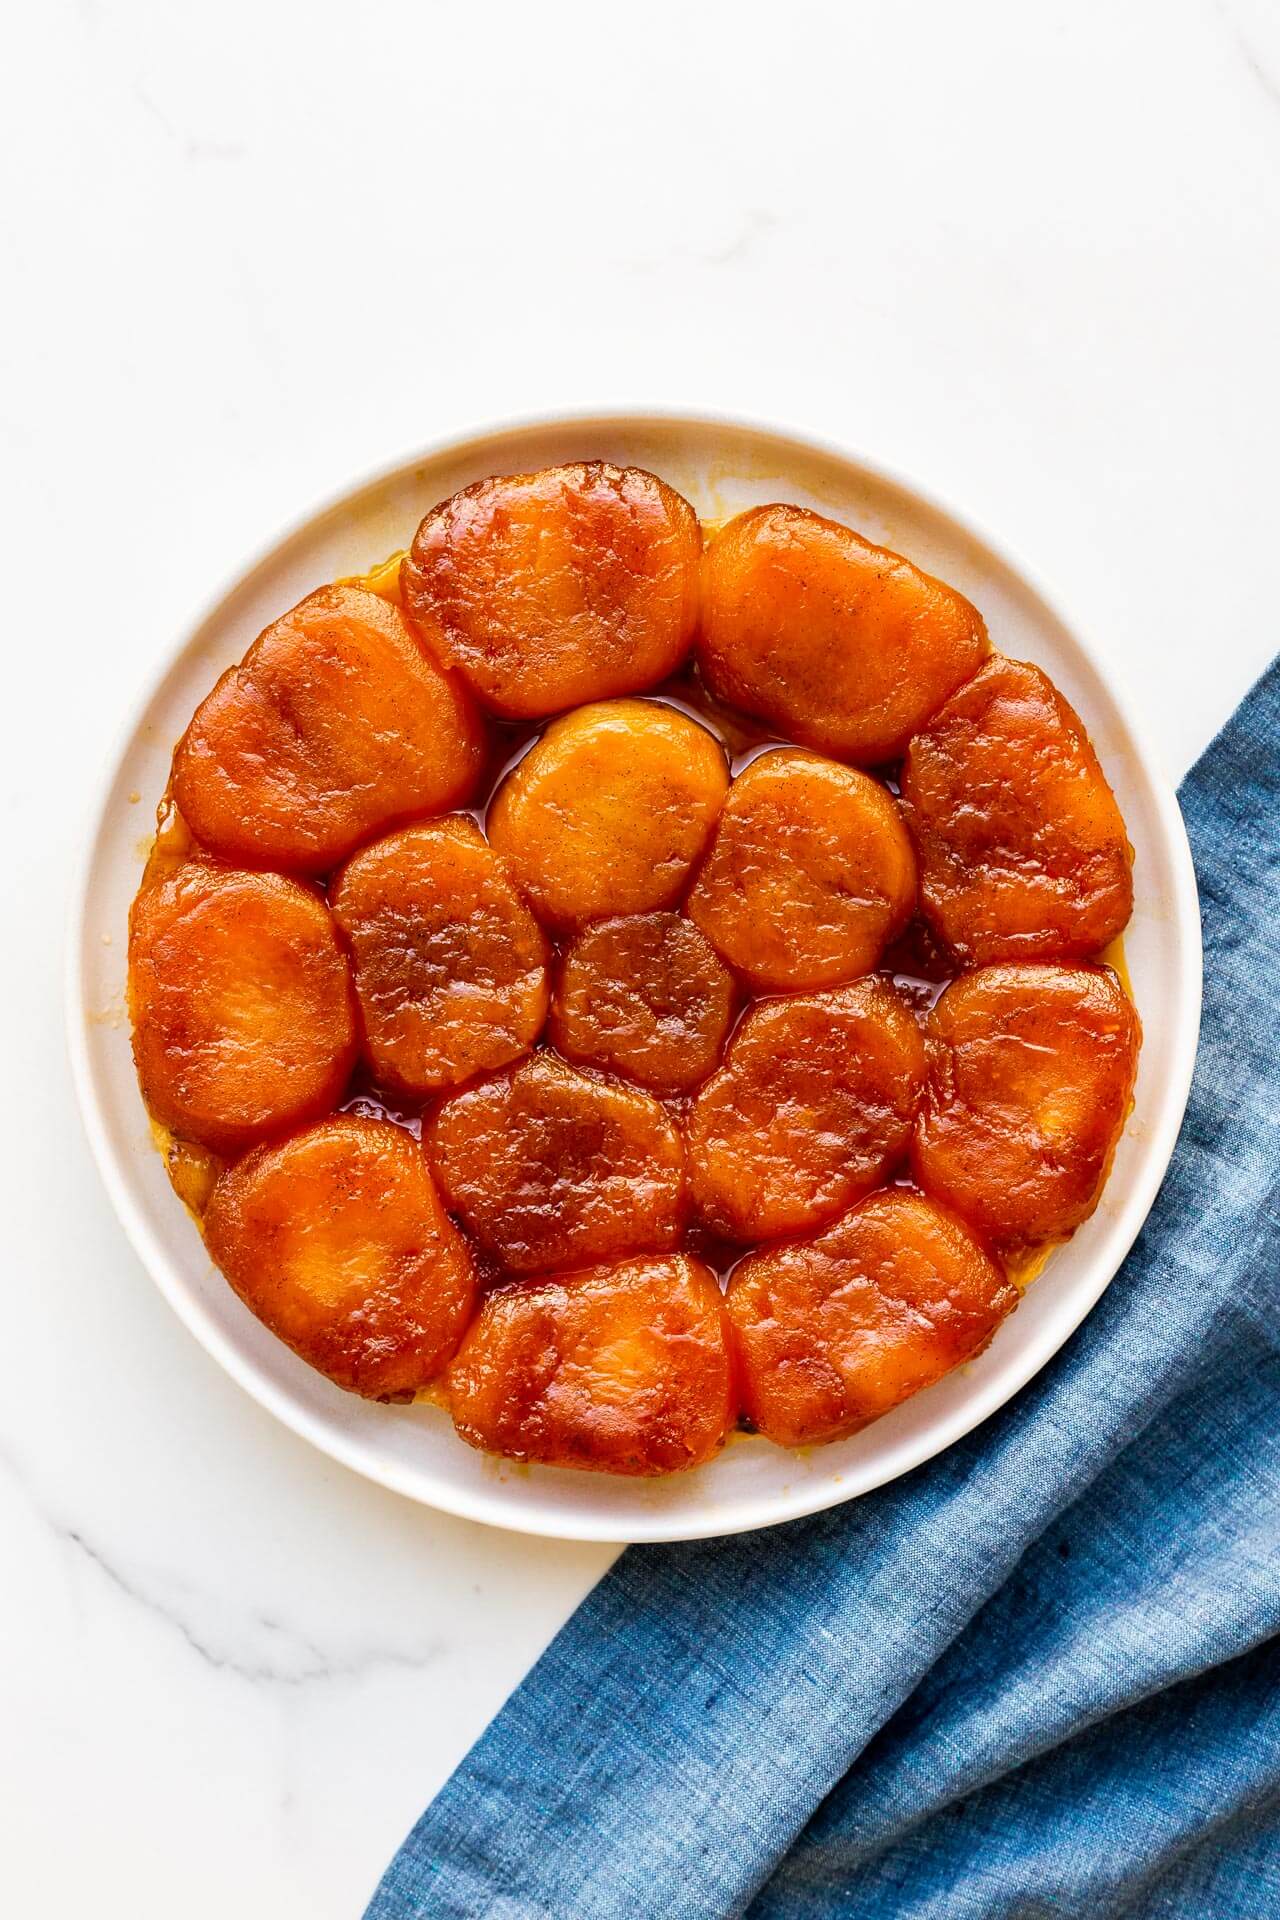
Let's be honest: unmoulding desserts is stressful. I've shared with you the tricks for getting a tart out of a tart pan. But in this case, the tart is baked upside down and it's basically an upside-down apple tart that has to be flipped: the topping is on the bottom of the pan and the crust is on the top! You have to flip it. There's no way around it. Your best bet is to:
- use a large flat plate that is at least the same diameter as your pan, if not an inch larger if you can. It should be flat because the crust is flat and you want it to sit flat on the plate. No slopey sides here!
- don't flip the tart as soon as you take it out of the oven. You want to give the tart a few minutes to set and you want the juices to thicken a little. Plus if it's burning hot, it's dangerous.
- flip the tart when it's warm, but not too warm like we did for the rhubarb raspberry upside-down cake. Take the tart out of the oven and set the pan on a cooling rack at room temperature to slowly cool down.
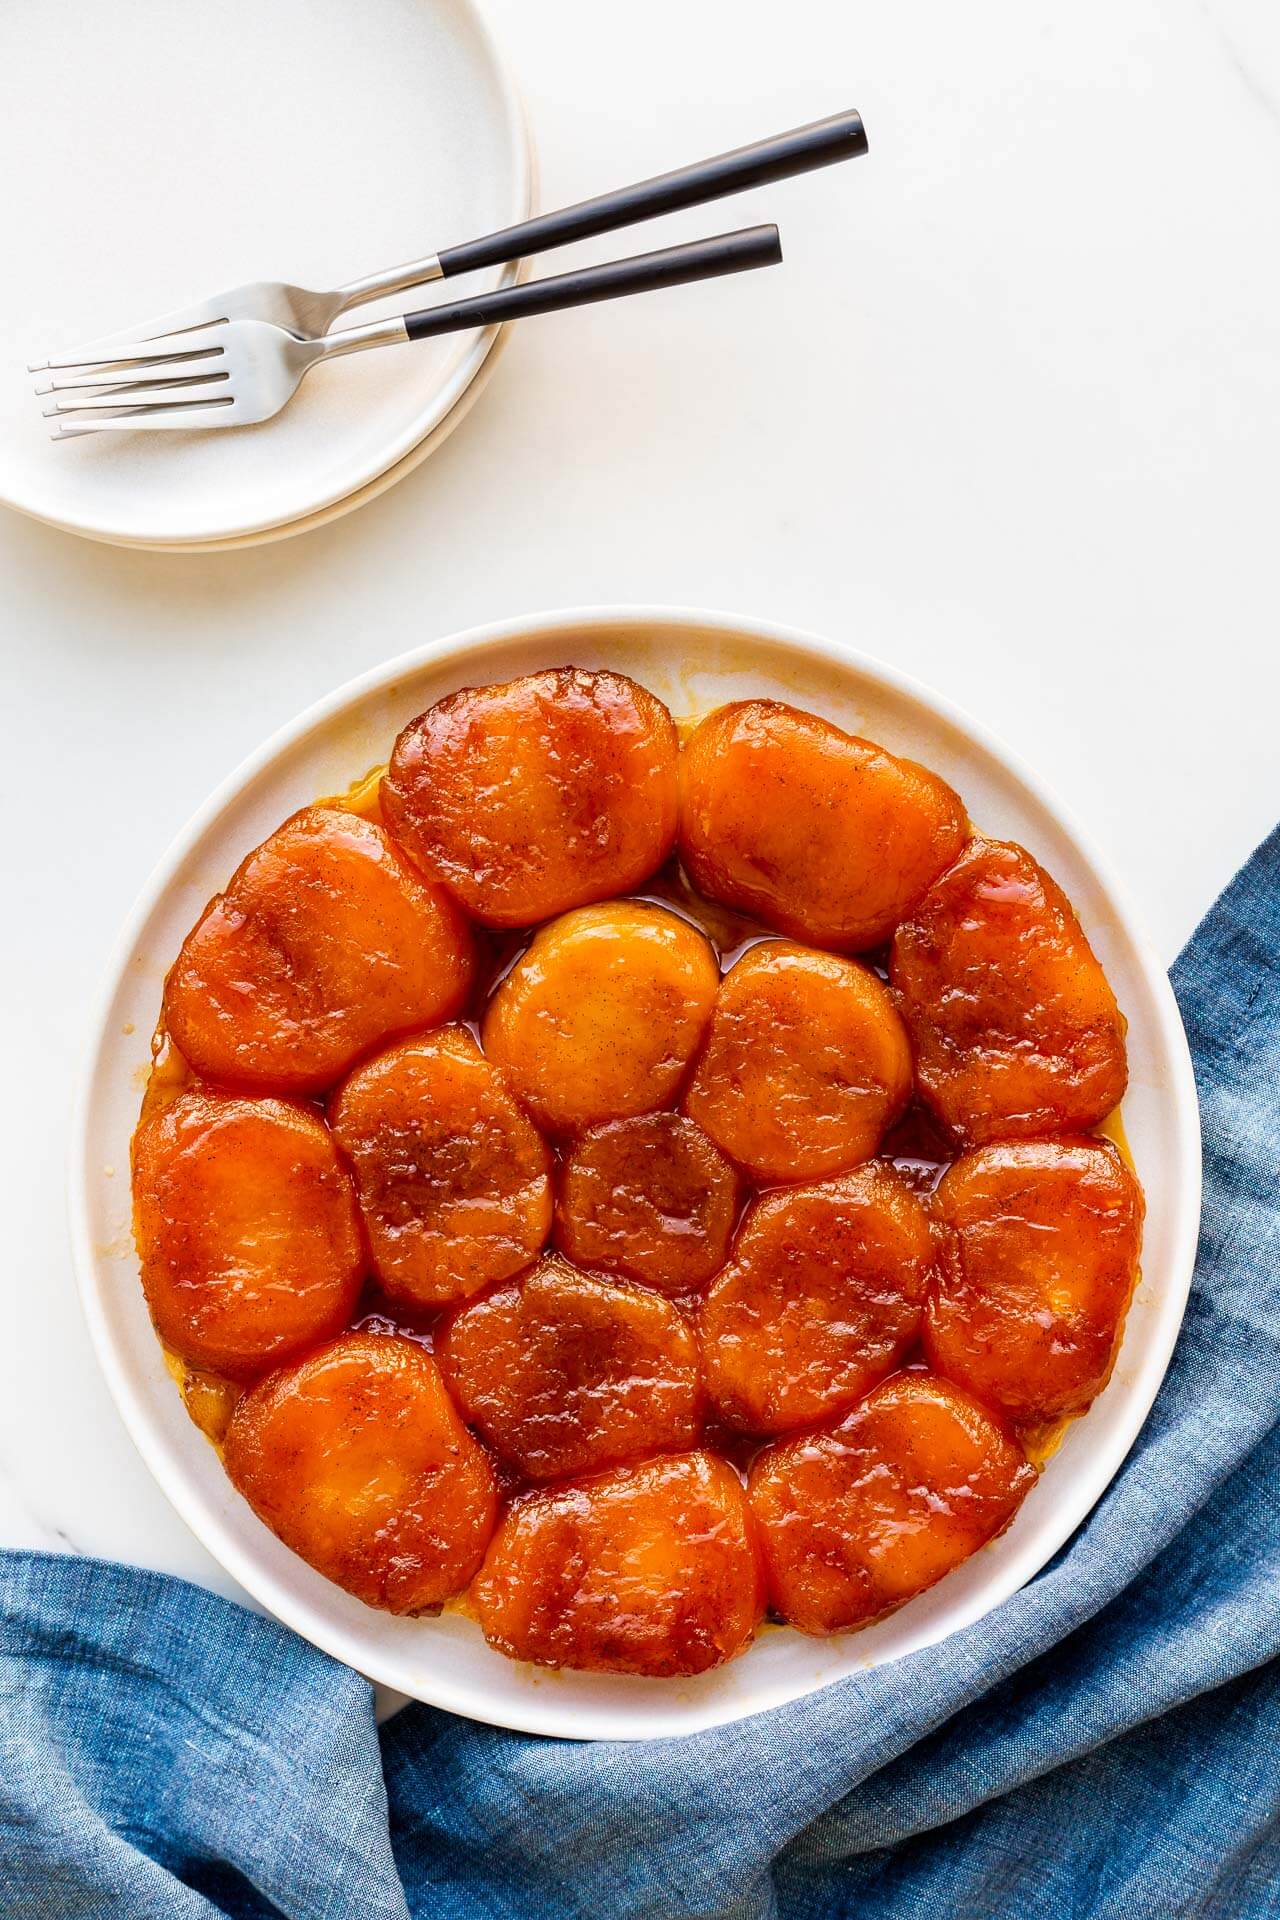
The thickness and set of the caramel sauce
I think people often expect apple tarte tatin to be saucy, dripping with caramel. Actually, if your apples are fresh and ripe, they are full of pectin. As the apples cook in the caramel, they release a ton of water and pectin. Then with the heat of the caramel and the oven, the pectin is activated and gels the juice released from the fruit.
In the end, the juices will gel and set into a matte jelly that has a texture similar to the French fruit juice candy called pâte de fruit. There will still be a little sauce that doesn't set up or gel too firm, but most of the juices will gel and that gel is what glues the fruit together, actually.

If you find your apple tarte tatin is too liquid, it means that either your fruit were old (pectin breaks down as fruit age) OR the apple layer didn't come to a full boil. It's just like when you make pies and also when you make jam or marmalade, the filling has to heat up sufficiently to reach the point where the water is boiling and the pectin can do its job. It's exactly like the marmalade setting point and a few degrees too low, your sauce will be watery, just like with marmalade.
Unlike other fruit pies, apple tarte tatin doesn't require a thickener because the pectin from the fruit does most of the work to thicken the sauce and to hold the fruit together. You don't need to resort to flour, cornstarch, or another pie thickener for the apple layer to gel properly.

Tips for success
Get the caramel colour right at the beginning
The colour of the caramel is very important and will determine the flavour and colour of your tarte tatin in the end. The caramel won't colour any further in the process so you have to start by making a caramel that has the colour and flavour you are going for:
- If you want a deep, rich dark mahogany tarte tatin that is less sweet, cook the caramel longer until it's smoky and dark
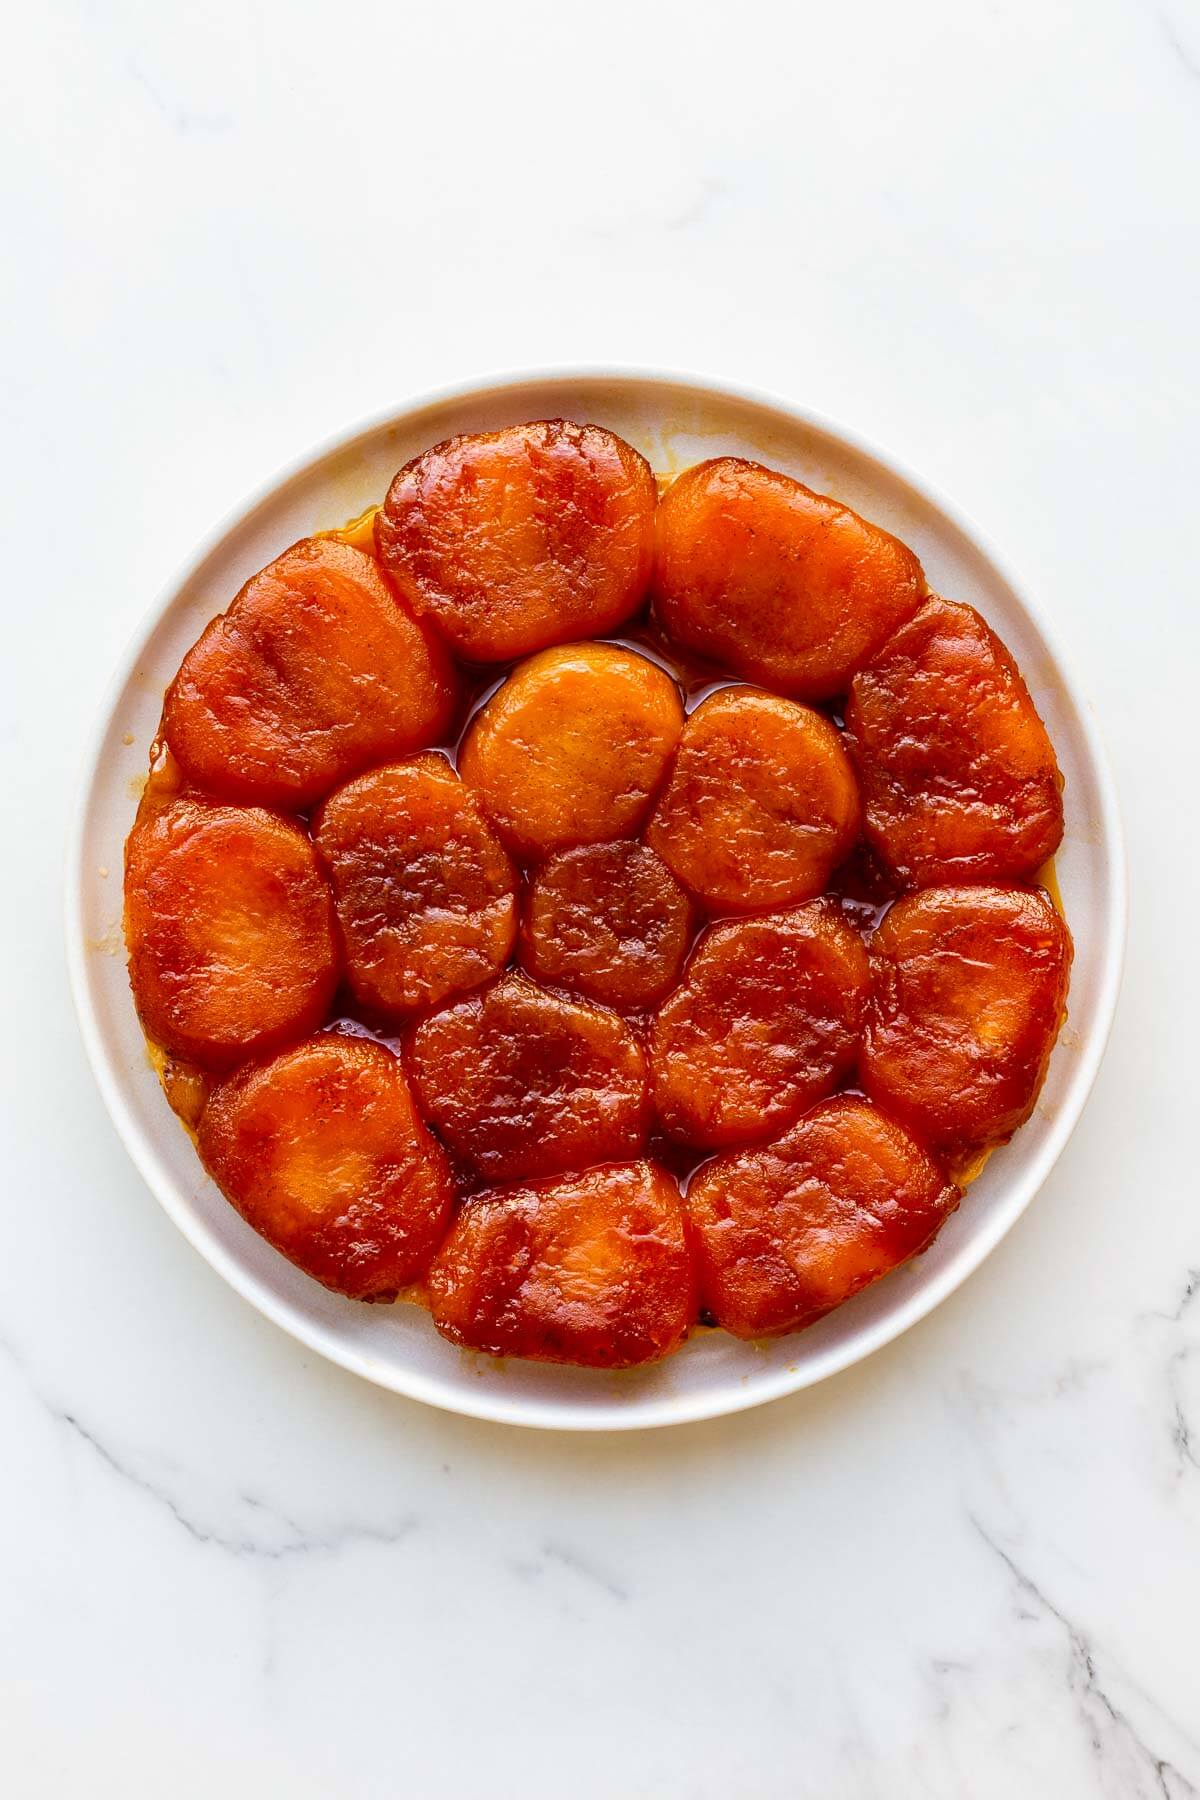
- if you want a golden brown tarte tatin, cook the caramel until it's amber (reddish-orange brown, verging on mahogany, as in the photo above—think of the colour of a dark copper penny)
- if you want a golden tarte tatin that is more sweet, cook the caramel less, until it is a paler yellow colour, more blonde
Once you've got your caramel to the right colour, immediately take it off the heat to carefully add the butter. The butter will bring the temperature of the caramel down and stop the caramelization. This will help you gain some control because you don't have to worry about rushing. Cook the caramel to the desired amber colour, take it off the heat and add the butter. At this point, you can pause if you need to!
Once your caramel is done, you place the apples over top which will further lower the temperature of the mixture. And once the apples start cooking in the oven, they will release water and that water will buffer the temperature of the caramel enough that it won't go much higher than the boiling point of water (or a little above), but certainly not high enough to caramelize or colour any further.
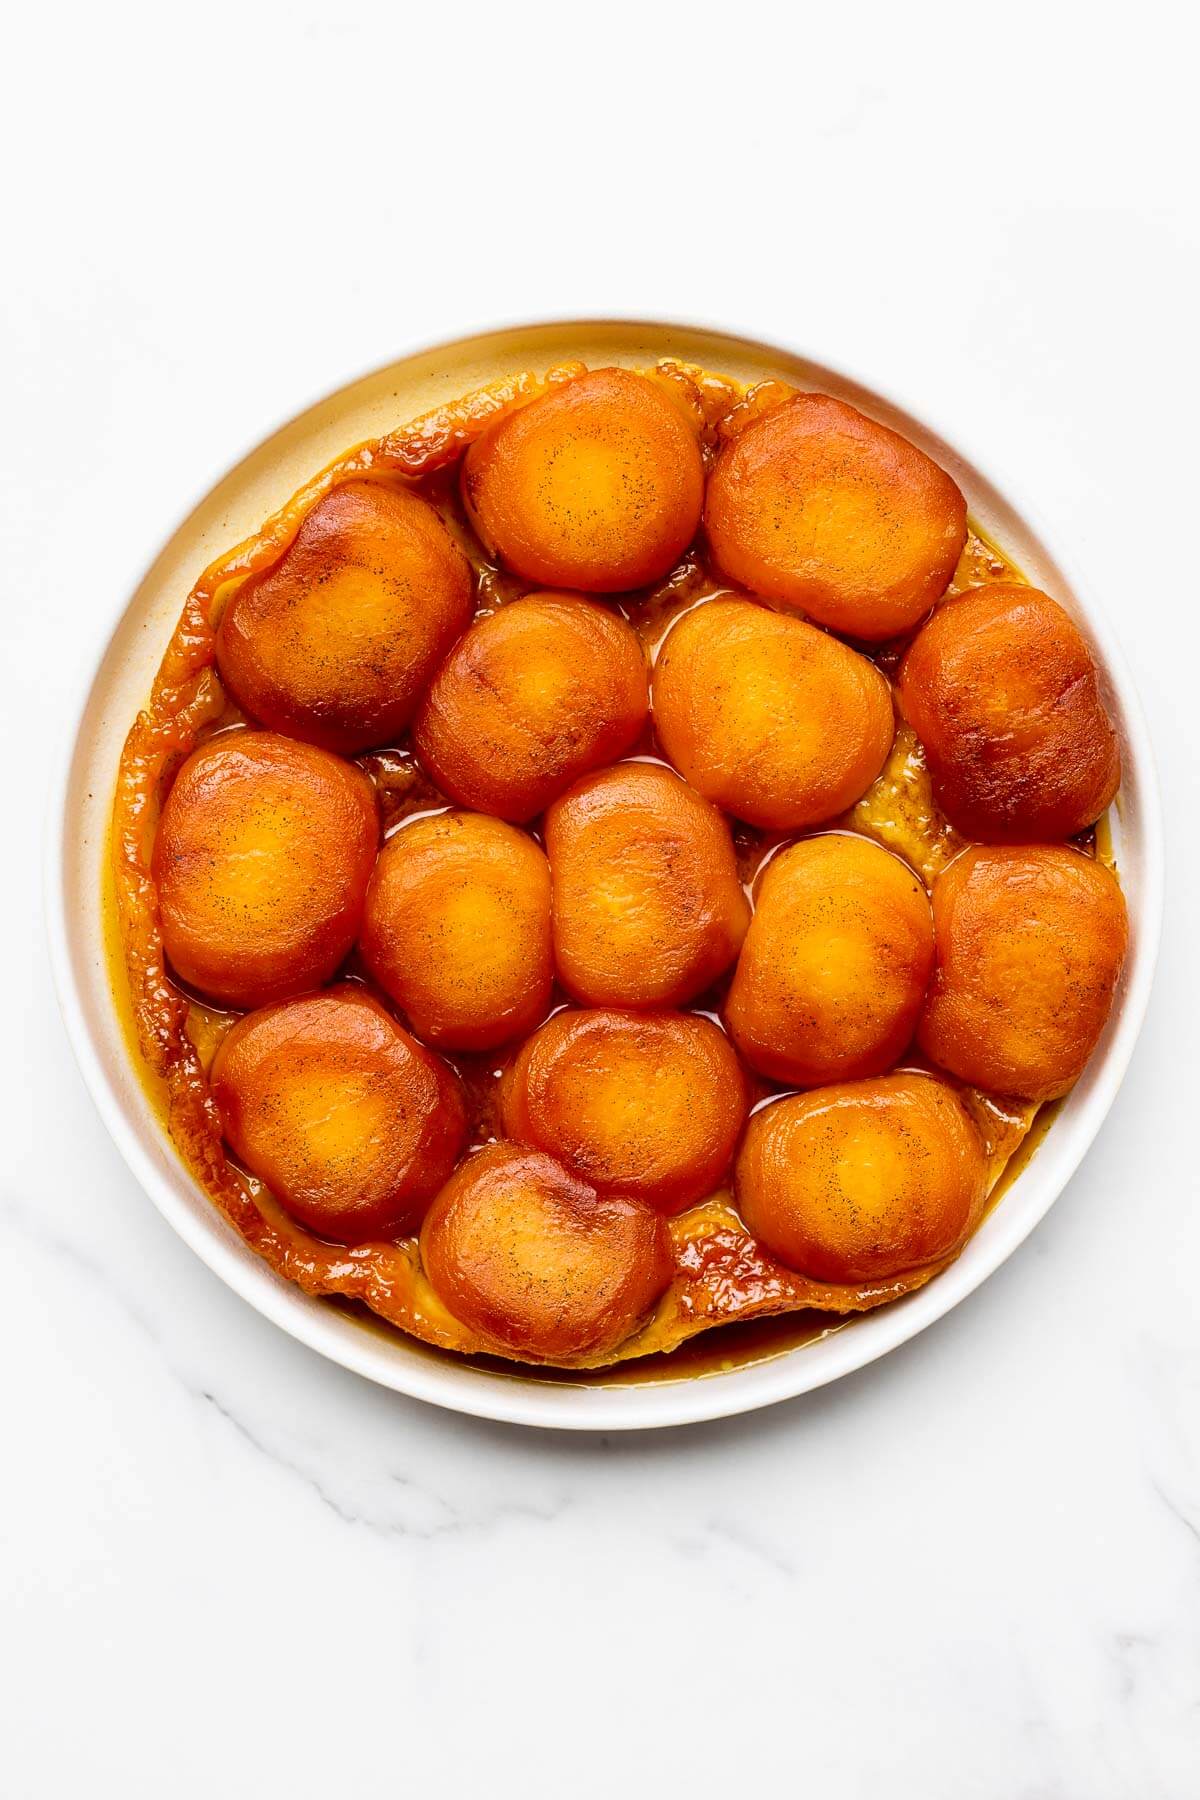
When you add the butter to the dry caramel, you will also add the vanilla bean paste, and the salt. You can always use vanilla as a substitute here, or even skip it entirely. I like to use the paste because you can see the flecks of vanilla on the final dish.
How to avoid a soggy crust on a tarte tatin
When the tarte is still in the pan, the crust is on top and the fruit and the juices/sauce are on the bottom. This is ideal for keeping the crust crispy. But the minute you flip the tart onto a plate, the fruit will make the crust soggy, within an hour even. Don't flip the tart until it's time to serve it.
But what if you want to make the tarte tatin ahead to serve later? That's okay! Here's what you do:
- let the tart cool in the pan, undisturbed
- when it's almost time to serve it, turn the oven on to about 300 ºF and warm the tart in the oven in the pan. Warming the tart will loosen up the fruit from the base of the pan so that you can flip it onto the plate.
You can also do this on the stove on low heat to warm the bottom of the tart to unmould it more easily, but the oven does a better, more even job of warming up the dessert so that the tart is served warm.
What to do if the fruit stick to the pan
Don't panic, take a spoon and gently unstick the fruit from the pan, and gently place them back on the tart where they are missing. Again, don't panic! And if the fruit flop off the side, again, gently place them back where they belong. You can also run a mini offset spatula around the edges to nudge the fruit back into place gently and clean up the edges so that the tart looks round again. Remember that saying that perfection is the enemy of the good. You're going to love this tart, even if the fruit layer doesn't look as perfect as it does in magazines.
Serving suggestions
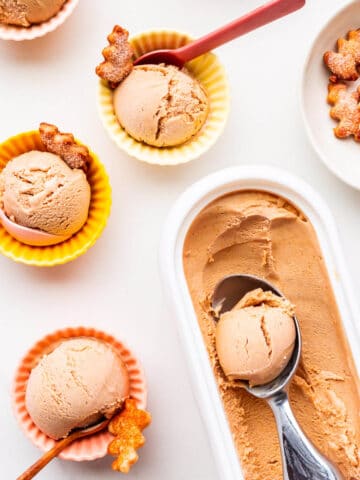
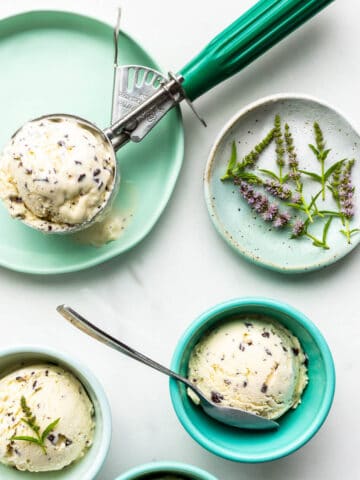
Traditionally, slices of this apple tart are served à la mode with a scoop of vanilla ice cream. You can make homemade ice cream or use a top-quality store-bought product if you are short on time (like Ben & Jerry's or Häagen-Dazs). While vanilla ice cream is a great option, you might consider serving this with cardamom ice cream or even lemon custard ice cream. In the fall, this pumpkin ice cream or this spiced chai ice cream would be great options!
Storage
Tarte tatin is best eaten the day it's made. The pastry will soften with time if you don't eat it all right away. Store leftover apple tart in the fridge, wrapped tightly. You can reheat slices in a low oven (300 °F), but the texture of the crust won't be the same the next day.
📖 Recipe

Apple Tarte Tatin
Equipment
Ingredients
Tarte tatin dough
- 156 grams all-purpose flour
- 2.5 mL Diamond Crystal fine kosher salt
- 98 grams unsalted butter very cold and cut into small cubes
- 52 mL cold water
- 7 Honeycrisp apples or Cortland apples, or another firm baking apple that doesn't break down when cooked (a little over 1 kg of apples)
Apple tarte tatin
- 45 grams unsalted butter
- 150 grams granulated sugar
- 1 pinch Diamond Crystal fine kosher salt
- 5 mL vanilla bean paste
- 300 grams all-butter pie dough either homemade or from the store OR use a disk of puff pastry
- Vanilla bean ice cream optional but highly recommended!
Instructions
Tarte tatin dough
- In a large mixing bowl, combine the flour and salt. Add the cold butter and work it into the flour using your fingertips or a pastry cutter. The mixture should be uneven and chunky.
- Add the water and mix into it in until the dough begins to come together. You can use your hands to squeeze it together in places.
- Gather the dough and shape it into a disk. Wrap it in plastic wrap and chill for 30 minutes to 1 hour before using it.
Apple tarte tatin
- Preheat the oven to 375 ºF (190 °C).
- Peel all the apples. Slice them in half and remove the cores with a pairing knife. You can place the cut fruit in a big bowl of water with a squeeze of lemon to prevent them from going brown.
- Butter a 10-inch cast-iron skillet or stainless steel Rondeau pot.
- Place in on the burner. Sprinkle with one quarter of the sugar and tilt and swirl the pan to evenly distribute the sugar in an even layer.
- Heat the pan on medium–high, swirling the pan to melt the sugar evenly. When it's almost all melted, add a little more.
- Continue swirling and tilting the pan until all the sugar is in the pan and melted.
- Heat the mixture until the sugar has caramelized and is a deep amber colour.
- Take the pan off the heat and carefully add the butter, swirling the pan to mix it in.
- Add the vanilla bean paste and the salt and swirl the pan to mix it in.
- Arrange the apple halves, cut-side up so that the rounded side is down. It's okay if they overlap a little. You can always rearrange them later.
- Bake the apples for 15 minutes in the preheated oven.
- When the apples are par-baked, remove the pan from the oven. At this point, because the apples are softer, you can carefully rearrange the apples to fit them tighter. Set aside.
- Increase the oven temperature to 400 ºF.
- Roll out the homemade crust (or store-bought) and trim it to make an 11-inch circle (you can use a plate or a pot lid as a template to cut a circle). Prick the pastry with a fork. Carefully place the disk of rolled pastry overtop the baked apples.
- Return the pot to the oven and bake the tarte tatin for about 45 minutes or until the pastry is golden brown all over. The filling should be bubbling underneath (you will hear it).
- Take the pot out of the oven and set it to cool for 10 minutes on a wire rack.
- Run a knife around the edge of the tart to make sure it's loose. Place a large serving plate over the pot and carefully flip the pot/tart onto the plate. Lift the pot off the tart and rearrange any fallen apples.
- Serve warm with vanilla ice cream.
Notes
Nutrition
Frequently asked questions
A tart is assembled, baked, and served upright, whereas a tarte tatin is assembled and baked with the crust on top and the fruit on the bottom, and it's inverted to serve it so that the beautifully arrange fruit are right-side up in the end.
If your tarte tatin tastes bitter, you probably burned the sugar in the caramel. Next time cook the caramel to a lighter colour (amber) and take it off the stove quickly when it's cooked so that you can immediately deglaze with butter.
In my opinion, pie crust stays crispy longer after you flip your tarte tatin on the serving plate. Consider switching from puff pastry to an all-butter pie crust and see if you prefer the texture.



Dimitri says
Hi! Thanks for this recipe. I have a long history of failing tarte tatins, but with your recipe it went significantly better. I liked your detailed description of caramel preparation, it was much better than anything that I have red before. Also your tips on pan selection and flipping were very helpful. One thing that went a bit different for me was the last baking step: I found 45 mins extremely long for this temperature, my puff pastry was already brown after 20-25 mins. Might have something to do with the pastry thickness. Thanks again.