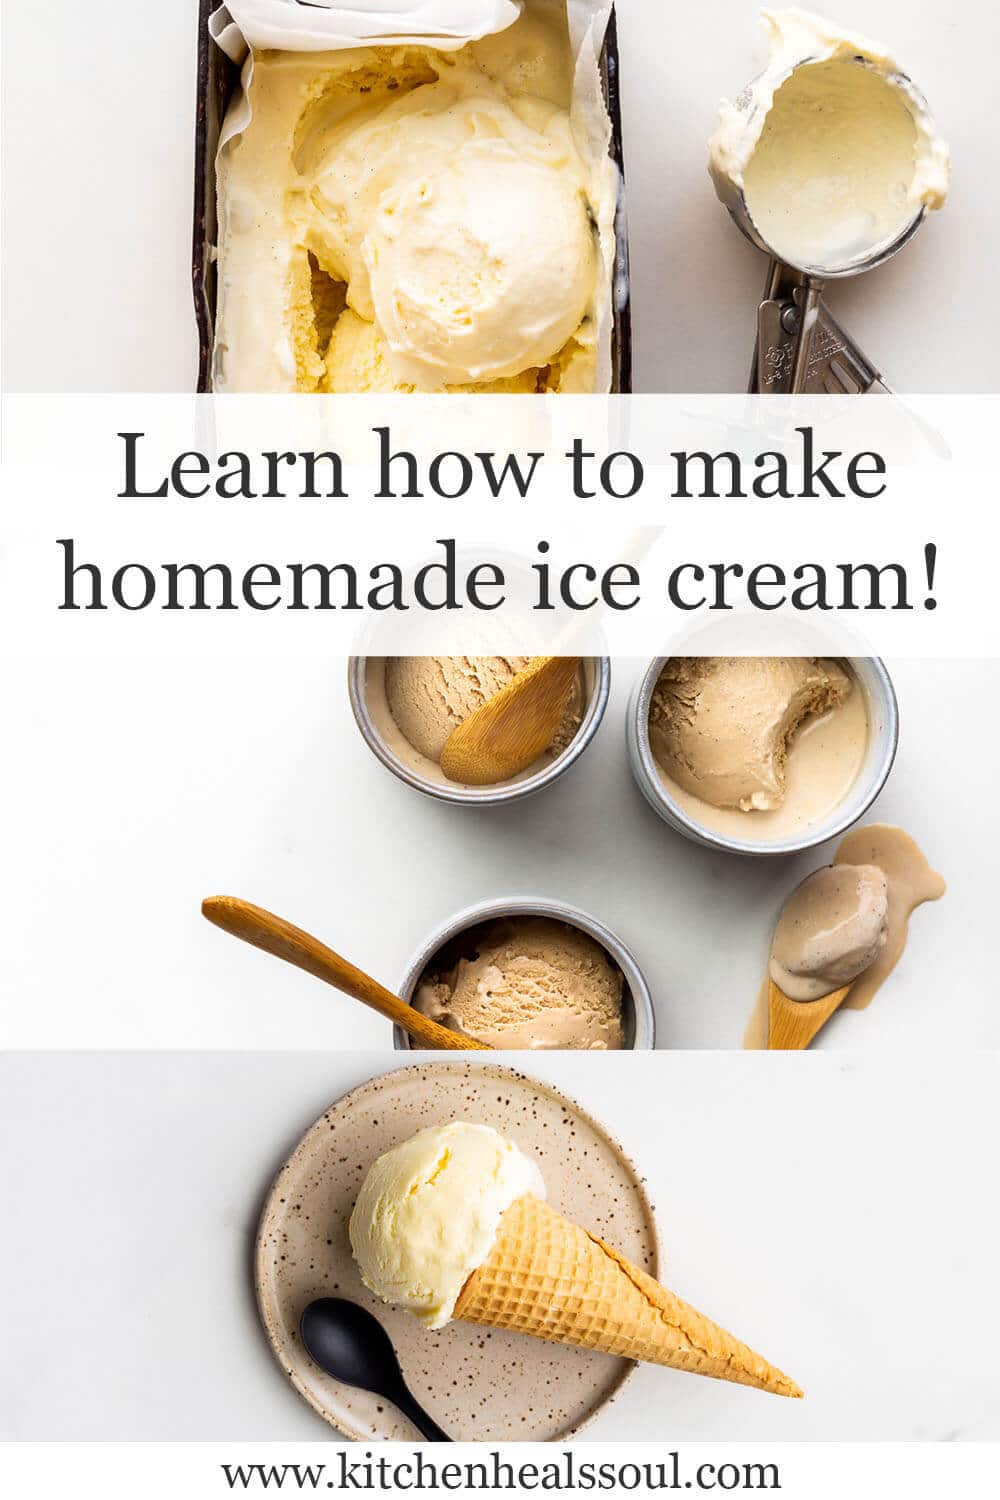
Making homemade ice cream is a pretty easy activity and once you get the hang of it, you'll want to churn a batch every week. Here are the ins and outs of ice cream making with a simple custard-based vanilla bean ice cream recipe to get you started!
Jump to:
General timeframe for churning ice cream at home
Before you get started making ice cream, you need to know the general steps and the timeline. Ice cream is fairly simple to make at home BUT there's a lot of waiting involved and you need to space out each step to achieve the best results:
- > 1 day ahead: place the bowl for your ice cream machine in the freezer and freeze it for at least 24 hours before using it (this step is for most machines, which aren't self-cooling and don't have a compressor)
- 1 day ahead: prepare the ice cream base the day before you want to churn it and chill the mixture overnight (at least 12 hours)—this step is called "curing"
- the big day: assemble your ice cream maker and churn the cured ice cream base mixture until it is a soft-serve consistency according to the machine's instructions—this step takes about 15 minutes, depending on your machine, and this step is called "churning"
- + 4 hours: freeze the freshly churned ice cream in a container in the freezer, undisturbed, for at least 4 hours before serving to harden the ice cream and achieve a more firm, scoopable consistency. The process is called "hardening"
Types of ice cream
There are two types of ice cream you can make at home and the ingredients in each ice cream base is what sets them apart:
- Custard-based ice cream is based on a crème anglaise or a cooked custard base that combines egg yolks, sugar, milk, and cream. The custard base is cooked on the stove to thicken it, then chilled overnight before churning
- Philadelphia-style ice cream has no eggs, but has the same other ingredients, so milk, sugar, and cream
The role of the ingredients
Before you churn your first batch of ice cream, it might be tempting to use less cream or less sugar but each ingredient in an ice cream base plays a role and serves a purpose. Learn what each ice cream ingredient does:
Cream
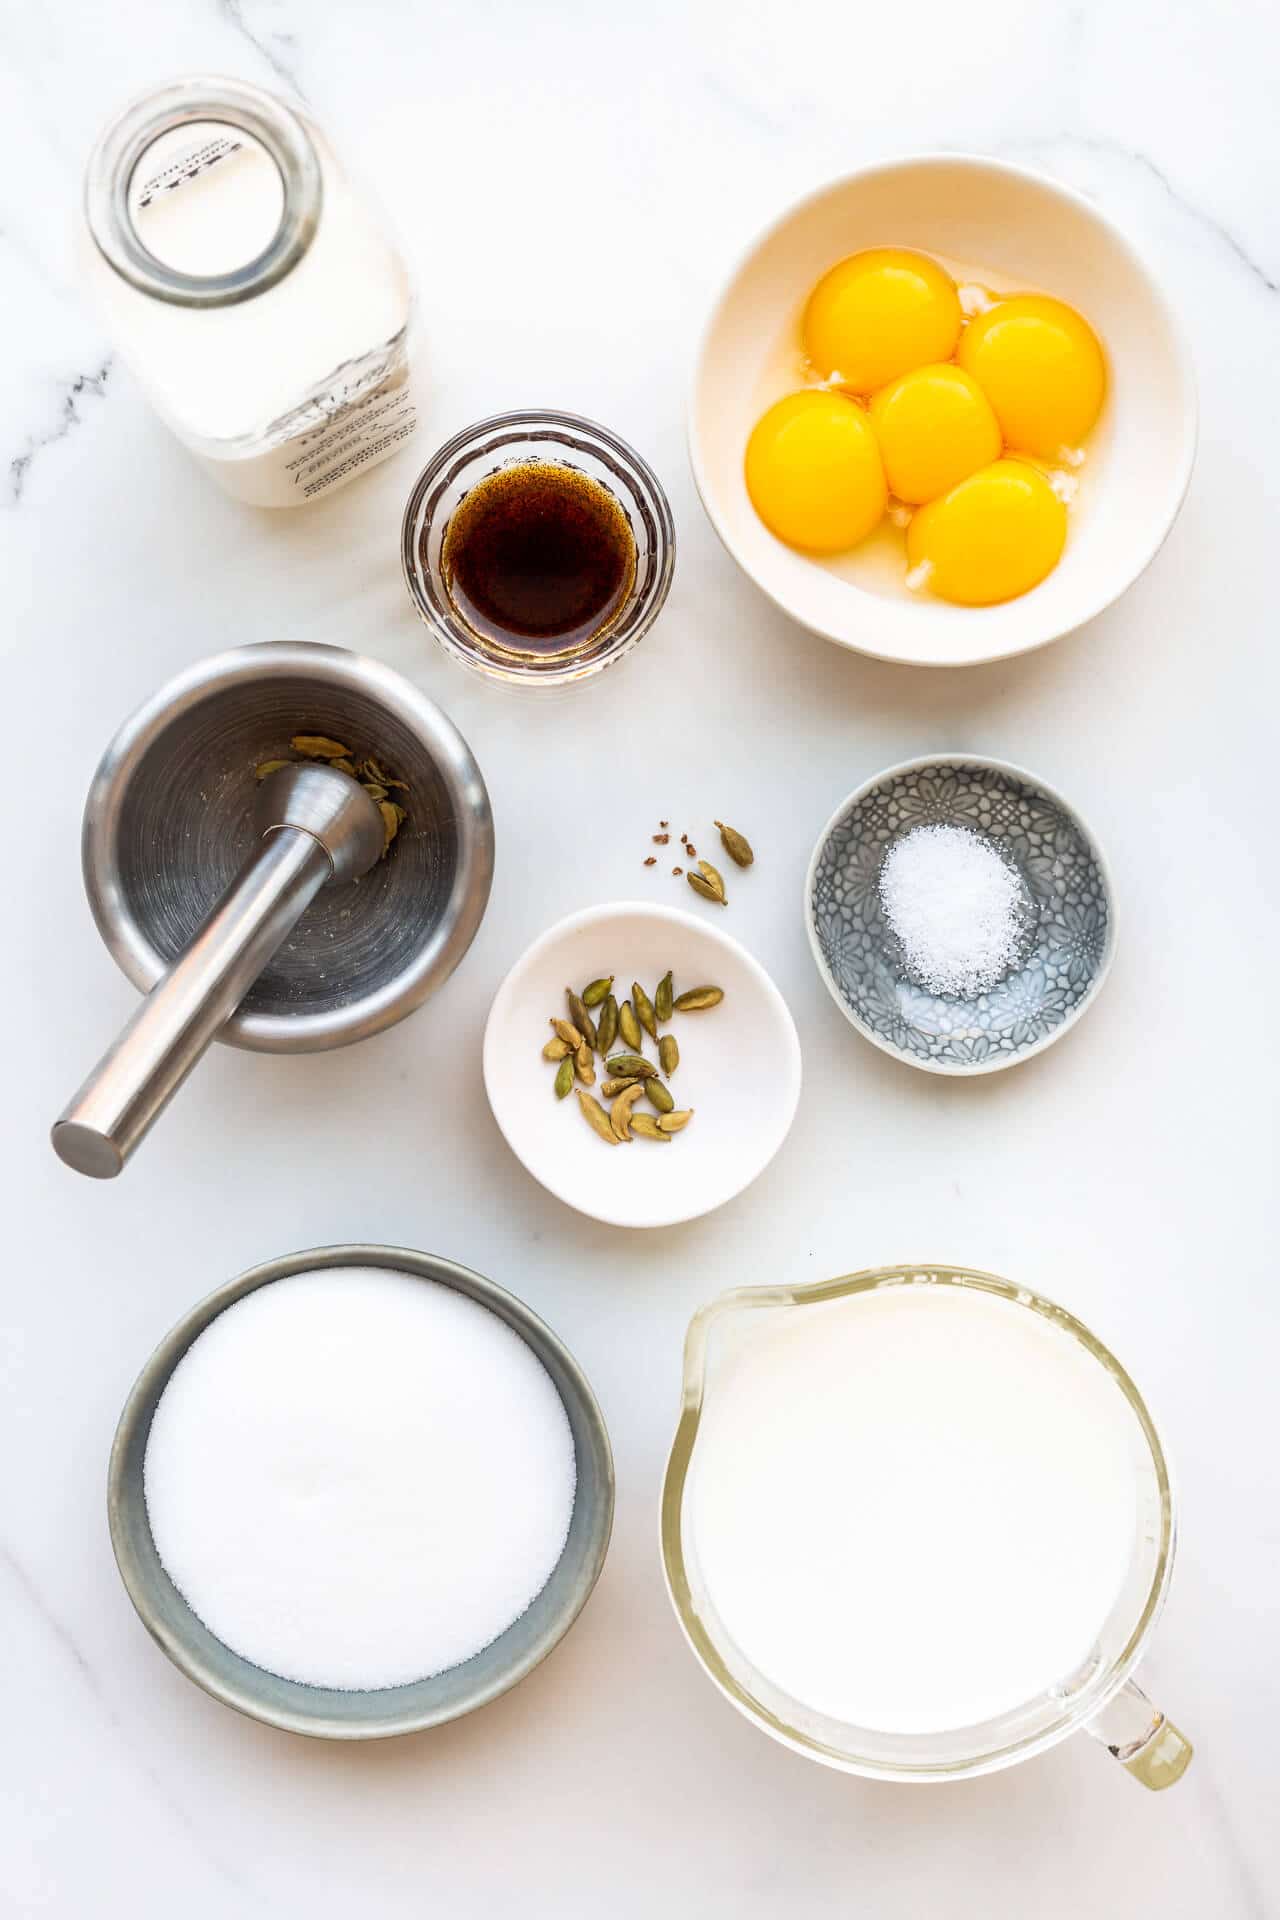
Using cream to make ice cream is really important because cream contributes fat and that fat helps you:
- incorporate air, giving ice cream a lighter, less dense texture, making it easier to scoop, just like when you whip cream, the fat helps you form stable bubbles of air, when you churn ice cream, the fat allows you to form stable air bubbles that lighten the mixture so that it is pliable and scoopable when frozen
- reduce melting so scoops hold their shape longer as the ice cream warms up because while ice will melt to water as your ice cream thaws, the butterfat won't liquify because essentially, you've frozen whipped cream through the churning process
To be considered ice cream, the mixture should contain more than 10 % butterfat. Some premium ice creams have as much as 18 % fat, while some less expensive products have closer to 10 %.
The fat also contributes a lot of flavour to ice cream because not all flavours are water-soluble and sometimes fat is better at absorbing those flavours.
Milk
Milk provides more protein to the mixture and that protein helps trap water. When the milk is heated to make the ice cream base, some of the proteins will unravel (in a process known as denaturation) and those proteins are then free to bind some of the loose water in the mixture. When the water is bound, it can't form large ice crystals during the freezing process and so the protein contributes to a less icy ice cream, actually.
Some ice cream makers might include in their base recipes powdered milk or other sources high in milk protein. Cream cheese also provides a lot of milk proteins.
You might be wondering where the water in ice cream comes from: it comes from the dairy products you use, as well as the egg yolks. The water is inevitable so ice cream recipes are designed to help you trap that water so that it can't form as many crystals and so that your ice cream doesn't melt so quickly.
Knowing that most ice cream should contain between 10 and 20 % fat, you could easily use a combination of milk and cream to get that fat content, or you could opt for half-and-half to replace both. Half-and-half is usually 10 to 18 % fat. Since I find whole milk and 35 % cream are more widely available than half-and-half and low fat cream variants, the ice cream recipes on this site are made with a mixture of milk and cream to make them more accessible.
Sugar
Sugar provides sweetness to ice cream and helps bring out the flavours. But the role of sugar goes way beyond taste. Sugar binds water, thereby lowering the freezing point of the ice cream i.e. lowers the melting point: less ice forms and the ice cream is softer when frozen in your freezer.
For the reasons above, you can't mess too much with the quantity of sugar in ice cream recipes. If you do, you risk making ice cream that has larger ice crystals and a more icy texture.
Some ice cream recipes call for adding glucose or corn syrup to the mixture. Remember that sugar is sucrose. Sucrose binds water, but glucose can bind more water molecules than sucrose. For this reason, adding glucose or other invert sugars like corn syrup or honey will help you improve the texture of ice cream, reducing the free water in the ice cream base, resulting in less ice crystals.
Emulsifiers
Egg yolks
Egg yolks, like dairy, provide lots of protein to ice cream bases and that protein will help bind the water and the fat in the mixture. That's why they are called emulsifiers because they help fat and water co-habitate. Egg yolks usually represent 5 to 10 % of the ice cream base by weight. You'll see most recipes have about 5 egg yolks per 1 kilo of ice cream base, so 5 times 20 grams per yolk, which works out to 100 grams of yolks, or 10 % by weight.
Other emulsifiers
Milk powder, as mentioned above, is great at trapping water and binds fat, so it's a great emulsifier. You will notice that milk powder is used in Philadelphia style ice creams that don't have egg yolks. This buttered popcorn ice cream is a Philadelphia style ice cream, though the recipe doesn't call for milk powder instead of egg yolks.
If you read the labels of ice cream and frozen dessert products, you might see other emulsifiers like lecithin, mono- or diglycerides, etc.
Stabilizers
Stabilizer ingredients bind water so they help reduce melting. Simple household examples are:
- milk powder
- gelatin
- cream cheese
- gums (like xanthan and guar gum)
- starches (like tapioca starch or cornstarch)
There are other ingredients that act as stabilizer, trapping water, but you are less likely to use them in a home setting. Still, you might see them on ice cream labels and you don't have to be alarmed. These ingredients, like emulsifiers, are there to improve the texture and stability of the product so that less goes to waste!
Flavouring elements
Vanilla
Most ice cream bases are flavoured with vanilla bean or vanilla extract. You can use artificiial, store-bought or even homemade vanilla extract. As you know, a common substitute for vanilla extract and vanilla beans is vanilla bean paste, which provides the flavour of the extract with the signature flecks of vanilla seeds we've come to expect from vanilla flavoured products:
- If you are making ice cream with vanilla extract, add the extract AFTER you take the ice cream base off of the heat
- If you are making ice cream with vanilla bean (pod and seeds), add the scraped pod and seeds to the milk BEFORE heating it
- If you are making ice cream with vanilla bean paste, you can add it BEFORE or AFTER you take the ice cream base off of the heat because it's a mixture of extract and seeds
Salt
You can't make ice cream without salt. Well, actually, you can, but it might taste a little bland. Salt is a very common baking ingredient because it makes the flavours pop and balances out the sweetness. Some ice cream contains a fair bit of salt. Don't be afraid. But remember that fine kosher salt isn't the same as table salt and that fine kosher salt (like Diamond Crystal brand) is half as salty as table salt, so make sure to use the right kind of salt or adjust accordingly!
Other flavours
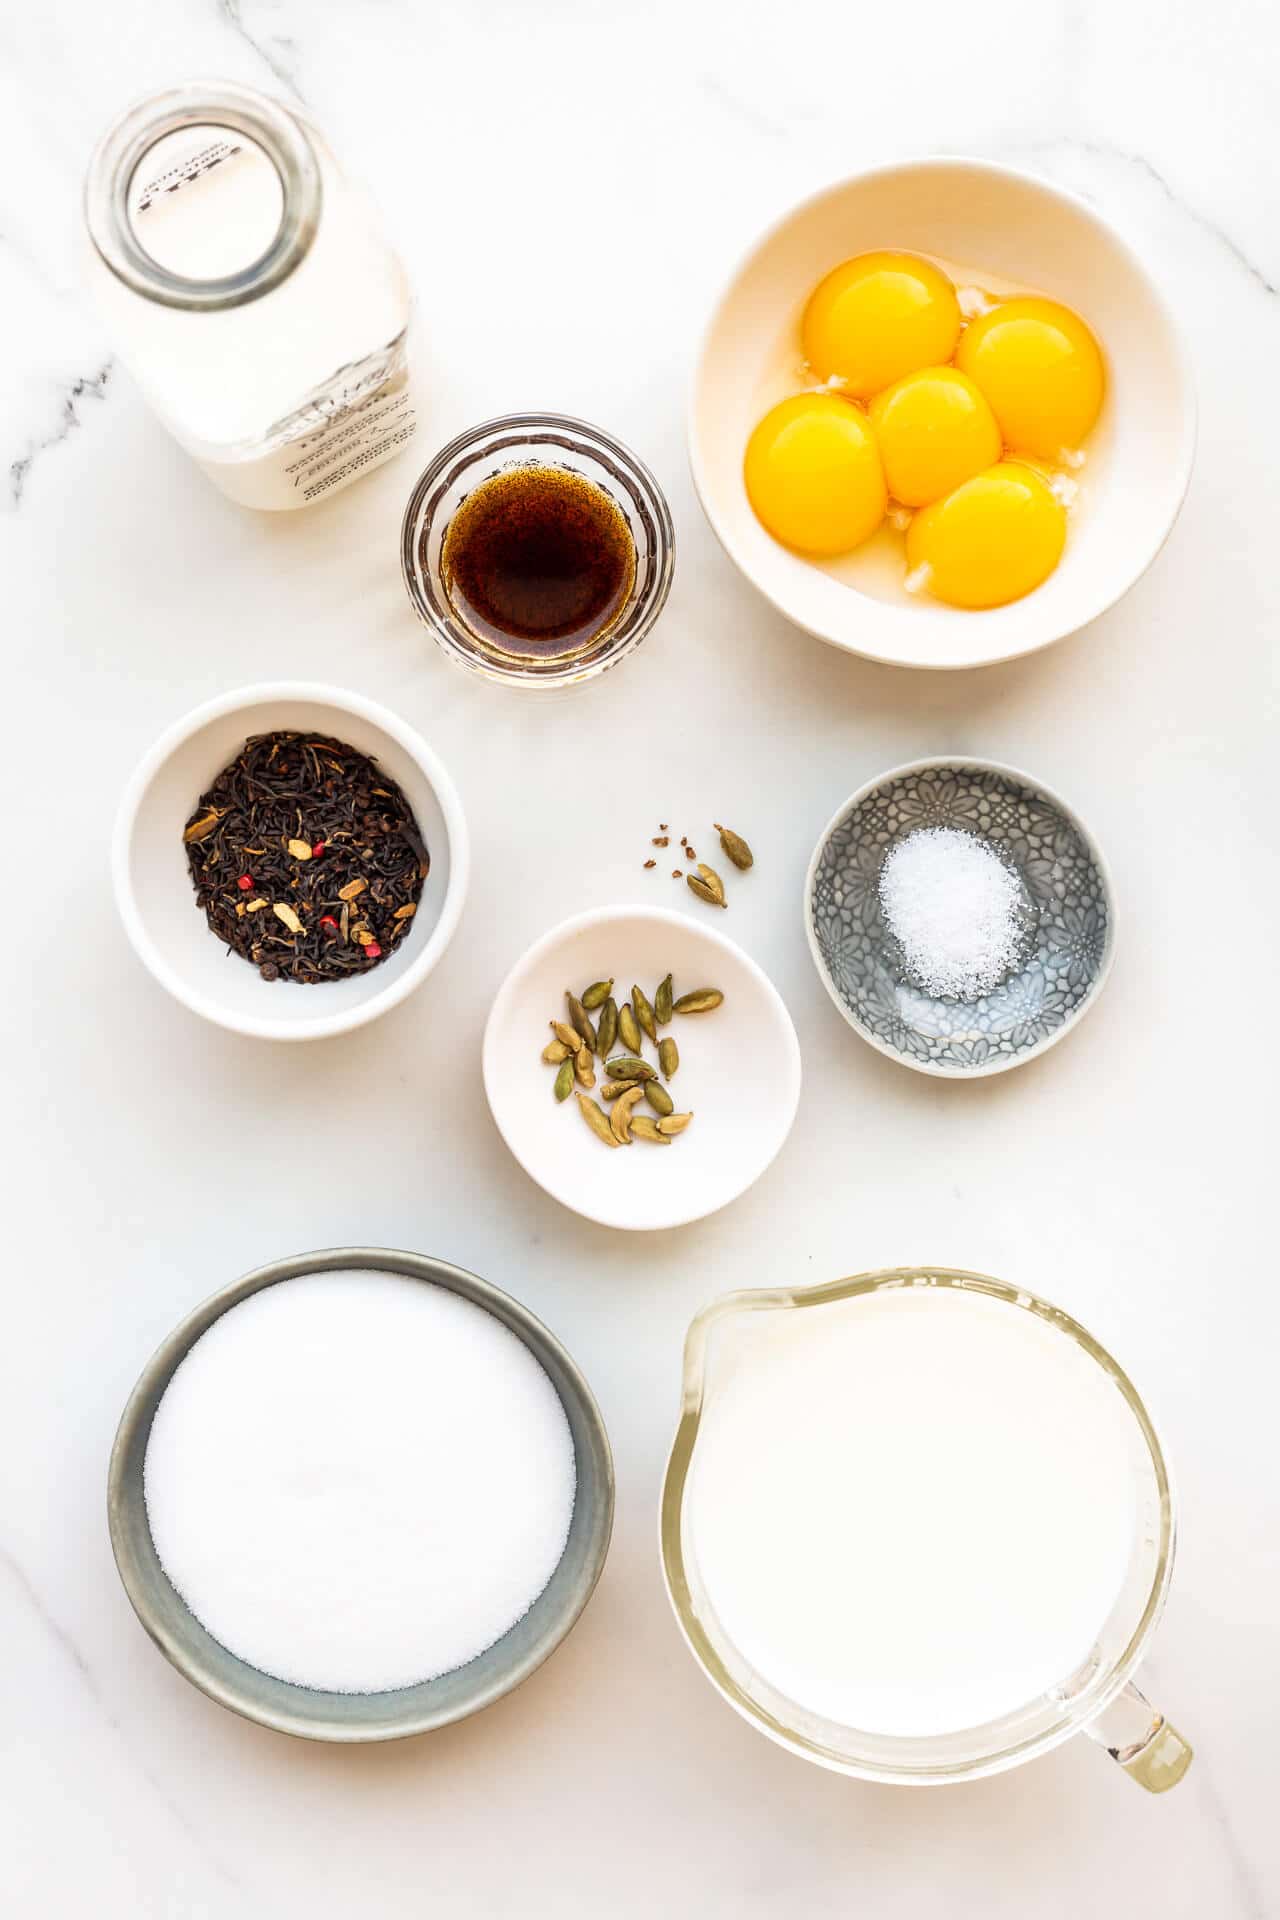
I've flavoured ice cream with some fun and crazy flavour elements, like tea leaves for this masala chai ice cream, and even buttered popcorn. Consider the flavour element you are working with and how best to utilize it:
- delicate extracts or flower water (like rose water or orange blossom water) should be added AFTER you take the ice cream base off of the heat, and preferably when the mixture is cold. These ingredients are very delicate and break down with heat.
- tea leaves, spices or other ingredients that require heat to extract their flavour should be added BEFORE heating the ice cream base to give these ingredients enough time on the stove so that the milk can extract the flavour compounds. These ingredients include vanilla bean and tonka bean too, and even green cardamom to make cardamom ice cream.
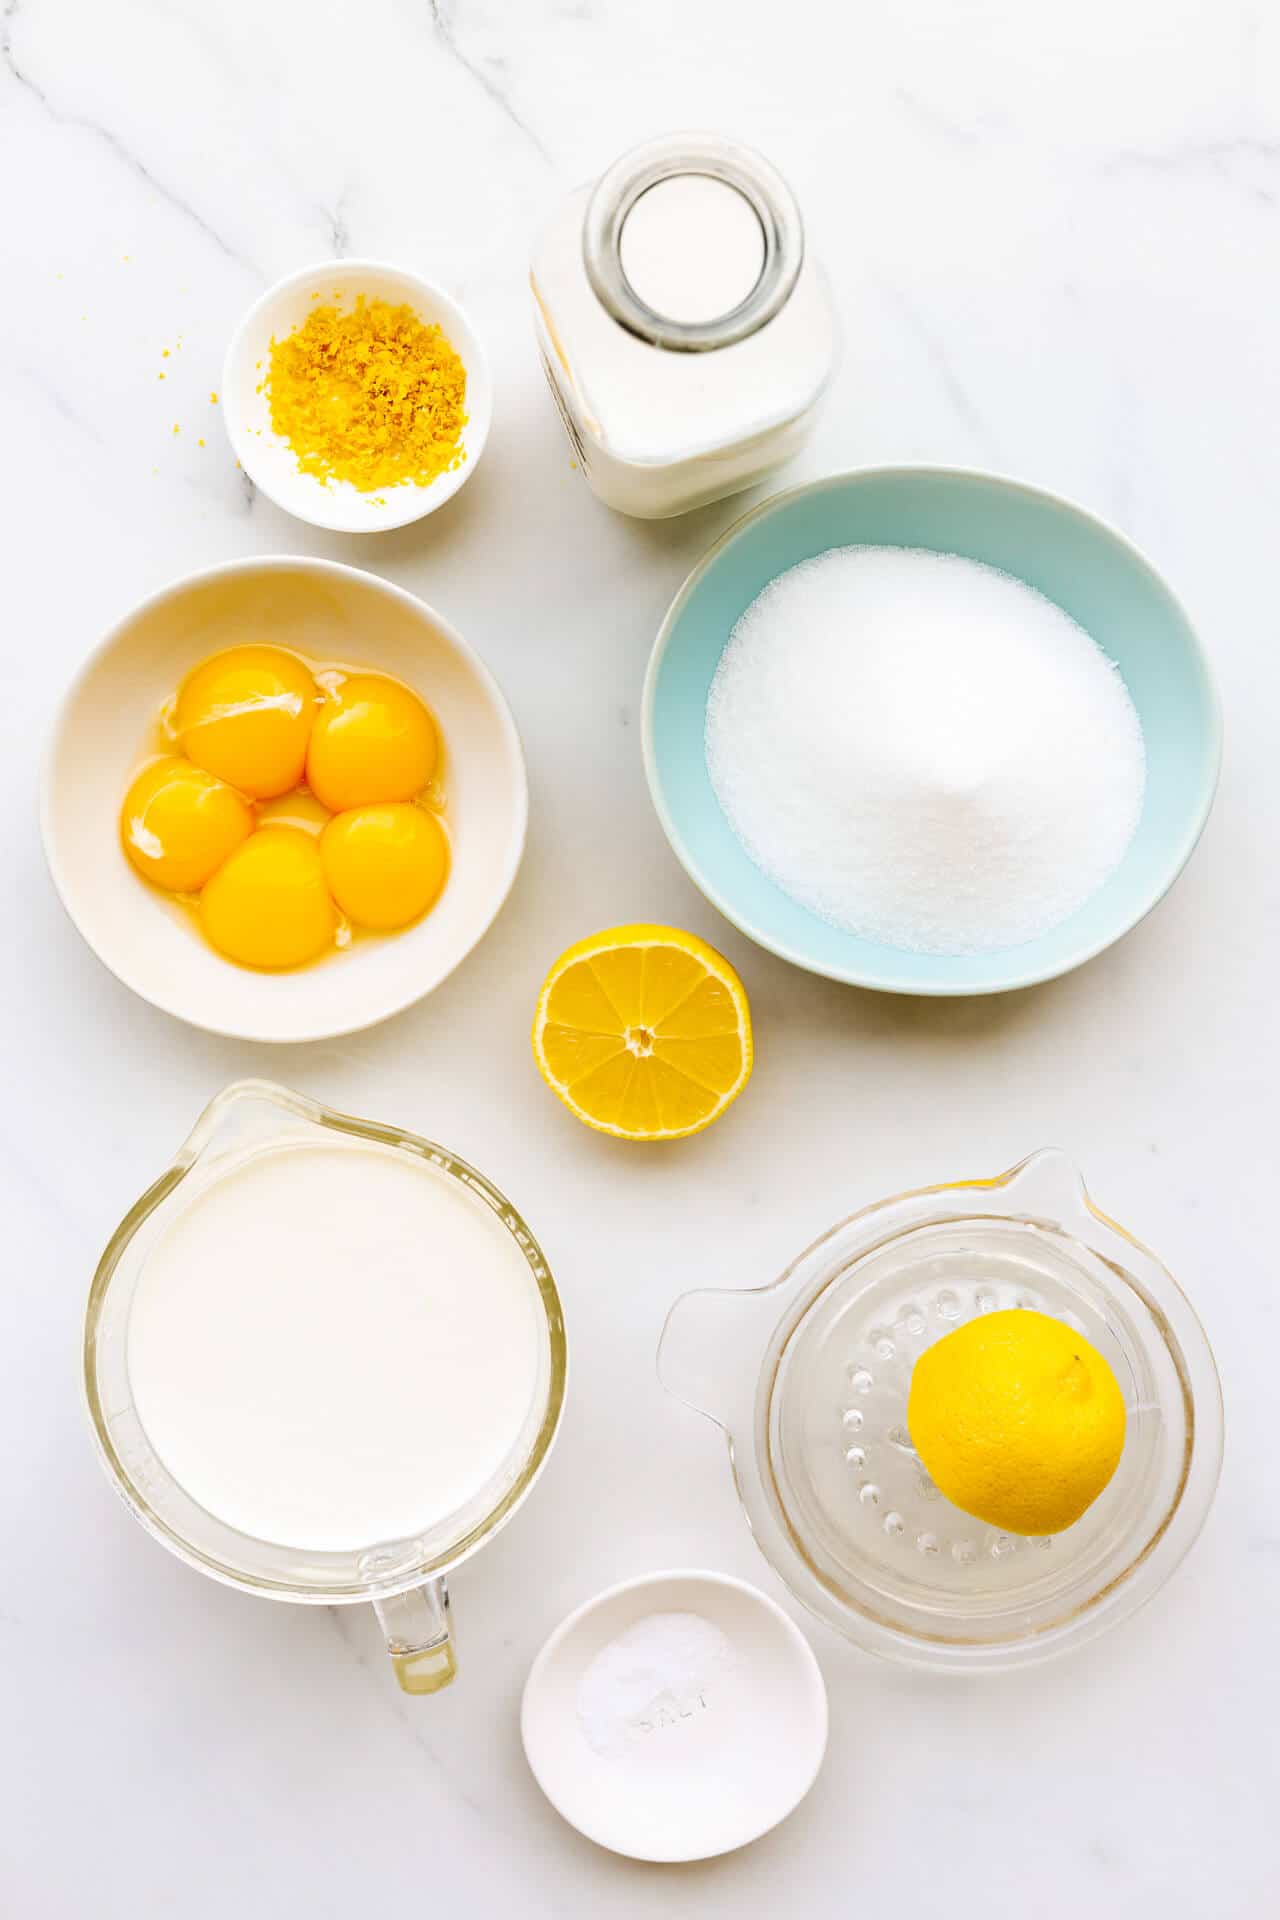
- citrus zest should be added BEFORE heating the ice cream base to give the citrus oils a chance to release into the milk mixture. This is what you do to make lemon custard ice cream.
- alcohol can be added before or after heating the ice cream base
- chocolate, specifically use cocoa powder bloomed in hot cream and dark chocolate to make dark chocolate ice cream with an intense flavour.
Add-ins and when to add them
If you want to get really fancy with your ice cream making, you might consider throwing in some fun add-ins, like chopped nuts or chocolate, maraschino cherries, chunks of cake, one-bowl brownies, or chocolate chip cookies, etc. I folded chopped homemade chocolate chip cookies into a batch of vanilla custard base to make this cookie ice cream, which is a favourite of mine. You can fold pieces of brownies with walnuts into chocolate ice cream to make chocolate brownie ice cream!
If you add them into the machine towards the end of your churning session, this will evenly distribute the add-ins, but this will also crush them into smaller pieces, and more delicate inclusions, like maraschino cherries, will inevitably get crushed by the paddle and drum, turning your entire batch pink.
A better option would be to layer them in the container as you transfer the freshly churned ice cream to your storage container. So transfer a little ice cream, then add in a layer of inclusions, then a little more ice cream, and a little more inclusions, and repeat until you're done. I find layering works better than trying to fold the pieces into the soft ice cream because it's very soft and on the verge of melting, and therefore hard to handle. Layering is the way to go if you want to jazz up your ice cream!
You can use this technique to make this cherry bourbon ice cream.
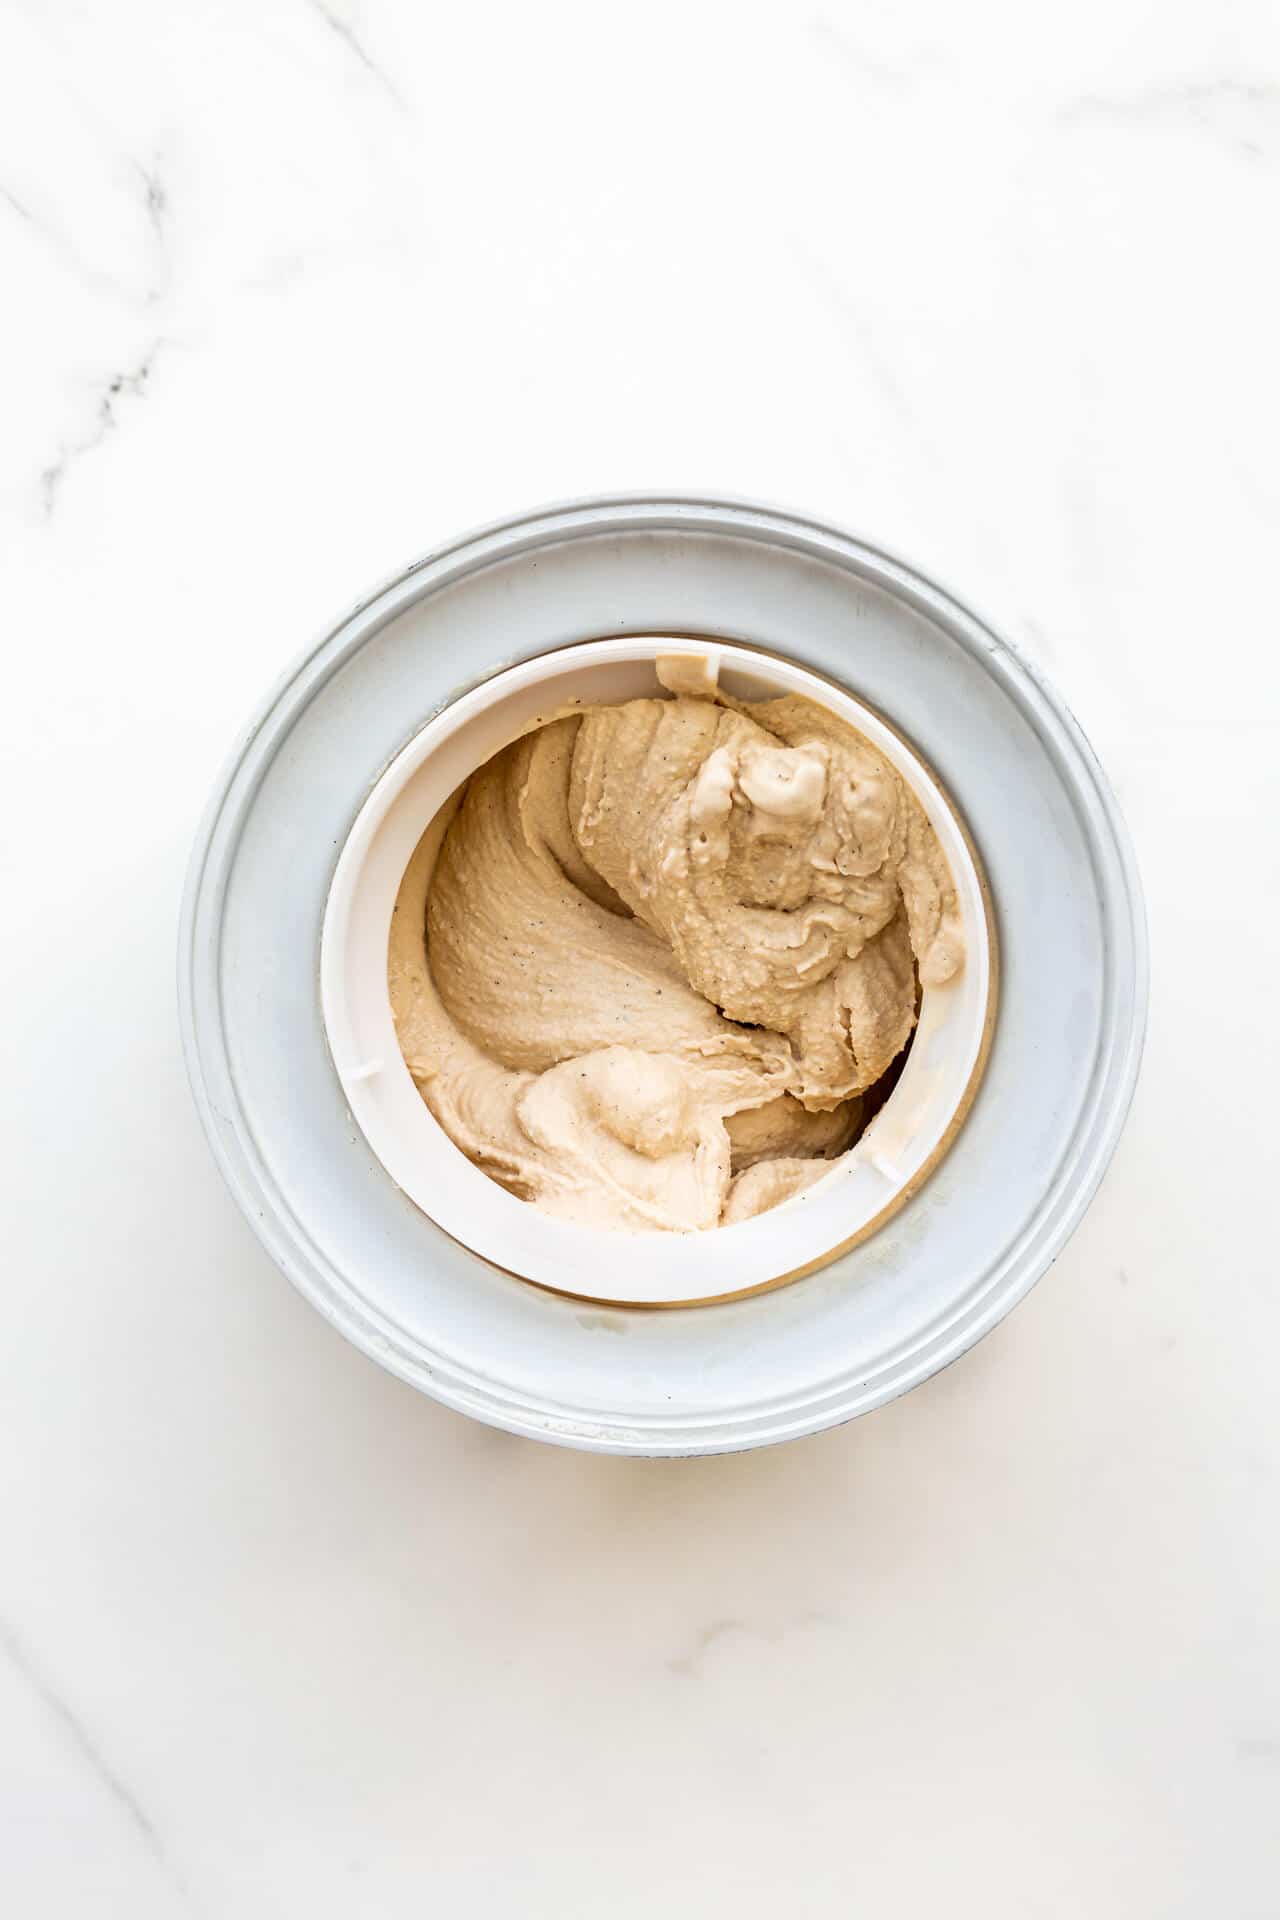
Why do we churn ice cream?
Churning is done in a freezer bowl (also called a freezer drum or a Dewar) with a paddle attachment (like the paddle on your stand mixer). The machine turns the frozen bowl, which causes your chilled liquid ice cream base to fold over repeatedly. This encourages slow, even freezing of the mixture and the incorporation of air, leading to a lighter ice cream that is easier to scoop and that has smaller ice crystals.
Ice cream isn't difficult to make, but if you want to make your own at home, I encourage you to invest in an ice cream maker to churn it for you and make your life easier.
No churn methods
Yes, when making ice cream at home, you could go the no-churn route. Here's how:
- Method #1: whip the cream separately from the rest of the ingredients, then gently fold it all together. The whipped cream will help you incorporate air into the ice cream base. Then you can freeze this lightened mixture for about 6 hours until it's frozen solid. This method is similar to the method used to make this almond raspberry semifreddo.
- Method #2: freeze the ice cream mixture in a container and periodically whip it to incorporate air into the mixture before it freezes solid. The idea is to do the job of the ice cream maker, but by hand, trying to keep the ice crystals that form as small as possible to reduce the perceived iciness.
- Method #3: freeze the ice cream directly in a container in the freezer. Then when it's frozen solid, scrape it with a fork. Then refreeze it again before scooping. This is the technique I use for granita like this rosé champagne granita.
The trouble with these methods is that you may end up with larger ice crystals, which will make for a less-than-smooth mouthfeel. For some of these methods, the no-churn recipes may include sweetened condensed milk or even cream cheese. These provide additional ingredients that can help reduce ice crystal formation as the no-churn ice cream freezes. No churn ice creams sometimes have more sugar than churned ice cream, again to help make ice crystals smaller.
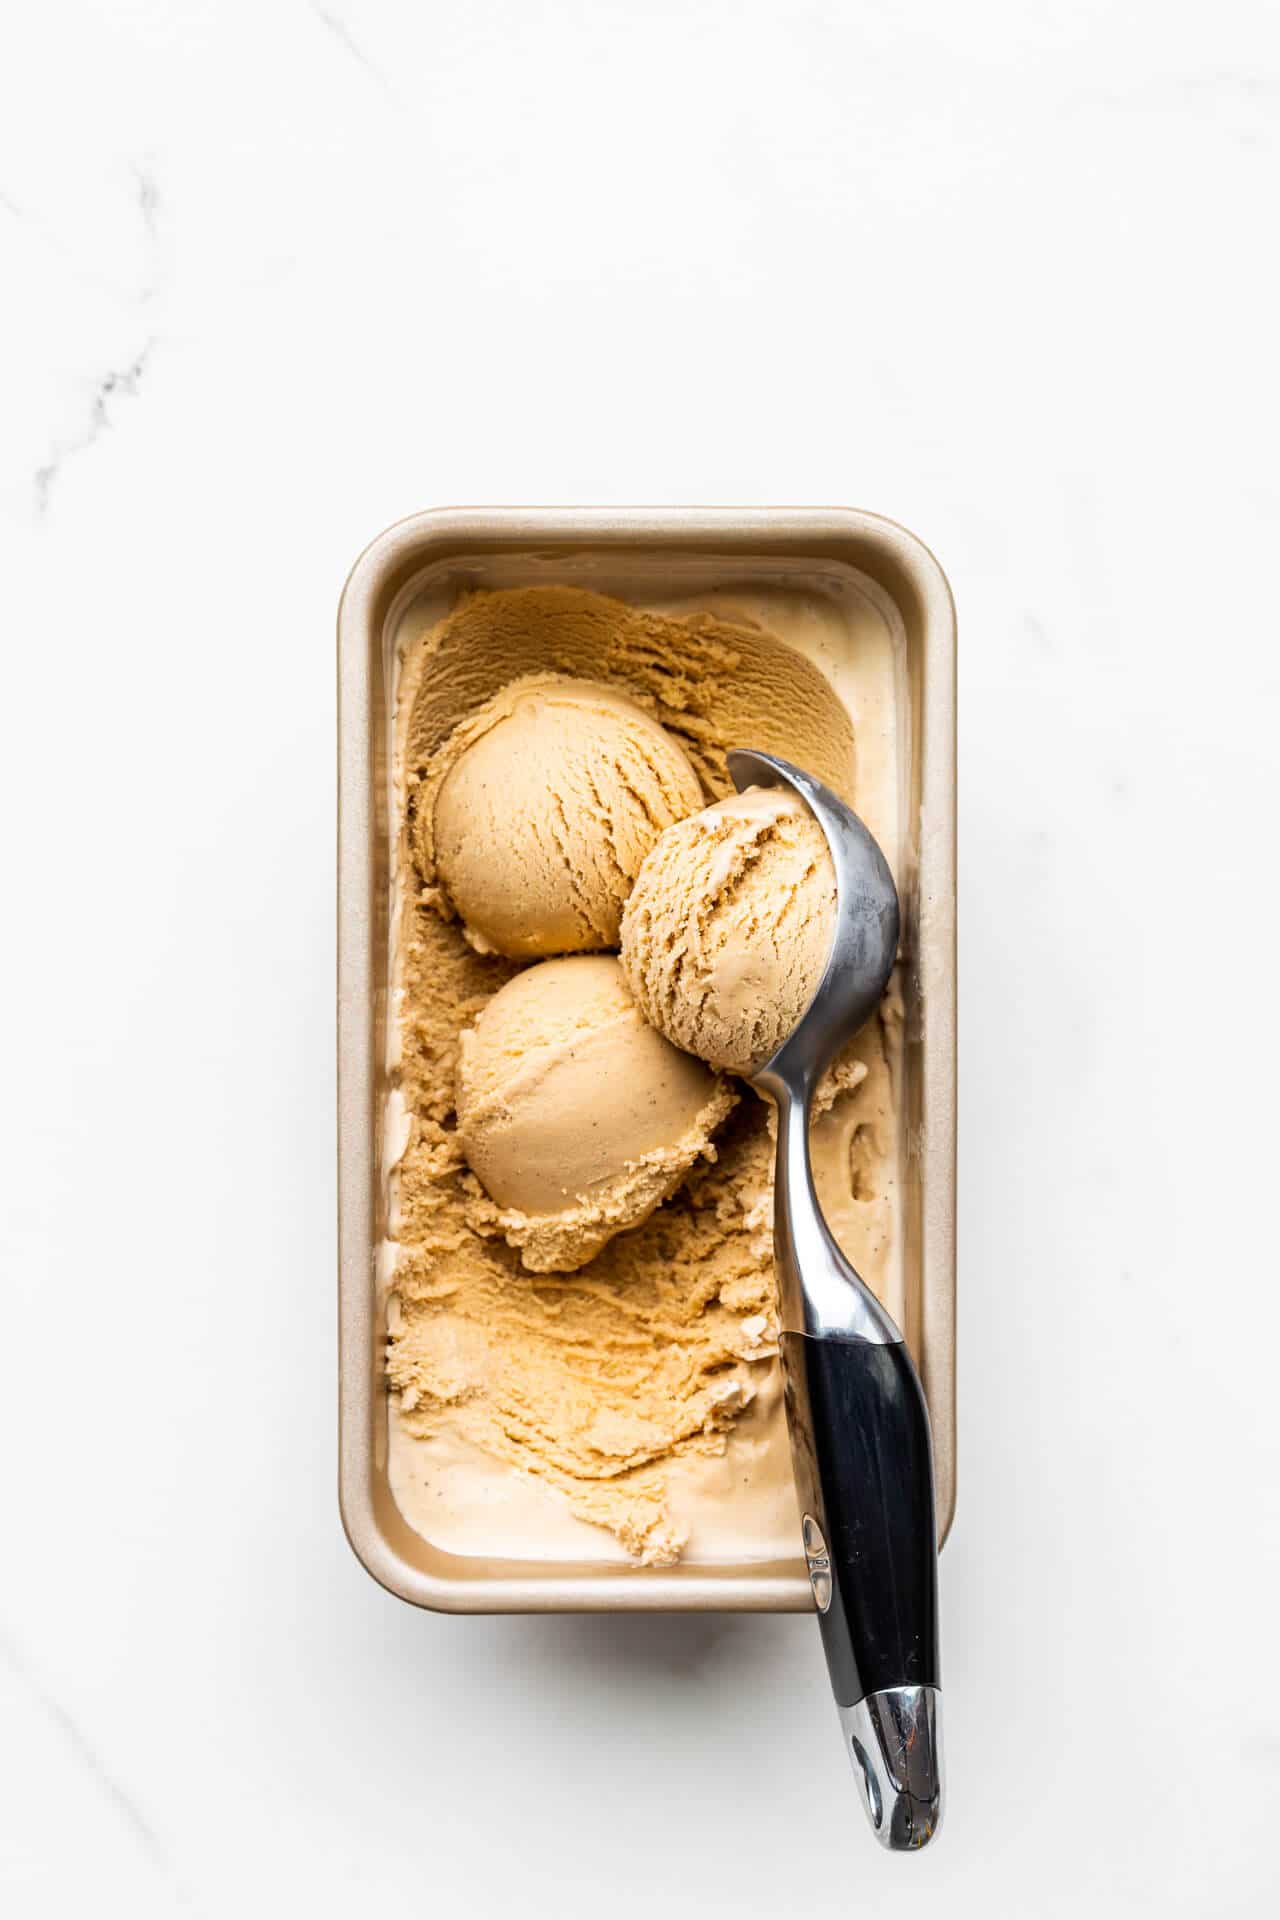
Personally, I vote for investing in an ice cream maker if you want to make homemade ice cream. It will make your ice cream-making journey so much easier!
When you're churning ice cream at home in an ice cream maker, you want to make sure you don't over-churn it: homemade ice cream has a fairly high butter fat content and that fat can turn to solid flecks of butter if you churn the custard for a little too long. Professionals refer to ice cream with solid fat particles as being "buttered."
It's surprisingly easy to end up with butter pieces in your ice cream. Be sure to check the manufacturer's instructions for how long they recommend to churn homemade ice cream. I've found that it can take as little as 15 minutes in my machine. Sometimes 20 minutes results in butter flecks. Not the end of the world, but not ideal!
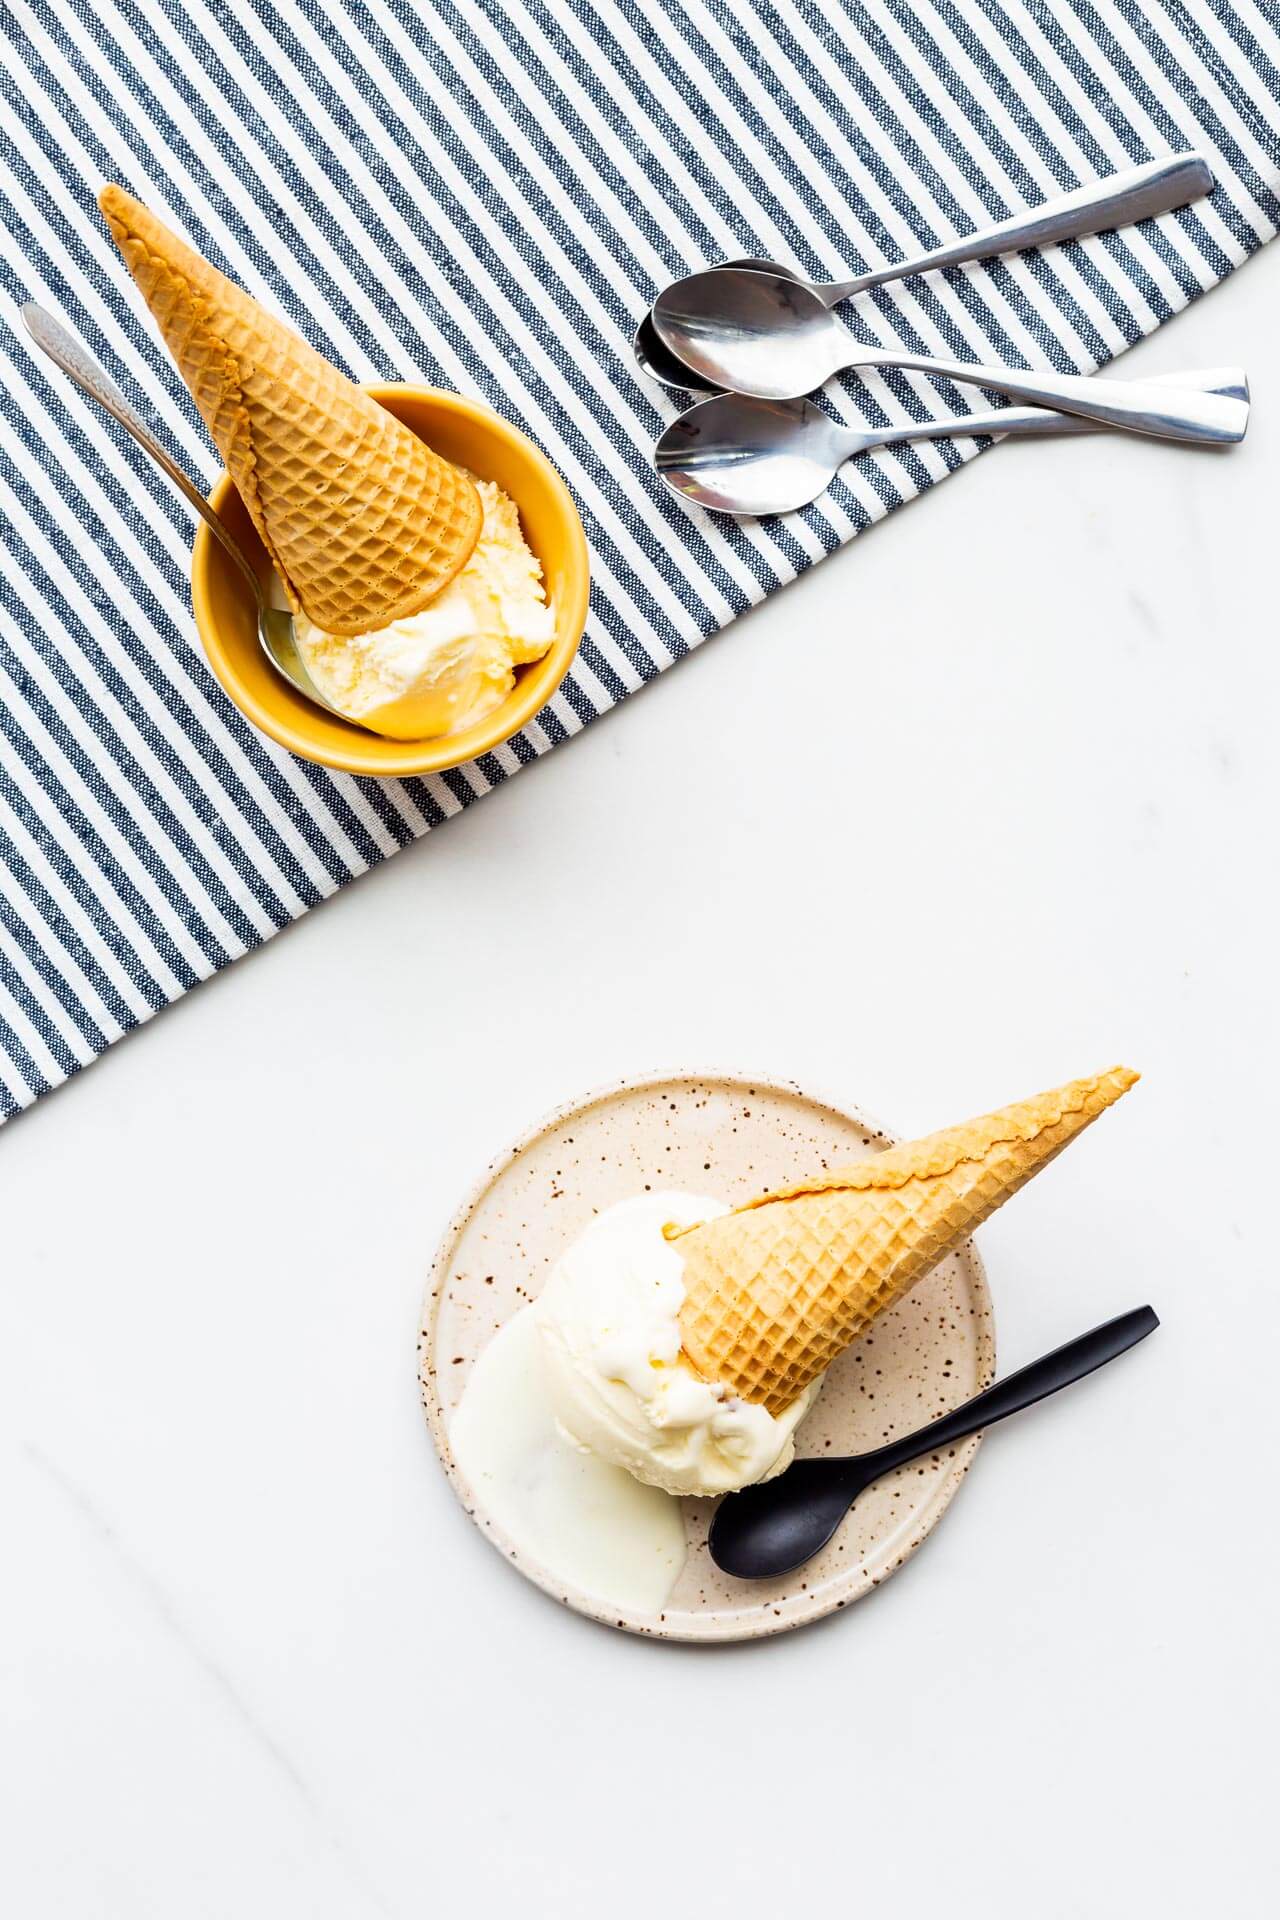
How much churning is enough?
When you churn your first batch of ice cream, I encourage you to observe how the custard changes textures as the mixture churns:
- When you first pour the custard into the ice cream machine, the custard is thick but fluid like a crème anglaise (the French pastry term for custard sauce), and completely smooth
- After about 5 minutes, you'll notice that the custard has formed a thin frozen layer of ice cream all around the inside of the Dewar (freezer drum). That thin film of ice cream gets scraped off by the paddle of the machine and worked into the custard as the mixture churns. The custard becomes thicker and less fluid
- After about 10 minutes, the ice cream resembles a melted soft serve texture with tiny little ice crystals throughout
- After 15 minutes, the ice cream resembles thick soft serve that holds its shape but is still soft if you dip your spoon in. You can scoop it, though it is soft. This is the point when I stop it
- After 20 minutes or more, you may end up with little flecks of butter, depending on the speed of your machine, the fat content, the temperature, and other factors
- After 25 minutes, with models that use a frozen ice cream drum, that Dewar is beginning to thaw, enough so that it won't be freezing the mixture as well after this point. I don't recommend running this type of machine for more than 25 minutes because the drum loses its ability to freeze as it's warmed up for too long.
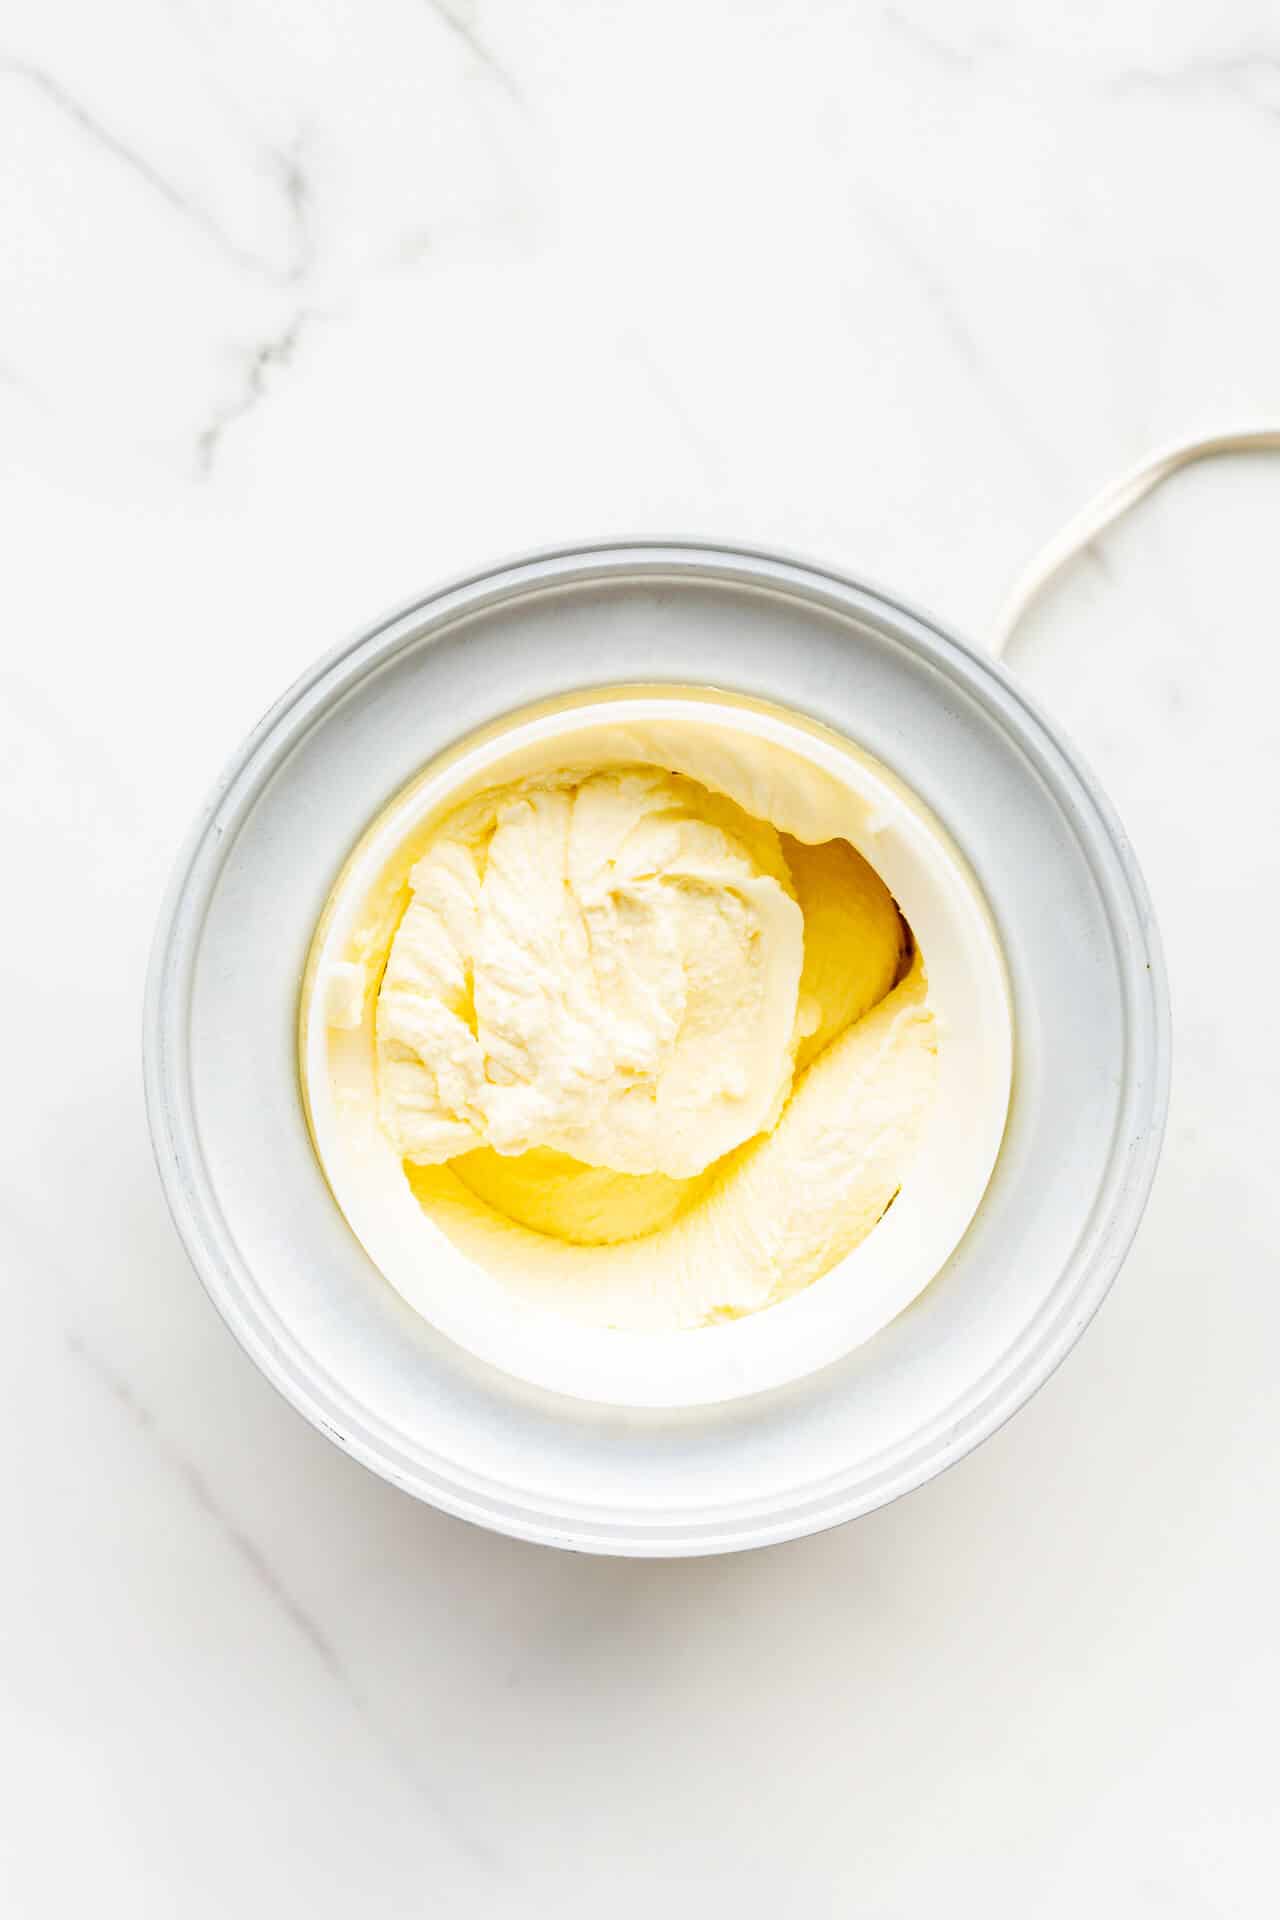
Ice cream machines
Ice cream machines are all based on the same principle: you have a chilling canister (like a deep bowl) with a paddle. In many cases, the bowl turns and the paddle is fixed, allowing the ice cream to turn over in the machine and slowly incorporate air. In other cases, the bowl is fixed and the paddle turns.
Most machines designed for home use only have one speed. It's a slow churn, but it's enough to incorporate air into the mixture in a controlled fashion, while cooling the mixture down below 0 ºC.
Equipment that requires freezing ahead
Most people (myself included) own ice cream machines that are simple, reliable, and affordable. Unfortunately, these models require that you freeze the bowl of the machine in the freezer for at least 24 hours before churning a batch. This takes up space in your freezer because the insulated walls of the bowl make it rather bulky. This also means that churning several batches of ice cream, back-to-back, isn't possible, unless you invest in multiple freezer bowls.
Simple ice cream machines only have one speed, which means you have zero control over how fast the ice cream churns. On the other hand, if you have a stand mixer, you might be able to invest in a freezer bowl attachment for the mixer you own: you freeze the bowl 24 hours before churning, then attach it to your mixer fitted with a paddle attachment. This way you can use this one appliance to not only make cakes and cookies, but also frozen desserts. Your stand mixer will allow you to explore different churning speeds too!
For the line of KitchenAid stand mixers, KitchenAid makes special freezer bowls and beaters so that you can make ice cream with your stand mixer:
- if you own a KitchenAid mixer, you can find the ice cream freezer bowl on Amazon (comes with special churning paddle). According to KitchenAid, the bowl model KICA0WH fits most stand mixers (Bowl Lift and Tilt Head type):
- 4.5 quart
- 5 quart
- 6 quart
Product recommendation:
Cuisinart makes an ice cream machine that is just under $100 on Amazon. This machine has over 5,000 reviews so you know it's a solid investment.
You can buy an extra freezer bowl for this model on Amazon and though the machine already comes with a bowl, if you want to churn more than 1 batch in a short period of time, I highly recommend investing in the second bowl since one bowl allows you to churn 1 batch of ice cream in a 24 hour period. Two bowls would allow you to chill two flavours, one after the other.
Self-freezing models
Full-disclosure, self-freezing ice cream machines are expensive. I don't own one for this reason. We're talking hundreds of dollars for a machine like this. However, if you want to make ice cream a few times a month, I would consider investing in these more expensive machines. A self-freezing ice cream machine is a tabletop appliance that is quite large because it has a compressor that cools the freezer drum for you. This way you don't have to freeze the bowl in advance.
Self-freezing models are super convenient and allow you to churn batch after batch easily, but they are pricey. Self-freezing ice cream machines are sold between $300 and $800, depending on the brand. Another problem with self-freezing ice cream makers with compressors: some reviewers mention that they can be harder to clean though the pricey Breville ice cream machine on Amazon has a freezer bowl and attachments that go in the dishwasher.
Not sure which machine you own?
If you already own a machine and you are unsure which you model you have, here are a few clues to figuring it out:
- Did you purchase the machine brand new and it cost under $200? If so, you probably have a machine that requires you to freeze the bowl in the freezer 24 hours. Self-freezing models cost over $400 as a rule.
- Is your machine about the size of a basic food processor?
- If it is, you probably have a machine that requires you to freeze the bowl for 24 hours prior to churning.
- If the machine is much larger, like double that size, you probably have a self-cooling model. Lucky you!
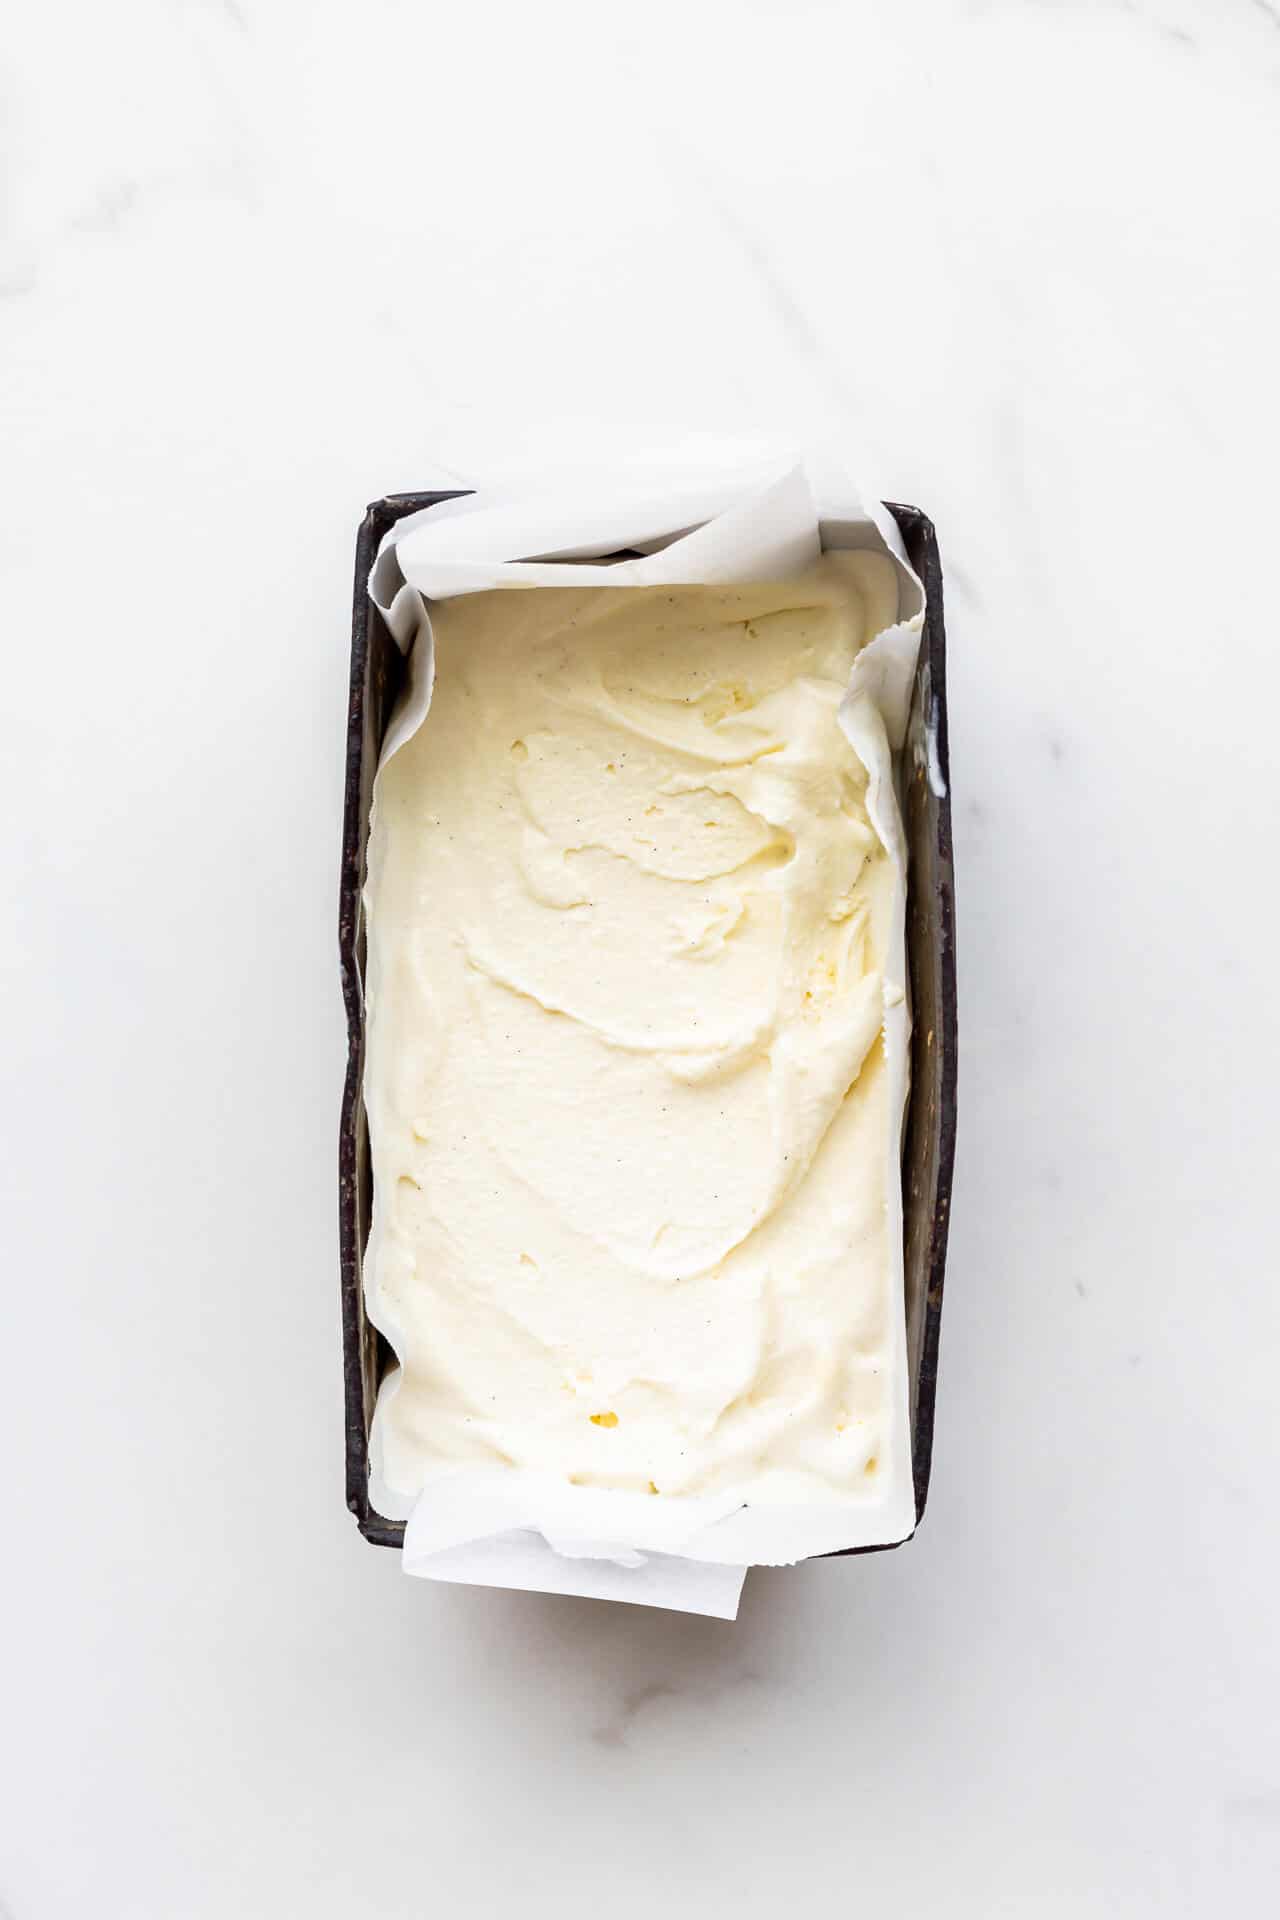
📖 Recipe
Homemade Vanilla Bean Ice Cream
Ingredients
- 310 mL whipping cream (35 % fat) divided
- 5 large egg yolk(s)
- 150 grams granulated sugar divided
- 440 mL whole milk (3.25 % fat)
- 5 mL vanilla bean paste
- 2.5 mL Diamond Crystal fine kosher salt
Instructions
- Freeze the ice cream drum in the freezer for at least 24 hours before attempting to make ice cream.
- Before you begin to cook the ice cream base, place 250 mL (1 cup) of the cold whipping cream in a 1 L (4 cup) measuring cup (or a big bowl preferably with a pouring spout). Set a strainer over top. Set aside
- In a large bowl, whisk the egg yolks with half the sugar until the mixture is a very pale yellow and very light.
- In a medium saucepan, whisk the rest of the sugar with the milk, the vanilla bean paste, the salt, and the rest of the cream. Heat the mixture until it is very hot and almost comes to a boil.
- Pour the hot milk mixture over the whisked yolks to temper the eggs. Whisk continuously until the mixture is homogenous, then transfer it back to the saucepan.
- Switch to a wooden spoon and, stirring constantly, heat the mixture on the stove over medium—low heat until the custard has thickened and has reached at least 83 ºC (181 ºF).
- Pour the mixture through the strainer, pressing the custard through gently, if needed.
- Cover with plastic wrap, then refrigerate the vanilla bean custard base for several hours to cool completely (overnight is best!).
- Place the frozen drum on the ice cream maker, and churn the custard according to instructions. It can take over 15 minutes to churn the ice cream.
- When the ice cream has reached the desired consistency. Turn off the machine, disassemble, and transfer the ice cream to a container. Place in freezer for a few hours to finish chilling.
Nutrition
How to store ice cream
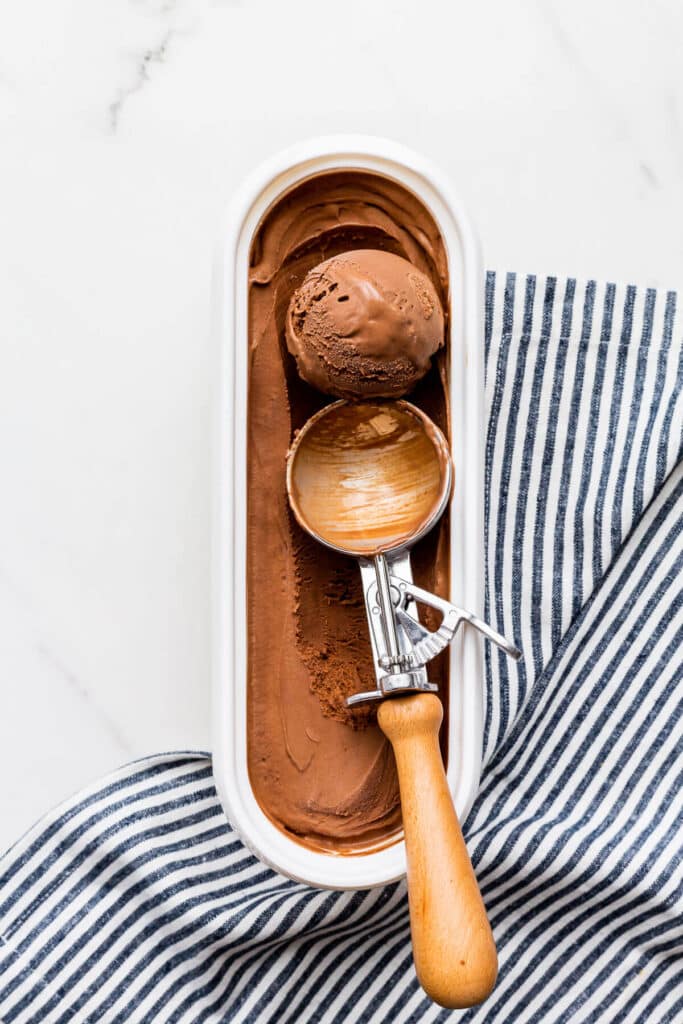
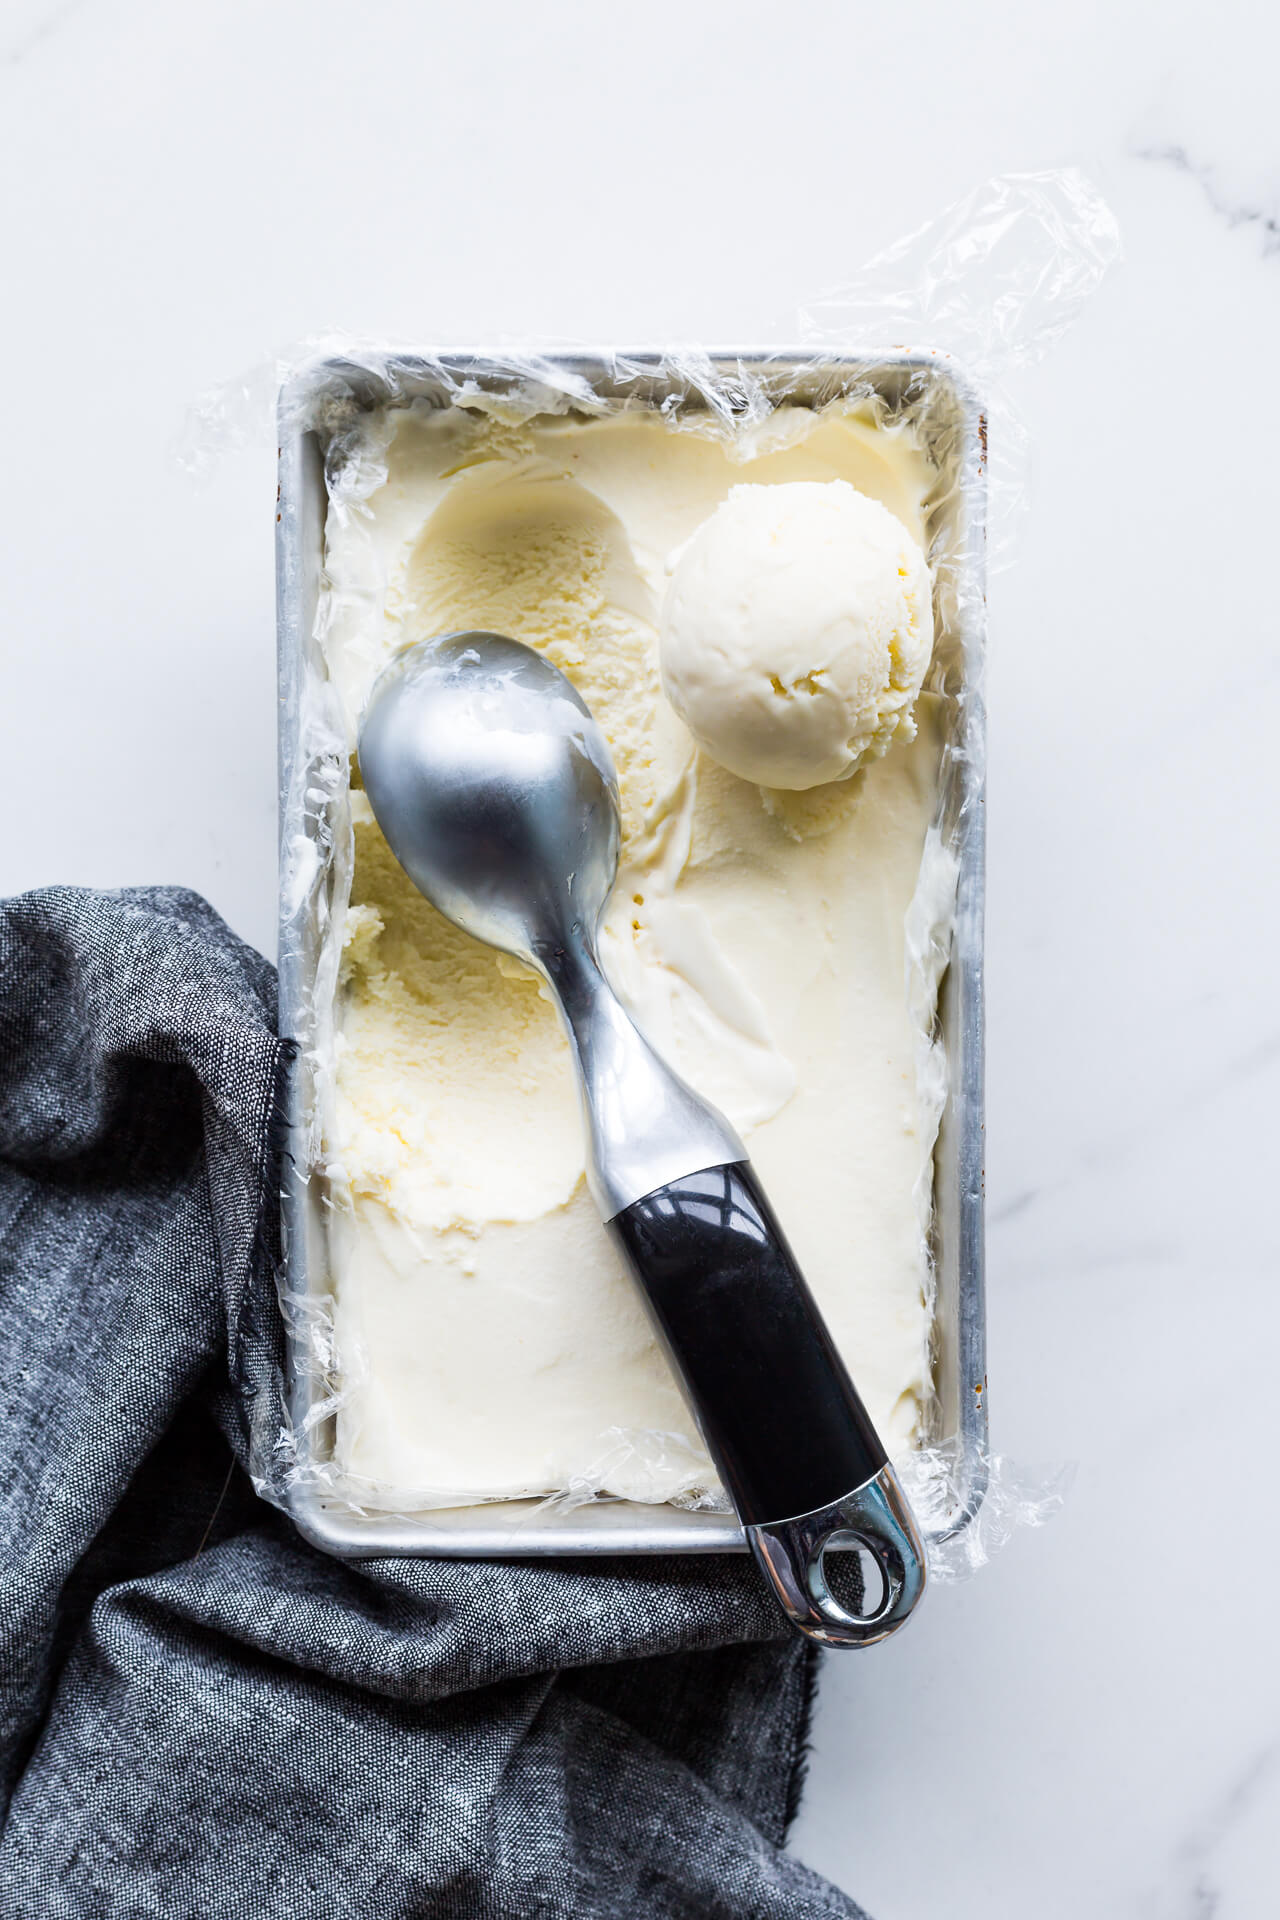
Once you've churned a batch of ice cream, it's important to store it in the freezer. To do so, transfer the freshly churned soft ice cream to an airtight container (of at least 1-litre capacity). I like the Tovolo ice cream tubs that are large enough to fit one batch of homemade ice cream. Before putting the lid on, make sure to cover the surface of the ice cream with plastic wrap and press the plastic wrap directly onto the entire surface of the ice cream. Close the container with the lid and store the ice cream in the freezer.
The plastic wrap is important to prevent ice crystal from forming on the surface of the ice cream. You can also press a piece of parchment onto the surface.
Troubleshooting homemade ice cream
Improving the texture
Custard base has bits of cooked egg in it
The trick to cooking crème anglaise so that it's silky smooth is to stir it constantly on medium–low or even low heat. Low and slow is best for crème anglaise, unlike a pastry cream like this vanilla bean pastry cream, for example.
So when making a crème anglaise, stirring constantly, you heat the mixture gently until it thickens. Many ask how do you know when it's done? You know you've cooked the crème anglaise enough when you give it a good stir and immediately lift the spoon: the sauce stops swirling almost immediately. Uncooked crème anglaise would keep spinning around and around with the momentum of stirring. A cooked crème anglaise won't be so fluid, though still silky smooth.
If you strain your custard ice cream base and find bits of cooked egg yolk in the strainer, it means you overcooked it. Either you didn't stir enough and the egg cooked on the bottom or you overheated the whole mixture and the egg cooked. Crème anglaise is ready somewhere between 77 and 83 ºC (170 and 183 ºF).
Do not bring the mixture to a boil! If you do, your eggs will probably cook and you'll end up with chunks of egg in your ice cream base.
What to do if your ice cream base has bits of egg?
If you overcook your ice cream custard base, you will strain away the egg bits. The texture won't be perfect because you've essentially removed a lot of the egg from the recipe. Still, you can make the ice cream and nobody will know. Also, your yield will be lower because if you overcooked the custard, you probably evaporated more of the water in the ice cream base.
Making it softer
You'll notice that homemade ice cream freezes quite hard, due to a combination of our home freezers chilling to lower temperatures than commercial ice cream display cases. Commercial ice cream display cases are chilled to the perfect scooping temperature, but they aren't great for long term storage because they are a little too warm for that.
Commercial ice cream is also softer because commercial machines are better at incorporating more air into the ice cream, yielding a lighter, less dense product. Commercial ice cream may also include softening ingredients, like gums, starches, or other stabilizers that improve the texture of the product.
add more sugar
Turns out the less sugar you add to your ice cream base, the harder the ice cream will freeze. Sugar increases the freezing temperature of ice cream, meaning that it freezes solid at a higher (warmer) temperature. With less sugar, ice cream is more likely to freeze hard, making it hard to scoop.
Put another way, the more sugar in your ice cream, the lower the freezing temperature of your ice cream, which means that it will be softer at colder temperatures. Of course, there's a limit to how much sugar you would want to add, flavour-wise. But if you've experimenting with cutting back the quantity of sugar in your ice creams or sorbets, your final product will freeze hard and be difficult to scoop.
add a little alcohol
Alcohol lowers the freezing point of ice cream, meaning that the ice cream will stay softer at lower temperatures. The caveat with incorporating alcohol into ice cream bases is that a little goes a long way. I once added too much rum to a batch of rum raisin ice cream and it wouldn't freeze. I ended up with a very boozy milkshake.
If you want to try this, add 15–45 mL (1 to 3 tablespoons) of alcohol (40 % alcohol), like rum, bourbon, or whiskey to a recipe that makes about 1 litre (4 cups) of ice cream and see how the texture is affected. You'd be surprised to find that a little goes a long way!
For lower-proof liqueurs (20 % alcohol), like amaretto or coffee liqueur, you can add more, double the amount in fact, but remember these also add quite a bit of sugar, so you might have to adjust your ice cream base recipe.
Making ice cream with smaller ice crystals
Believe it or not, but almost 50 % of ice cream is water and if you aren't careful, that water will form big ice crystals in your ice cream, ruining the flavour and that creamy mouthfeel we look for. There's nothing worse than icy ice cream that has detectable ice crystals that are literally frozen water and flavourless. Controlling the size of ice crystals is a pivotal part of making ice cream because the ice crystals need to be there, but they need to be so small that you don't detect them as you enjoy your ice cream. Controlling the ice formation in ice cream is a science, just like when you want to control the crystallization of sugar when making homemade maple fudge, for example. So how do you minimize large ice crystals and keep them small?
- By churning or mixing the mixture as it chills: when you freeze ice cream, undisturbed, like when you make semifreddo or use certain no-churn methods, ice crystals have the opportunity to form and build up into a large, intricate structure if you don't physically disturb the freezing process by mixing as the ice cream freezes. The churning process physically breaks apart ice crystals as they form, dispersing them evenly throughout the mixture
- By freezing the ice cream quickly: the faster your ice cream is churned/frozen, the less time you give ice crystals to pile up into large ice crystals. That's the big advantage of commercial ice cream machines that can churn a batch in under 10 minutes! Faster churn means less ice formation
- By incorporating ingredients that trap or bind water, thereby preventing the water from crystallizing into large crystals of ice.
Ice cream leaves waxy coating in mouth
This has happened to me a few times and I think it happens when the ice cream has been churned for too long and the ice cream is buttered, meaning the fat globules have merged to form butter, which in term leaves a waxy coating in your mouth as you eat the ice cream. This has nothing to do with how much cream you used, but more to do with how long you churned the ice cream for.
There's nothing wrong with overchurned ice cream and you can still eat it, but the waxy coating is a textural defect (and a bit of a nuisance for your tastebuds). Next time, try churning your ice cream less and see if that helps.
Ice cream taking too long to churn
Ice cream takes a while to churn, about 15 minutes in most ice cream machines that we use at home. If you find that after 15 to 20 minutes, your ice cream still isn't a soft serve consistency, you might not be able to get it to "thicken" further in the ice cream machine. There's a problem.
- It could be that your freezer drum wasn't frozen for long enough prior to churning
- It could be that your ice cream base wasn't chilled long enough before churning.
In both cases, because there's too big of a temperature gap, getting the custard to churn/freeze properly will be nearly impossible.
Next time:
- freeze the bowl of the machine for over 24 hours before churning. Most manufacturers recommend 24 hours, but I prefer to give the freezer drum 2 full days in the freezer before I churn a batch with it. This way I'm sure it's frozen solid. To check that the freezer bowl is frozen, give it a shake: if you hear any liquid sloshing inside the walls of the bowl, it isn't frozen solid!
- chill the ice cream base in the fridge for 12 hours before churning to ensure that the base is as cold as possible before you pour it into the machine. This means that the ice cream will freeze faster because the temperature change will be less drastic than if you churned warm ice cream base.
You might have trouble freezing ice cream properly for other reasons, like if your ratios of ingredients are off:
- did you add alcohol to the ice cream base? You may have added too much and that's why your ice cream won't!
- Remember ice cream lowers the freezing point and if you added a ton of alcohol (40 % like rum or whiskey), it won't freeze. The freezing point of 40 % alcohol is –27 ºC. Think about how cold that is. It's colder than the temperature of your freezer, which is probably set somewhere around –18 to –22 ºC.
- If your ice cream has a high proportion of alcohol, you'd have to chill it to a temperature below the temperature of your freezer. At home, that would be next to impossible without resorting to dry ice or other freezing methods.
- did you add more sugar than the recipe suggested? Too much sugar will impede the freezing process of ice cream.
- Just like not adding enough sugar will result in ice cream that freezes so hard it is difficult to scoop, too much sugar will make it impossible to properly churn and freeze your ice cream
Making homemade ice cream without an ice cream maker
It is possible to make homemade ice cream without owning a machine. It's called no-churn ice cream. Most recipes are based on a mixture of 35 % cream whipped to firm peaks and folded with sweetened condensed milk and flavour agents (vanilla extract or other flavours, as well as add-ins like pieces of cookie dough, chopped leftover cookies, sprinkles, chopped leftover cake, maraschino cherries, etc.)
I've also tested a method similar to the method used to make granita (like you can see in this watermelon granita recipe). The ice cream base is mixed, transferred to a container, closed, and placed in the freezer. Then you scrape it every few hours with a fork to mix it so that the ice cream chills more evenly, to incorporate air as it chills, and also to make smaller ice crystals. After about 6 hours, you can then scoop the ice cream and serve it. This method isn't perfect, but it works.


Dimitris says
Thanks for your detailed instructions and great recipes. I am learning a lot from your site. A question: is there any usage for the egg whites in ice cream recipes?
Riya Agrawal says
Thank you for this detailed blog!