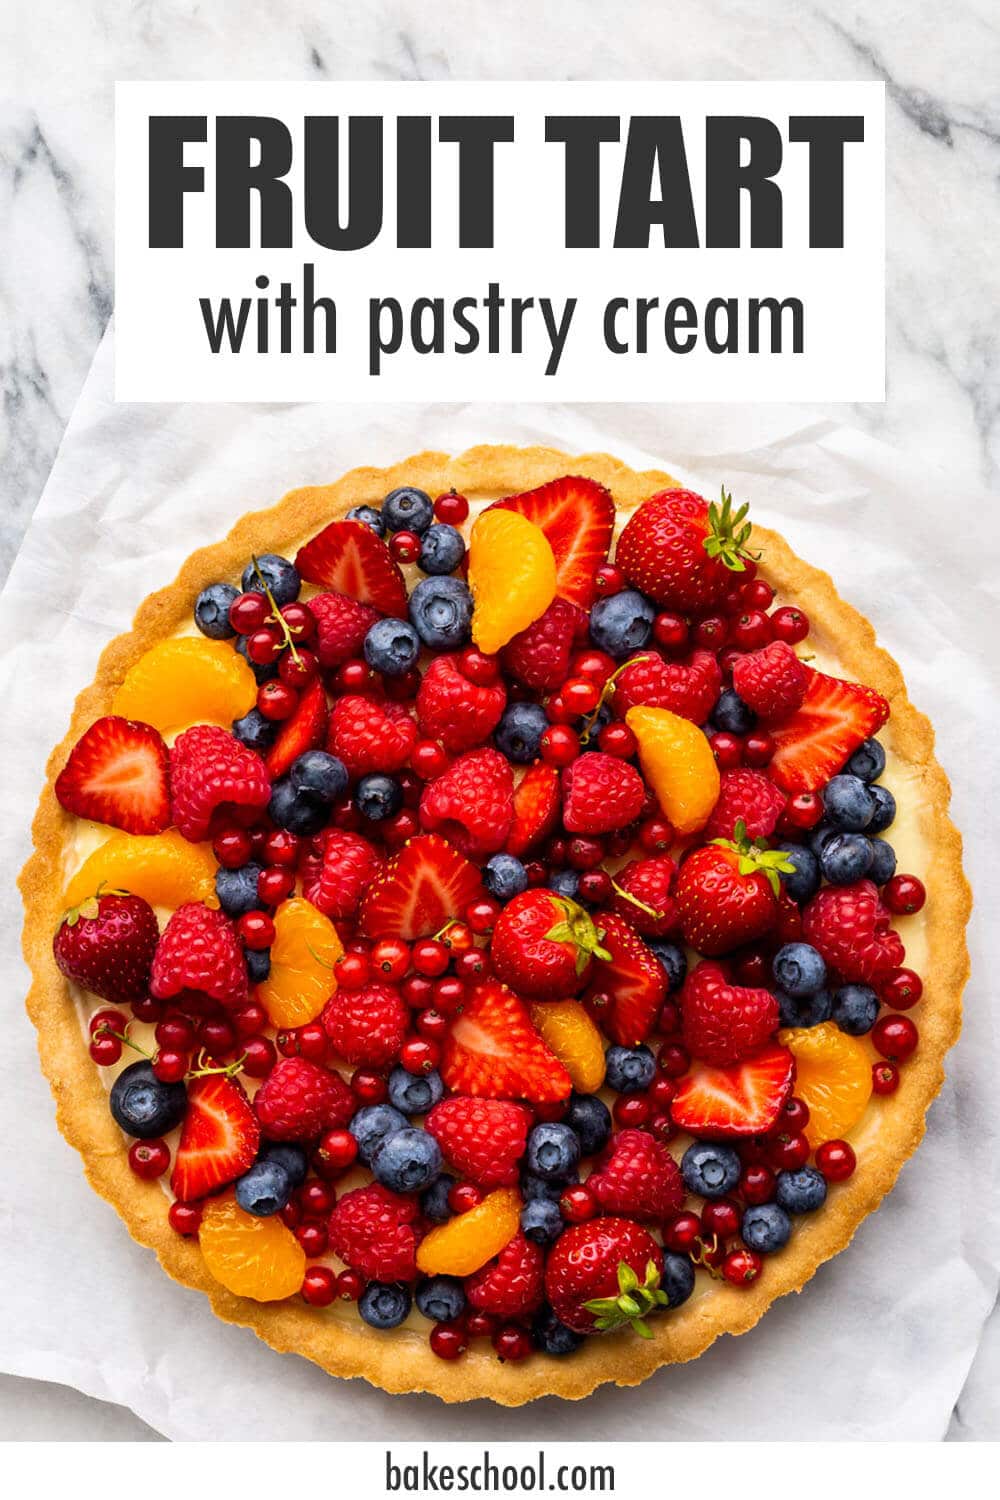
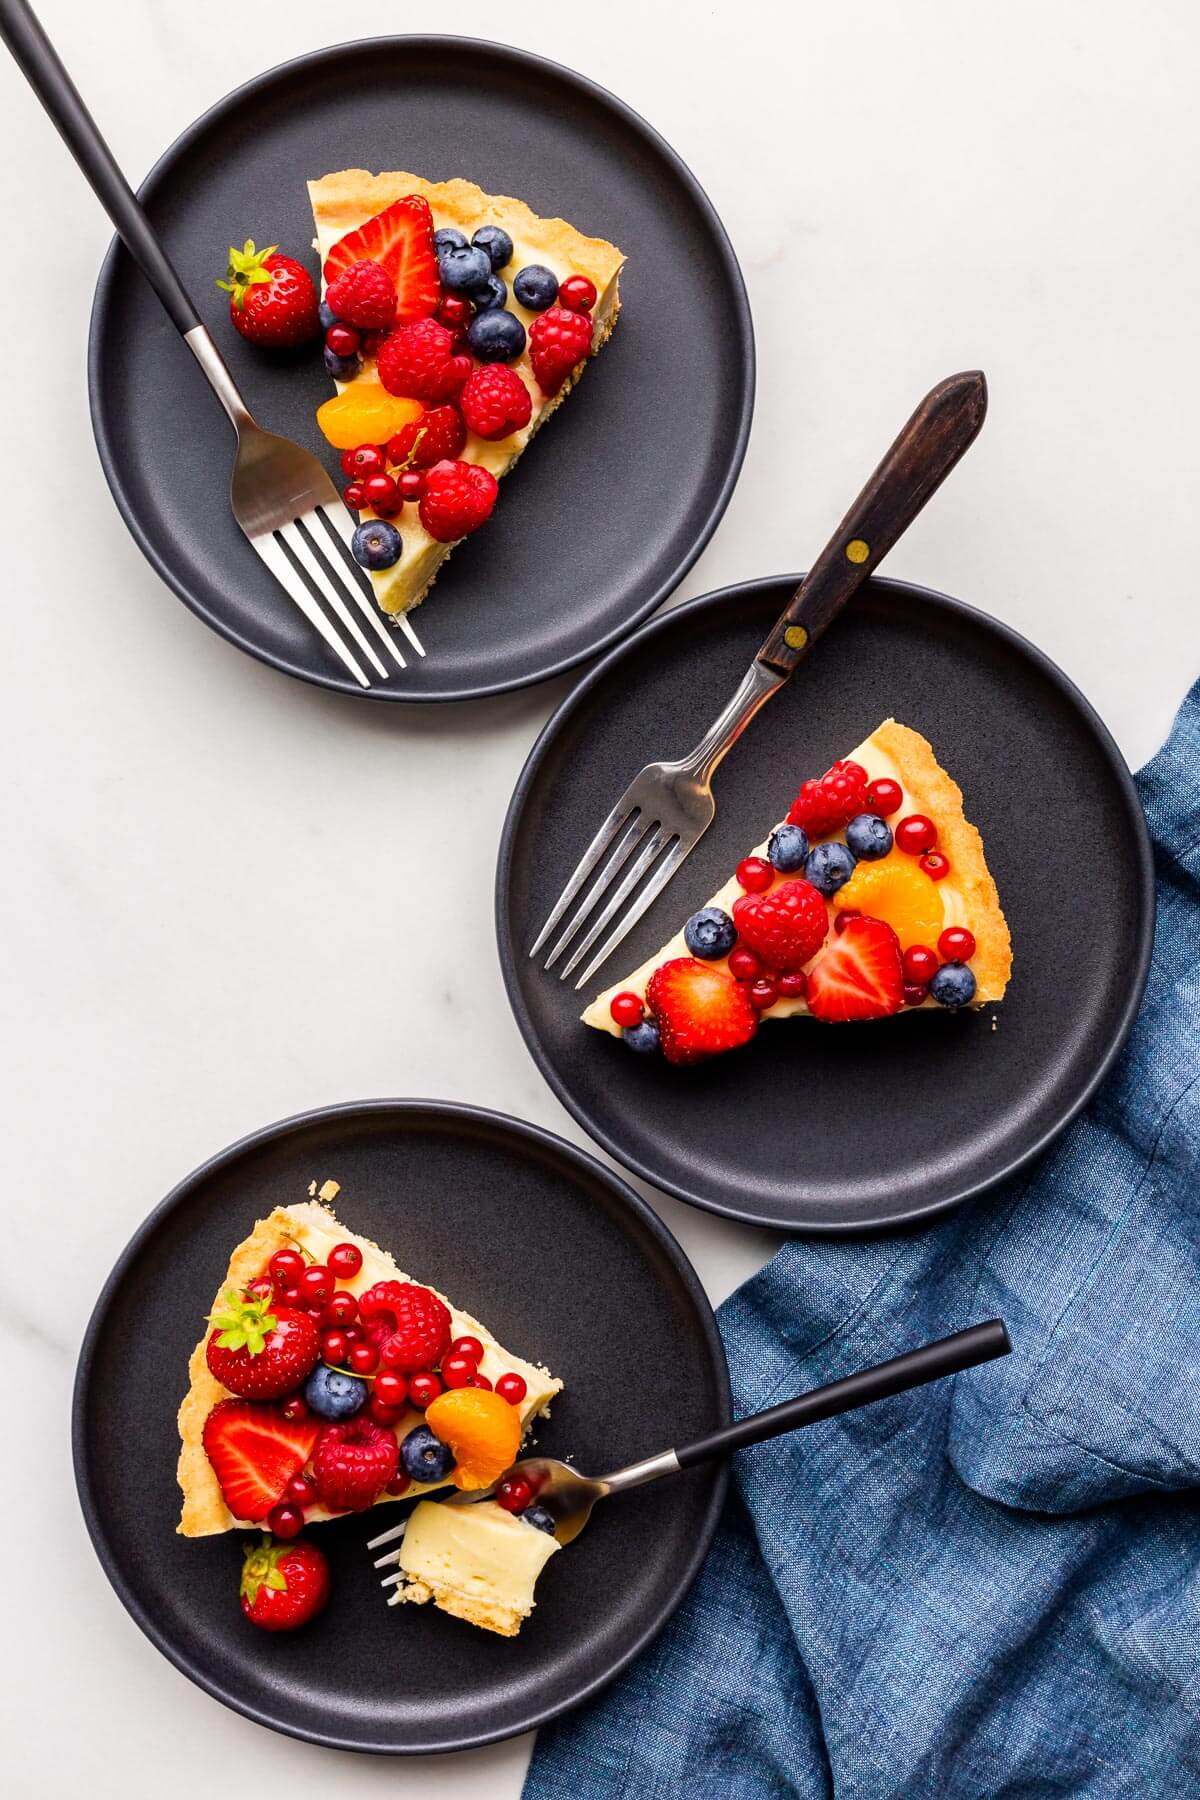
Learn how to make a fruit tart from scratch, including the pâte sucrée (a sweet shortcrust dough for tarts) and vanilla pastry cream. The fruit tart can be topped with the fruits you prefer or whatever fruits are in season, so it's highly customizable. Anything goes from fresh berries to grapes, kiwis, or even slices of citrus fruit!
Jump to:
What goes into a fruit tart
The classic fruit tart you see in pastry shops is usually made up of three components:
- a crust or tart shell, usually made from a pâte sucrée or sweet shortcrust pastry, which is basically like a sweet cookie crust.
- a filling, usually vanilla pastry cream (French baking term for pastry cream is crème pâtissière), though it could also be a mousseline filling, combining pastry cream with more butter (the same filling that is in the classic framboisier cake)
- fruits, generally lots of berries, but you'll also see other fruits like segments of citrus fruit, grapes, kiwis, etc.
- a glaze, which is optional, but if your fruit aren't as fresh and sweet as you were hoping, sometimes a clear glaze (you could even use honey or maple syrup) will add shine to the fruit garnish and also some sweetness. Powdered sugar is an alternative to the glaze
Ingredients
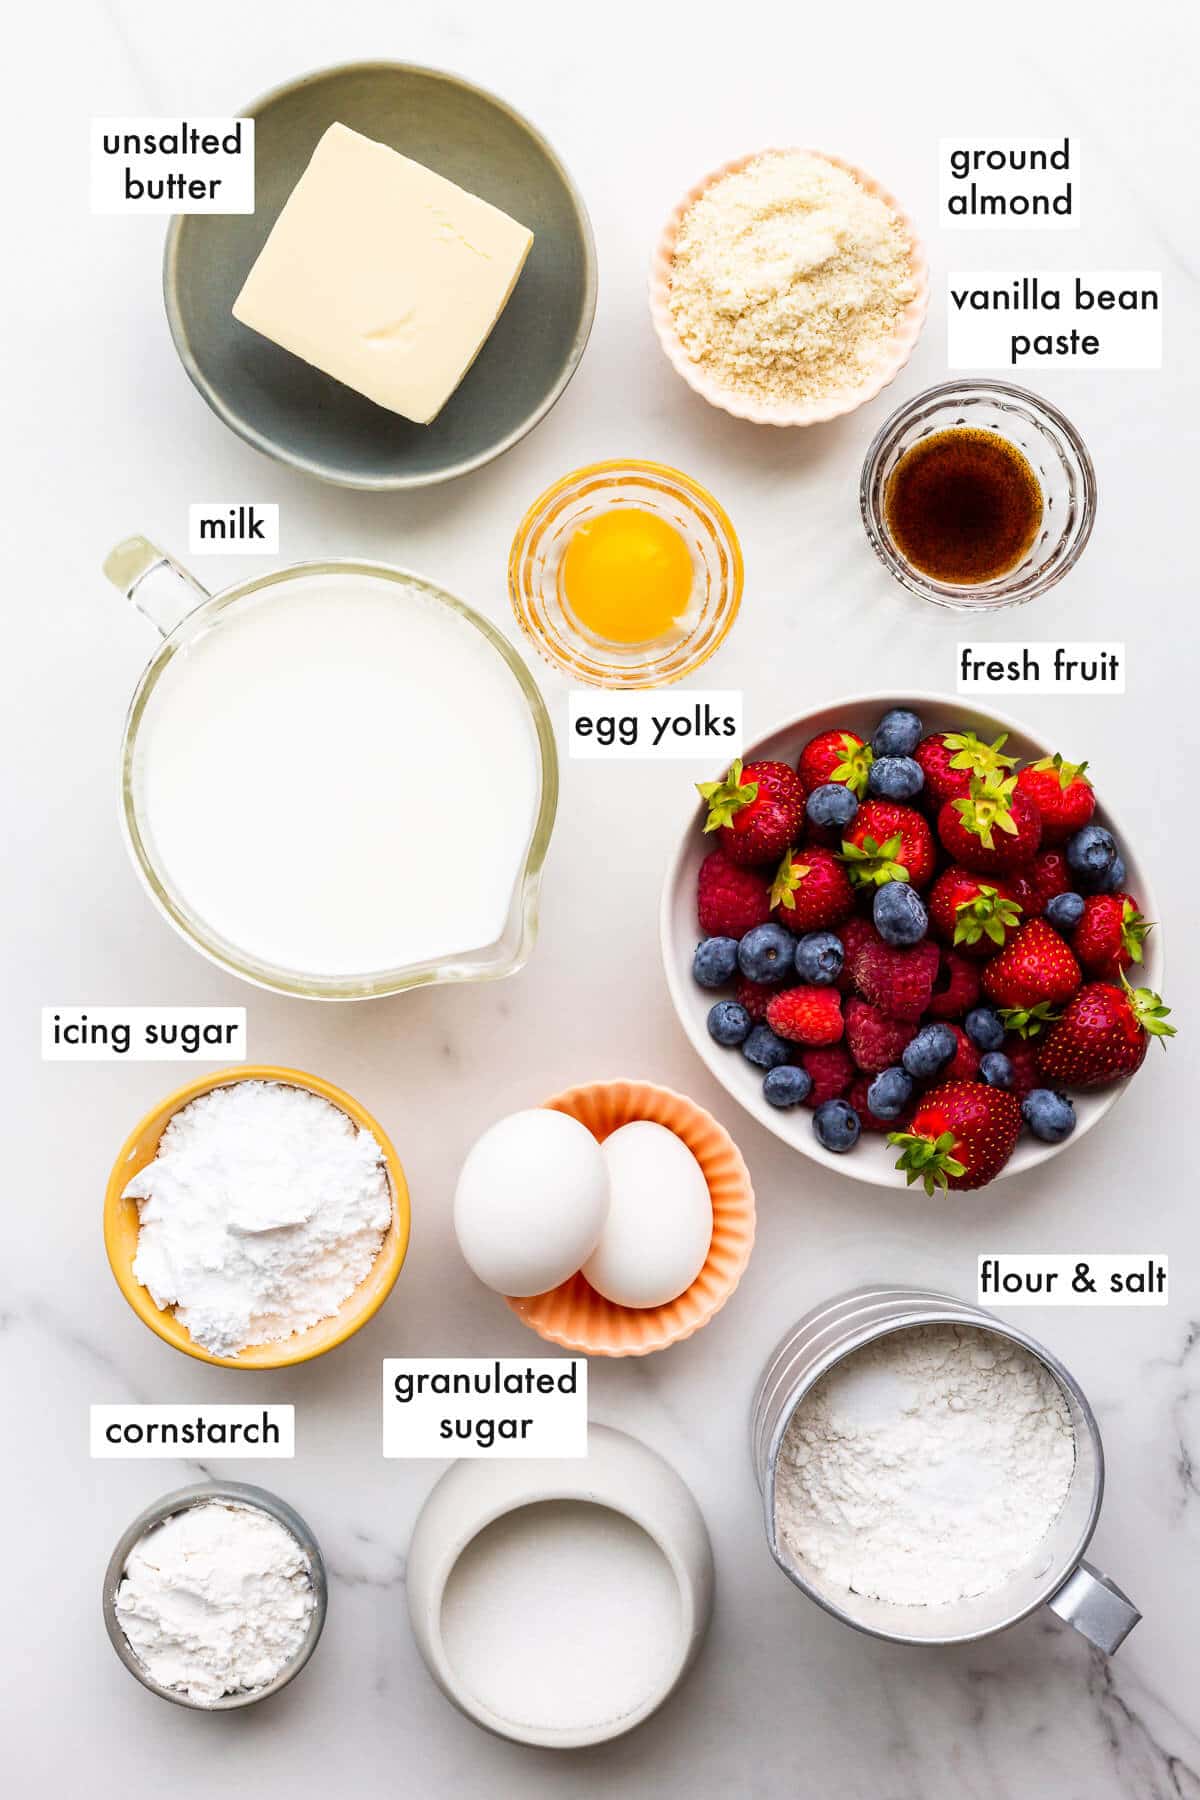
There are 3 major components to plan for when you are making a fruit tart, and each requires its own set of ingredients.
- For the tart shell, you will make a pâte sucrée (a sweet shortcrust) made from:
- butter, specifically unsalted butter, though salted would also work here. You can either skip the salt in the pastry recipe if you use salted, or lean into the salt because a little extra salt in the crust will bring a bigger contrast between the salty and the sweet.
- icing sugar, leading to a more tender cookie crust
- ground almonds, which also make the dough more tender and less hard
- egg yolk and milk bind the ingredients together and make the dough more pliable and easier to roll out
- flour holds the dough together and give it structure, just like a rolled sugar cookie dough.
- For the filling, you will make a pastry cream made from:
- milk, either whole milk with 3.25 % fat or 2 % fat milk. I don't recommend using skim milk here because the filling needs a little fat to make it rich and creamy.
- egg yolks are best, but whole eggs will also work. Yolks lead to a more yellow pastry cream with a richer flavour, while whole eggs are a little lighter in taste and colour. If you use whole eggs, make sure to strain the pastry cream before chilling it to remove any lumps of cooked egg white.
- sugar, but not too much, to lightly sweeten the filling but also stabilize and preserve the pastry cream. You could consider using a mixture of sugar and honey or maple syrup here, and that would bring a lot of flavour to this dessert.
- cornstarch is the most appropriate thickener for a tart filling, as opposed to flour. Flour isn't as powerful and will lead to a softer set, which means the tart won't slice as cleanly as with cornstarch.
- butter, which smooths out the texture and adds richness.
- For the fruit garnish, you will need a lot of fruit. I like to garnish fruit tarts with a variety of fruit, picking what's in season, but also what fruits would look nice together on a tart. Think of contrasting colours, but also think of picking fruits that vary in shades of the same colour for an ombré effect. You can easily use canned fruit (choose fruit canned in sugar-based syrup or fruit juice because they taste better than any fruit canned in water (which is sweetened with sucralose!).

Special tools
Aside from the usual baking tools you already have on hand, to make a fruit tart, or any tart, you will need a few tools:
- a tart pan with a removable bottom—this type of tart pan will make it easier for you to unmould the tart. If you are in a hurry, you can even unmould the blind-baked shell when it's still warm. This will also speed up the cooling process.
- a sheet pan—because we bake tarts in tart pans with a removable bottom, there is a big risk that, if you aren't paying attention when loading it into and out of the oven, you may grab the pan in the wrong way, un-moulding or breaking the tart shell, especially if it's still hot and fragile. To avoid this, always place your tart pan on a sheet pan. This way you are moving the sheet pan from fridge-to-counter-to-oven, thus protecting your tart shell.
- a rolling pin—some bakers prefer straight rolling pins, but I am most comfortable using a French rolling pin, with tapered ends. Regardless of the shape, I highly recommend investing in a rolling pin made of wood. I much prefer it to silicone rolling pins.
- a pastry brush—not only will you use this to brush off any excess flour from rolling out the pastry dough, you will also use it to brush melted chocolate inside the baked tart shell to seal it to help keep it dry from the moisture of the filling.
Important techniques
Fruit tarts make stunning desserts, but because they are so pretty to look at, bakers can feel intimidated by the look and assume that the dessert is complicated to make. I'm here to tell you it's not. Break it down and you'll see that to make a fruit tart at home, you will rely on basic baking techniques you've probably already mastered:
- The creaming method is a mixing method commonly used to make cookie dough starting from softened butter which is combined with sugar until well mixed with a lighter texture. The tart shell is made from cookie dough that is rolled out. If you can make rolled sugar cookies, you should be able to make this!
- Blind-baking, where you bake the tart shell until it is completely baked and golden-brown delicious. You use this technique for tarts where the filling is prepared/cooked separately. The tart shell must be baked through and completely cooled before filling, as a rule.
- Tempering eggs, which is a method to gently warm up eggs before cooking them on the stove, either to make a custard sauce (crème anglaise) or a pastry cream, like in the recipe below.
- Chabloner is a technique that pastry chefs use. Professionals will brush the inside of blind-baked tart shells with melted chocolate. When the chocolate sets, this creates a barrier between the filling and the crust. The tart shell will not soften or absorb moisture from the filling, allowing you to store the tarts for longer without compromising texture or flavour.
Getting the tart out of the pan
It's no secret that un-moulding a tart from a tart pan can be quite stressful. But tart pans with removable bottoms actually take some of that stress away. Here's how to remove a tart from a tart pan:
- Place the pan carefully over an inverted bowl, or anything with a smaller diameter than the tart pan
- Let the tart ring slide down
- Lift the tart up
- Lift the tart off the disk base or slide it off the disk base onto your serving plate.
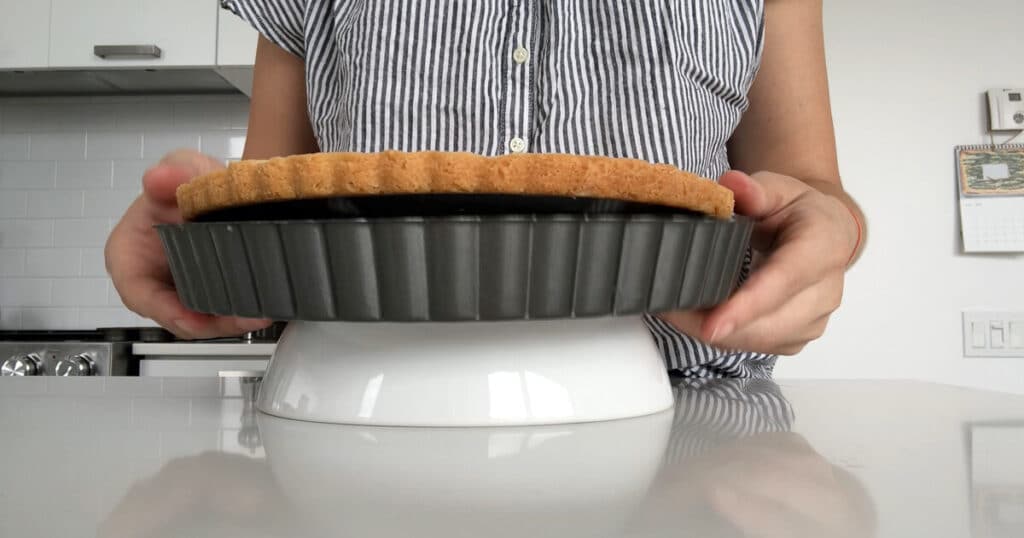
If the tart is stuck to the bottom piece of the pan, you may have to use an offset spatula, gliding it gently between the flat metal base and the tart shell to unstick it. But really, that's it! Once the tart shell has cooled down, it should be fairly sturdy, enough so that you can manipulate it without worrying that it will fall apart.
Filling alternatives
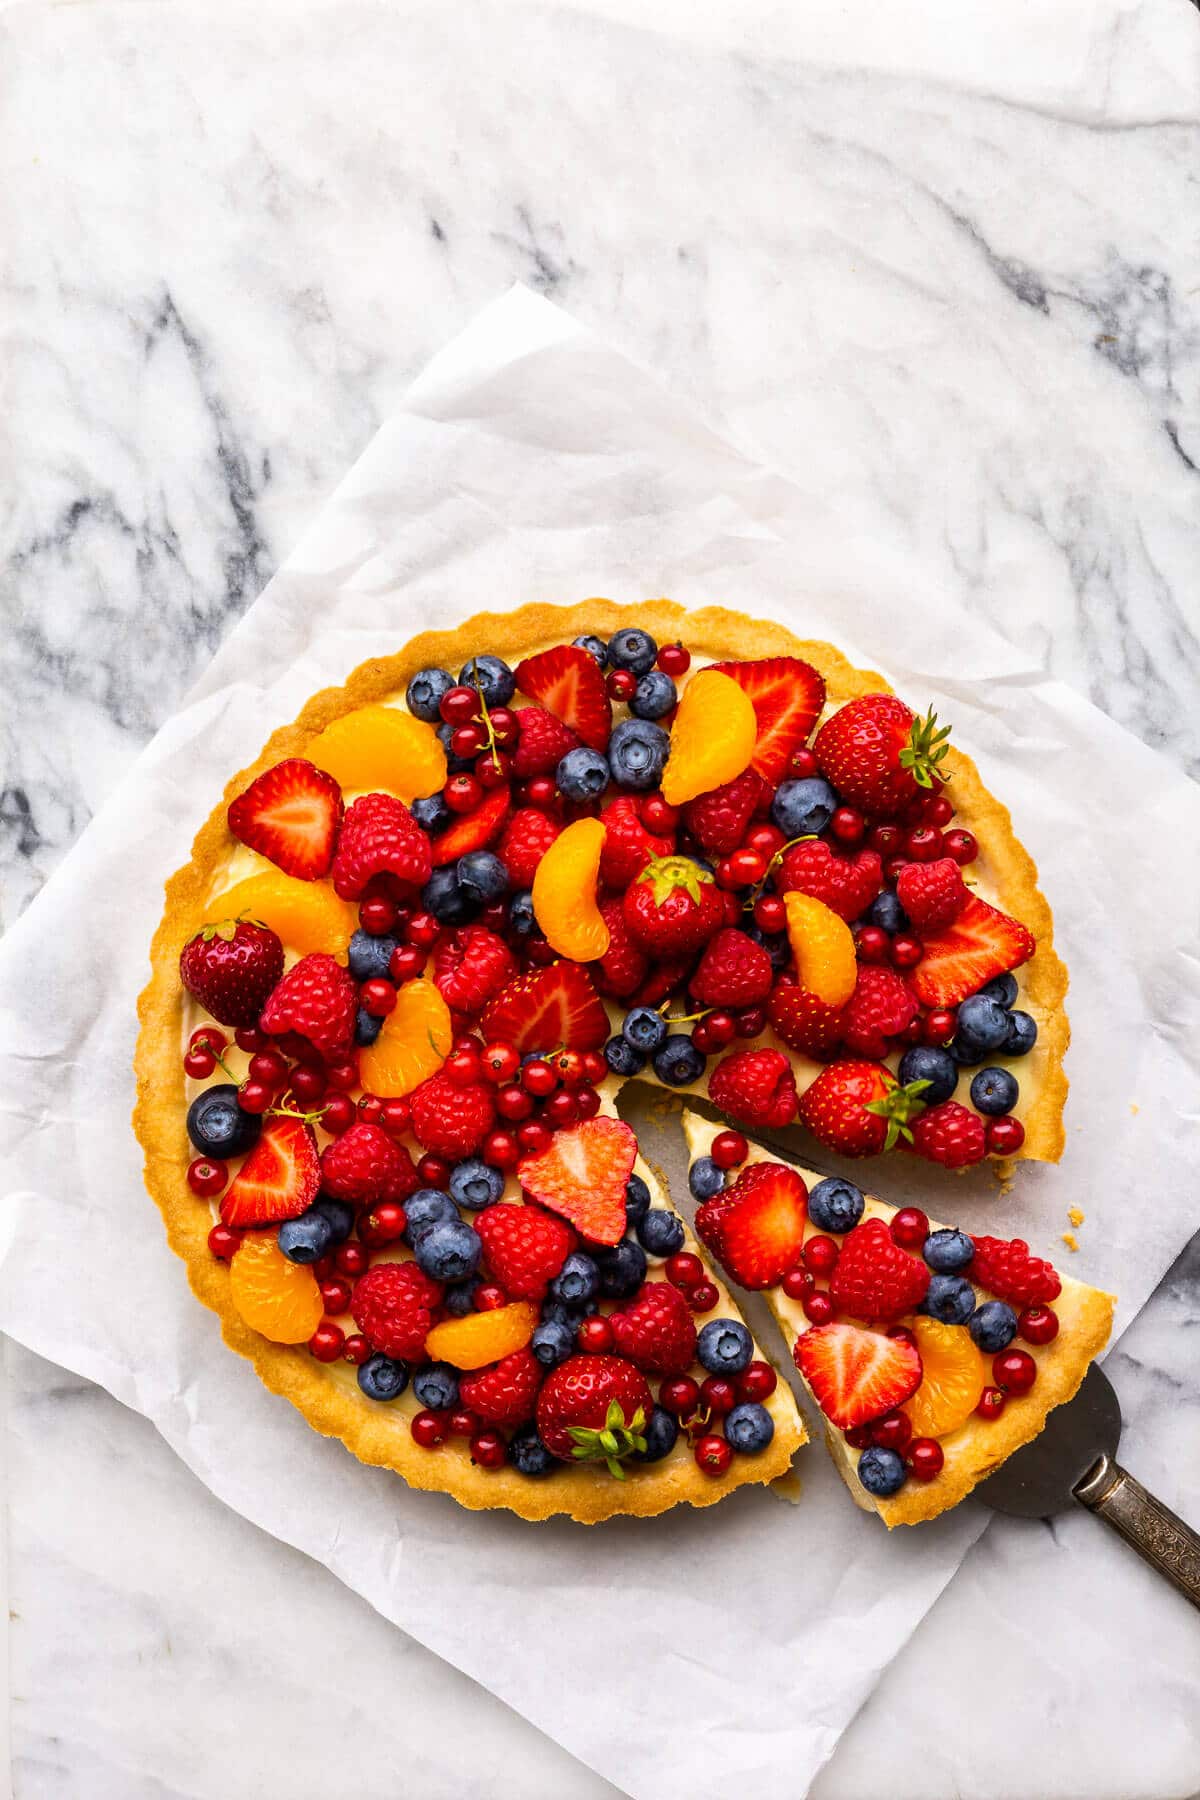
The classic fruit tart served in most French pastry shops is filled with pastry cream, usually flavoured with vanilla extract, vanilla bean paste or a vanilla bean.
The beauty of pastry cream is that you can infuse the milk with a lot of flavours, and it's a sweet creamy blank canvas that balances out the acidity of the fruit garnish.
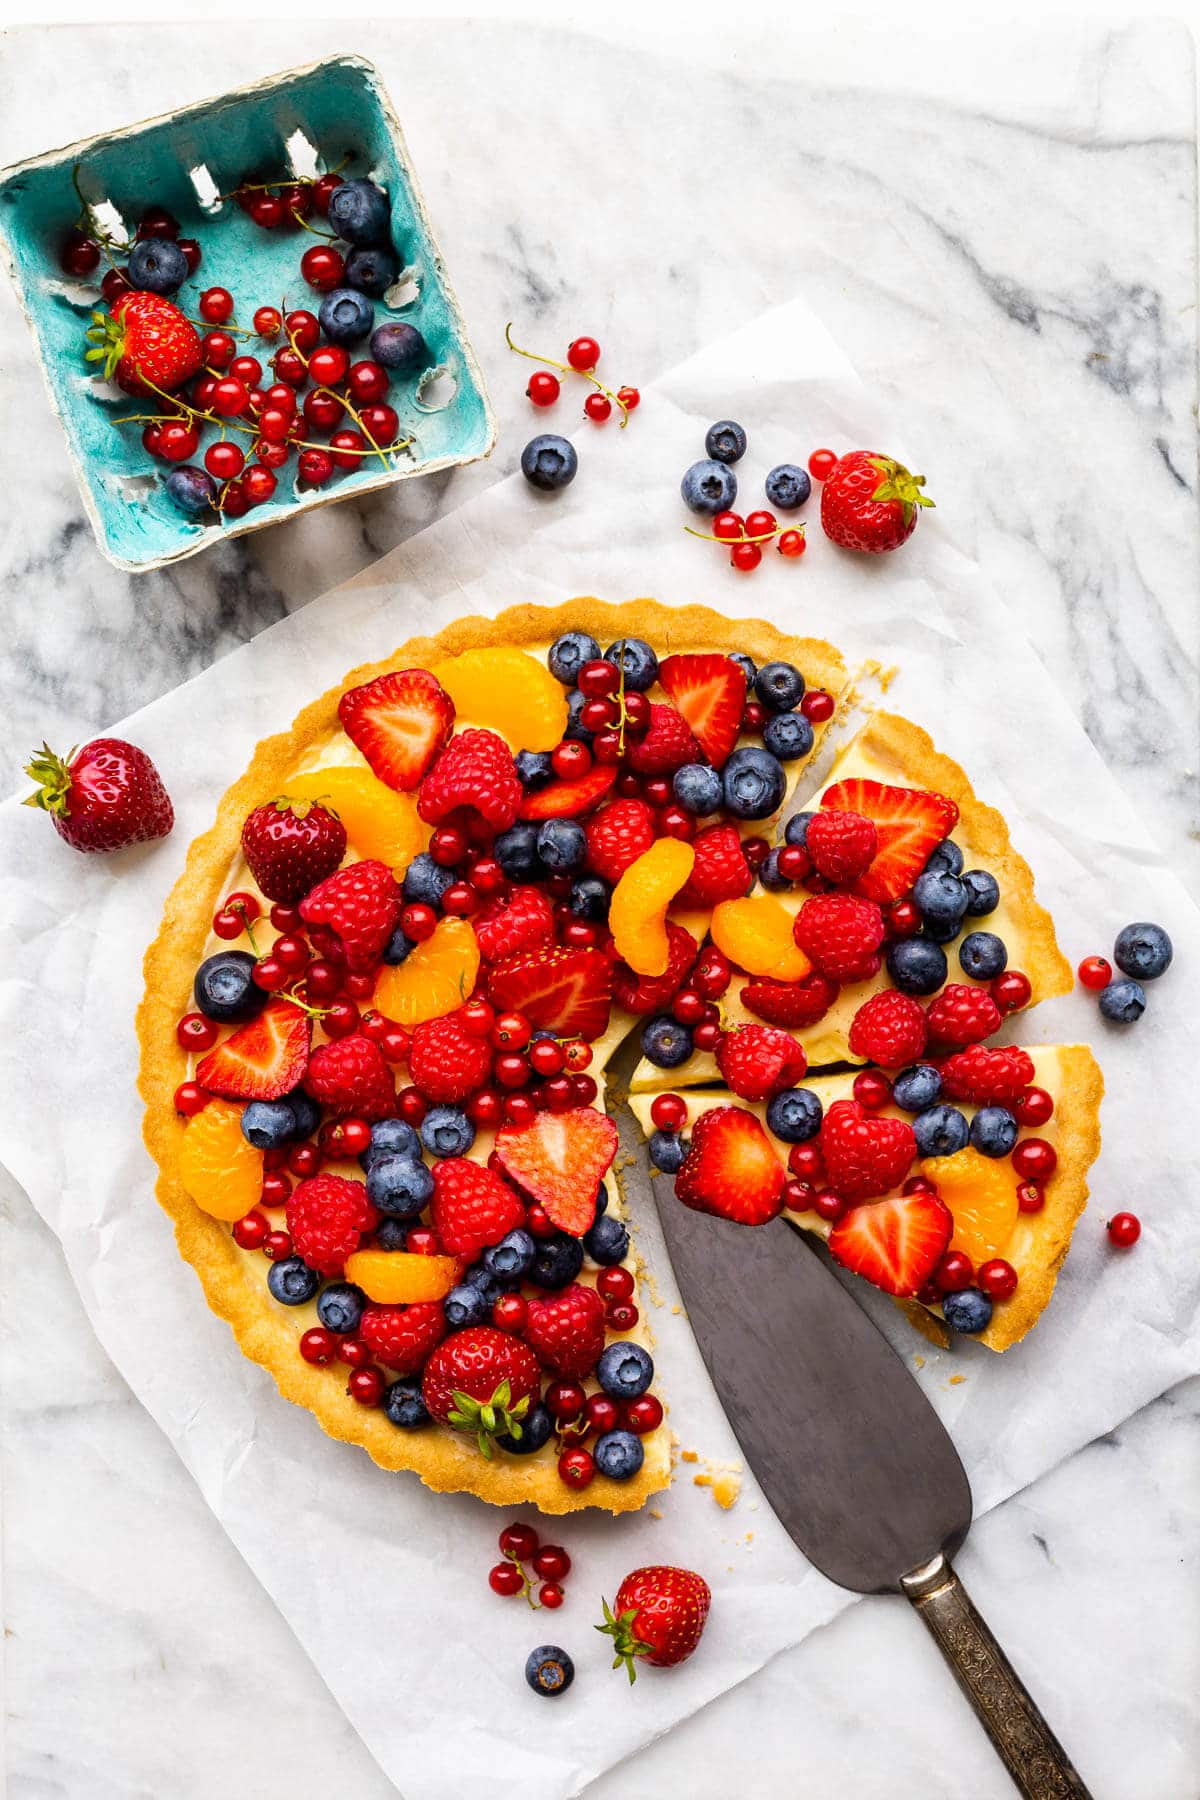
Pastry cream thickened with cornstarch doesn't need any gelatin to set properly, so this fruit tart recipe does not have gelatin.
Just because most people make fruit tarts with pastry cream doesn't mean you don't have options. You can also consider filling the baked tart shell with:
- chocolate ganache, like this raspberry chocolate tart or this rhubarb chocolate tart
- panna cotta, like for these Earl Grey panna cotta tarts
- fruit curd, like lemon curd, like these matcha tarts filled with passion fruit curd
Storage
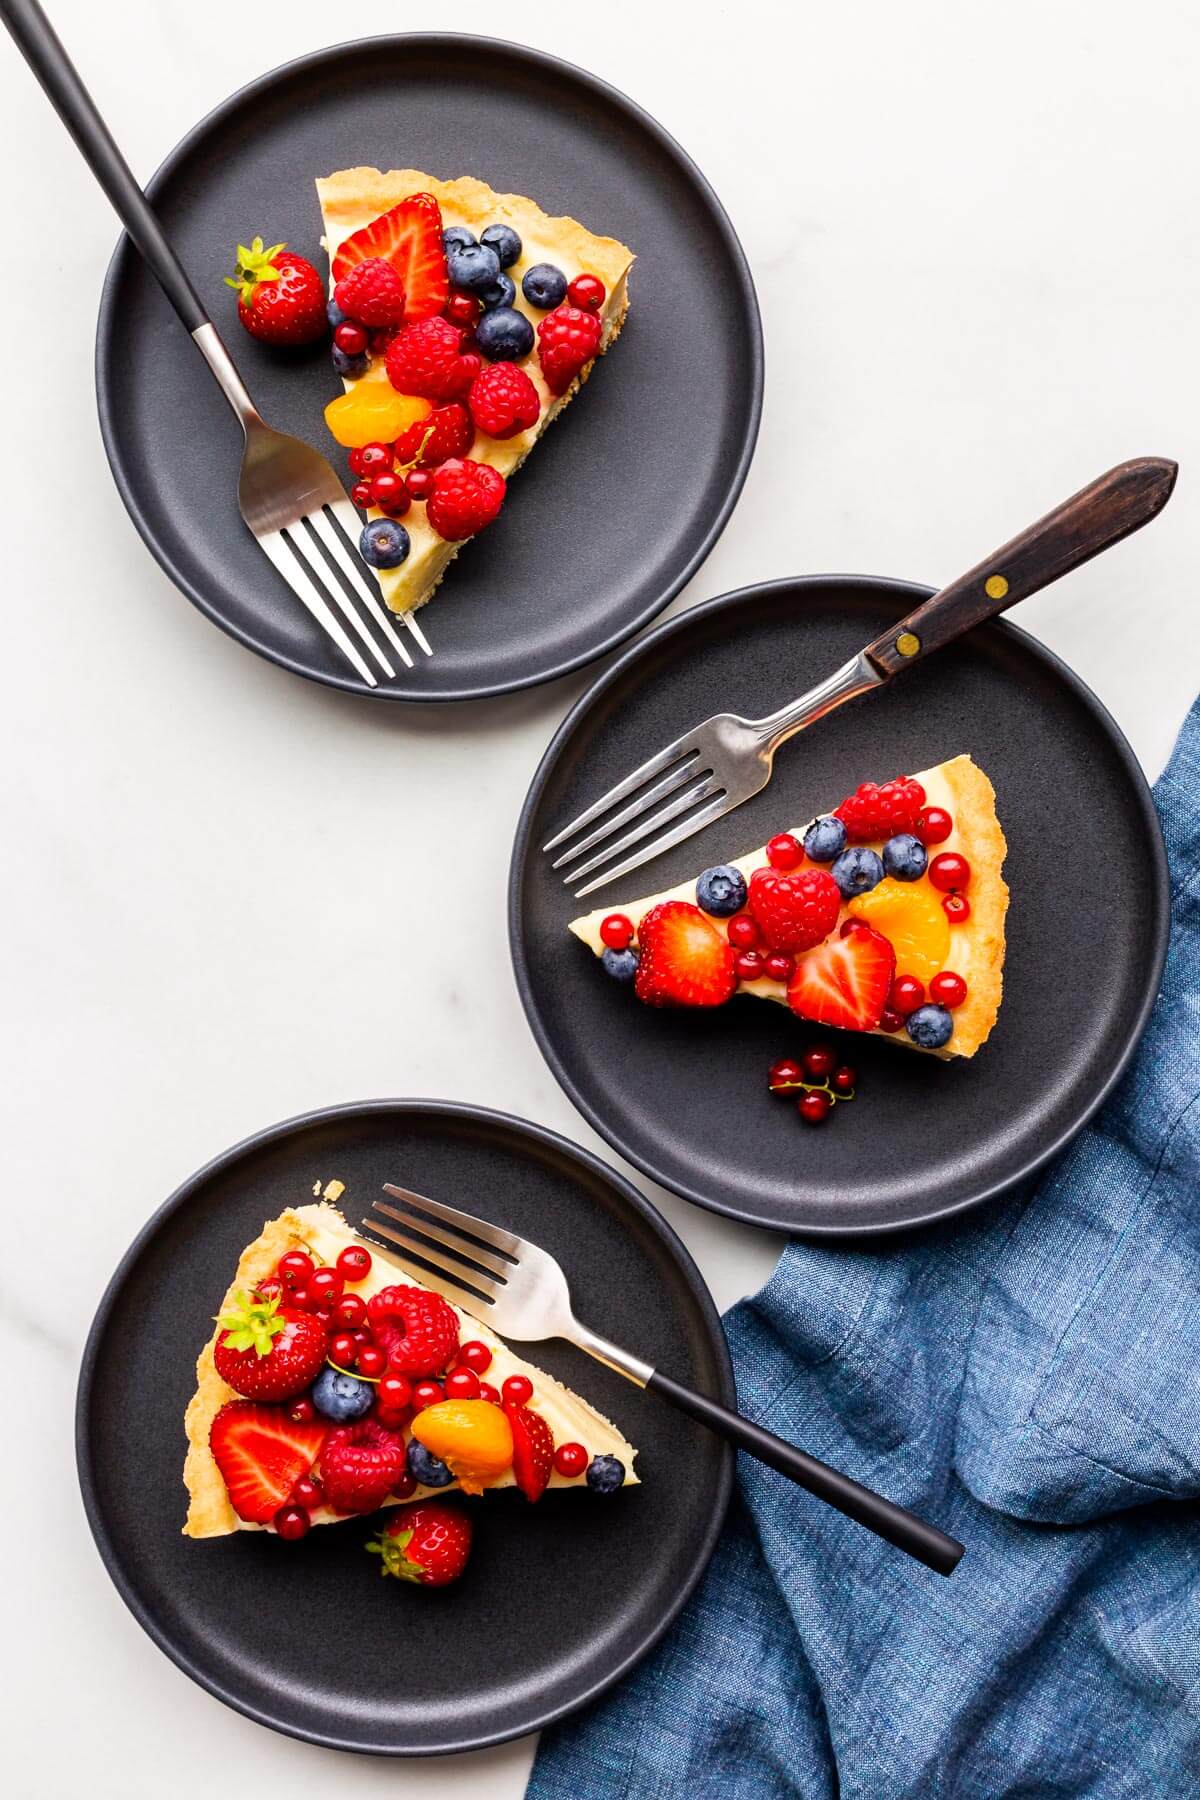
This fruit tart should be refrigerated, but I can say, if you take it out to serve it, it can easily sit out for a few hours at room temperature and you can still slice it cleanly and the filling won't soften too much.
This is yet another reason why I opted for cornstarch in this recipe, not flour. The filling is more stable to temperature fluctuations, yet still creamy and smooth.
Frequently asked questions
Because a fruit tart is made with a pastry cream filling and topped with fresh fruit, it's best to store it in the refrigerator to avoid the filling or the fruits breaking down, especially in summer when it's warmer and more humid.
The filling in this fruit tart recipe below is thickened with cornstarch and is actually quite stable, even if kept at room temperature for a few hours (like if you have the tart out on display at a party, for example). You will still be able to slice and serve the tart neatly without the filling melting or leaking out. Still, it's best to keep the tart in the fridge for safer storage.
Any time you prebake tart shells to fill them later, you should brush the inside of the baked tart shell with a thin layer of melted chocolate that is complementary to the filling. So for a fruit tart filled with custard and topped with berries, brush the baked tart shell with a thin layer of melted white chocolate. The chocolate will harden and act as a barrier between the cookie crust and moisture of the filling, preventing the tart from becoming soggy.
📖 Recipe

Fruit Tart
Equipment
Ingredients
Pâte sucrée (sweet shortcrust)
- 84 grams unsalted butter room temperature
- 63 grams icing sugar
- 33 grams ground almonds
- 1 large egg yolk(s)
- 156 grams bleached all-purpose flour
- 1.25 mL Diamond Crystal fine kosher salt
- 15 mL whole milk (3.25 % fat) or 2 % fat
Pastry cream
- 500 mL whole milk (3.25 % fat) or 2 % fat
- 100 grams granulated sugar
- 5 large egg yolk(s)
- 40 grams cornstarch
- 10 mL vanilla bean paste
- 58 grams unsalted butter cold, cut into cubes
Assembly and Finishing
- 58 grams white chocolate melted
- 300 grams Fresh berries raspberries, blueberries, strawberries, and red currants
- 150 grams mandarine segments fresh or canned
Instructions
Make the pâte sucrée
- Add the egg and mix until smooth.
- Add the flour and mix until the flour is blended in but don't overmix.
- Pat the dough into a disk, wrap and refrigerate for at least 1 hour.
- Place a 9-inch (23 cm) tart pan with removable bottom on a sheet pan. Set aside.
- Using a rolling pin, roll out the chilled dough on a lightly floured surface until it's 11.5–12 inches (29.2–30.5 cm) in diameter. Work fast so the dough doesn't get too warm. The dough will become more delicate the warmer it gets.
- Fold the dough in half and carefully transfer to the tart pan to line it with the dough. If the dough breaks, don't worry. You can just press any cracks or breaks back together. Trim the edges using a knife or your rolling pin.
- Dock the pastry using a fork to poke holes over the entire surface. Chill the unbaked shell for 1 hour.
- Preheat the oven to 350 °F (175 °C). Bake the tart shell for 20 to 25 minutes, until the edges are golden brown and the pastry looks dry and baked through. Keep an eye on the tart shell and be sure to press down any areas that may bubble up during baking before the crust sets and dries.
- Let cool completely, then unmold from tart pans.
Pastry cream
- Place the milk in a medium saucepan with half the sugar. Set it to heat on the stove on medium–high.
- Meanwhile, in a large bowl, whisk the eggs with the sugar untiil light and fluffy and pale in colour. Whisk in the cornstarch until the mixture looks thick and creamy.
- When the milk is just about to boil, take the pan off the heat and pour the milk over the whipped yolk mixture. Whisk everything together really well to temper the eggs.
- Transfer the mixture back to the saucepan and heat on medium heat until the pastry cream comes to a boil, whisking constantly.
- Boil the pastry cream for 3 minutes.
- Take the pan off the heat and add the butter, a piece at a time, whisking constantly. You can decide at this point if you want to strain it or not.
- Transfer the cooked pastry cream to a bowl, cover in plastic wrap, and chill for at least 1 hour.
Assembly and finishing
- When the baked tart shell has cooled completely and the pastry cream is cold, you are ready to assemble the tart.
- Place the unmoulded tart shell on your serving plate. Brush the inside of the tart shell with the melted white chocolate to coat the entire surface and protect it from moisture.
- Place the tart shell in the fridge for 5 minutes to set the chocolate if it's warm in your kitchen.
- Take the pastry cream out of the fridge, unwrap it, then using a whisk, whip the pastry cream until it is smooth and creamy. This will take a few minutes because it will be quite firm but it will smooth out the more you work it.
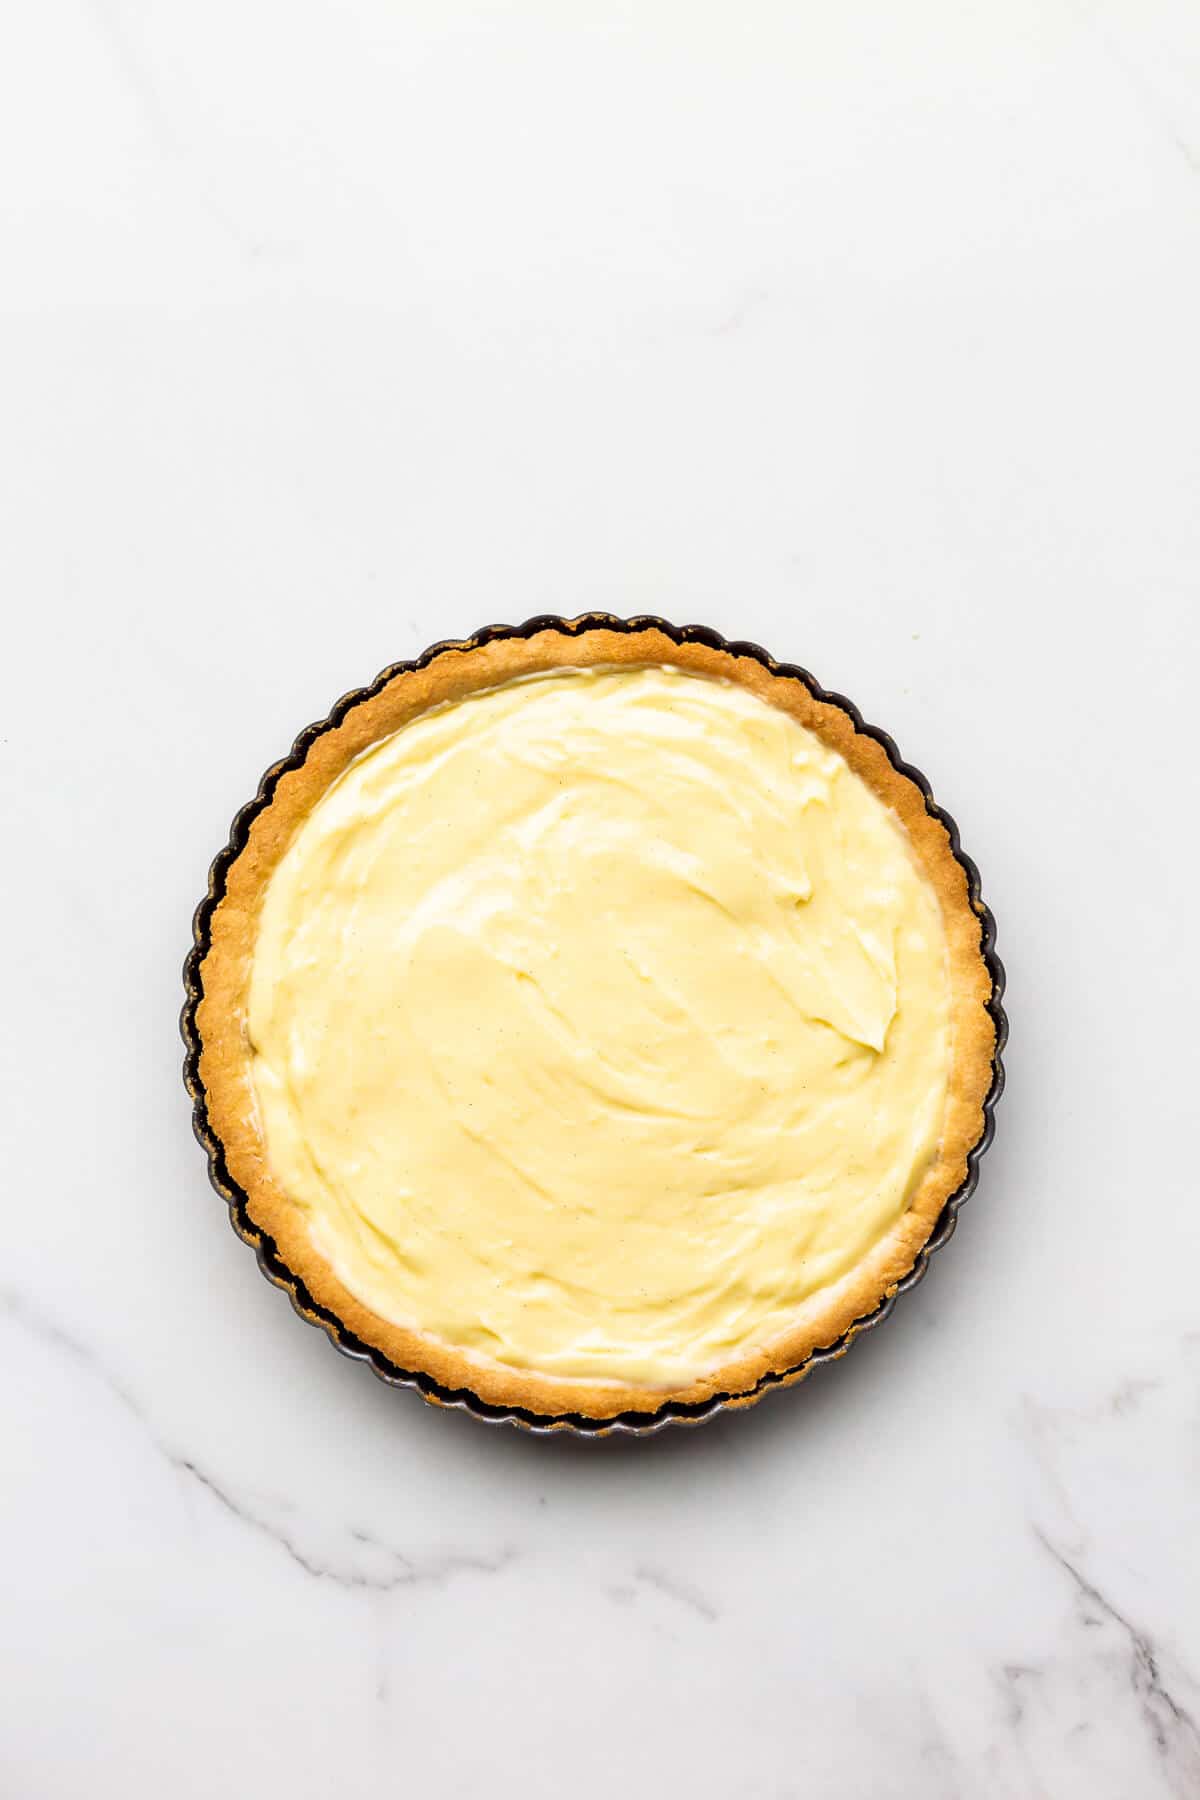
- Spread the pastry cream in the tart shell and smooth it out so that it's even.
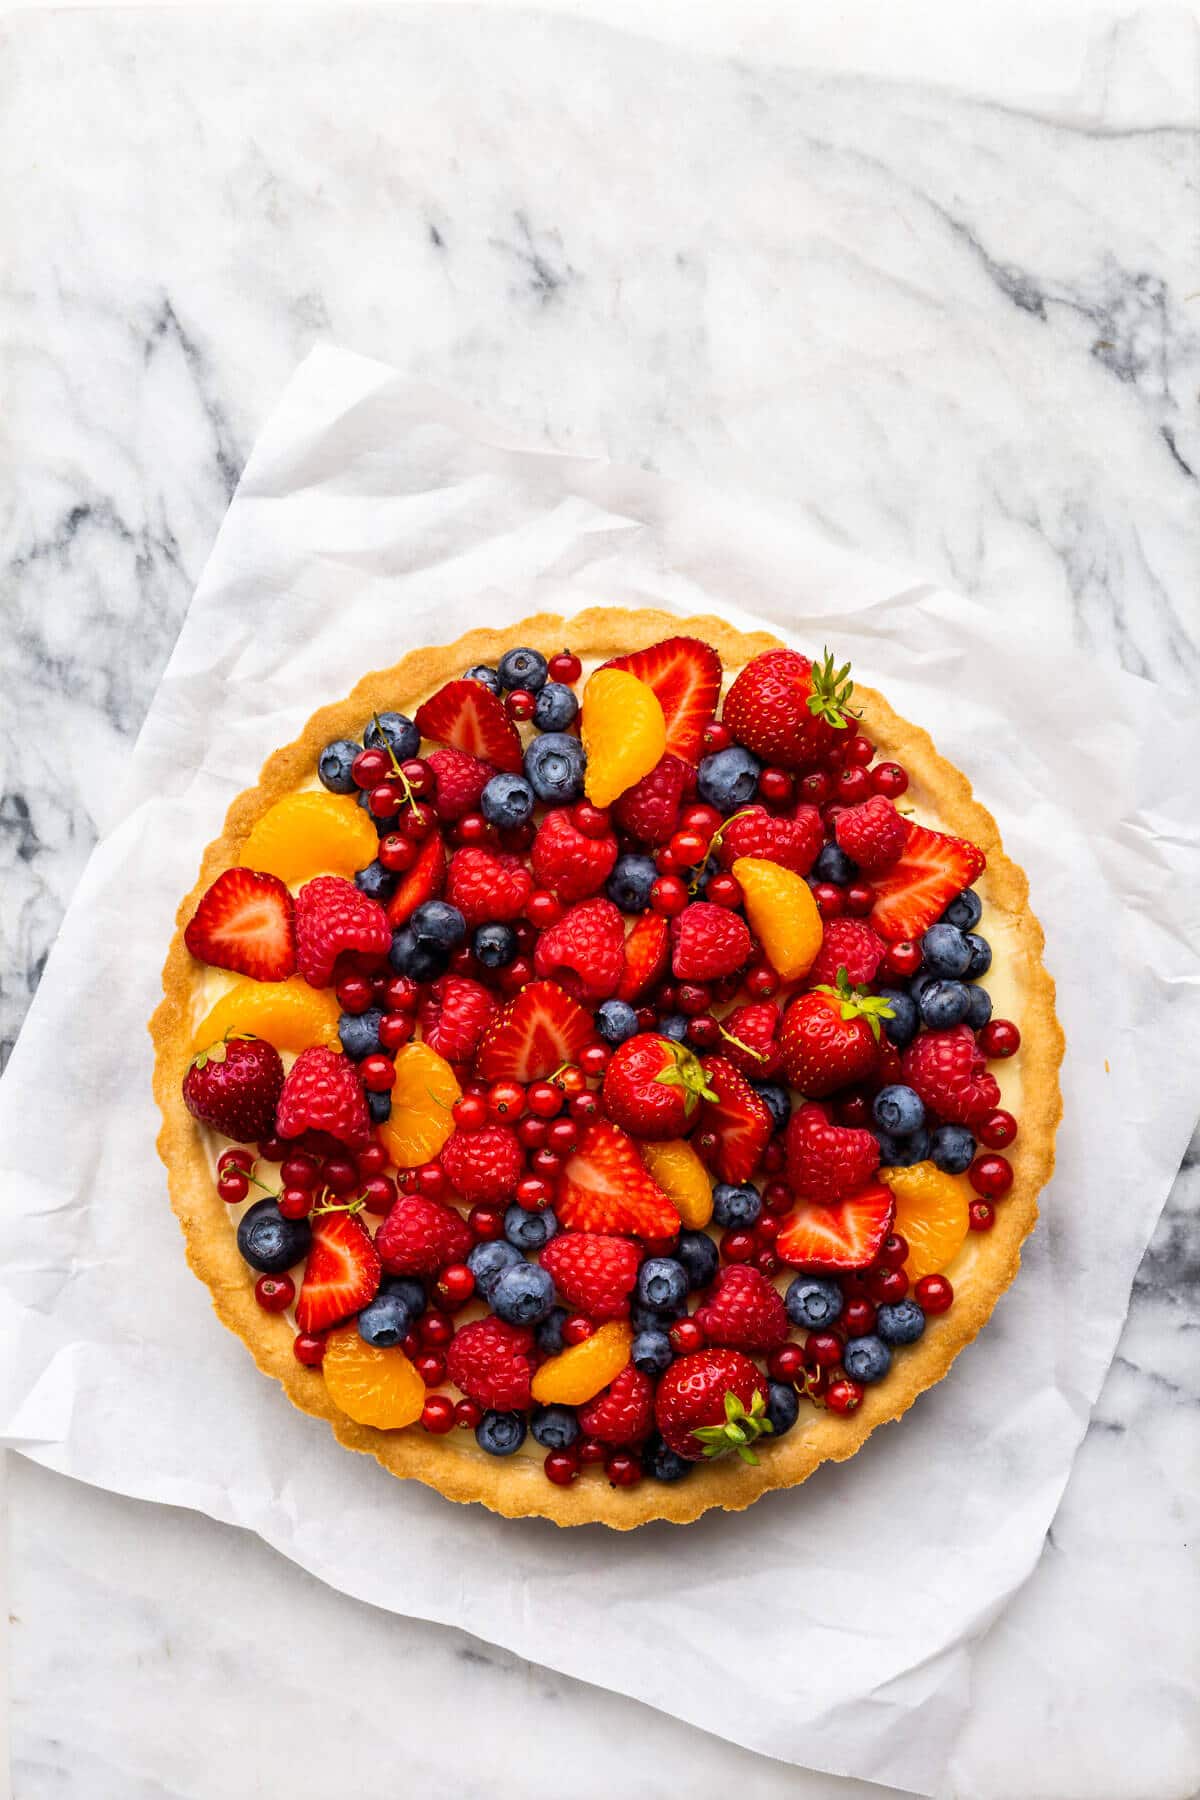
- Top the pastry cream with lots of fresh berries and sliced fruits, arranging them in a pattern or haphazardly, as you like. Cover the pastry cream completely with fruit so that none is exposed.
- Store the fruit tart in the refrigerator until you are ready to serve it.


Leave a Reply