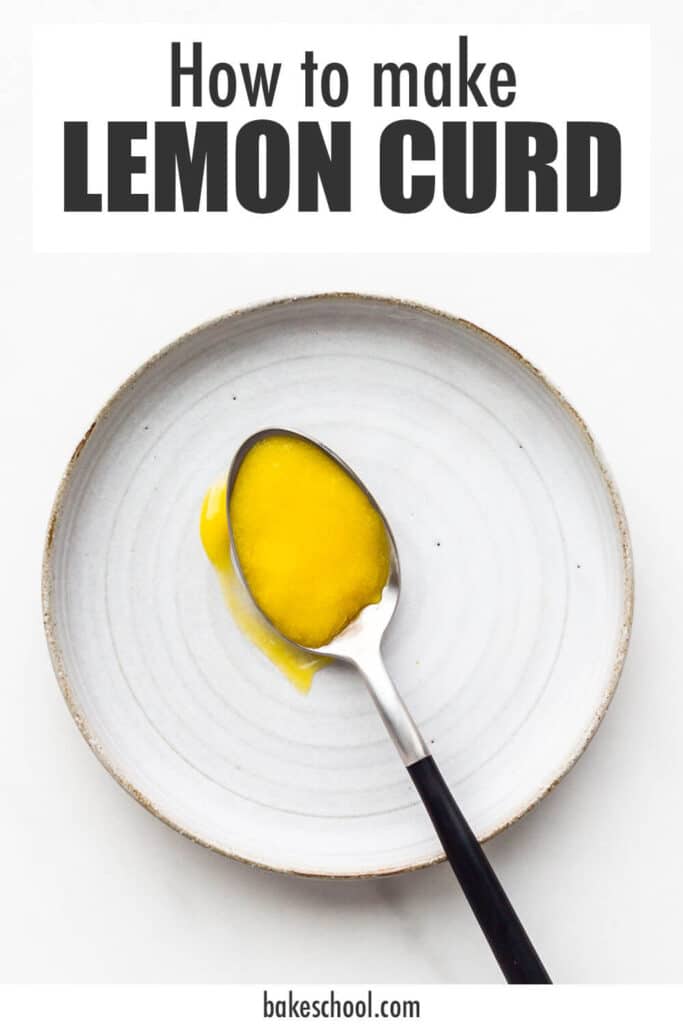
Learn how to make lemon curd from scratch. This recipe for lemon curd makes about 2 cups, from freshly squeezed lemon juice, egg yolks, sugar, and butter, without any thickeners or gelatin.
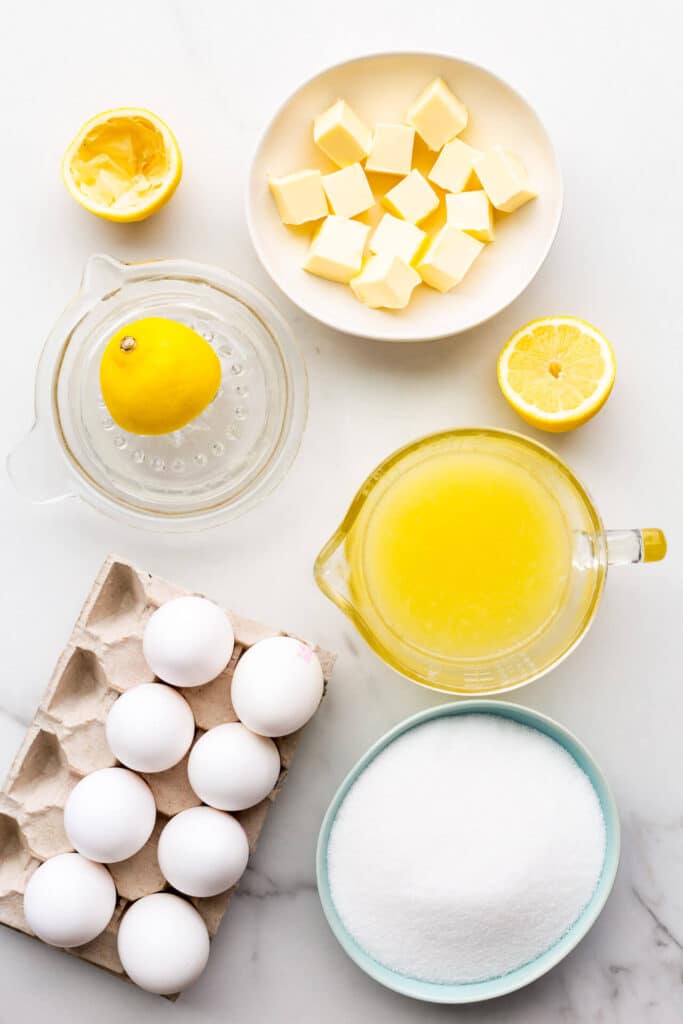
Ingredients to make homemade lemon curd
Lemon curd is made from a simple list of ingredients, specifically:
- freshly squeezed lemon juice—store-bought lemon juice sold in bottles is not a good baking substitution for lemon juice in this recipe
- egg yolks or whole eggs—these help thicken the curd and provide body. The yolks contribute to the bright yellow colour, making it look less creamy
- sugar—use granulated sugar because the goal is to sweeten and enhance the lemon flavour without masking the acidity or interfering with it. Other sugars may overpower the lemon flavour.
- butter—I use unsalted butter here but a little salt in this recipe can enhance the flavours, but too much will interfere. If you want to experiment with salted butter, I recommend starting with a semi-salt butter to avoid adding too much salt to the curd.
Other ingredients that you may see in lemon curd recipes help to make the curd more thick or more stable, and these ingredients include:
- gelatin or agar agar, which help to trap water, thickening the curd, and stabilize it.
- starches or flour, which also help to thicken the curd, just like for pastry cream.
Egg yolks versus whole eggs
Some lemon curd recipes are made with whole eggs, but I prefer lemon curd made with egg yolks. Egg yolks make a brighter yellow curd that is less opaque and hazy looking. I also think the flavour is richer using egg yolks.
Egg white proteins tend to coagulate at a lower temperature than egg yolks, and I find that it's very important to strain curds made with whole eggs because of the whites, which form little lumps.
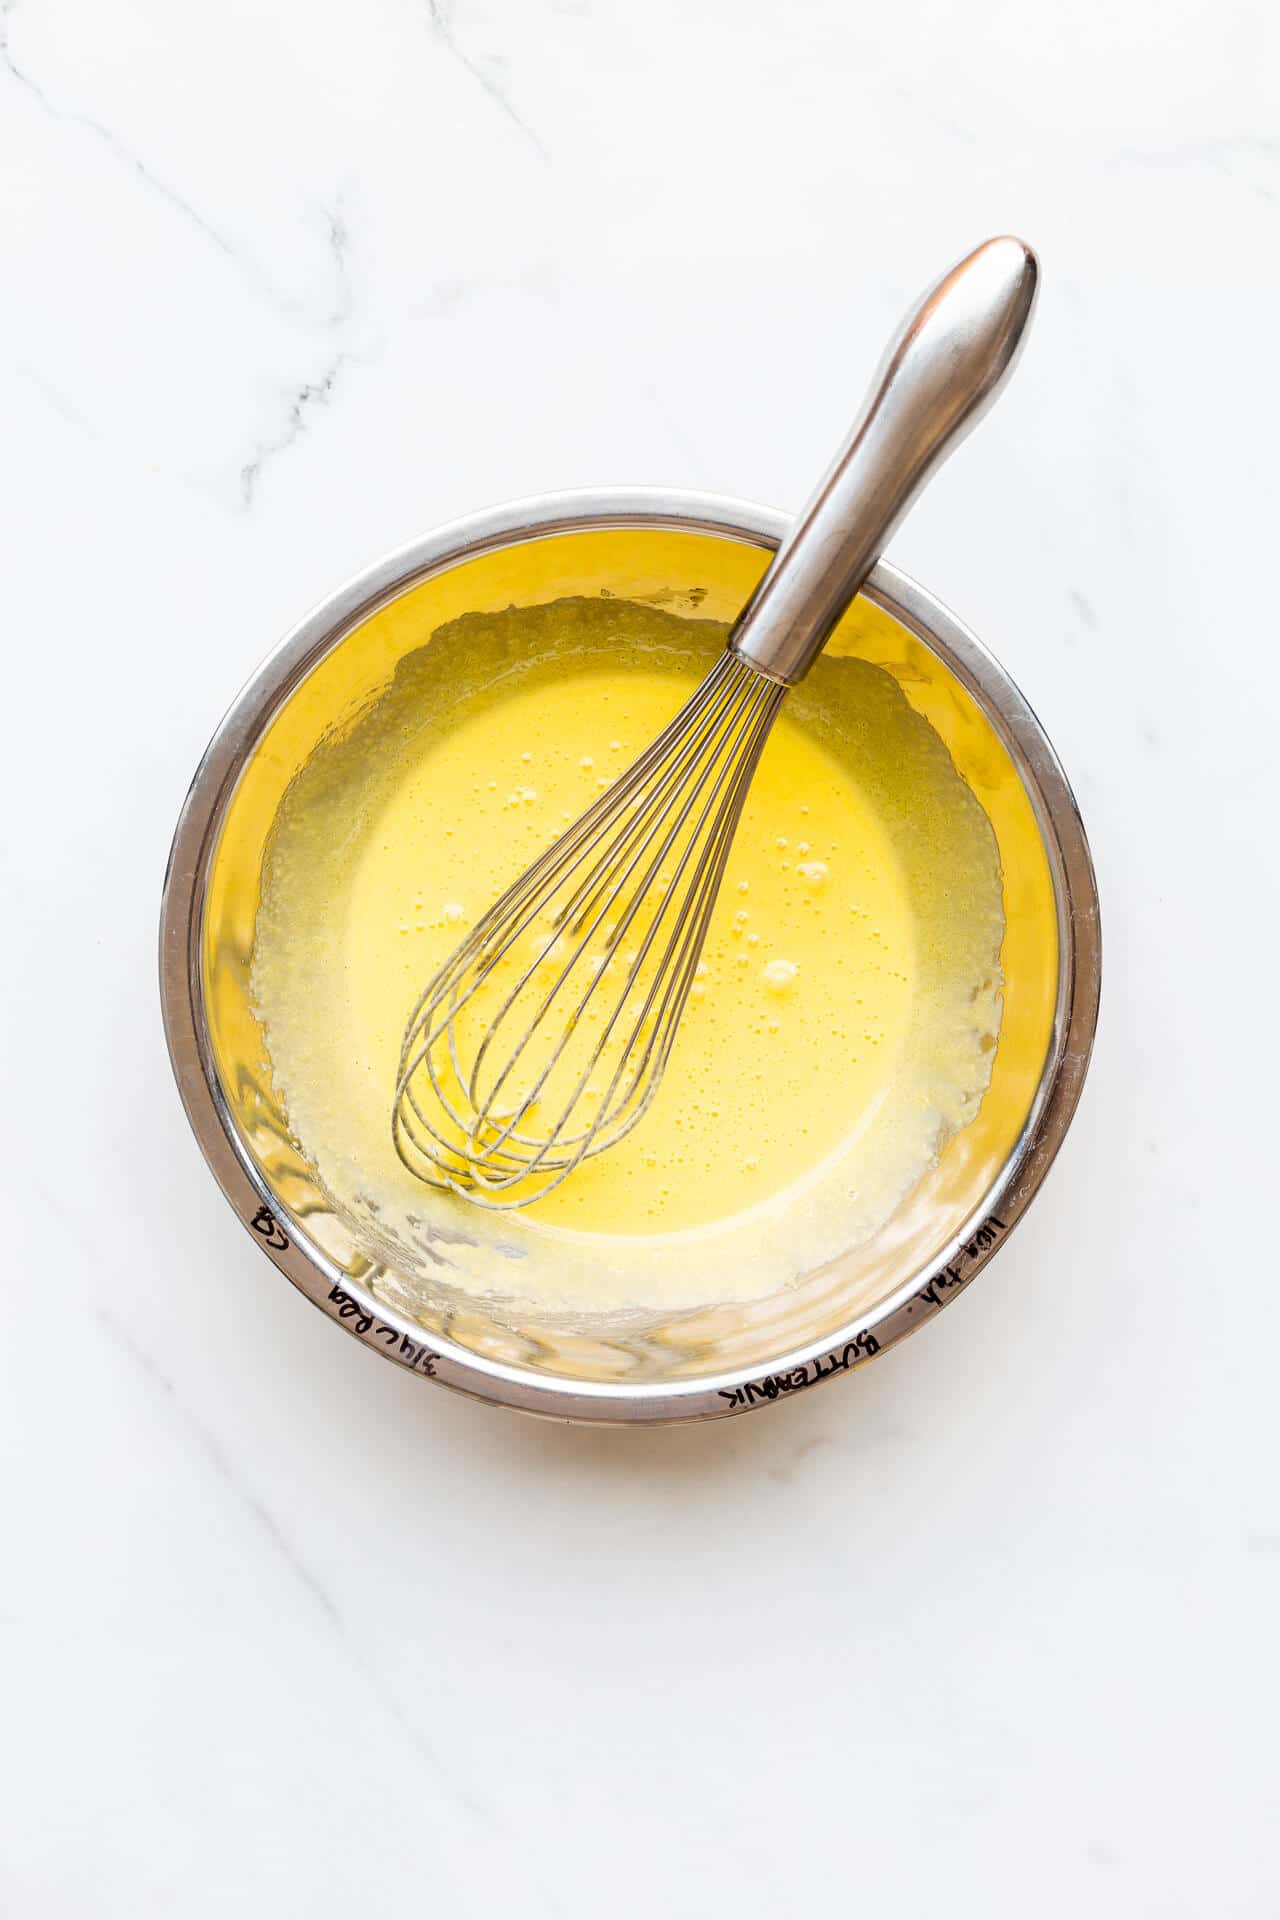
Making lemon curd on the stove
There are actually a few ways to mix the ingredients to make lemon curd and a few ways to cook them to achieve the perfect set. It's all dependent on comfort and skill levels.
Cooking over a water bath
Whisk all the ingredients together in a bowl and place the bowl over a water bath with 1–2 inches of simmering water. Heat the lemon curd gently until it thickens and heats to above 77 ºC or 170 ºF. For this method, the butter may be added at the beginning or at the end. Personally I always like to finish with the butter at the end, whisking it into the hot curd, which helps cool it down once you've hit the right temperature for set.
Cooking directly in a saucepan
Another option involves whisking the egg yolks with part of the sugar in a bowl, separately from the lemon juice and the rest of the sugar, which you bring almost to a boil directly on the stove.
"Blanchir les oeuf," is the French pastry term for whisking the eggs with the sugar until they are lightened in colour (instead of orange-yellow hue). You do this step to avoid leaving the eggs to sit with the sugar, which can cause the proteins to coagulate, like the eggs are hard cooked.
Once the eggs and sugar have been whipped and the sweet lemon mixture on the stove is hot, the hot liquid is poured over the eggs, while whipping (the baking term for this step is "tempering the eggs"). The goal is to gently raise the temperature of the eggs so that they are warm.
Once the eggs are tempered, and the mixture is homogenous, you pour it back into the saucepan and cook the curd gently until it thickens and reaches the setting temperature.
The setting temperature for lemon curd
Fruit curds have to be heated to above a certain temperature in order to set properly, just like marmalade has a setting temperature. This is especially important if you want to use lemon curd as to fill cakes, tarts, and bars.
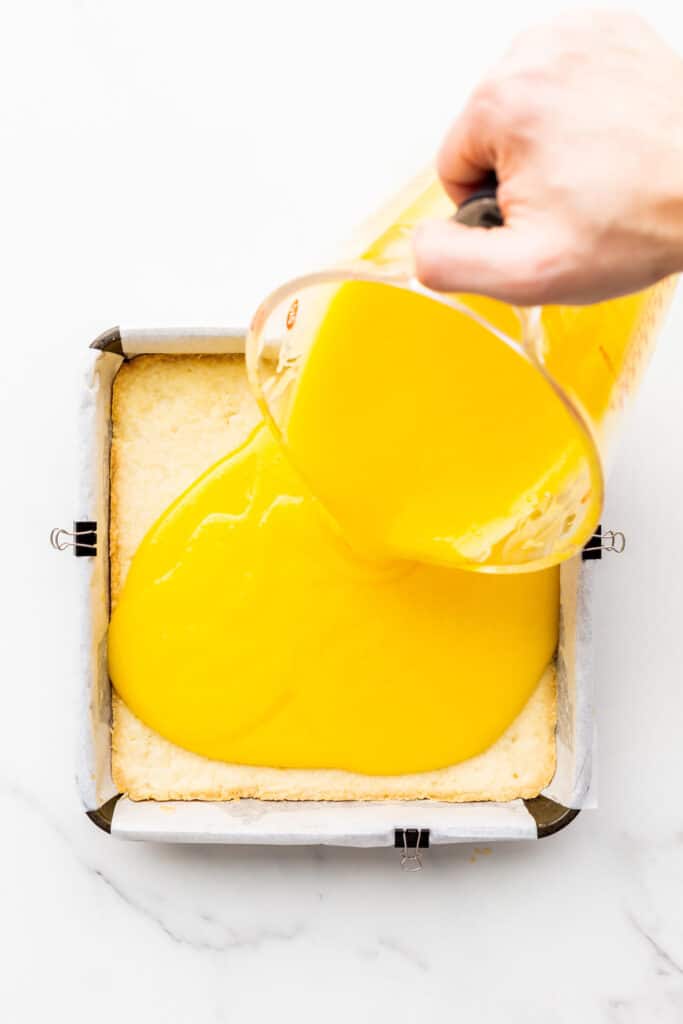
For example, these easy lemon bars are made from a 1-2-3 shortbread cookie crust topped with lemon curd, which was cooked on the stove. In order to be able to cut these bars, the lemon curd has to be cooked, almost to the boiling point, so between 77ºC and 82 ºC (170 ºF to 180 ºF).
Variations on lemon curd
You can take this base recipe and adapt it to make passionfruit curd or even grapefruit curd. The same principal behind this recipe is used to make a blackberry curd that is stabilized with gelatin to fill this Milk Bar-style blackberry almond layer cake.
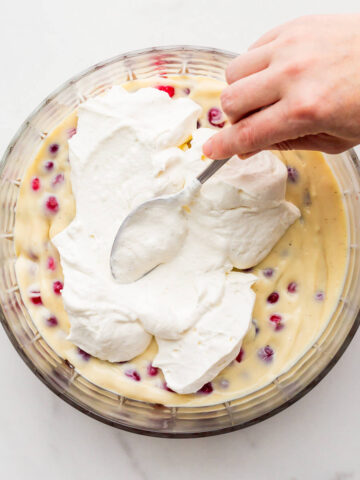
And once you've mastered making lemon curd, you can take this technique and use it to make these easy lemon bars. You can also fold lemon curd into whipped cream to make a lemon mousse. Lemon curd makes a great topping for cakes:
- you can spoon it over a pavlova with whipped cream and fresh berries.
- top a gluten-free lemon cake with a thick layer of lemon curd and fresh raspberries for another show stopping dessert!
Frequently asked questions
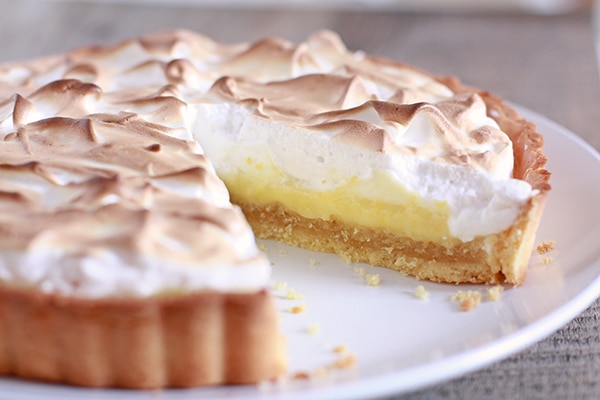
If your lemon curd is runny, it could be because you haven't chilled it sufficiently. I prefer to chill lemon curd in the fridge overnight to make sure it sets properly before I use it, especially when using it as a filling for cakes. Lemon curd becomes quite thick when it's cold, thick enough that it can be used as a tart filling and the tart can be sliced cleanly
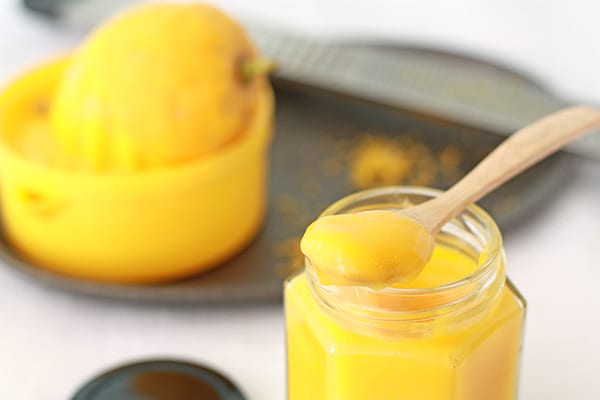
It could also be too soft or runny because you didn't cook the curd to a high enough temperature. The cooked curd should be very thick, like pudding when properly cooked, and coat the back of the spoon. The curd should cook to above 77 ºC or 170 ºF.
If you notice clumps or lumps in your lemon curd, it could be that you overcooked the curd and the eggs coagulated and cooked "hard." You can strain the curd to remove the lumps.
If you used lemon zest to make lemon curd, the zest will lead to a less smooth mouthfeel. I recommend straining it.
If you made lemon curd with starch or flour, if you didn't incorporate it properly using a whisk, these could form lumps where the clumps hydrate and gel on the surface but stay dry in the middle.
If you set the curd with gelatin, it's important to whisk the gelatin into the curd when the curd is warm, otherwise, you may end up with beads of unmelted gelatin in the curd.
Lemon curd is used as a filling or a spread. Traditionally, it's served with scones for afternoon tea. You can also spread it on toast for breakfast.
You can fold lemon curd into whipped cream to make lemon mousse or layer it with whipped cream to make an apricot trifle.
You can also sandwich it between layers of sponge cake, like this warm milk sponge cake or between layers of vanilla cake with chocolate frosting.
📖 Recipe
Lemon Curd
Ingredients
- 170 mL fresh lemon juice
- 200 grams granulated sugar
- 8 large egg yolk(s)
- 150 grams unsalted butter cut into pieces
Instructions
- In a small-to-medium saucepan, combine the lemon juice with half the granulated sugar. Set on a burner on medium–high heat.
- Meanwhile in a medium heatproof bowl, whisk together the egg yolks with the rest of the sugar. Whisk vigorously until the mixture turns a very pale, light yellow. Set aside.
- Place another bowl with a strainer over top next to the stove, and have the chopped butter ready on a plate close by as well. Have a heatproof spatula ready too. Do all this before going any further.
- When the lemon juice just comes to a boil, take the pot off the burner and pour the juice over the sugary egg mixture. Whisk to temper the eggs and combine all the ingredients together. Pour the mixture back into the saucepan and return the pot back onto the burner. Whisk the mixture over medium–high heat until it is thick enough to coat the back of a spoon and cling to it. You can use a thermometer to monitor the temperature: a properly cooked lemon curd is cooked to 77–82 ºC or 170–180ºF.
- After the right set and temperature are reached, immediately take the pot off the burner and turn it off. Drop the butter into the saucepan, a few pieces at a time, whisking constantly and when all the butter has disappeared into the curd, transfer it all to the strainer set over a bowl. Collect the curd in the bowl, then cover with cling film pressed directly on the surface to protect it from the air. Chill overnight.
Notes
- For the brightest, best flavour, please use freshly squeezed lemon juice from fresh lemons
- Do not substitute the lemon juice sold in bottles at the grocery store! It won't yield the same flavour or colour.
- Calories calculated per teaspoon of curd


Leave a Reply