Learn how to make the best strawberry jam with this easy recipe. Use fresh strawberries to make this easy homemade jam with the perfect set without adding pectin following the tips and tricks!
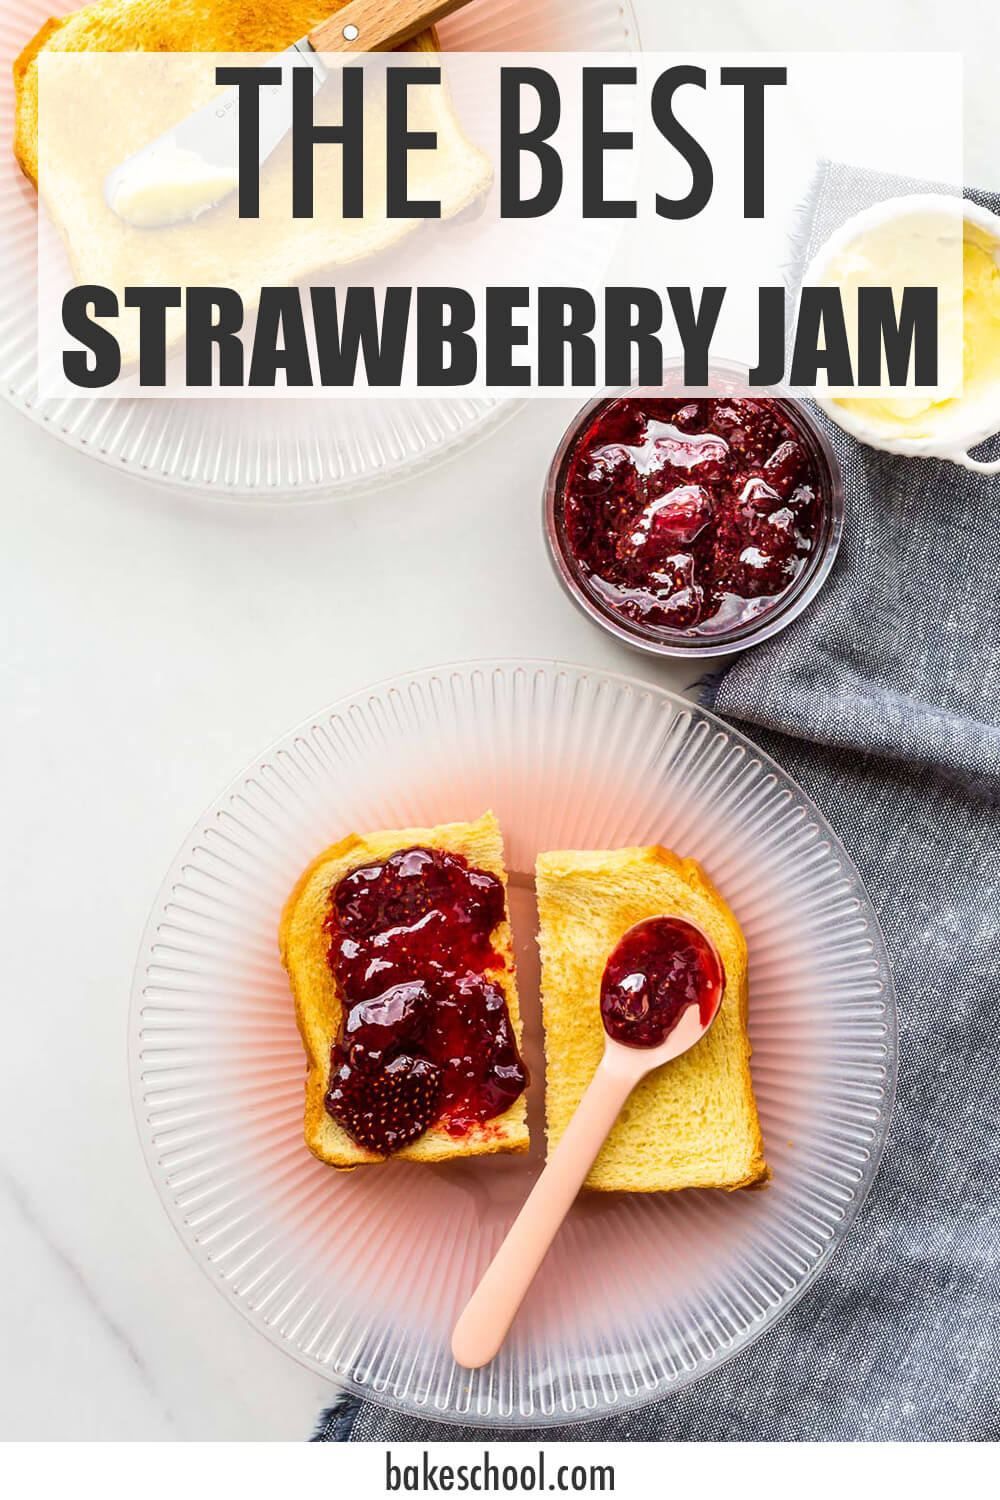
"Homemade jam is easy to make," many of us say. And it's true that it isn't difficult, but you have to follow the quantities and steps carefully so that you are successful every time. The good news is that strawberry jam is the perfect jam to make to practice and develop your jam-making skills!
Before you dive into making this recipe, please read all about the jam setting point so you know all the tricks to determining if your jam will set.
Jump to:
Ingredients
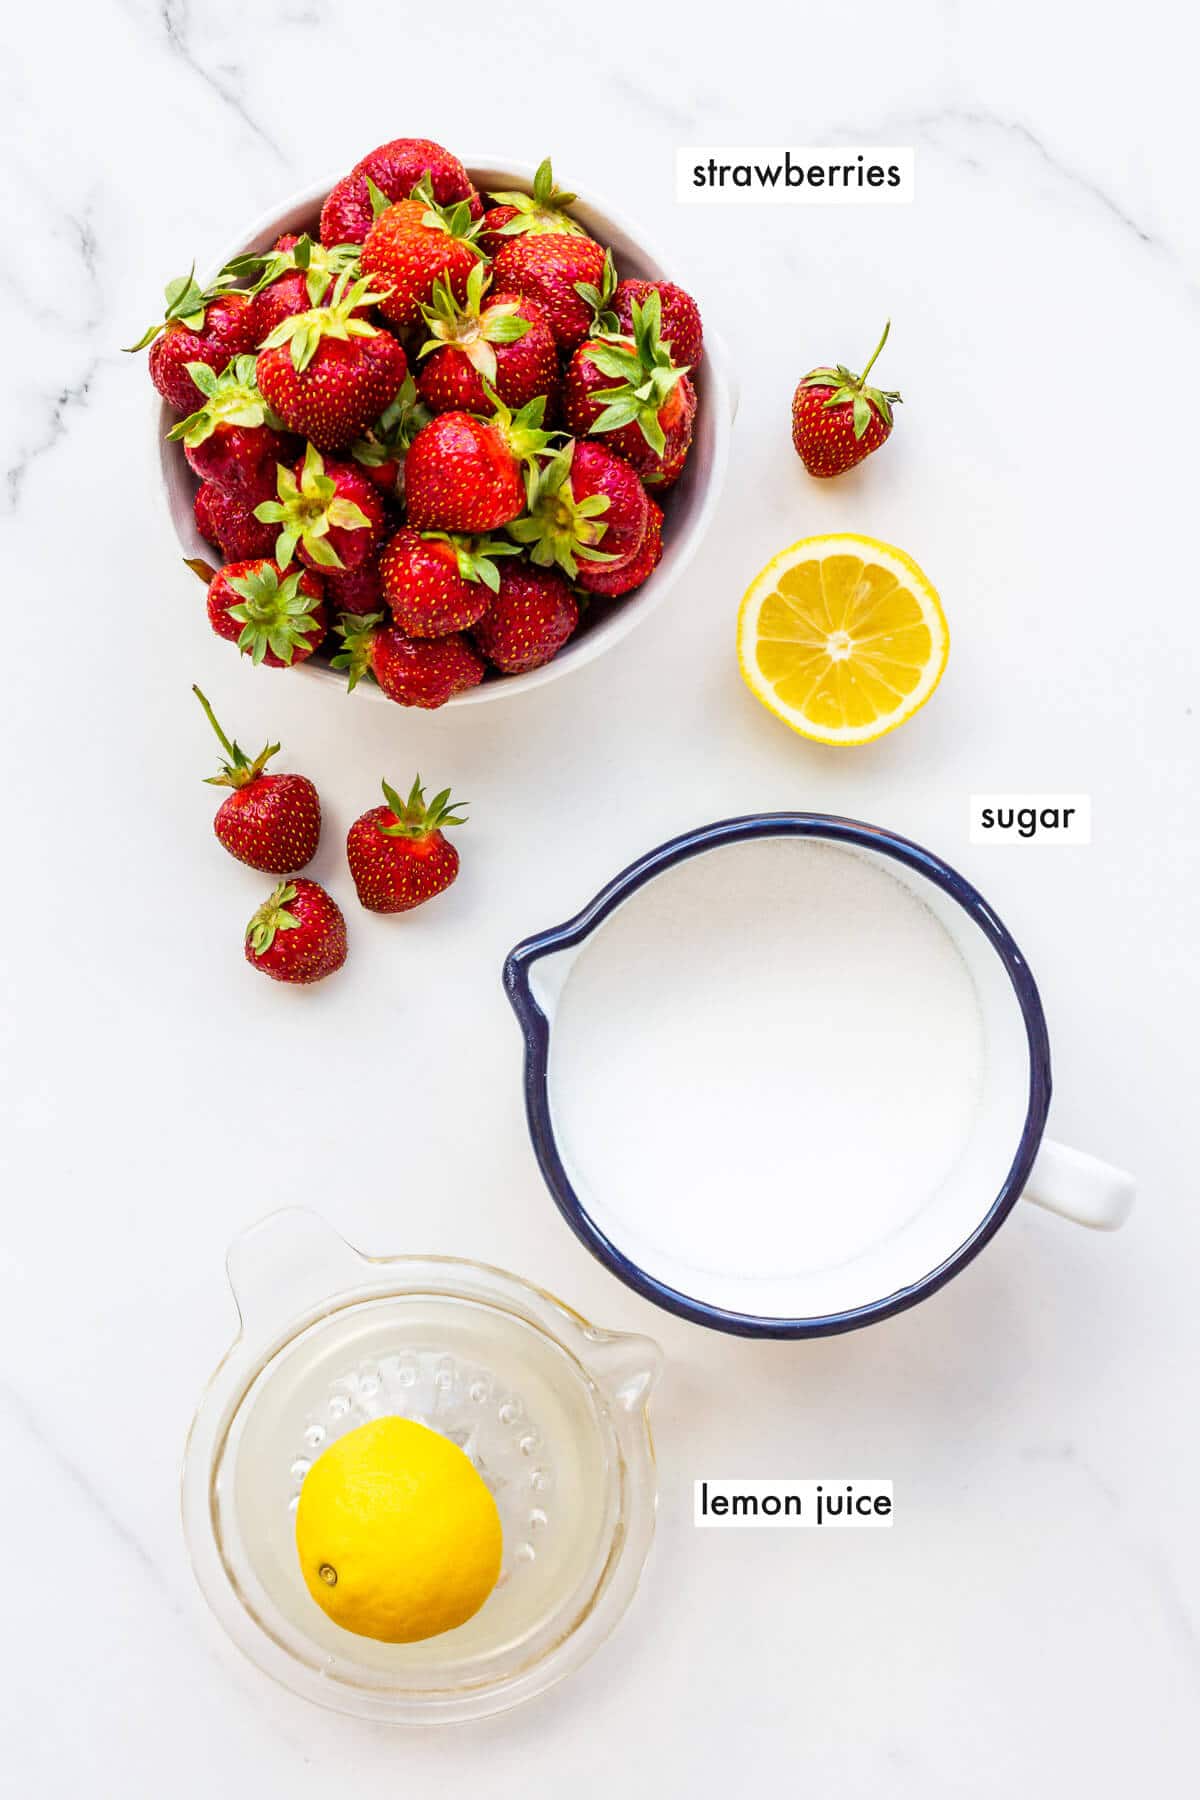
You only need a short list of ingredients to make jam, and they are very simple and easy to come by:
- strawberries—use a combination of ripe and slightly under-ripe fruit (like 75 % ripe and the rest under-ripe) so that you have enough pectin from the fruit to achieve the perfect set
- sugar—I use regular white granulated sugar, though evaporated cane sugar can also work. Don't use a coarse sugar and avoid sugars with too much flavour, like muscovado brown sugar, unless this is the flavour you are going for
- lemon juice—to make sure the pH of your jam is below 4.5, acidic enough that botulism won't be an issue
- vanilla bean (optional)—if you happen to have a vanilla bean leftover from another project, you can add it to the pot to infuse your jam!
See recipe card for quantities. If you want to explore other flavours with this base recipe, visit the sections below on variations and substitutions.
For the weight of fruit in this recipe, make sure to weigh what you have left after doing all the washing and trimming. You want the weight of fruit that is going into the pot, not the weight of strawberries with the tops and leaves. Otherwise you may end up with more sugar and less fruit. The jam will be sweeter.
Instructions
Use this section for process shots, alternating between the step and image showing the step. Users don't like seeing process shots cluttering up the recipe card, so include your process shots here.
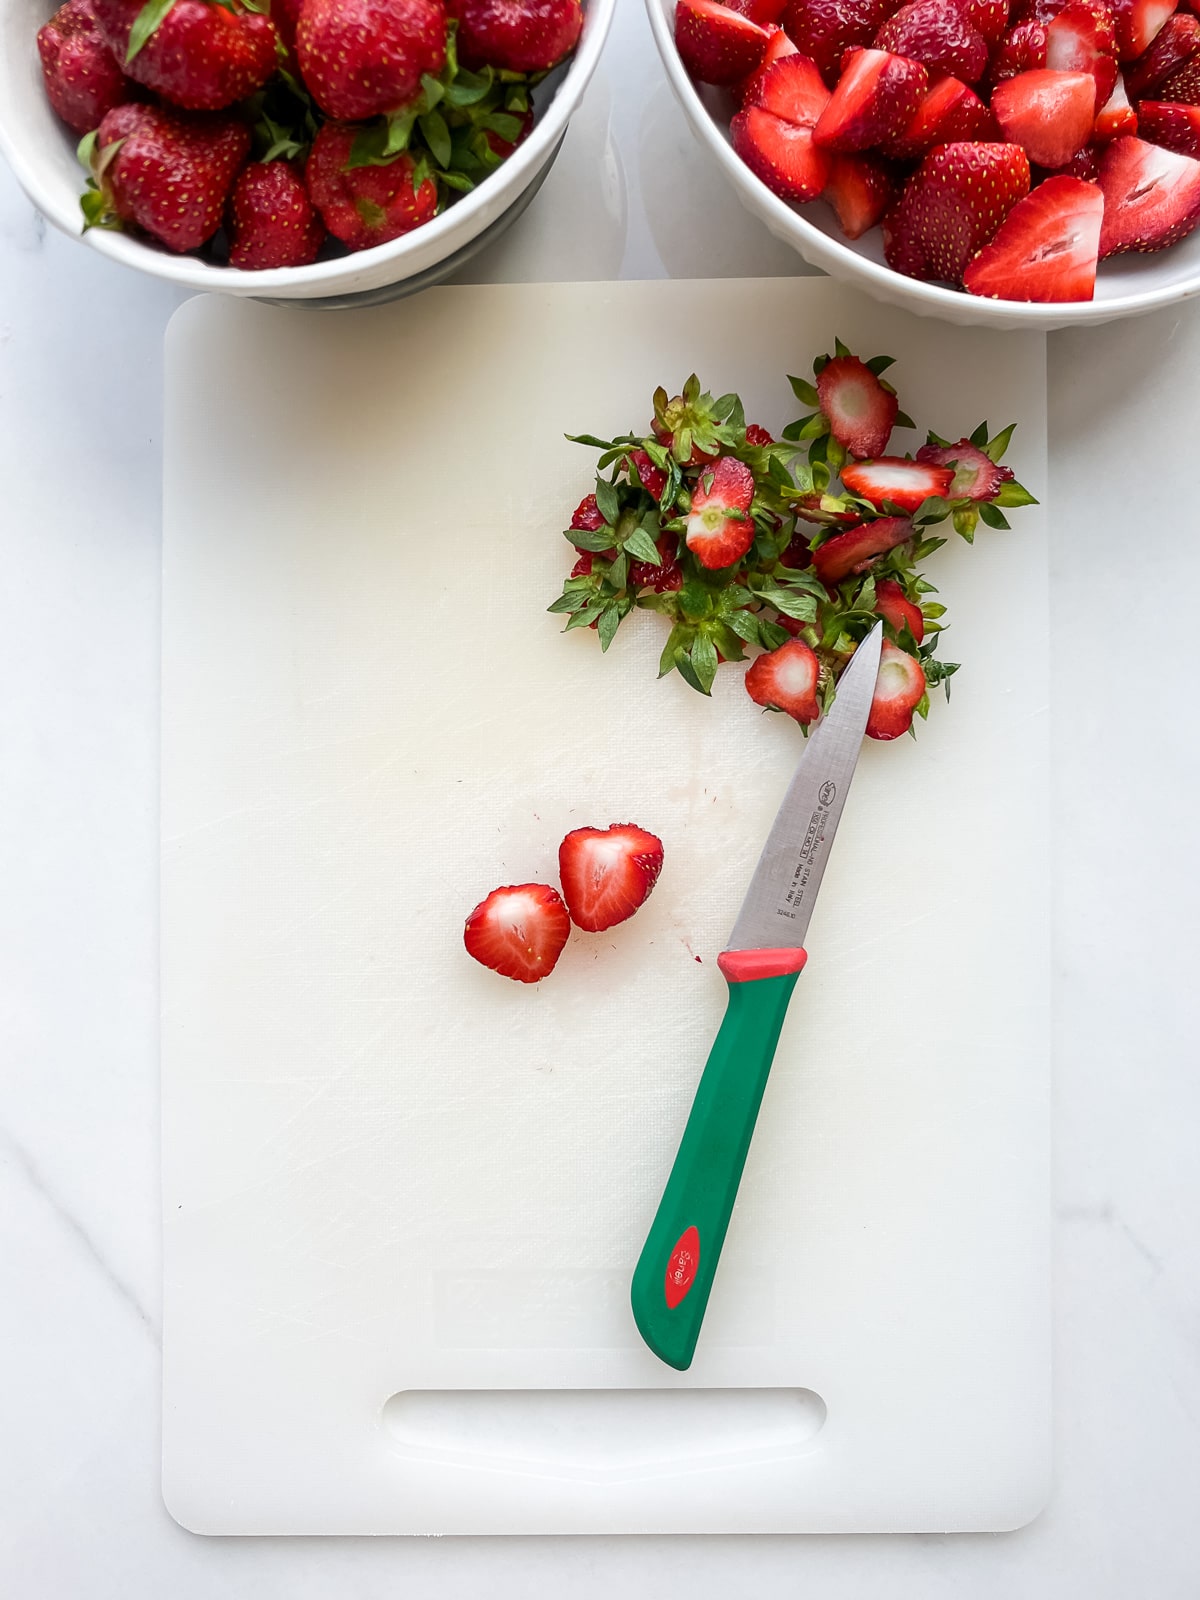
Hull strawberries to remove the tops then slice in half or quarter.
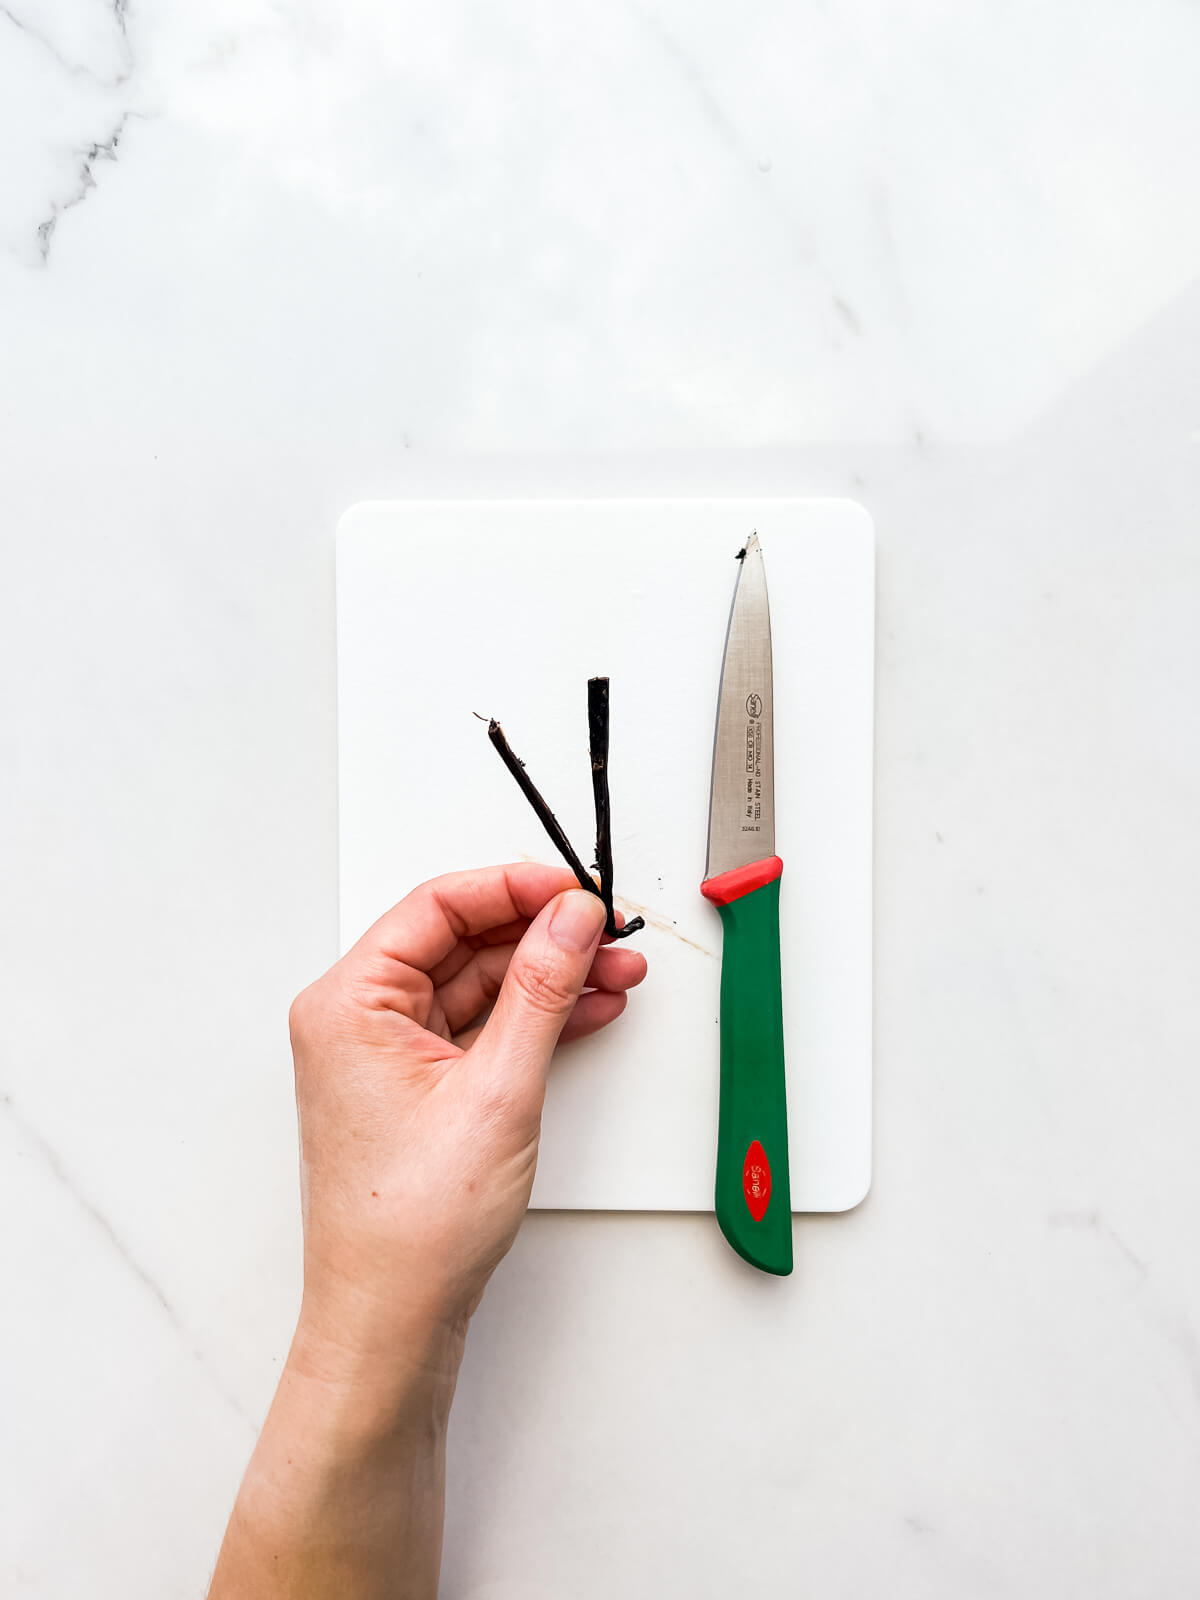
Split open lengthwise half a vanilla bean to infuse your jam (if using).
Tip: To wash your strawberries, give them a generous rinse in cold water and spread them out on paper towel to blot any excessive moisture. Trim and remove the stems only AFTER rinsing and patting dry.
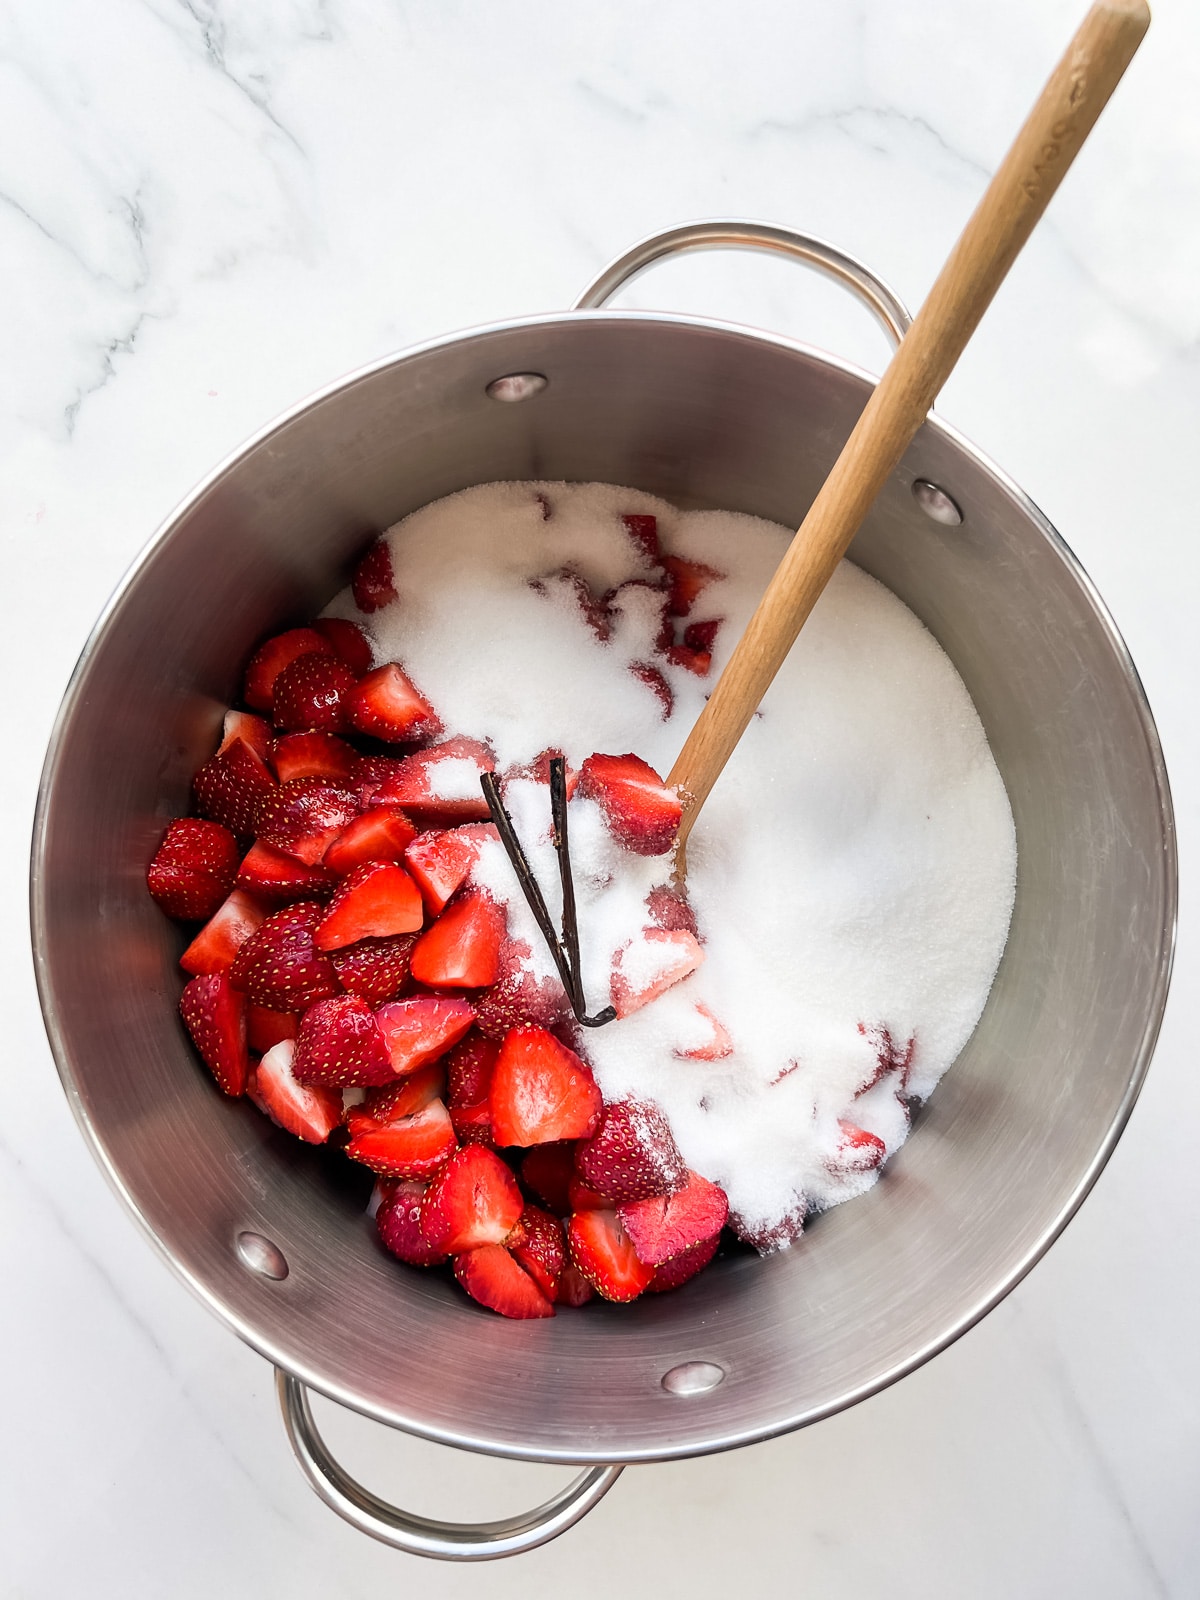
Combine the strawberries with half their weight in sugar and the vanilla bean (if using).
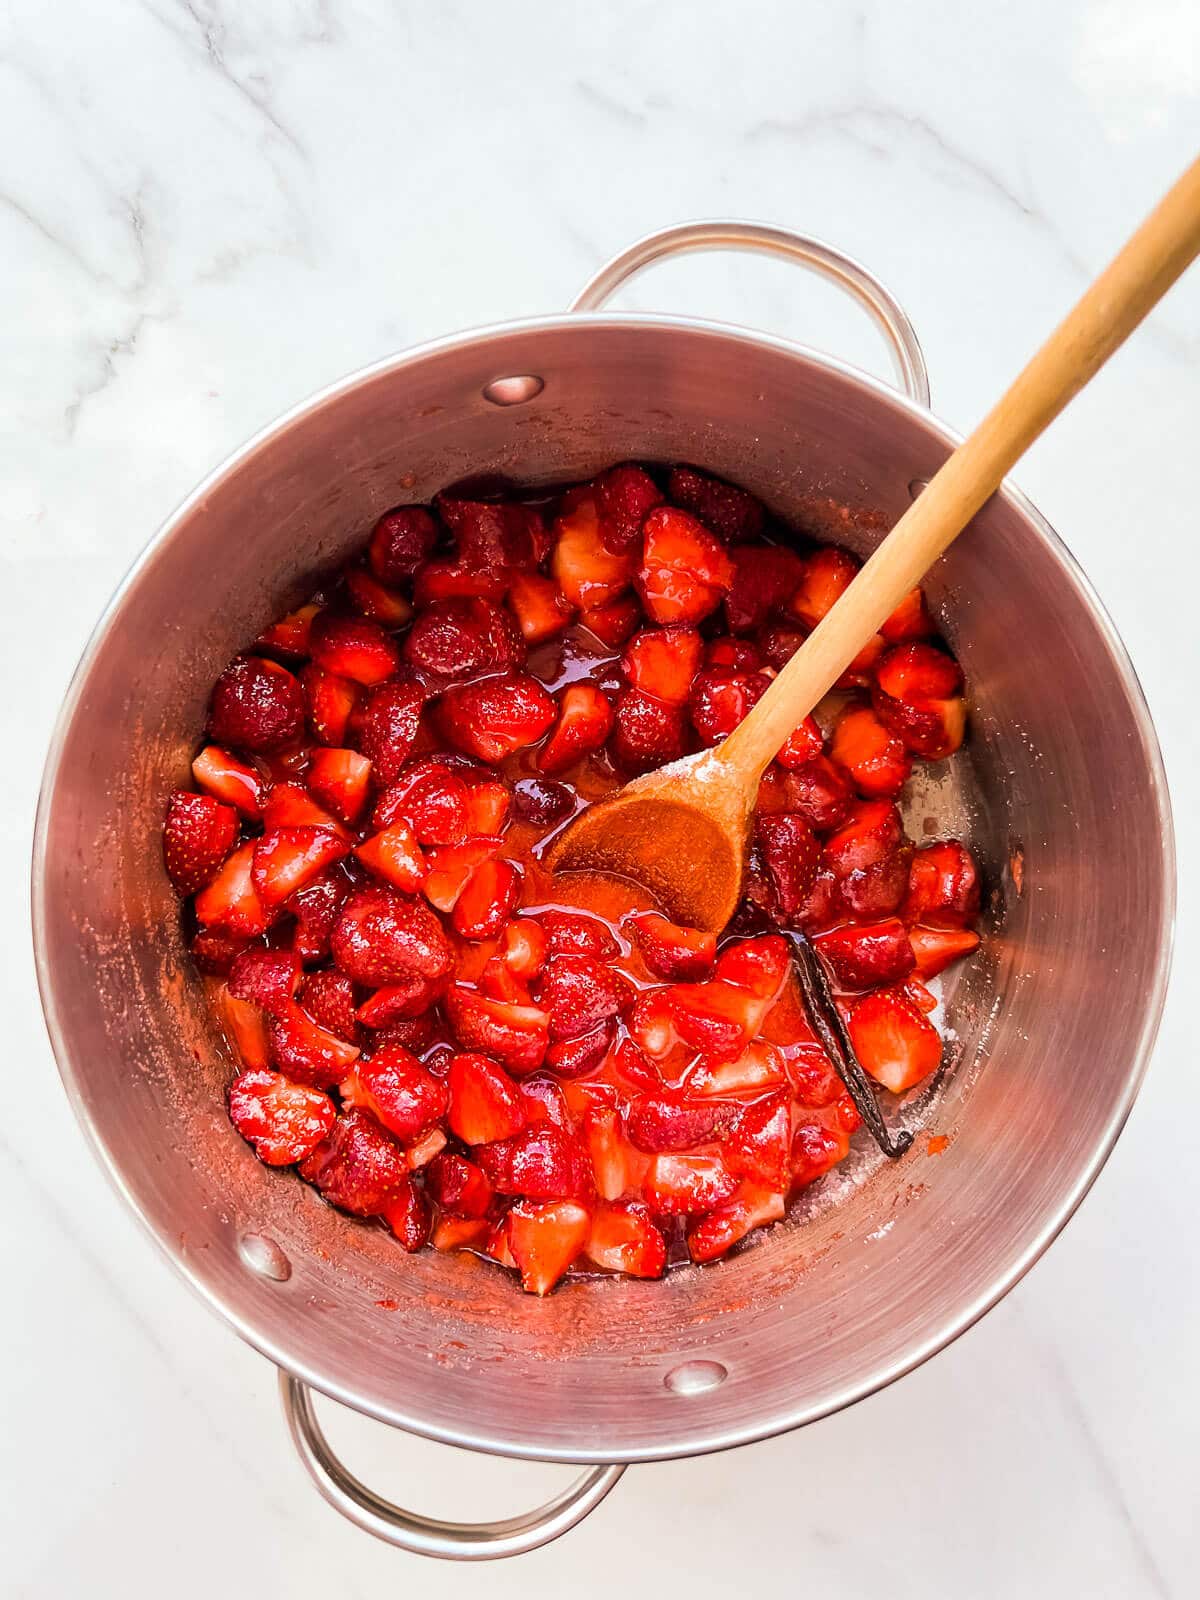
Let the berries macerate to release the juice
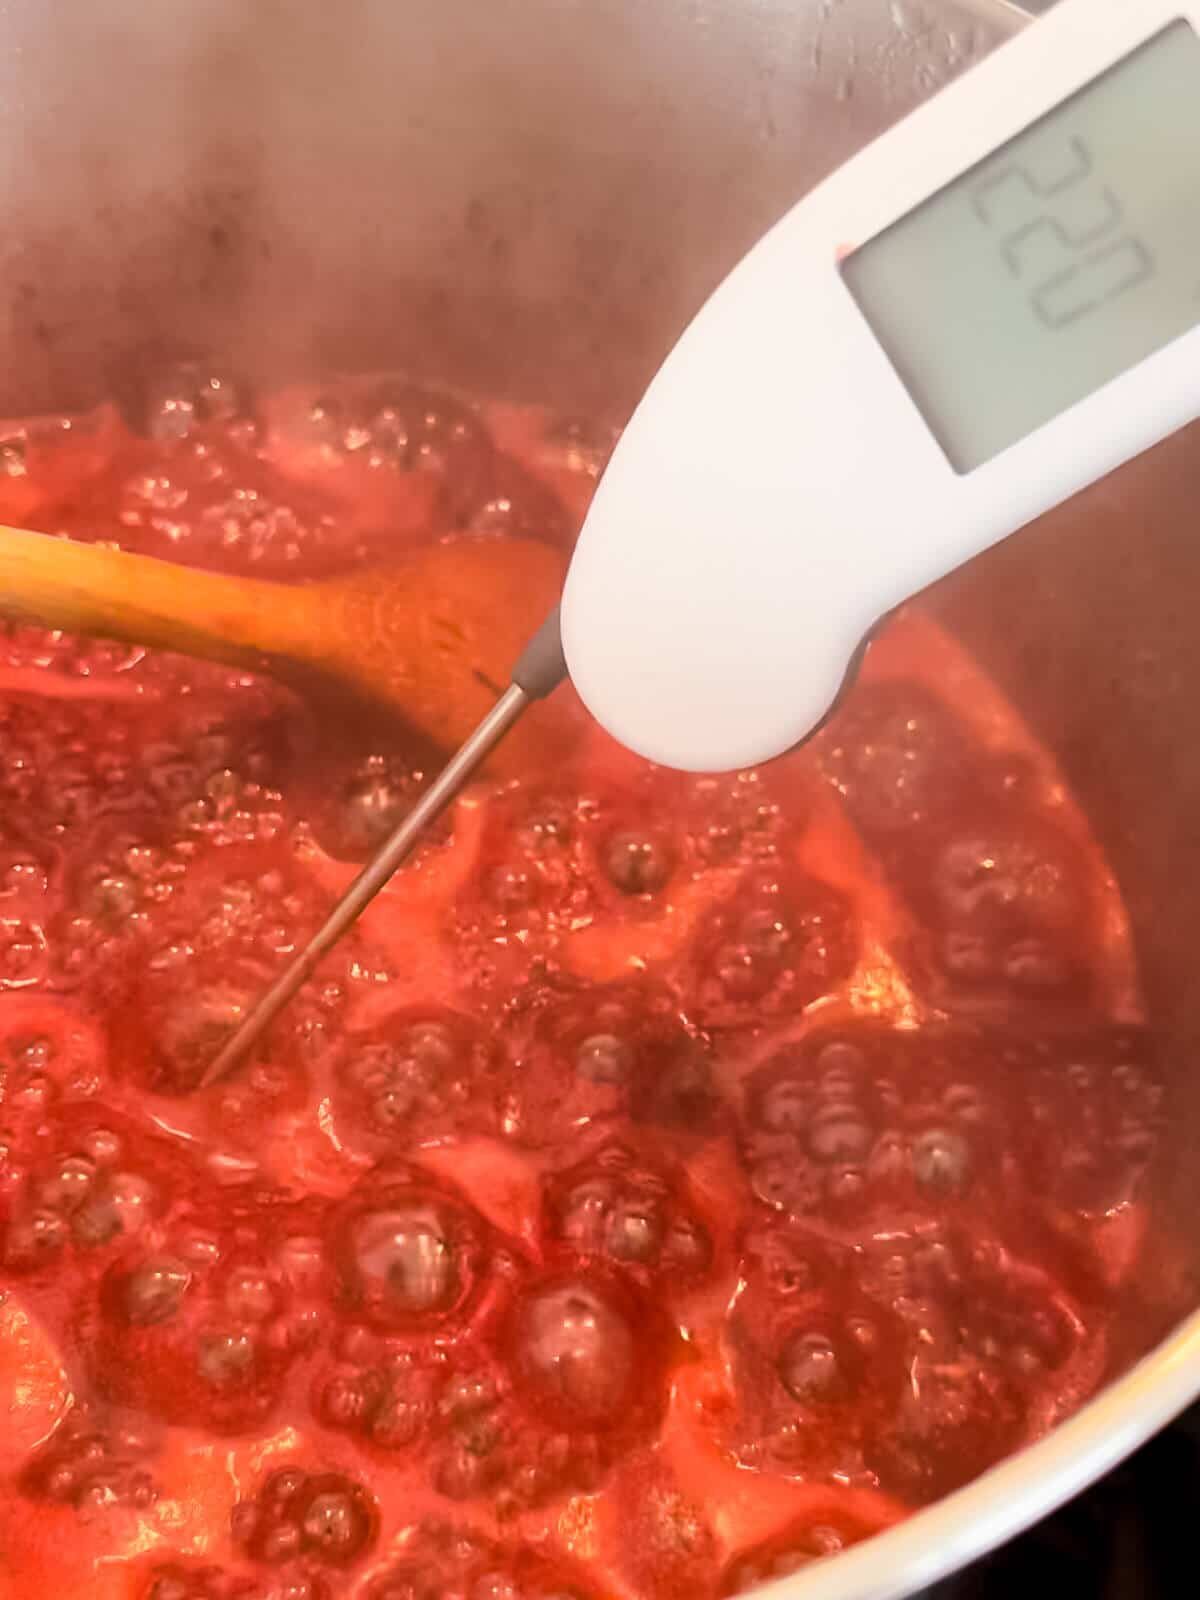
Use a thermometer to monitor if you are approaching the jam setting point.
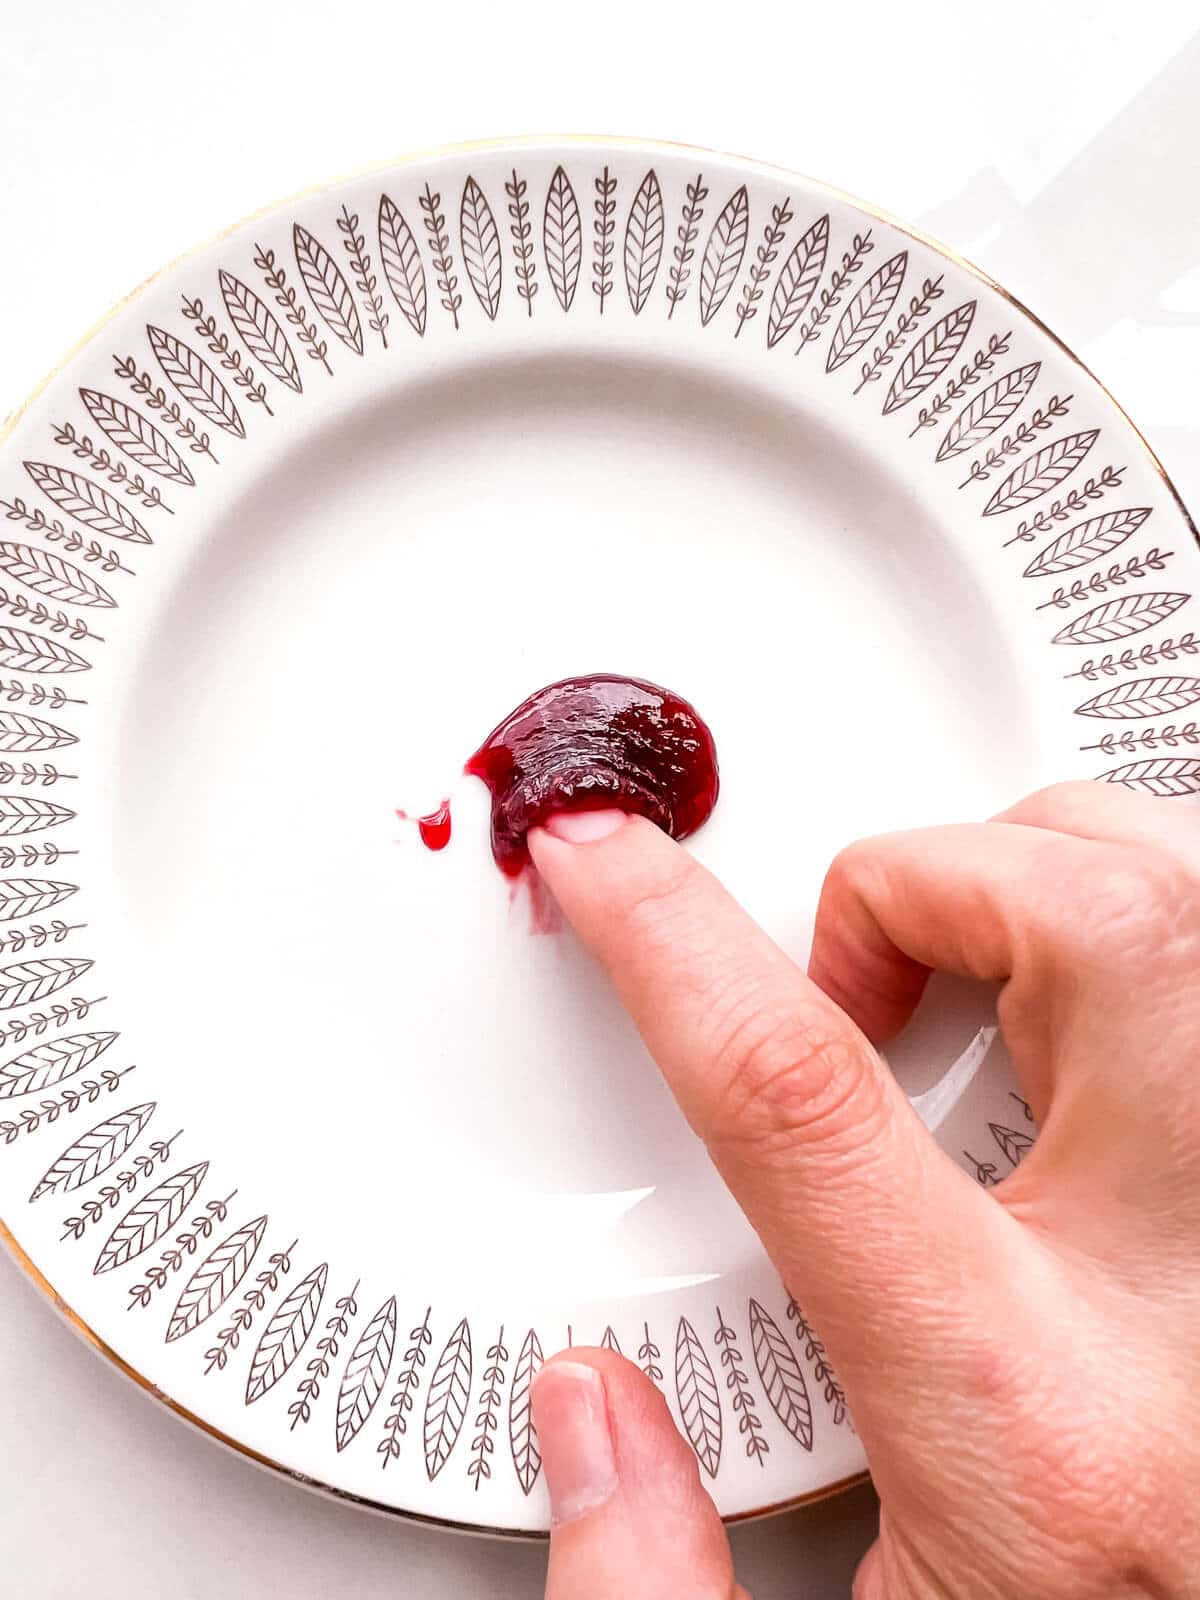
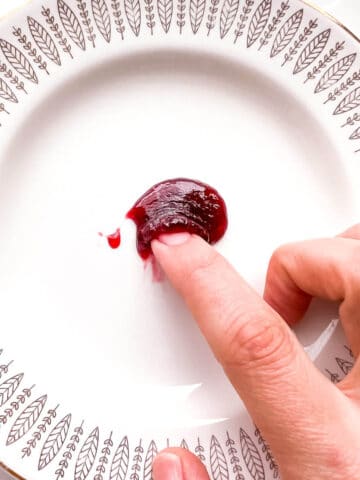
Use the freezer plate test to check if the jam will set once cold.
Hint: Use two or three techniques to check the jam set. I like my jams to be thick and so I tend to boil them longer sometimes, but you may like to boil a little less for a looser texture. Always make sure to boil above 217 °F to make sure the jam will gel nicely.
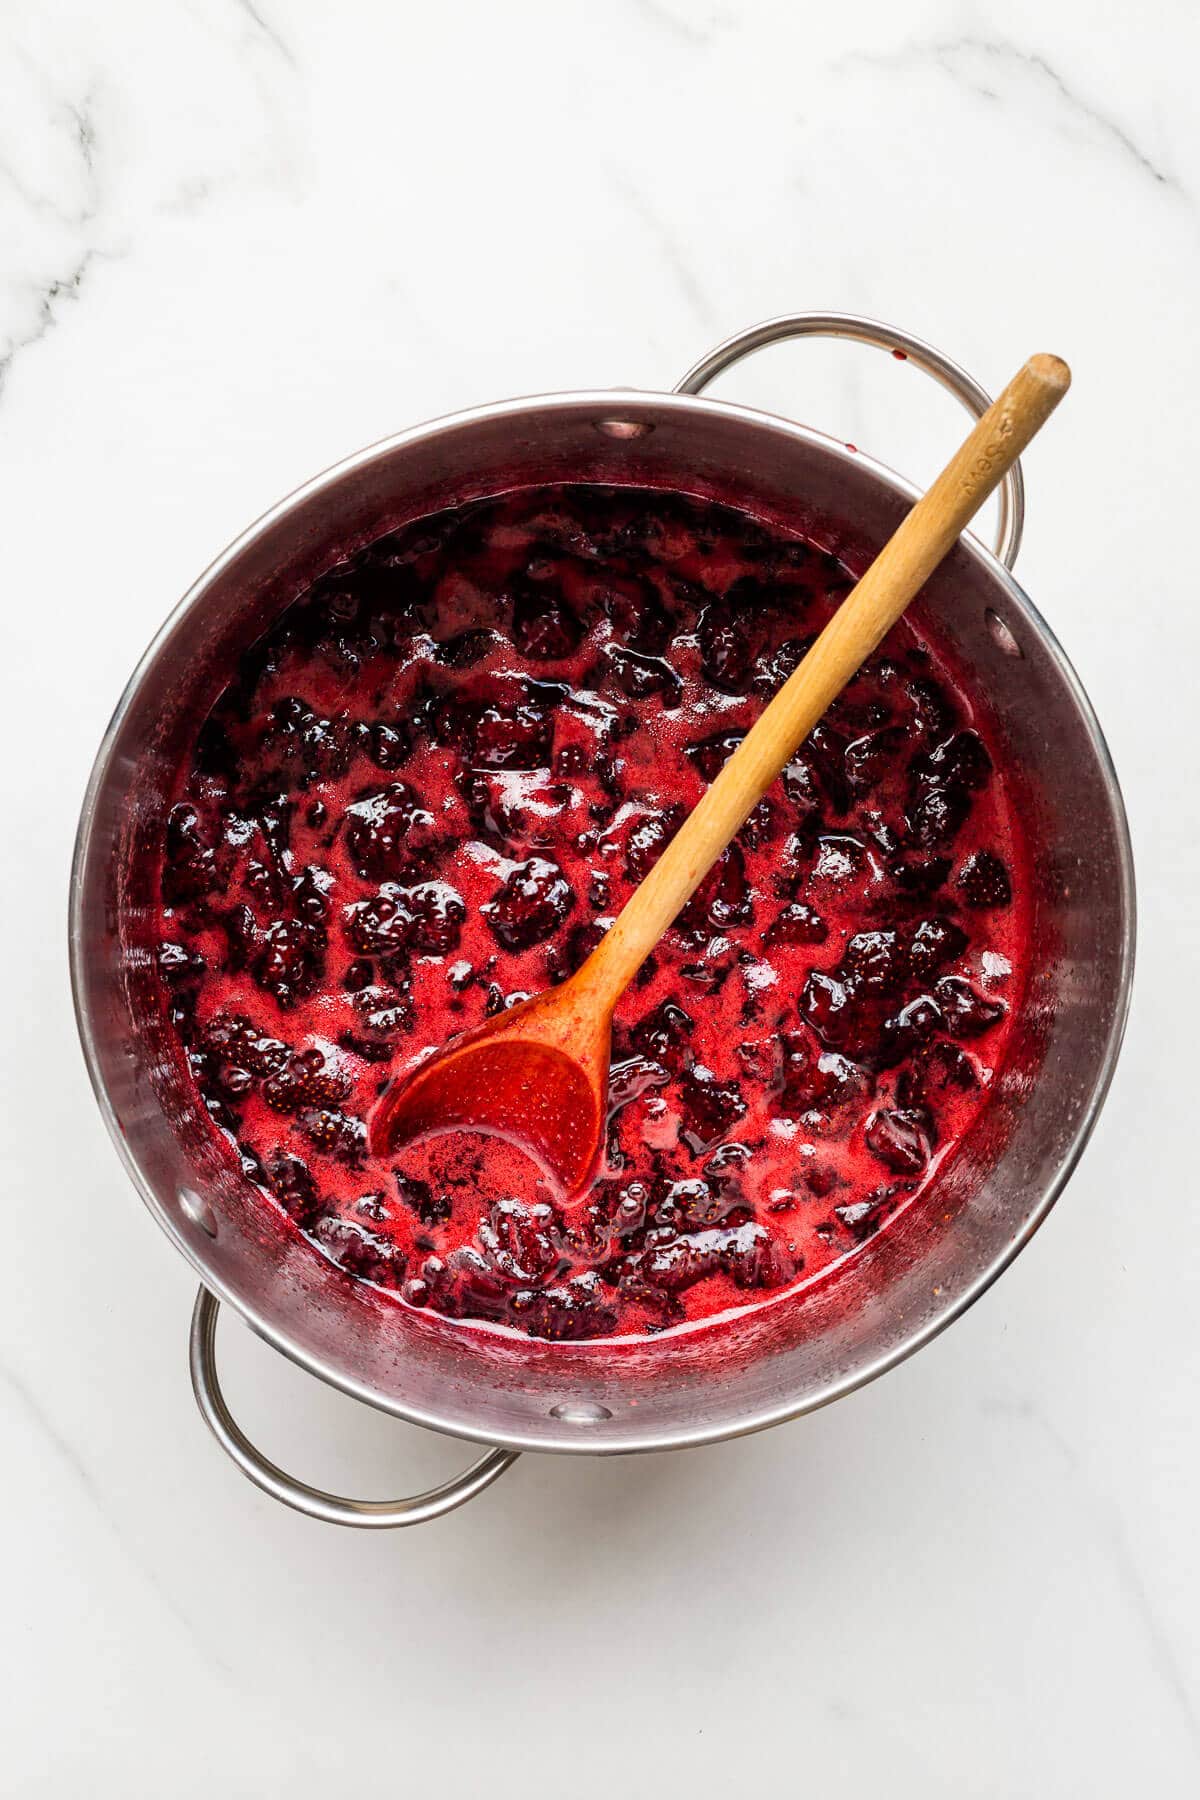
Foam on surface of jam
With certain berries and fruits (strawberries, notably), you will notice as the fruit and sugar boil, a stable foam forms on the surface of the jam, and it doesn't always go away.
The foam is air bubbles. It's harmless, but it doesn't look great. To remove the foam:
- Skim the foam by pushing it to the edges of the pot
- Use a long handled spoon to carefully scoop it off the surface
- Transfer the foam to a bowl
- Repeat the process to remove as much of the foam as possible
Follow these steps and you will have a clearer jam in the end.
For some jams, like rhubarb, blueberry, and apricot jams, the foam disappears on its own as the jam boils. It seems to depend on the type of fruit.
To reduce the foam that forms on the surface, you can add ½ teaspoon of butter or canola oil (4–5 grams) to the ingredients. The fat will prevent foam from forming. You will have less skimming to do. This amount should not alter the flavour significantly.
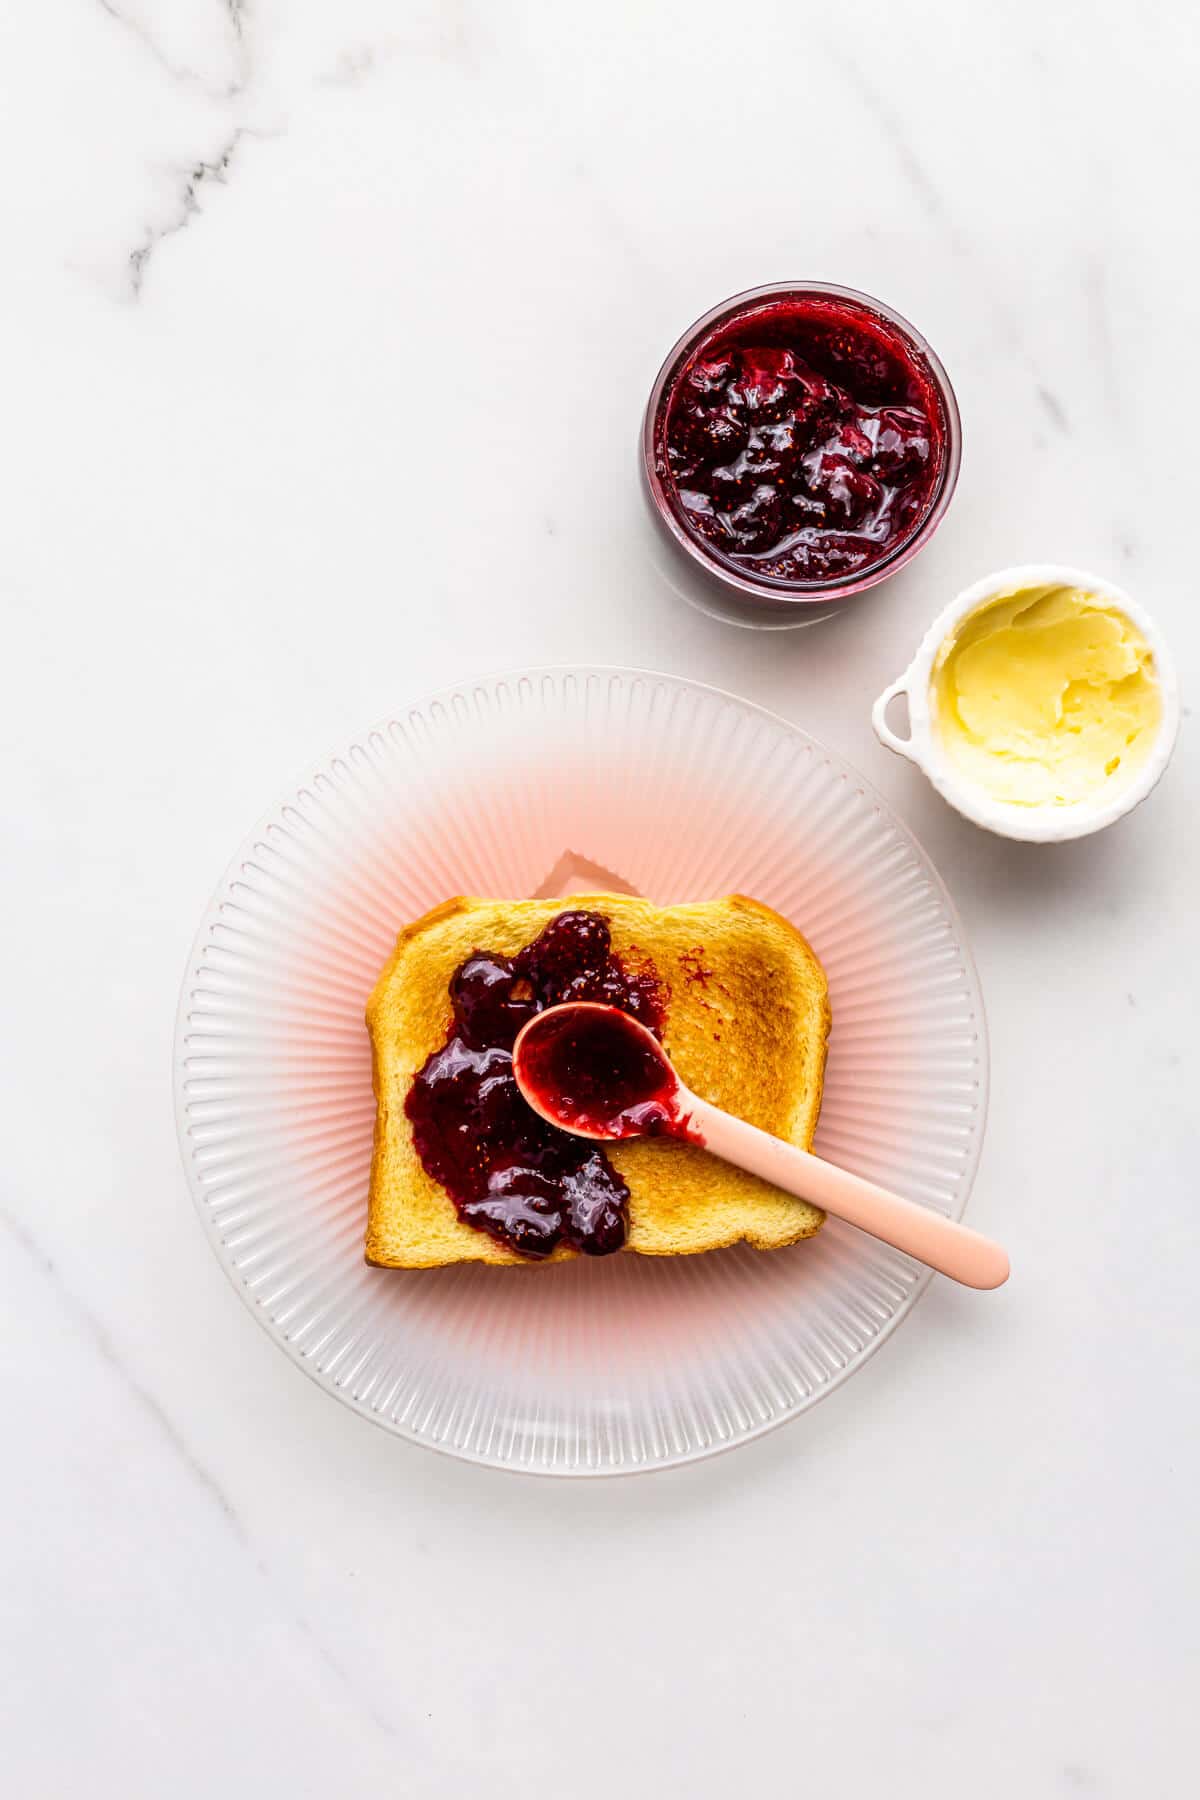
Substitutions
You only need a few ingredients to make jam, so substitutions are limited:
- Sugar: you can replace regular granulated sugar with cane sugar. You could replace a portion of the sugar with honey. Just remember that honey and other sugar sources will impart a strong flavour that may distract from the taste of the berries.
- Strawberries: you can replace the fresh strawberries with the same weight of frozen strawberries. Weigh them before thawing them, then mix them with sugar and let them thaw.
- Lemon juice: you can use fresh or bottled, though I prefer the taste of fresh lemon juice
While you can substitute one sugar for another, if done carefully, gram for gram, you cannot reduce the quantity of sugar. Without sugar, you will likely end up with a runny, loose jam that doesn't set as well.
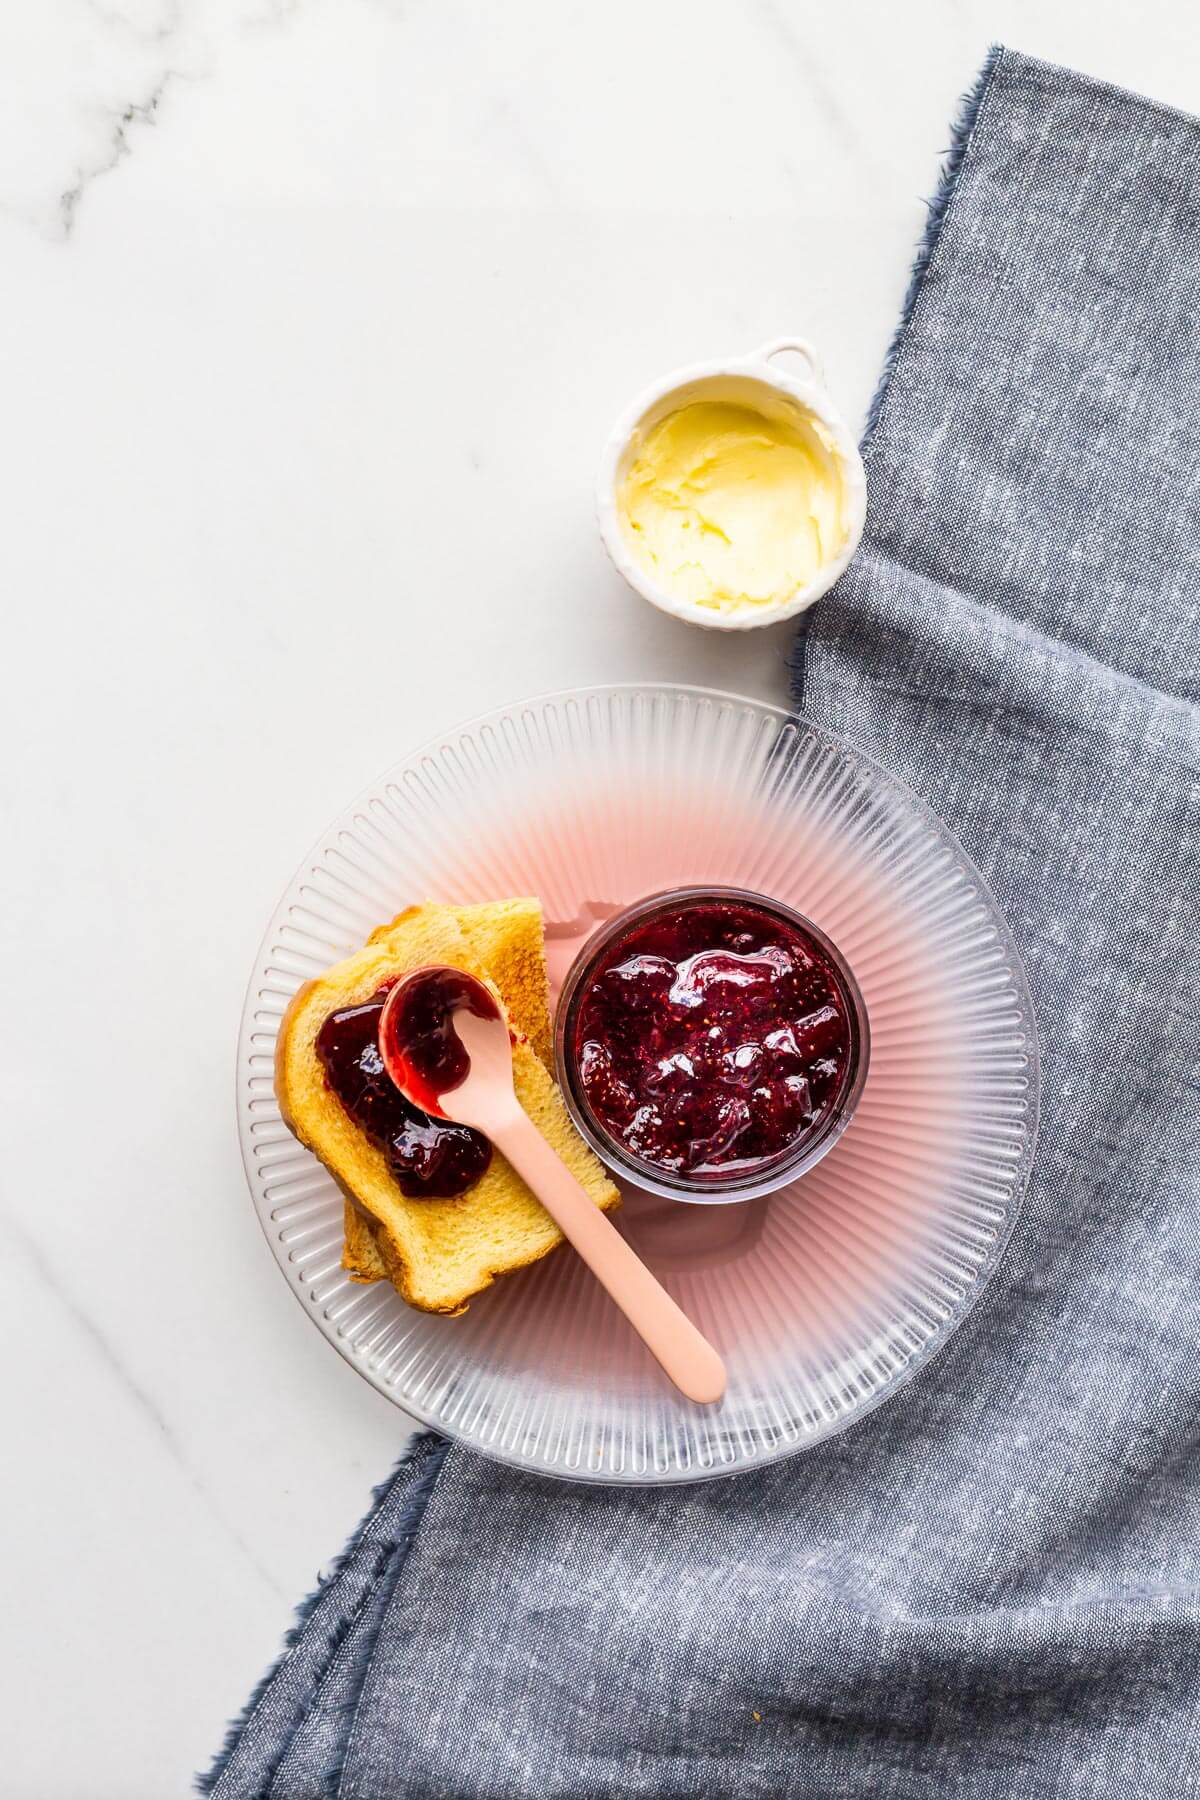
Strawberry jam variations
If you want to jazz up plain strawberry jam, try these variations:
- Rhubarb—replace half the weight of strawberries with the same weight of chopped rhubarb to make strawberry jam with rhubarb
- Red currant—replace half the weight of strawberries with the same weight of red currants (follow this strawberry and red currant jam for details)
- Peach—replace half the weight of strawberries with the same weight of sliced peaches
- Vanilla—add half of a vanilla bean (or even a full) to the pot to infuse the jam with vanilla flavour
- Juniper berry—add a couple of teaspoons of crushed juniper berries to give this jam an herbal hit (I did this with rhubarb jam and it was really good!)
- Anise or cinnamon—add a few teaspoons of crushed anise seeds or a cinnamon stick and it will completely transform this jam, in a good way.
I encourage you to explore flavour pairings with this jam. As long as you don't make any changes that have an impact on the ratio of fruit to sugar, you can try anything, really!
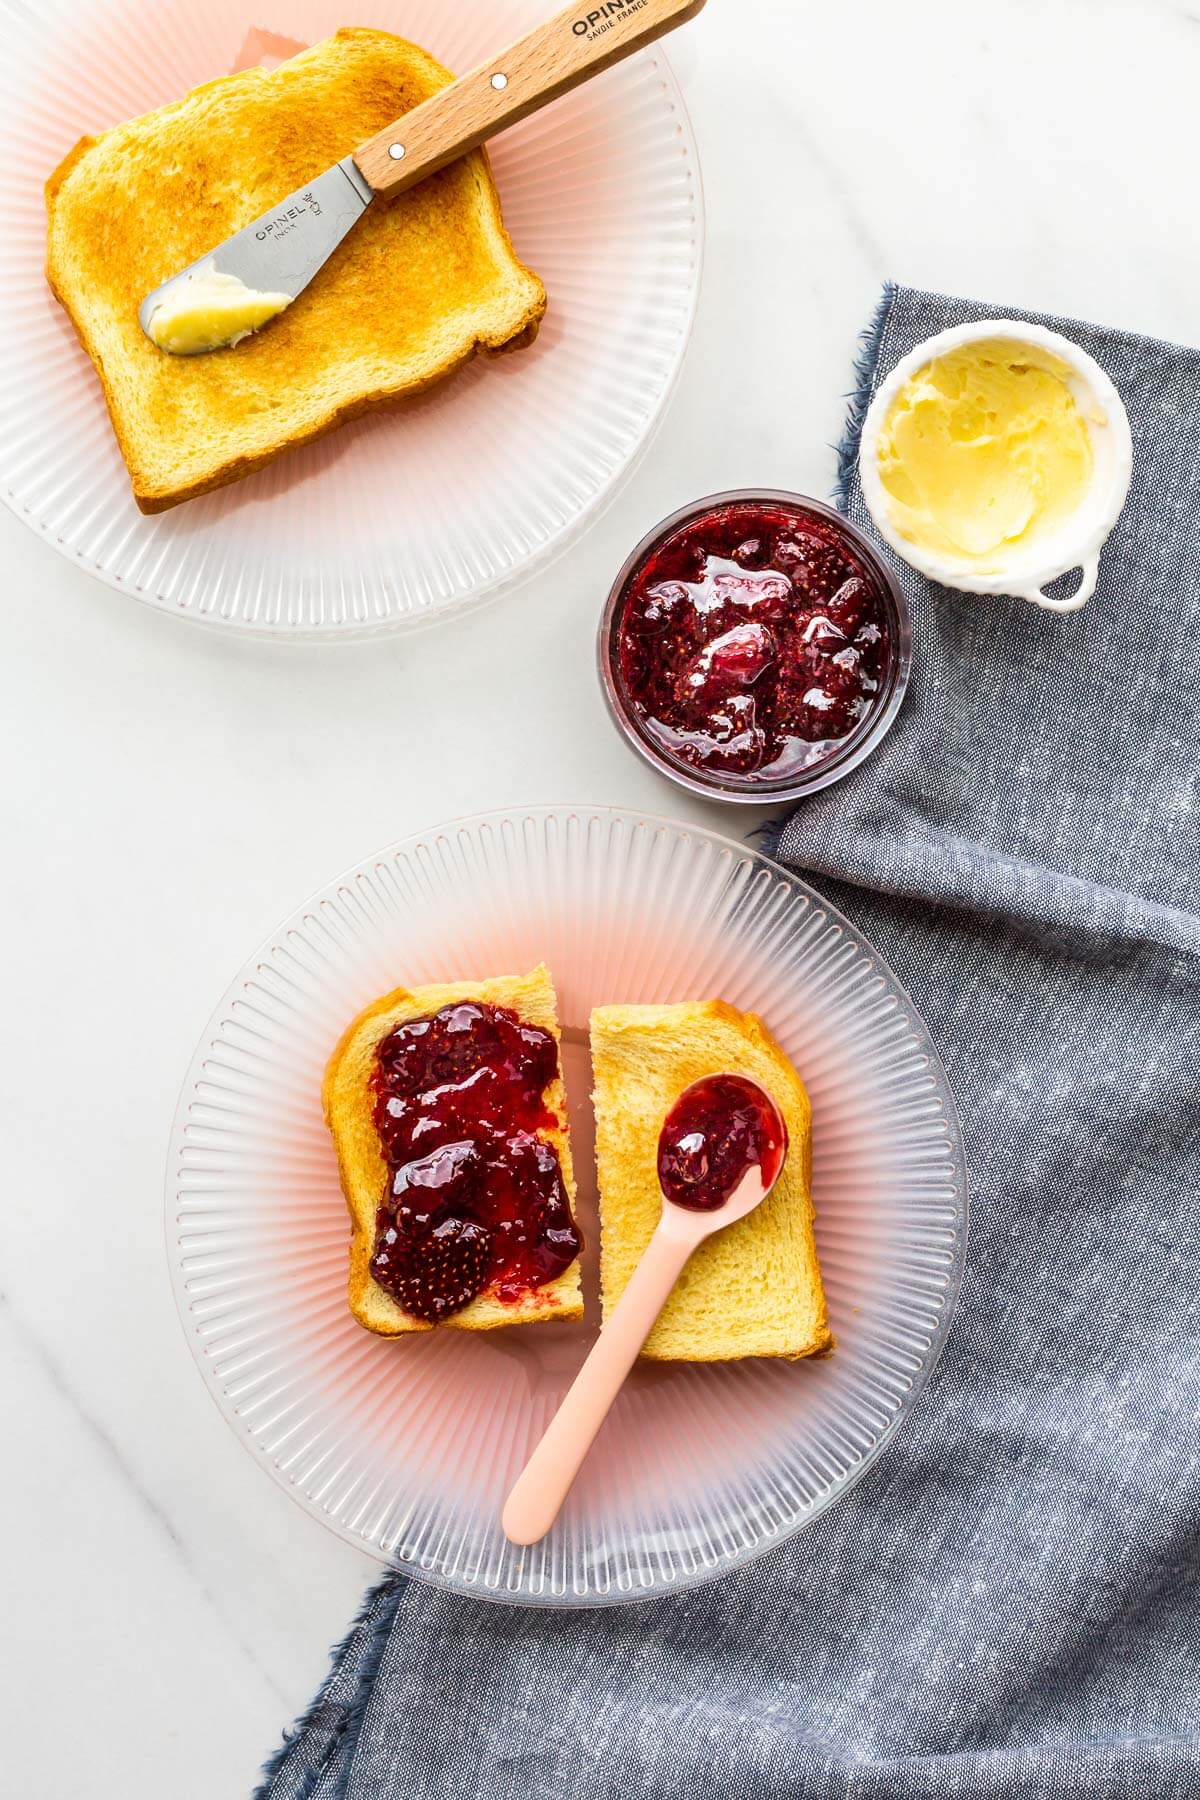
Equipment
To make homemade jam, you don't need much! Here's a rundown of the tools you need to make this jam and other preserves:
- a stove
- a big pot
- a wooden spoon or heatproof spatula
- a canning kit that includes a non-reactive wide-mouth funnel, jar lifters, headspace measuring tool, etc.
- 250 mL jars or 125 mL jars to store your preserves in
- a Thermapen or a ChefAlarm to monitor the temperature
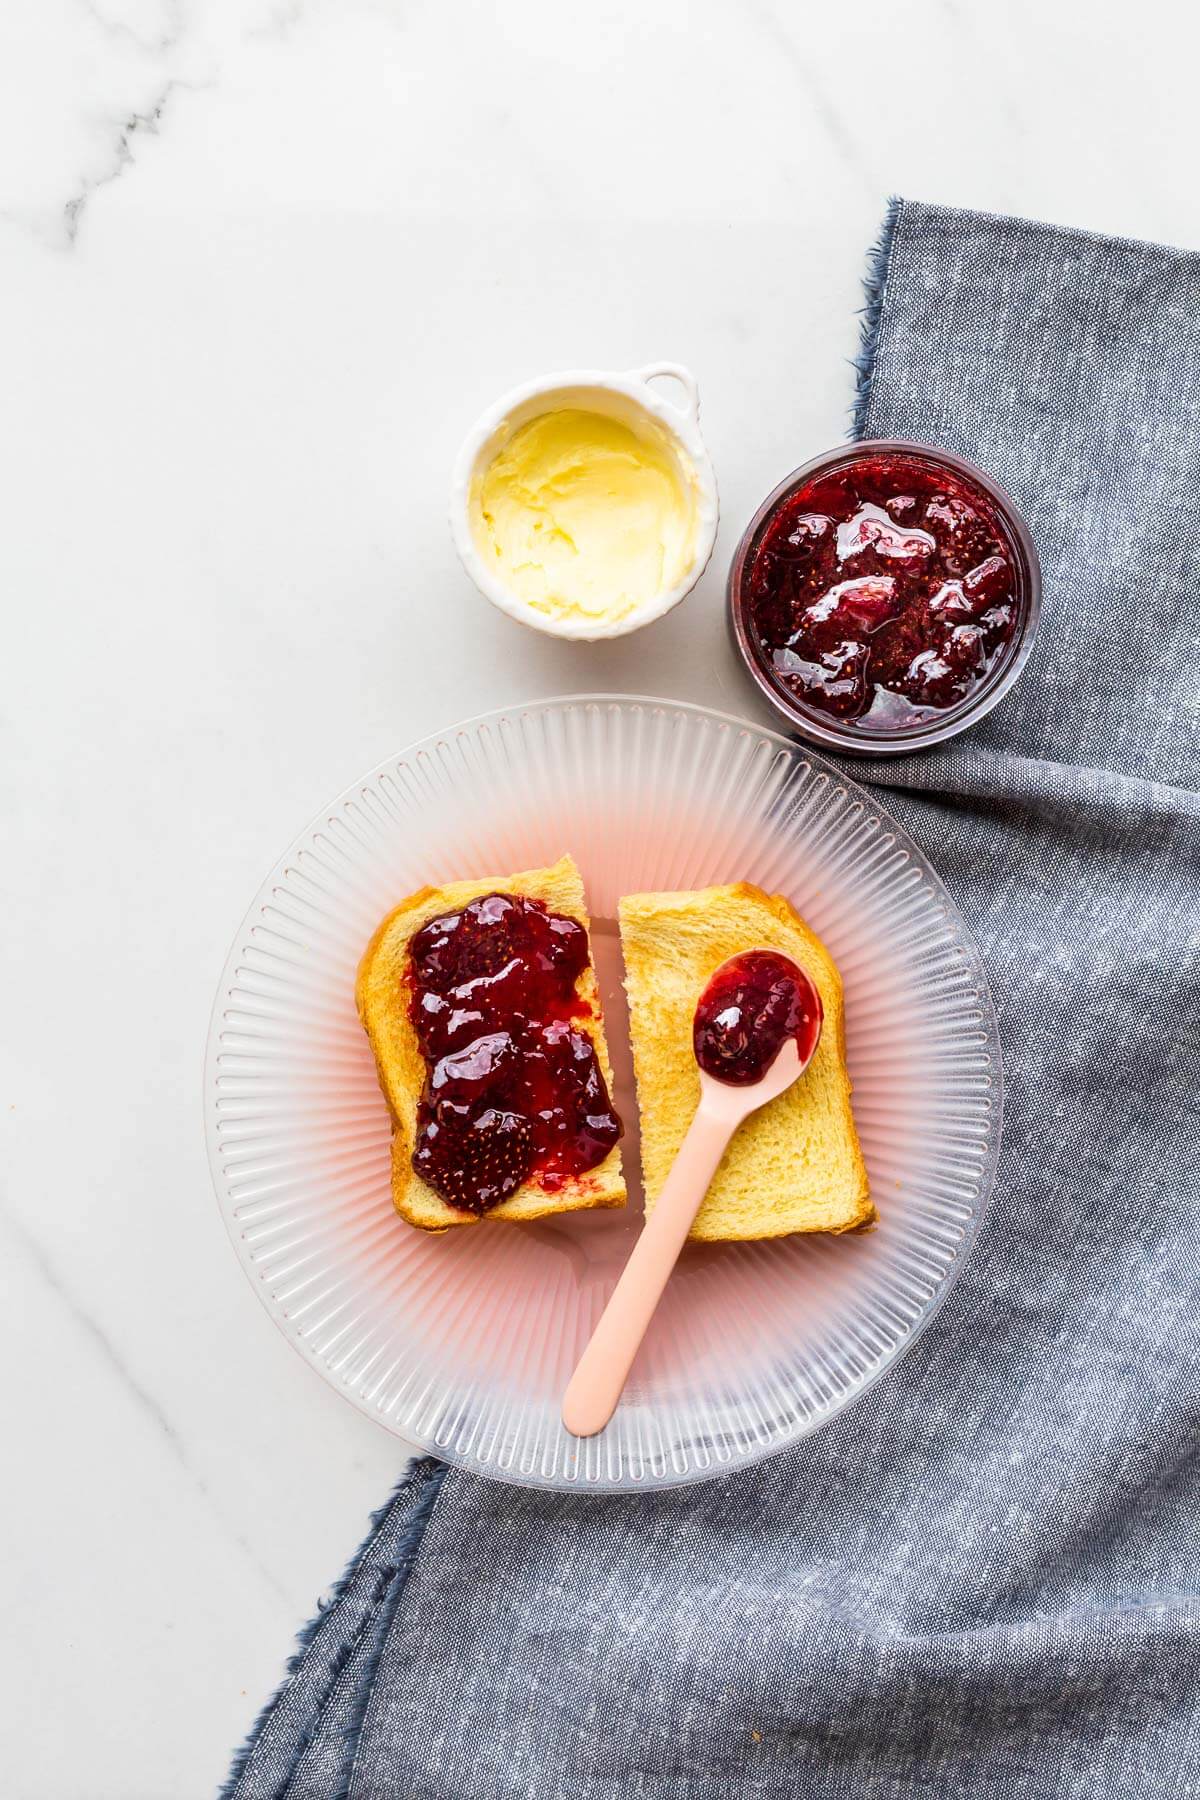
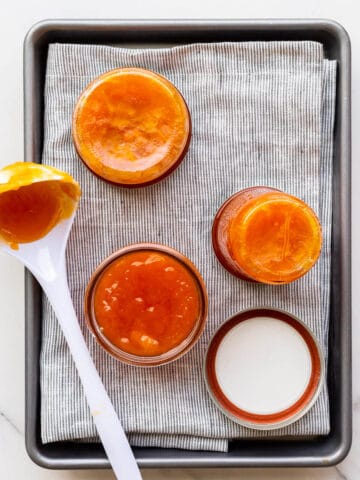
If you choose to process the jars to seal them, you will need a canning kit. A canning kit usually comes with a jar lifter, a helpful tool to measure headspace and remove air bubbles, among others. You can actually skip the step of boiling the closed jars to seal them and instead, invert the closed jars of hot jam and let them stand upside down for 2 minutes before flipping right side up. This will create a vacuum and seal the jars too.
Storage and food safety
If you have gone through the process of sealing the jars properly, then you should be able to store this jam for a year in a cool, dry, dark place. After this time, you will notice the jam loses its bright, vibrant colour. It will still be good enough to eat, but it won't be the same.
Note that if you don't seal the jars properly, or if you have a doubt, just keep the jars in the fridge.
When it's time to using your jam, always use a clean spoon or knife to take out a serving and don't double dip into the jar of jam because you will contaminate it. Otherwise, mold may develop.
After the jar of jam is open, you must store it in the refrigerator and according to most professional canners, an open jar of jam will last up to one month if stored in the refrigerator.
One common misconception is that you can reboil a jar of jam that has developed mold. I would not recommend this. I also would not recommend removing the layer of mold from the top and eating what's below. The mold you see is a fraction of what exists below and it's better to be safe: toss the contents of jar, wash and sterilize the jar, and reuse it to make a fresh batch of jam.
Using strawberry tops
When you wash and trim such a large quantity of fresh strawberries, you will end up with a lot of strawberry tops. Use them to infuse water, just like you would with slices of cucumber or mint leaves!
What to make and serve with strawberry jam
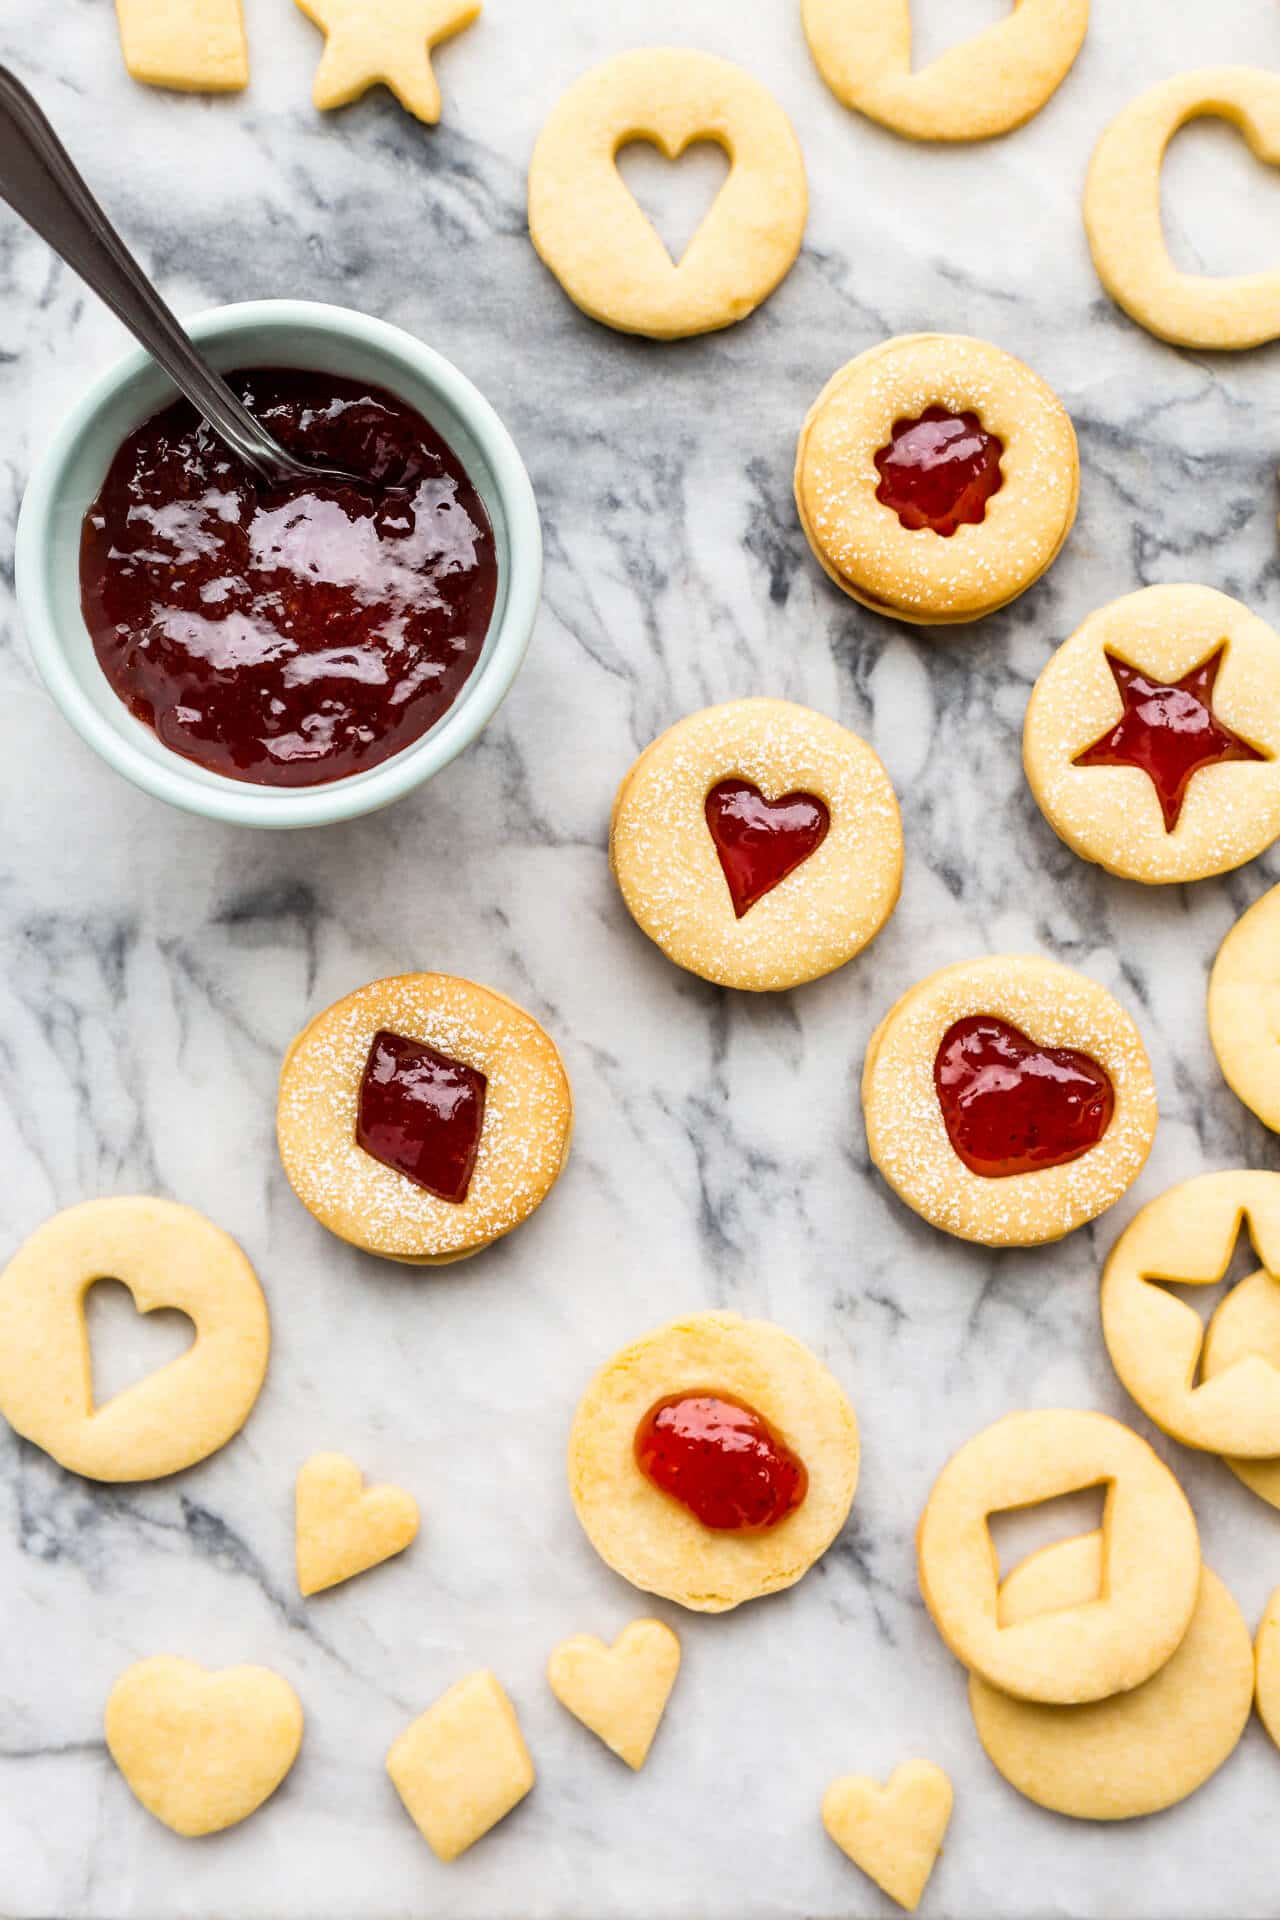
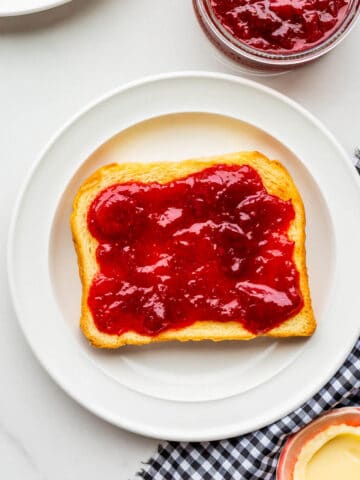
When you start making jam at home, you will inevitably wind up with many jars of it. It makes a great gift, but you should also keep some for yourself to enjoy and to bake with! Here are a few ideas of what you can bake with jam and what to serve with it:
- Jam-filled shortbread cookies
- Thumbprint cookies
- Bostock
- Scones
- Butter biscuits
- Brioche kneaded in the stand mixer
📖 Recipe
Strawberry Jam
Equipment
- 5 Mason jars 250 mL
Ingredients
- 1 kilogram fresh strawberries weigh after washing and hulling the berriies
- 500 grams granulated sugar
- 60 mL fresh lemon juice
Optional flavour add-in
- ½ vanilla bean split in two
Instructions
- Mix the berries with the sugar, lemon juice, and the split vanilla bean (if using) in a big pot.
- Cover the mixture and let the berries macerate at room temperature for 30 minutes, stirring every 10 minutes with a wooden spoon to help the sugar dissolve.
- Place the pot on the stove, uncovered and bring the mixture to a boil, stirring occasionally. If you notice that a stable foam forms on the surface of the jam as it boils, you can skim it off the top with a spoon to remove it. This way your jam will be clear and free of too many air bubbles.
- When the jam comes to a boil, continue cooking it until it hits the jam setting point, around 104 ºC (220 ºF). For a softer set, you may boil until the jam reaches 103 °F (217–218 °F).
- Remove from the heat. Fish out the used vanilla bean pod and discard it.
- Let the pot of jam stand 5 minutes off the heat to cool slightly and thicken, then stir to distribute and suspend the fruit more evenly.
- Divide the jam among the jars, leaving a ¼ inch headspace. Remove air bubbles, wipe the rims clean, then cover with the lids, fingertight. If any of the jars aren't filled full, don't seal them. Instead you can cover them and enjoy them right away, storing in the fridge.
- Seal the closed jars according to the manufacturers recommendations, by inverting the hot jars for 2 minutes before placing upright or using a water bath canning kit.
- Let sit 24 hours undisturbed before storing them in the pantry.
Notes
Nutrition
Further reading on jams and jellies
- Read up about the jam setting point. This article includes the different techniques for checking the set of jam.
- On the subject of adding fat to jams and jellies to prevent foam, read about more from the USDA: https://nchfp.uga.edu/publications/usda/GUIDE07_HomeCan_rev0715.pdf
- Recipe books on making preserves and jams:


Leave a Reply