One of the keys in making homemade jams and marmalade is boiling the fruit and sugar mixture for long enough that the jam sets once cooled to room temperature. This ensures the jam is thick and spreadable with a bold flavour, not watery, runny, and bland. Here are all the ways to determine jam set so that your next batch of homemade jam is perfect!
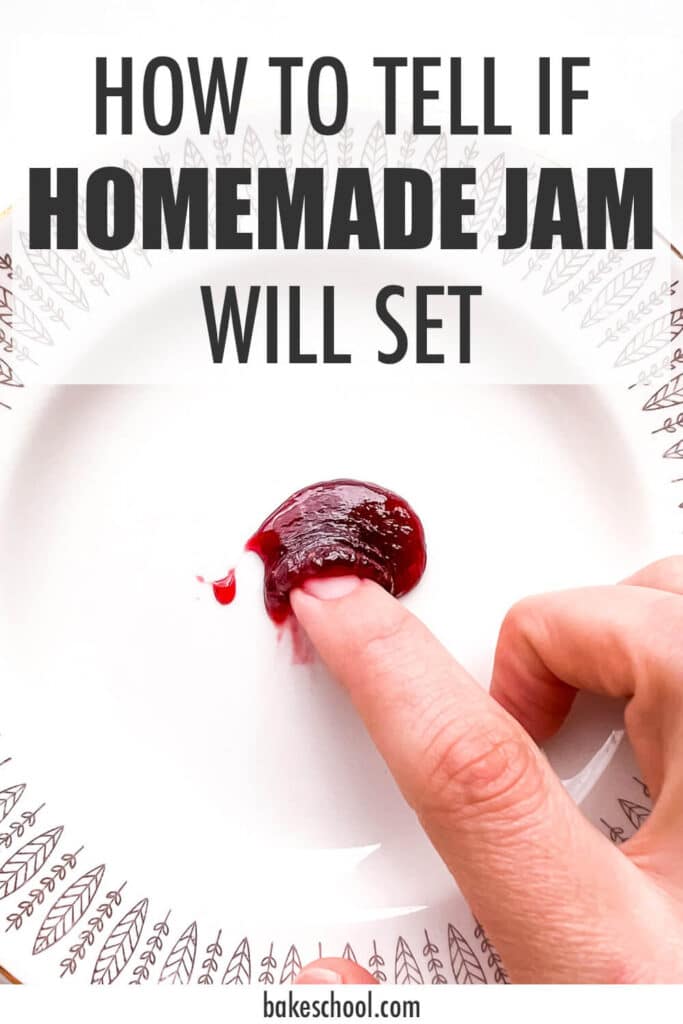
There's nothing worse than going to the effort of making homemade jam and after all that work, you open a jar and find that the jam is very loose and watery, so much so it runs right off your morning toast. This is a scenario that can be avoided if you understand what makes jam runny, how to get it to set properly, and all the tips and tricks that you can use to determine if your jam will set before you can it in Mason jars.
Jump to:
What makes jam set
Jam is made from such a short and simple list of ingredients: just fruit and sugar, really! So how does this combination of ingredients lead to a spreadable thick consistency? There are three key components to achieving the perfect set:
- sugar—sugar is hygroscopic, meaning it absorbs water
- pectin—a polysaccharide (yes, that means it's a carbohydrate, like sugar, but much larger) that forms a network with water, trapping it
- evaporation—if you don't boil your jam for long enough, there will be too much water in the mixture, and not enough pectin and sugar to trap it.
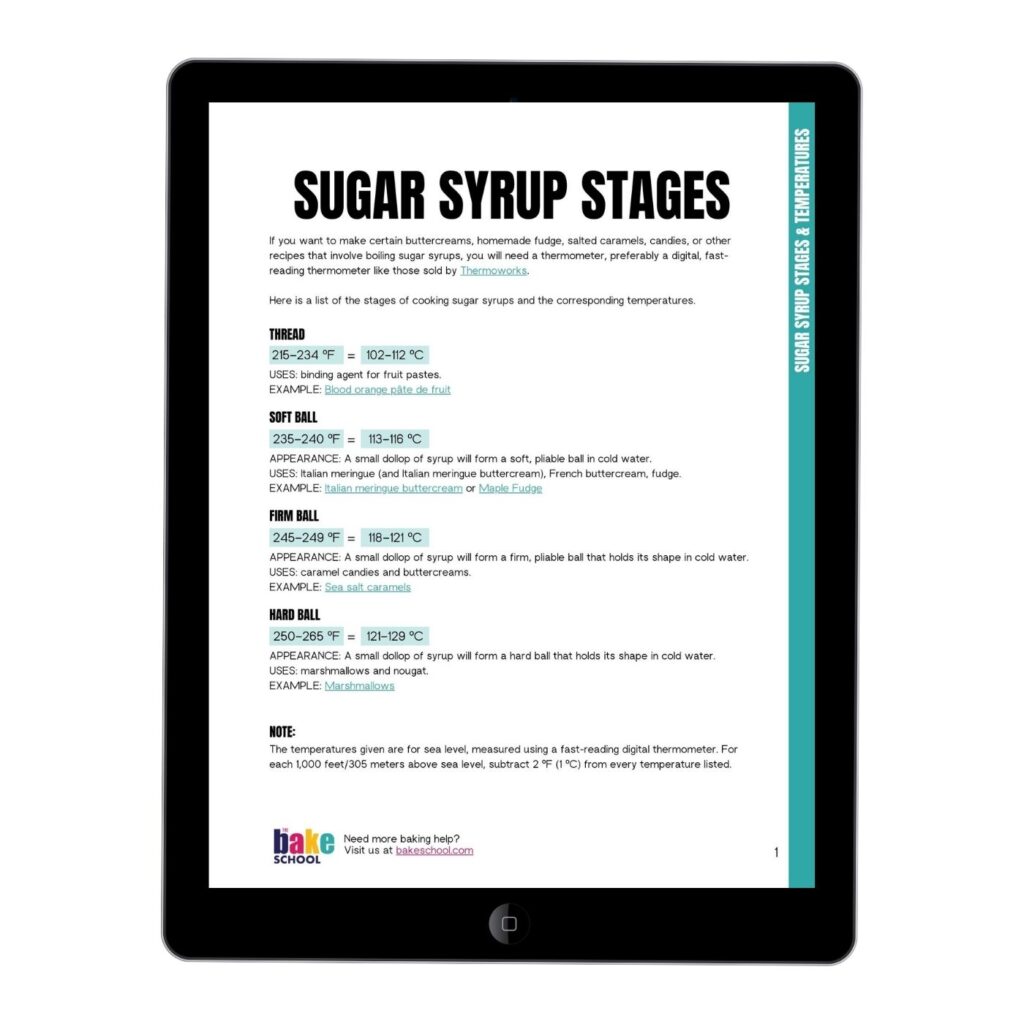
Learn more
Jam is nothing more than a sugar syrup with fruit in it. Find out how sugar syrup temperature affects its texture with this useful temperature chart!
Buy the chart
The goal when you make jam is to concentrate the fruit and sugar through evaporation and to trap the remaining water so that the jam sets perfectly.
Pectin content in fruit
Some fruit are naturally high in pectin, others are low in pectin. The pectin content in fruit is also dependent on the ripeness of the fruit. Slightly under-ripe fruit are higher in pectin than ripe fruit. The riper, older fruit have less pectin because it breaks down. If your market is selling you over-ripe berries for making jam, don't buy them. Or combine them with some less mature fruit. Jam fruit should be just ripe and combined with under-ripe so you have enough pectin to work with. Otherwise, you may have to add pectin (or combine them with a higher pectin fruit) to get your jam to set.
Here's a list of high pectin fruit:
- apples
- citrus
- currants
- cranberries
- plums
- quince
Here's a list of low pectin fruit:
- apricots
- blueberries
- cherries
- peaches and nectarines
- strawberries
- rhubarb
The reasons jam doesn't set
It's really disappointing when you open a jar of homemade jam to find it's very loose or watery. It makes it hard to spread it on toast because it runs right off the edges of the bread and it also leads to soggy toast because the crumb of the slice soaks it up like a sponge. Here are some of the main reasons why your jam doesn't set:
- there isn't enough sugar—you need to use one part sugar for every two parts of fruit, by weight. In other words, the weight of sugar you need to use is half the weight of fruit (example: use 500 grams of sugar for every 1 kilogram of washed, trimmed fruit)
- there isn't enough pectin—use a combination of ripe and slightly under-ripe fruit
- you didn't heat the jam for long enough which likely means you have too much water in it—it's too dilute
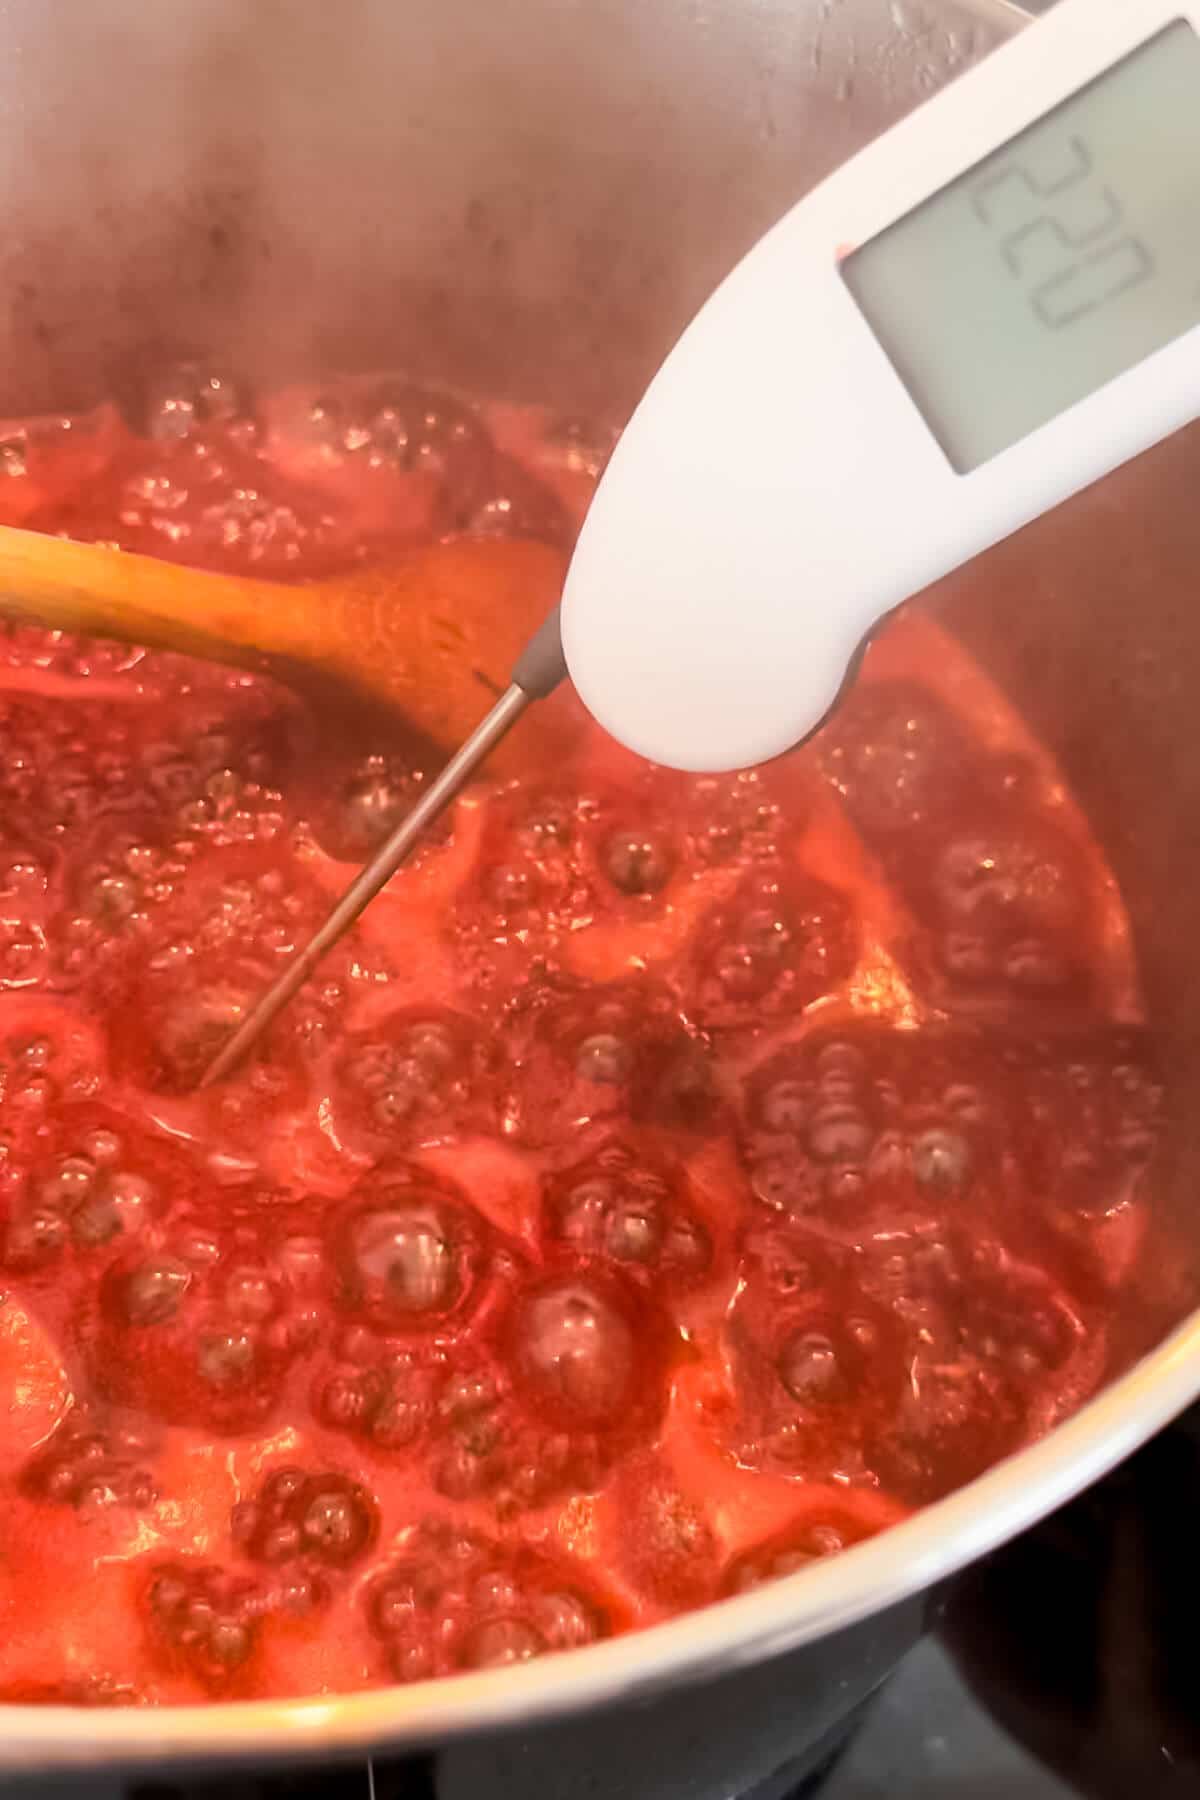
- you didn't heat the jam enough to hit the jam setting point (around 104 °C or 220 °F).
When you break it down, making jam is about evaporating a lot of the water and trapping the rest of it. If you don't boil the jam long enough, there will be too many water molecules floating around and not enough pectin and sugar to trap it so that the jam sets.
Ways to determine set
Jam makers have different ways of determining set. Here are a few telltale signs of whether your jam will be thick and spreadable, or watery and runny.
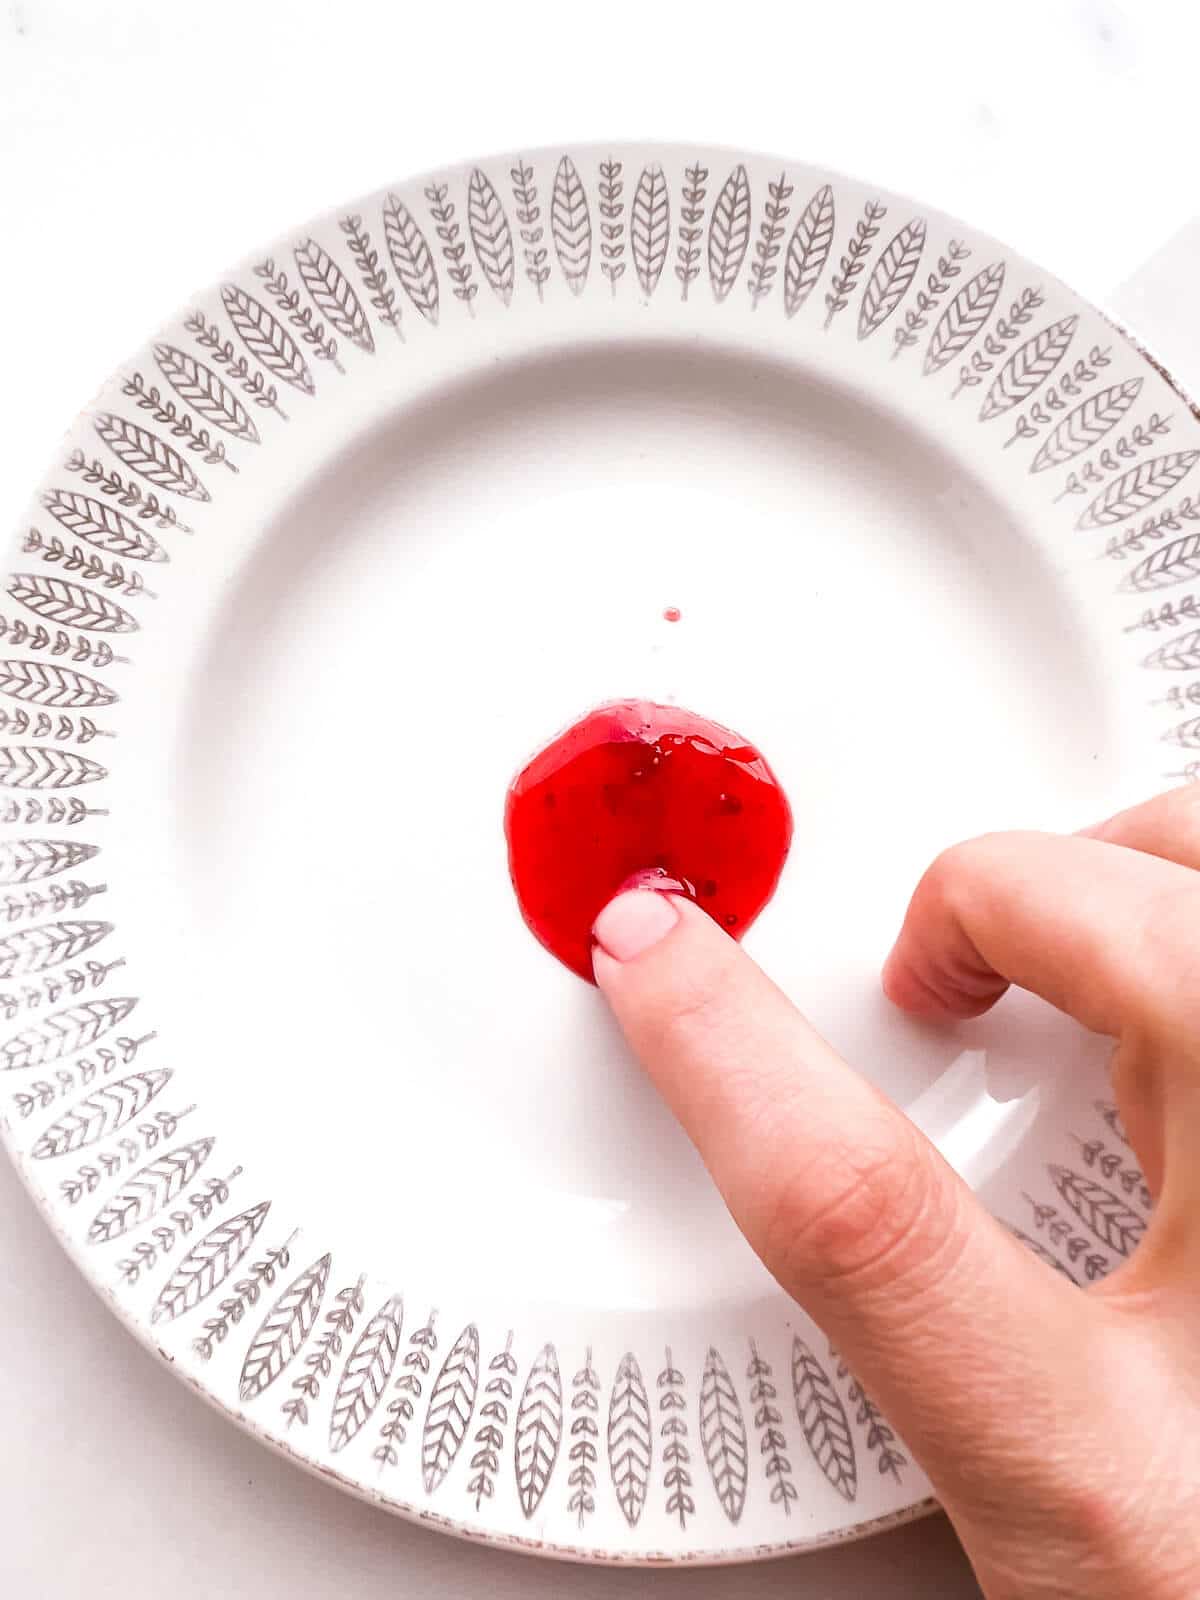
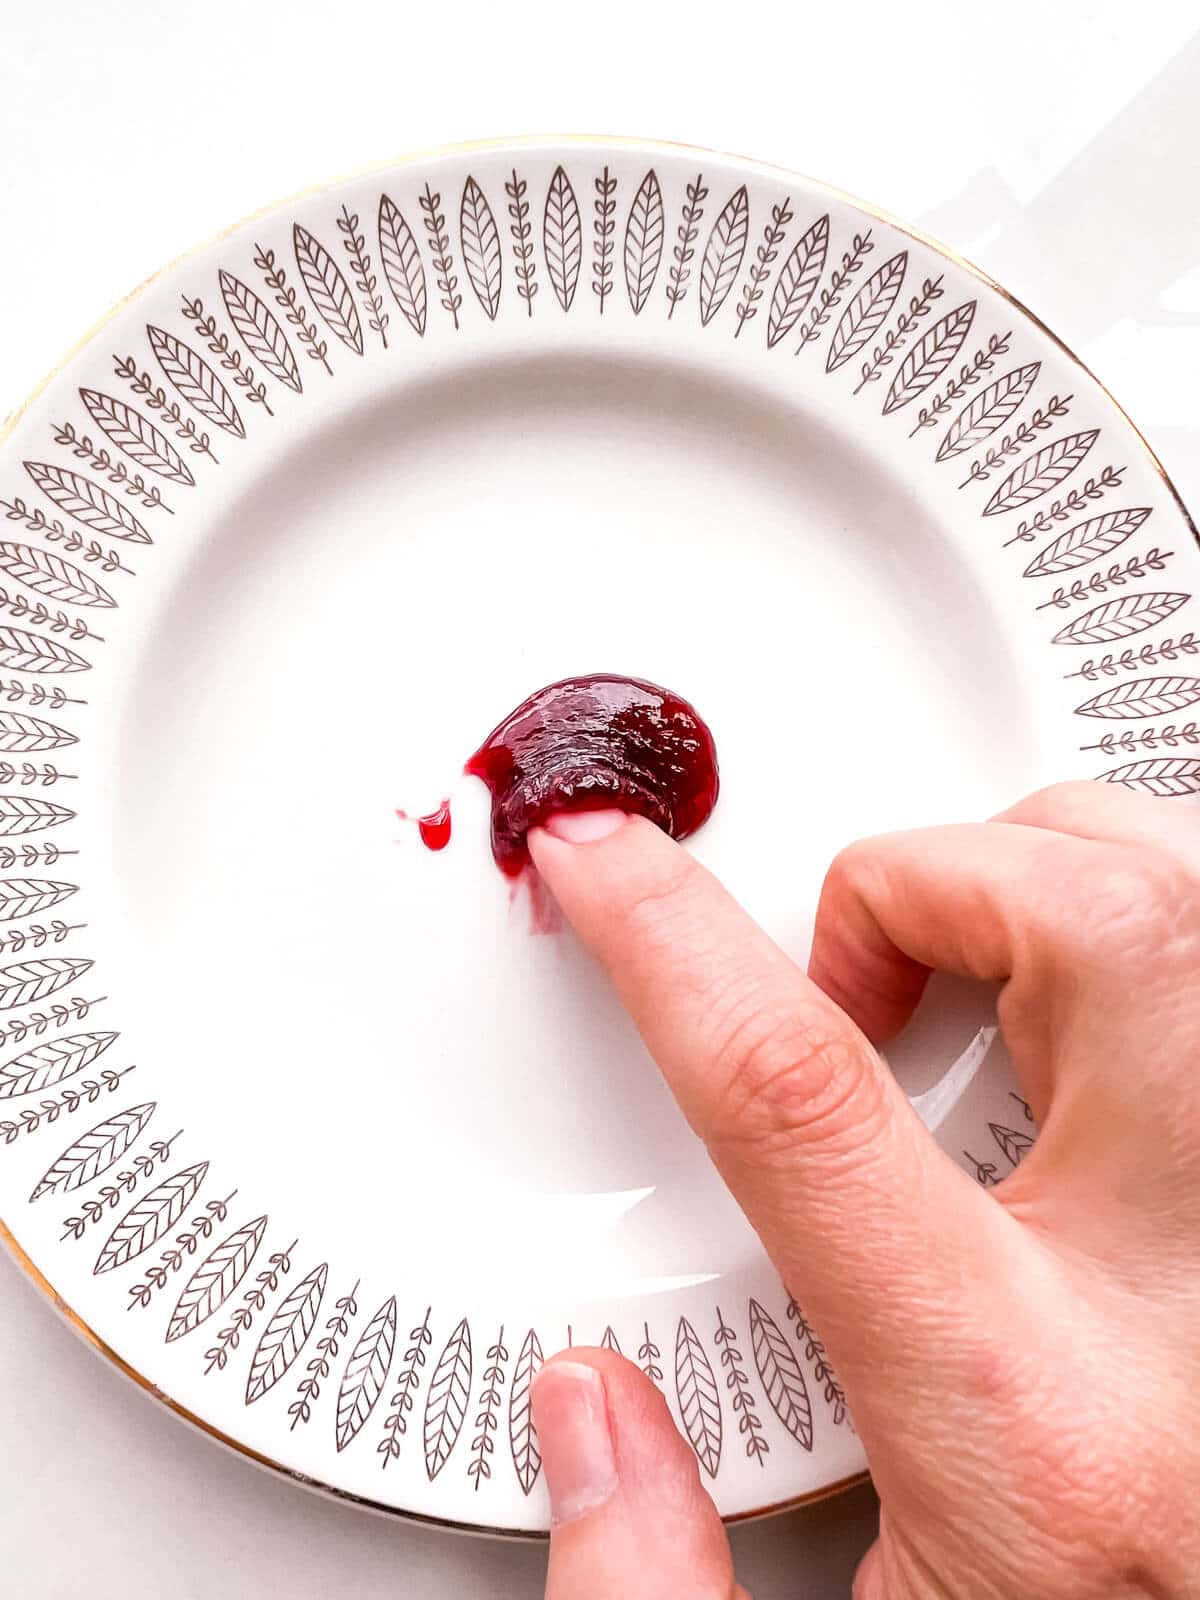
The freezer plate test
To determine jam set using the freezer plate test, you need to pre-freeze a stack of side plates overnight. I usually freeze four or five. But usually I'll only use one or two. Better safe than sorry.
To do the freezer plate test, here are the steps to follow:
- Pre-freeze a stack of side plates overnight so that they are very cold.
- When it's time to check the set of your boiling jam, pull the pan off the burner.
- Retrieve one plate from the freezer to use immediately.
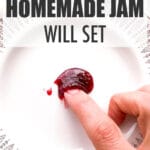
- With a small spoon, take a dollop of the hot jam and place it in the centre of the frozen plate.
- Put the plate with the jam back in the freezer right away.
- Freeze for 1–2 minutes to cool down the dollop of jam.
- Take the plate out of the freezer, and with the tip of your index finger, nudge the edges of the dollop. Watch how the jam behaves.
- If the edges and the surface of the jam wrinkle when pushed, you've hit the setting point.
- If the surface of the jam looks shiny and fluid still and doesn't wrinkle, it's likely not boiled enough and too loose to hold its shape.
- If the jam fails the frozen plate test, put the pot of jam back on the burner and continue boiling.
- Keep testing until you've achieved the right set.
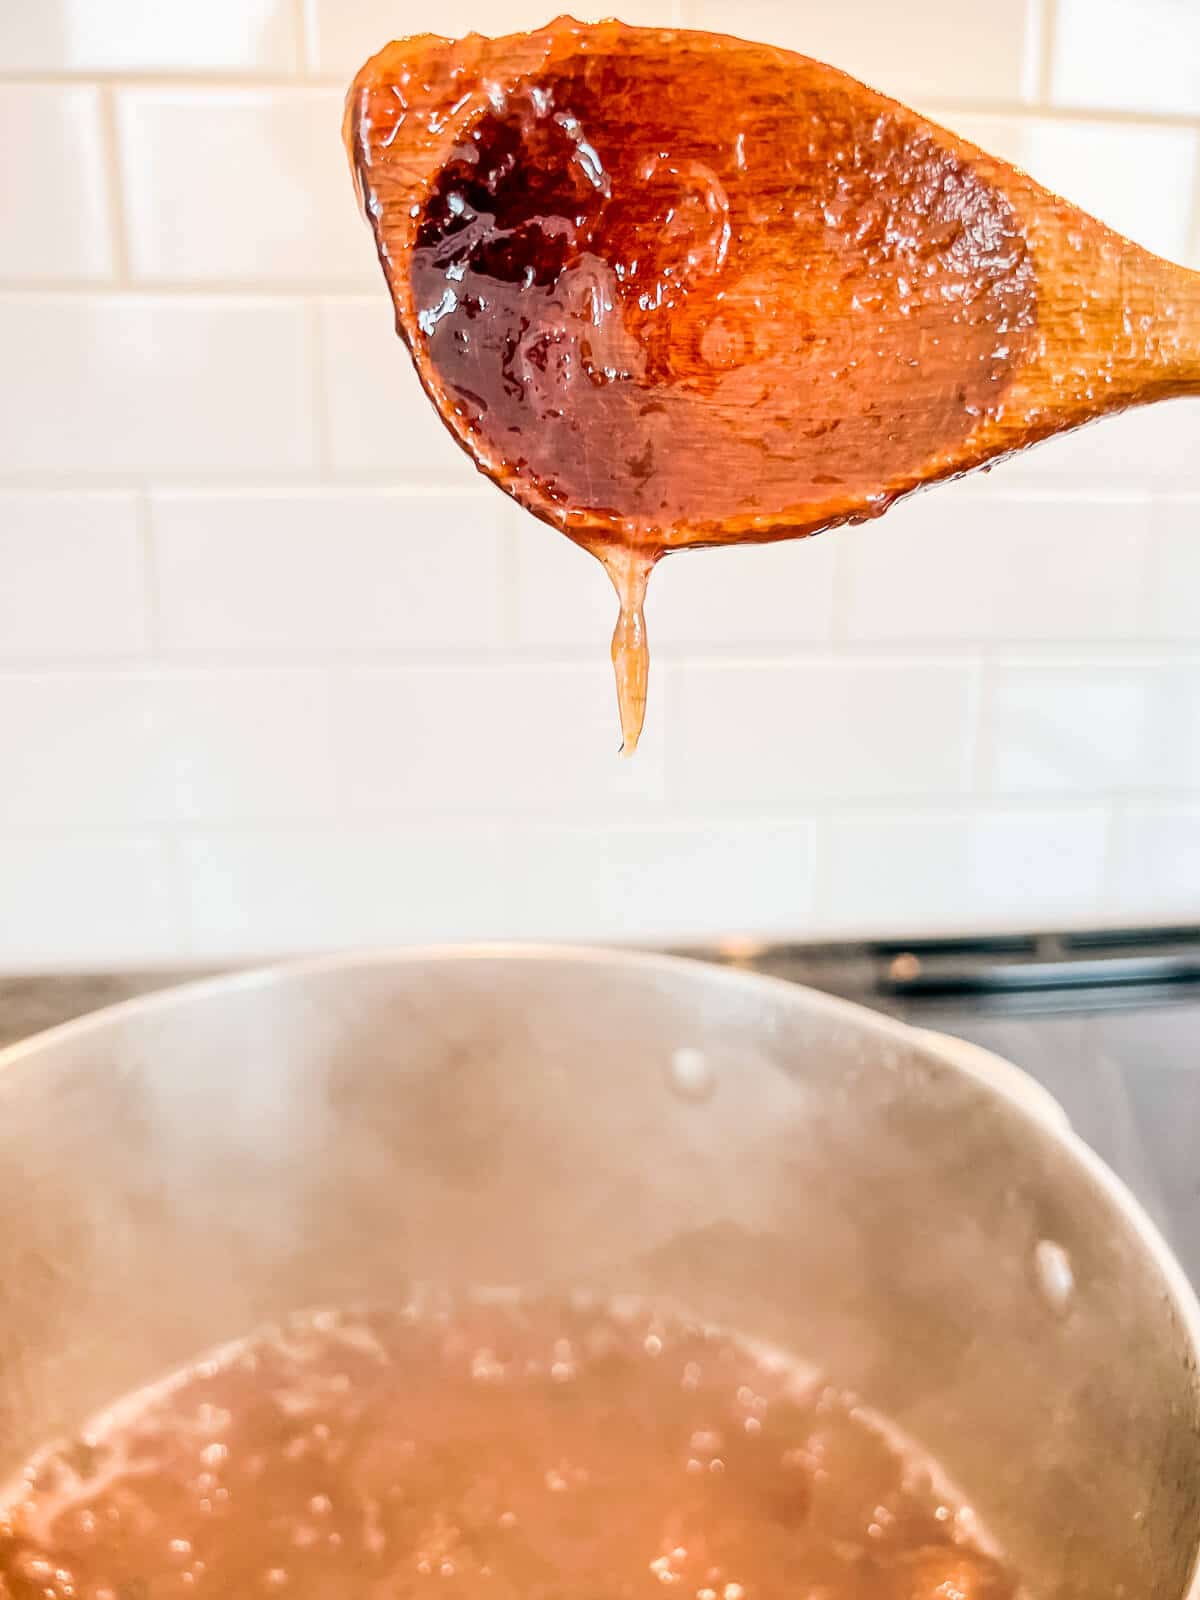
The sheet test
When you lift your spatula (or wooden spoon) out of the jam above the pot, watch how the jam drips off the spoon. Does it cling to the spatula? Does it immediately drip off like sugary water?
To check how the jam falls off your spoon or spatula, make sure to lift the spoon high above the pot, almost at eye level. This ensures that the jam cools down just slightly, enough to show you how it will behave when it cools down.
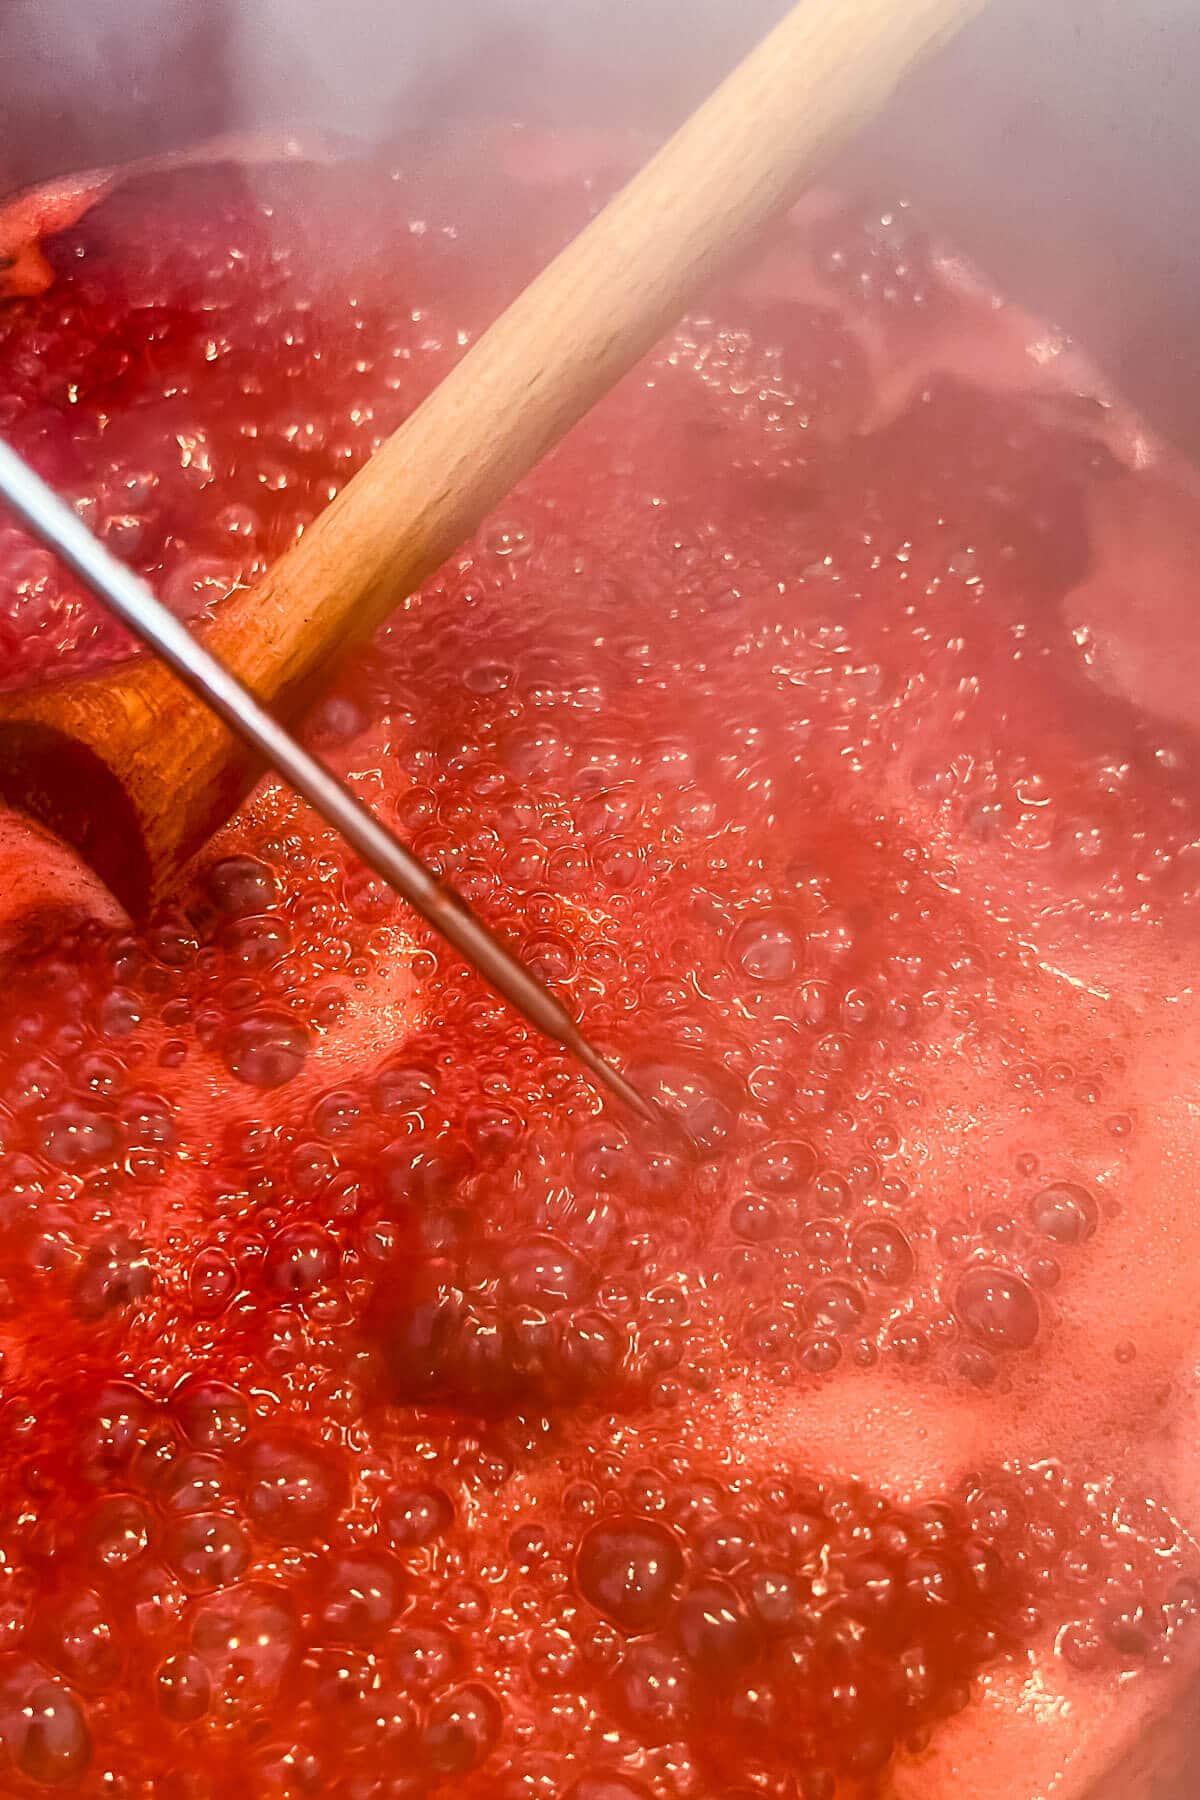
Watching the bubbles
I highly recommend you take the time to observe the bubbles as the jam boils. This is a valuable lesson that Camilla Wynne taught me when I took her class on making marmalade at home.
When you first heat fruit and sugar together, the sugar and heat will draw out the water from the fruit, leading to a very soupy, watery mixture.
As the mixture heats up, the water will begin to boil. The mixture is very volatile and the bubbles are very unstable: they form and burst almost instantaneously.
As you approach the jam setting point, you will notice that the bubbles become more stable on the surface of the jam mixture. They will form and remain there, blinking back at you like fish eyes.
By watching the bubbles and even taking pictures throughout the boiling process, you will begin to notice the difference in bubbles between a boiling watery jam that won't set and a jam that was boiled to the setting point.
Monitoring temperature—jam setting point
Using temperature as a gauge for whether or not your homemade jam will set is a little controversial. There are a lot of professional jam makers who will tell you not to use a thermometer at all. Or they will recommend that you save the thermometer for the canning process.
It's true that watching the temperature can be tricky and lead to errors. You may overcook your jam if:
- your thermometer isn't fast-reading
- your thermometer isn't calibrated
You also may undercook your jam if you don't make sure the jam holds the jam setting temperature for long enough, leading to a runnier, softer set.
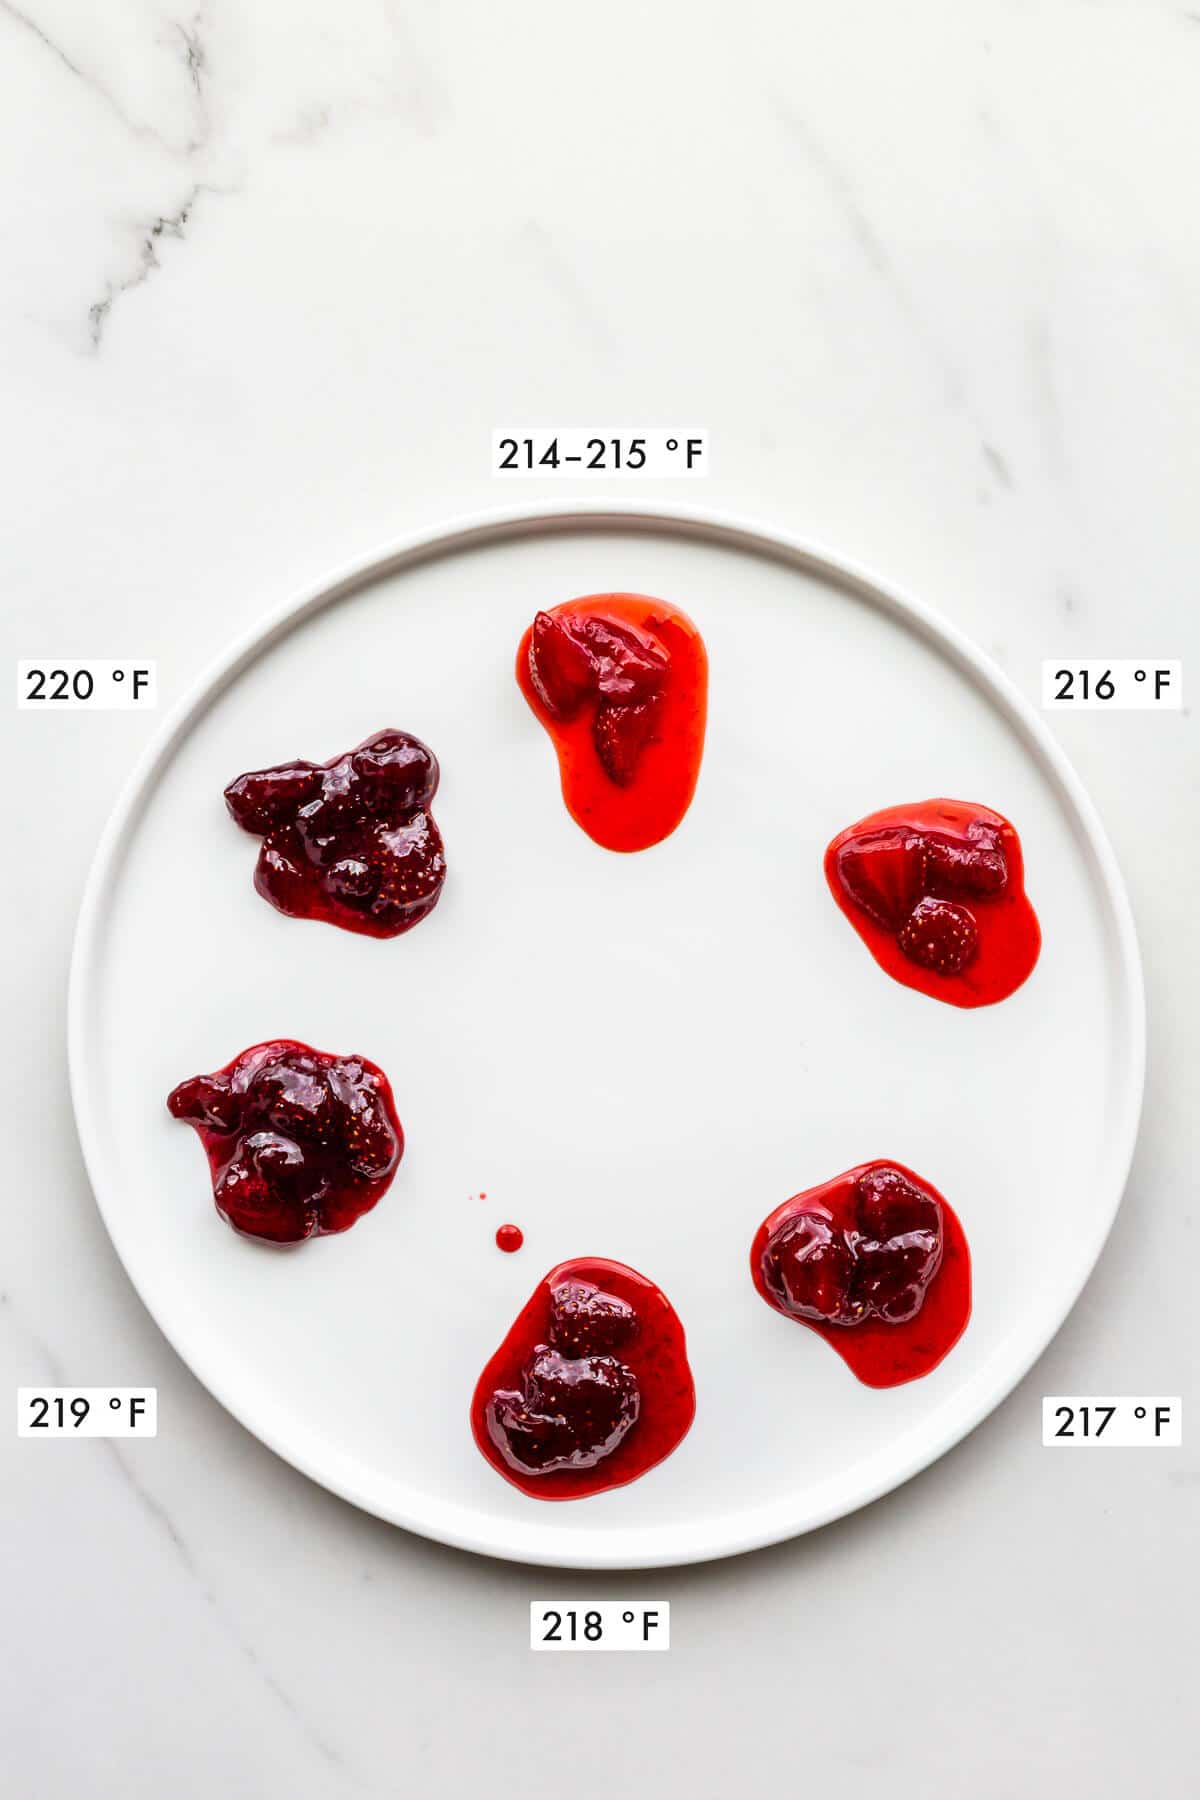
Still, for beginner jam makers who haven't practiced enough to be able to visually tell a loose jam from a set jam, I think temperature is helpful. If your thermometer says your jam is at 213 °F, you know it's too fluid and you need to boil more. If your thermometer says 218 °F, you know your jam is getting close to the setting point, and you need to be much more attentive.
Let the thermometer guide you, but make sure to watch what the jam looks like and use other tests to gauge what's happening in the pot of jam. This will make you a better jam maker and you will learn a lot with each batch of jam you make.
When to ignore the jam setting temperature
Sometimes I don't cook a batch of jam to the jam setting point. If visually, I can tell the jam is done with the other cues, like sheeting, the bubbles, and/or the plate test, I may stop it early.
As a rule I always try to boil up to or over 218 °F. If I can get it to 220 °F, then I know my jam will be well gelled, and if I go below the jam setting point, I know it may have a looser consistency.
Remember that if you don't boil your jam enough, the flavour may be watered down and the texture will be looser.

A trick for improving jam set
Add a high pectin fruit
If you are working with over-ripe fruit or low pectin fruit, you should combine them with under-ripe fruit or a higher pectin fruit. For example, for this jalapeño jam, you will notice there is an apple in the recipe. That's because jalapeños don't have much pectin, but apples do. And if you boil the jam ingredients with a chopped apple, it will set almost like jelly if boiled for long enough!
You could also consider including a citrus fruit (like a lemon or orange). Citrus fruit are very high in pectin, so by adding a chopped citrus fruit, you are adding more pectin. Just remember that you need to boil the citrus fruit first to soften the skin before you use it in a jam recipe. Otherwise the skin will be very tough.
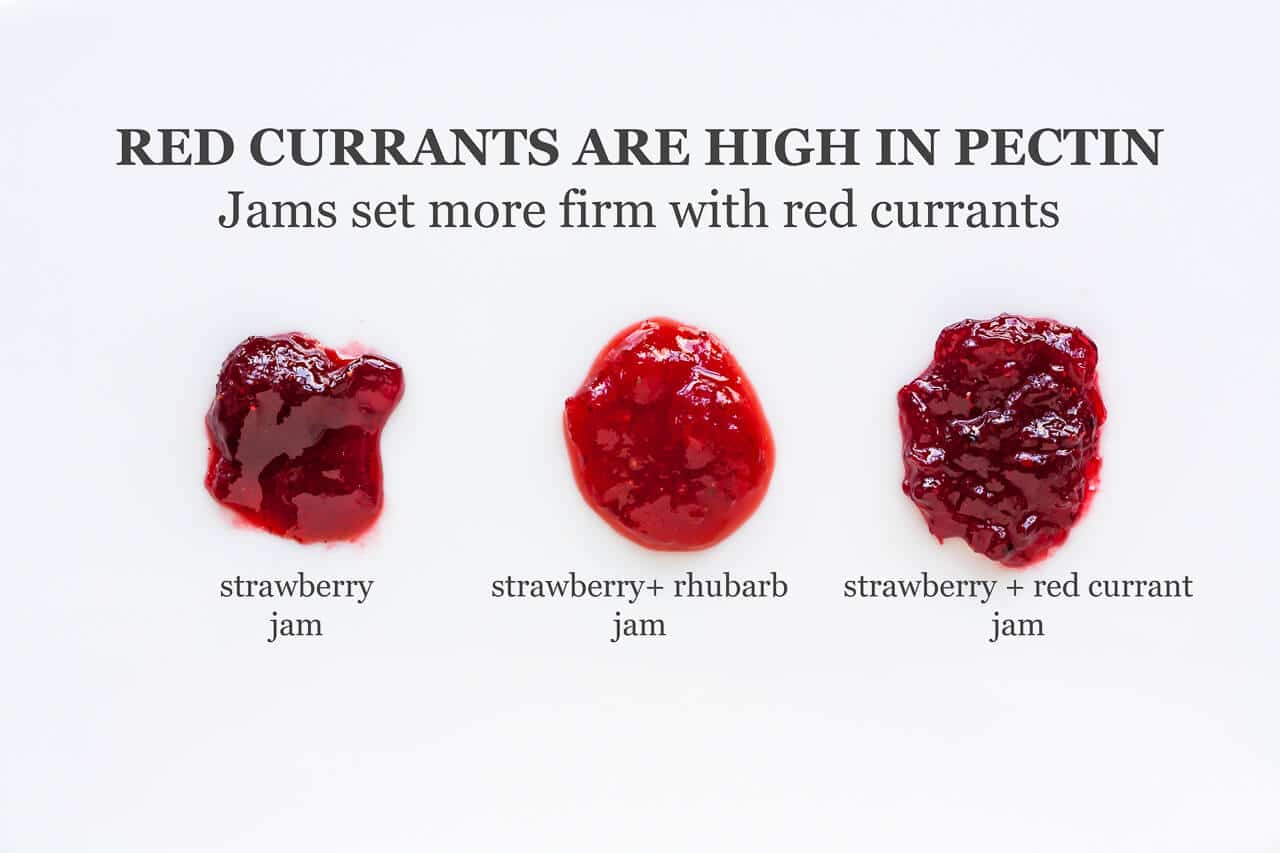
This strawberry and red currant jam sets more easily than a plain strawberry jam or strawberry rhubarb jam. Red currants are high in pectin, whereas strawberries are lower in pectin, and rhubarb has the least amount of pectin.
Also remember that you need to use enough sugar. If you cut the sugar from a jam recipe, expect it to be on the runny side.
Tip: Weigh the washed, trimmed fruit. Calculate half the weight of fruit. That's the weight of sugar you need for your jam to set well. So two parts fruit for 1 part sugar, by weight. This is different than marmalade, which is made with roughly equal parts sugar and fruit, by weight.
Adding water to make jam
There's a common misconception that you need to add water to fruit and sugar to make jam. The same misconception exists with marmalade. Actually, you don't add any water to make jam (or you may add very little for finer cut marmalades, like this lime marmalade).
The water in jam comes from the fruit. Most fruits are made up of over 90 % water. So when you make jam with 1 kilogram of fruit, that is 900 grams of water (more or less). As you heat the fruit with sugar to make jam (or even if you simply stir the two ingredients together), you'll see that the sugar will draw water from the fruit and form a syrup. You don't need to add water to make jam! The water is already in the fruits you are working with.
Frequently asked questions
For most jam recipes, you do not need to add pectin to the fruit and sugar mixture to ensure the perfect set. As long as you boil the jam sufficiently and use a combination of ripe (lower in pectin) and underripe fruit (higher in pectin), your jam will set. For the jalapeño jam, you add a chopped apple to the mixture because apples are high in pectin so this helps ensure the perfect set, as long as you boil it sufficiently.
You do not need to use jam sugar to make homemade jam. Jam sugar combines superfine sugar with pectin, and it's a sneaky way of making sure your jam will set. In reality, you can make jam with regular granulated sugar and without pectin. Jam sugar is unnecessary in most cases if you follow a good recipe.
Small batch jam recipes to try
Now that you know how to achieve the perfect set when you make jam, here are some recipes to practice it on:
- apricot jam (no pectin added)
- peach jam (which I've even successfully tested with mealy peaches and you can't tell the peaches weren't great)
- small batch rhubarb jam without pectin
- blueberry jam without pectin added
- jalapeño jam (with an apple to boost pectin)
- strawberry and red currant jam
Baked goods made with it and what to serve with jam
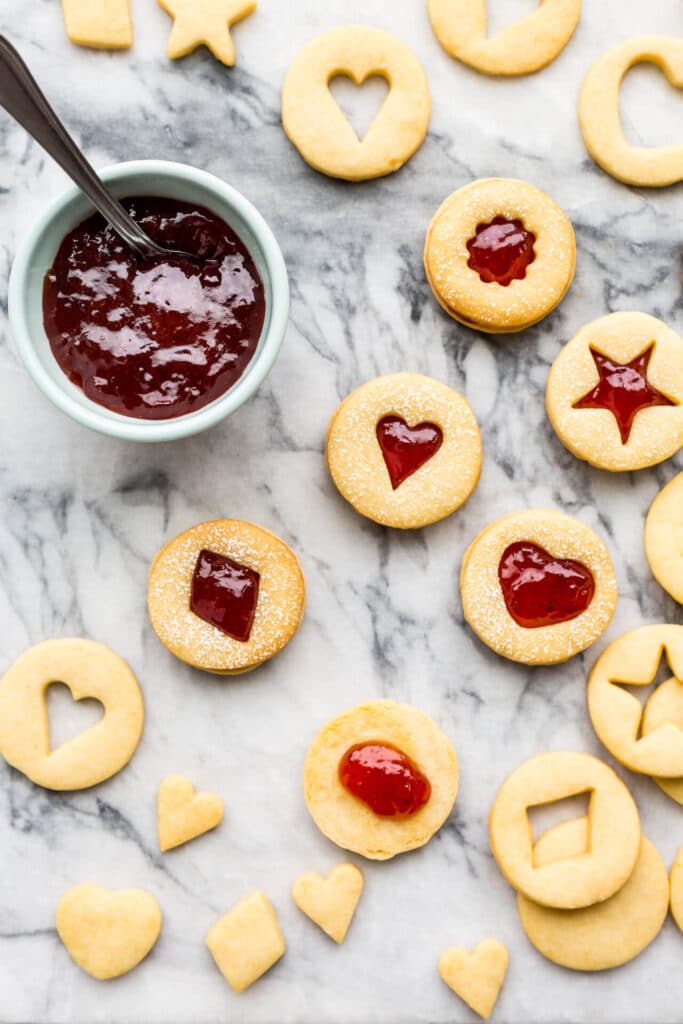
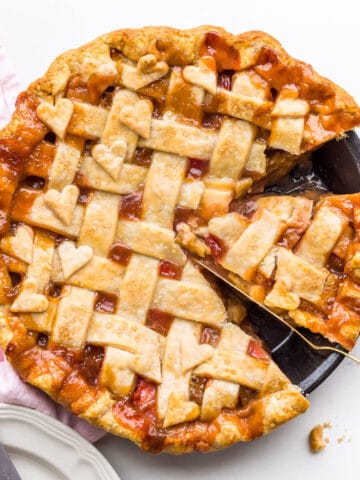
When you practice making jam at home, you will inevitably wind up with many jars of jam. It makes a great gift, but you should also keep some for yourself to enjoy and to bake with! Here are a few ideas of what you can bake with jam and what to serve with it:

Dave says
I keep reading you need to get to 220 but I never do. I get to 200 and my jams are wrinkling and I'm at 3000 ft. Any idea why?
Janice Lawandi says
You bring up an excellent point! The 220 °F set point is for those of us at sea level. I tried to do the math of how the set point would change at 3000 ft, and it seems that your set point would be closer to 214 °F.
If you are getting a good set when you boil your jams to 200 °F, then I'd go with that but my worry is when it comes to canning the jam safely. If you boil your closed jars to seal them, you need to increase the time they are in the canner to ensure they are "safe" for storage and consumption later. Here's a few references with more info on this topic:
- For the recommended time to process jars if you are boiling them to seal them: https://nchfp.uga.edu/how/general/selecting_correct_process_time.html
- This reference suggests increasing the processing time by 1 minute per 1000 ft of elevation https://nchfp.uga.edu/how/can_07/prep_jam_jelly.html
- This reference says to boil filled jars for 5 extra minutes at an altitude of 3000 ft https://extension.sdstate.edu/altitude-adjustments-home-canning.
Irene says
I’m guessing this also applies to making jelly as well, correct? Thank you so much for this great article! I’ve been wanting to know the science behind making jams and jellies to be more successful with my production! Outstanding info, keep up to great work!
Janice Lawandi says
Hi Irene,
You are correct! The setting point applies to jellies too!
Linda says
This is excellent. Thank you! I keep failing at the setting point, and this is very helpful.