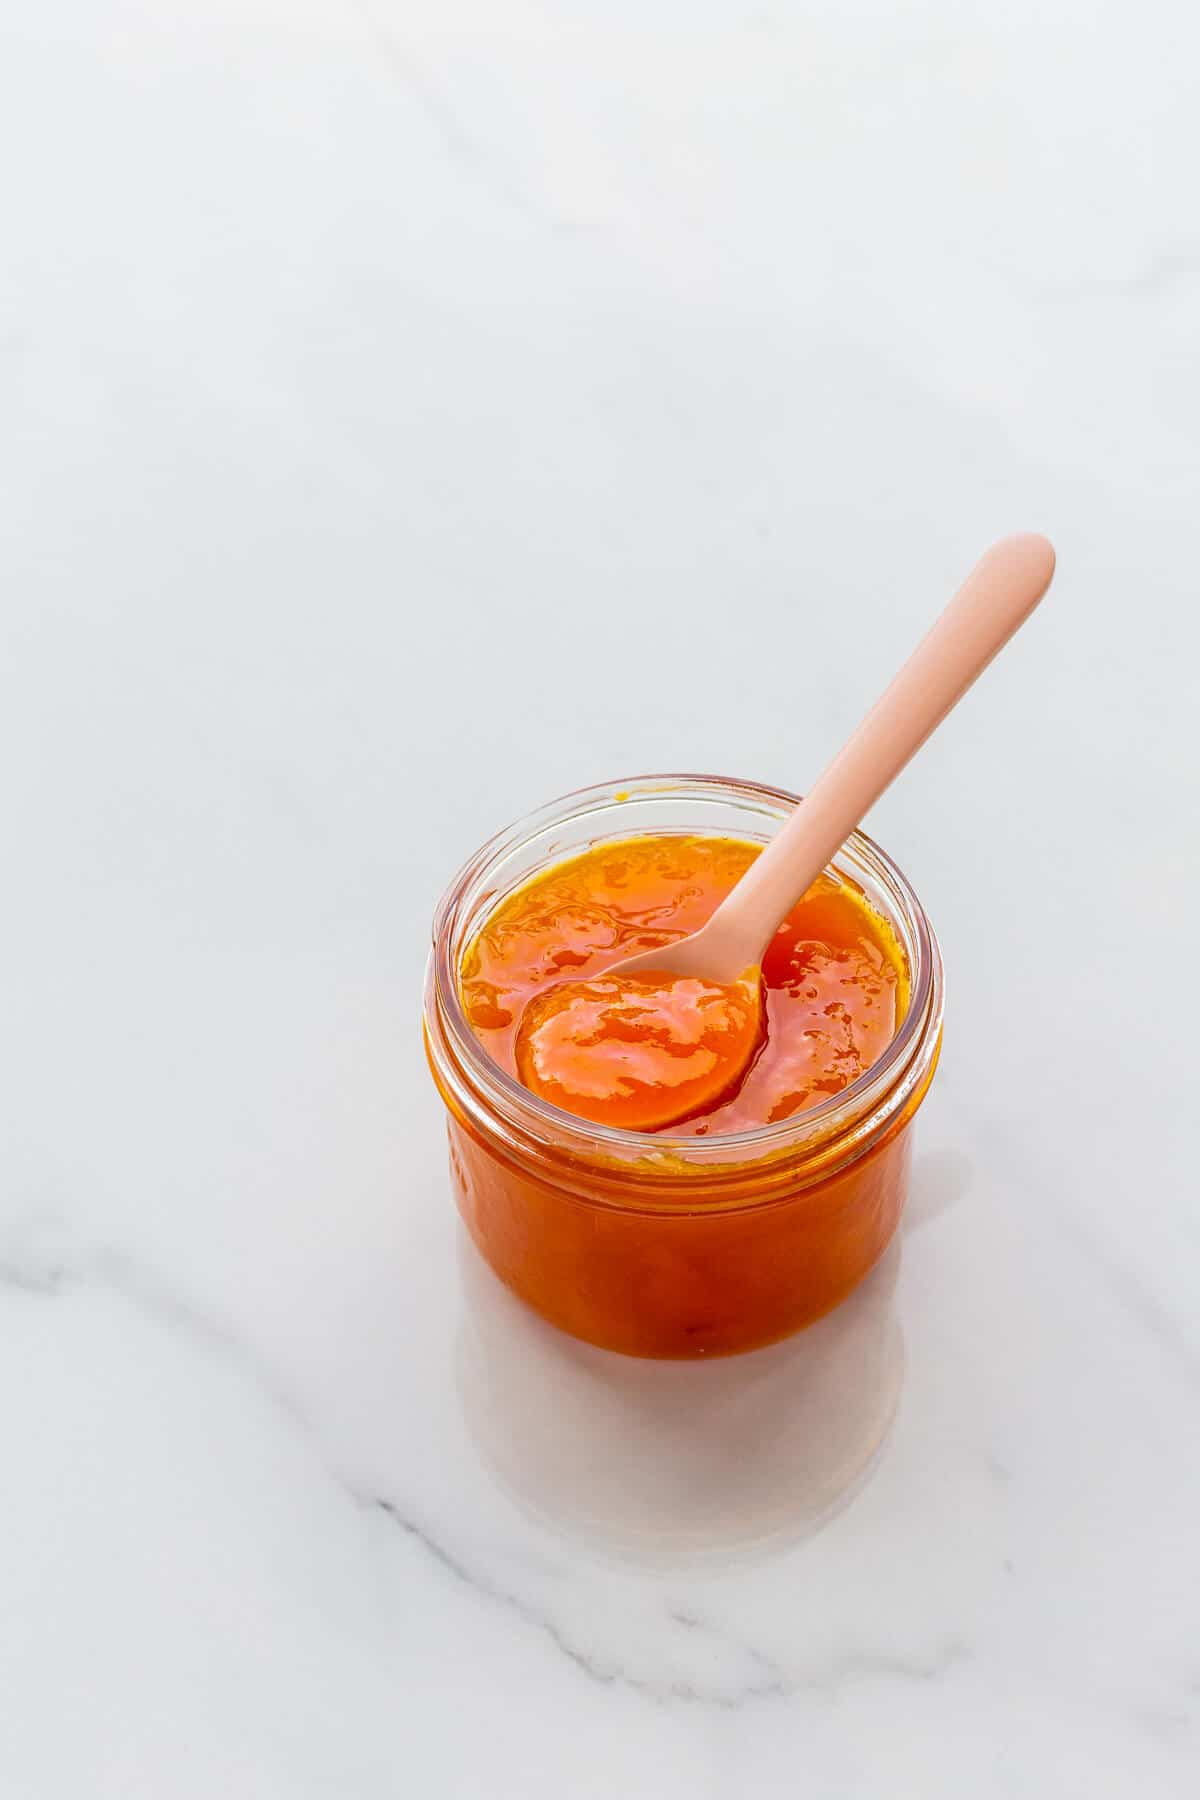
Learn how to make apricot jam with this easy recipe without pectin. The fresh apricots are chopped and macerated in sugar and a little lemon juice before bringing it up to a boil and cooking until you reach the jam setting point. Homemade apricot jam is one of my favourite jams and everybody loves it! Give it a try!
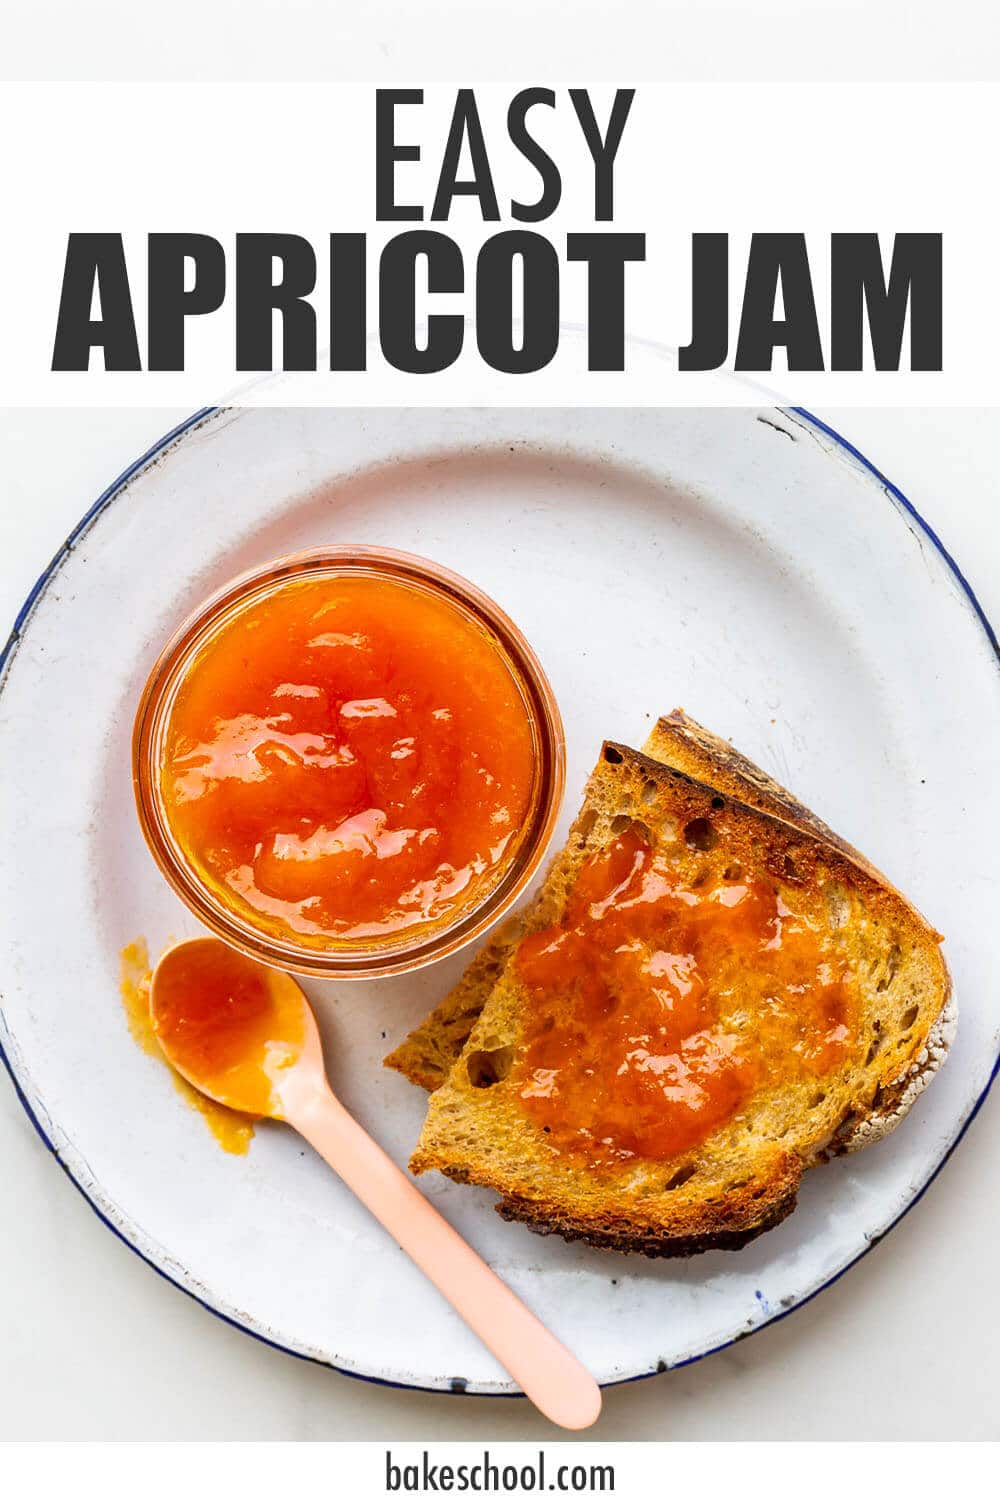
Apricot jam is the best, but people hardly think of it. It's sweet and fruity, and so flavourful. And it's THE jam to make in late spring or early summer when apricots are in season. If you've missed apricot season, check out this peach jam recipe to satisfy your craving!
Like the other jam recipes, this jam is made without pectin and instead depends on the pectin of the fruit and cooking to the jam setting point to ensure the perfect set every time!
Jump to:
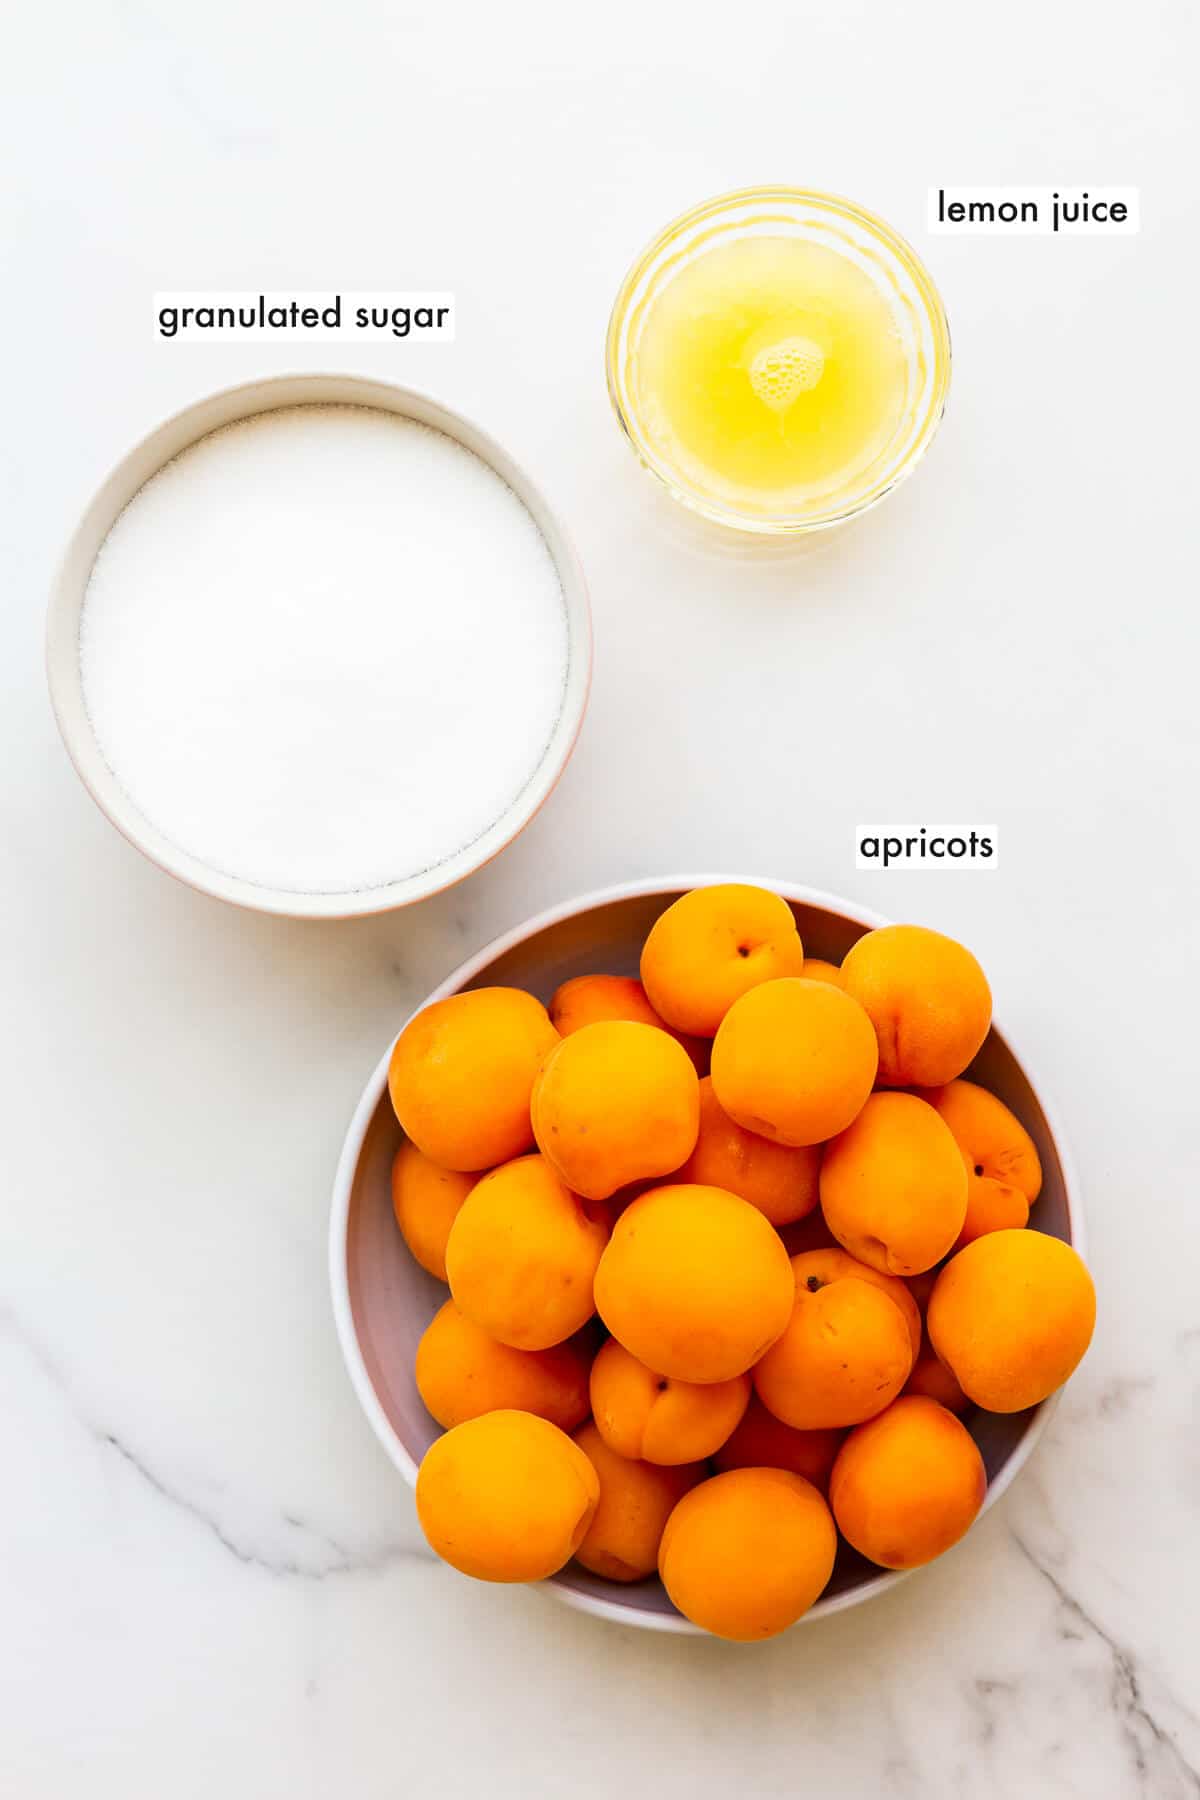
Ingredients you need to make this recipe
The beauty of making jam at home is that you really only need three things: ripe fruit, granulated sugar, and lemon juice. It's that simple!
- fresh apricots—opt for ripe apricots that aren't overly ripe. If the fruit are too ripe, they won't have as much pectin. Some jam makers actually include a portion of less ripe fruit when making homemade jam. The less ripe fruit have more pectin, and the quantity of pectin drops as the fruit ripens
- sugar—most home bakers and cooks object to the amount of sugar when they make jam. However, you really can't reduce it by much. I like to use granulated sugar. It doesn't impart any flavour, which means this jam will taste just like sweet, fresh apricots
- lemon juice—use fresh lemon juice because the flavour is better. Don't skip it because the acidity is important to help balance the flavour but also to achieve the perfect set
See recipe card for quantities.
Choosing the right fruit
It's a very common misconception that you should use over-ripe or old fruit to make homemade jam. Actually, this isn't a good idea. As the fruit age, the pectin in the fruit breaks down. The older the fruit, the less pectin you have to work with to achieve the perfect set.
Actually, professional jam makers usually use a combination of ripe fruit (slightly less pectin) with slightly under-ripe fruit (higher in pectin). This way, they can achieve the perfect set, without compromising flavour. You can use 25 % slightly under-ripe fruit with 75 % ripe fruit for this recipe.
Don't use any fruit that is going bad. The idea is to preserve the fruit at peak season when they are perfect, fresh, sweet, and unblemished.
Substitutions
With only three basic ingredients, there isn't much room for ingredients substitutions, but:
- Apricots—you can do a mixture of apricots and another stone-fruit, like apricots plus peaches. Or you can try apricots plus mango, which is another winning combination (reminiscent of this peach mango pie!)
- Granulated sugar—replace a portion of the sugar with the same amount of honey to add more flavour
- Lemon juice—instead of fresh lemon juice, you can use bottled lemon juice.
In this recipe, I do not recommend replacing the sugar with any sugar substitute like stevia or Splenda. It will not work. You need sugar to achieve the best jam set in this recipe.
You'll also notice that I use regular granulated sugar or special fine sugar, i.e. regular white sugar. You don't need jam sugar (also called gelling sugar or jelly sugar), which has commercial pectin mixed in. There's nothing wrong with jam sugar. But in this recipe, it's not necessary and would be an extra expense for no good reason.
Instructions
Making jam at home is easy. It takes a little time, but once it's done, you will have 4 or 5 jars of apricot jam. You can keep the jam for months and months, or give out as gifts.
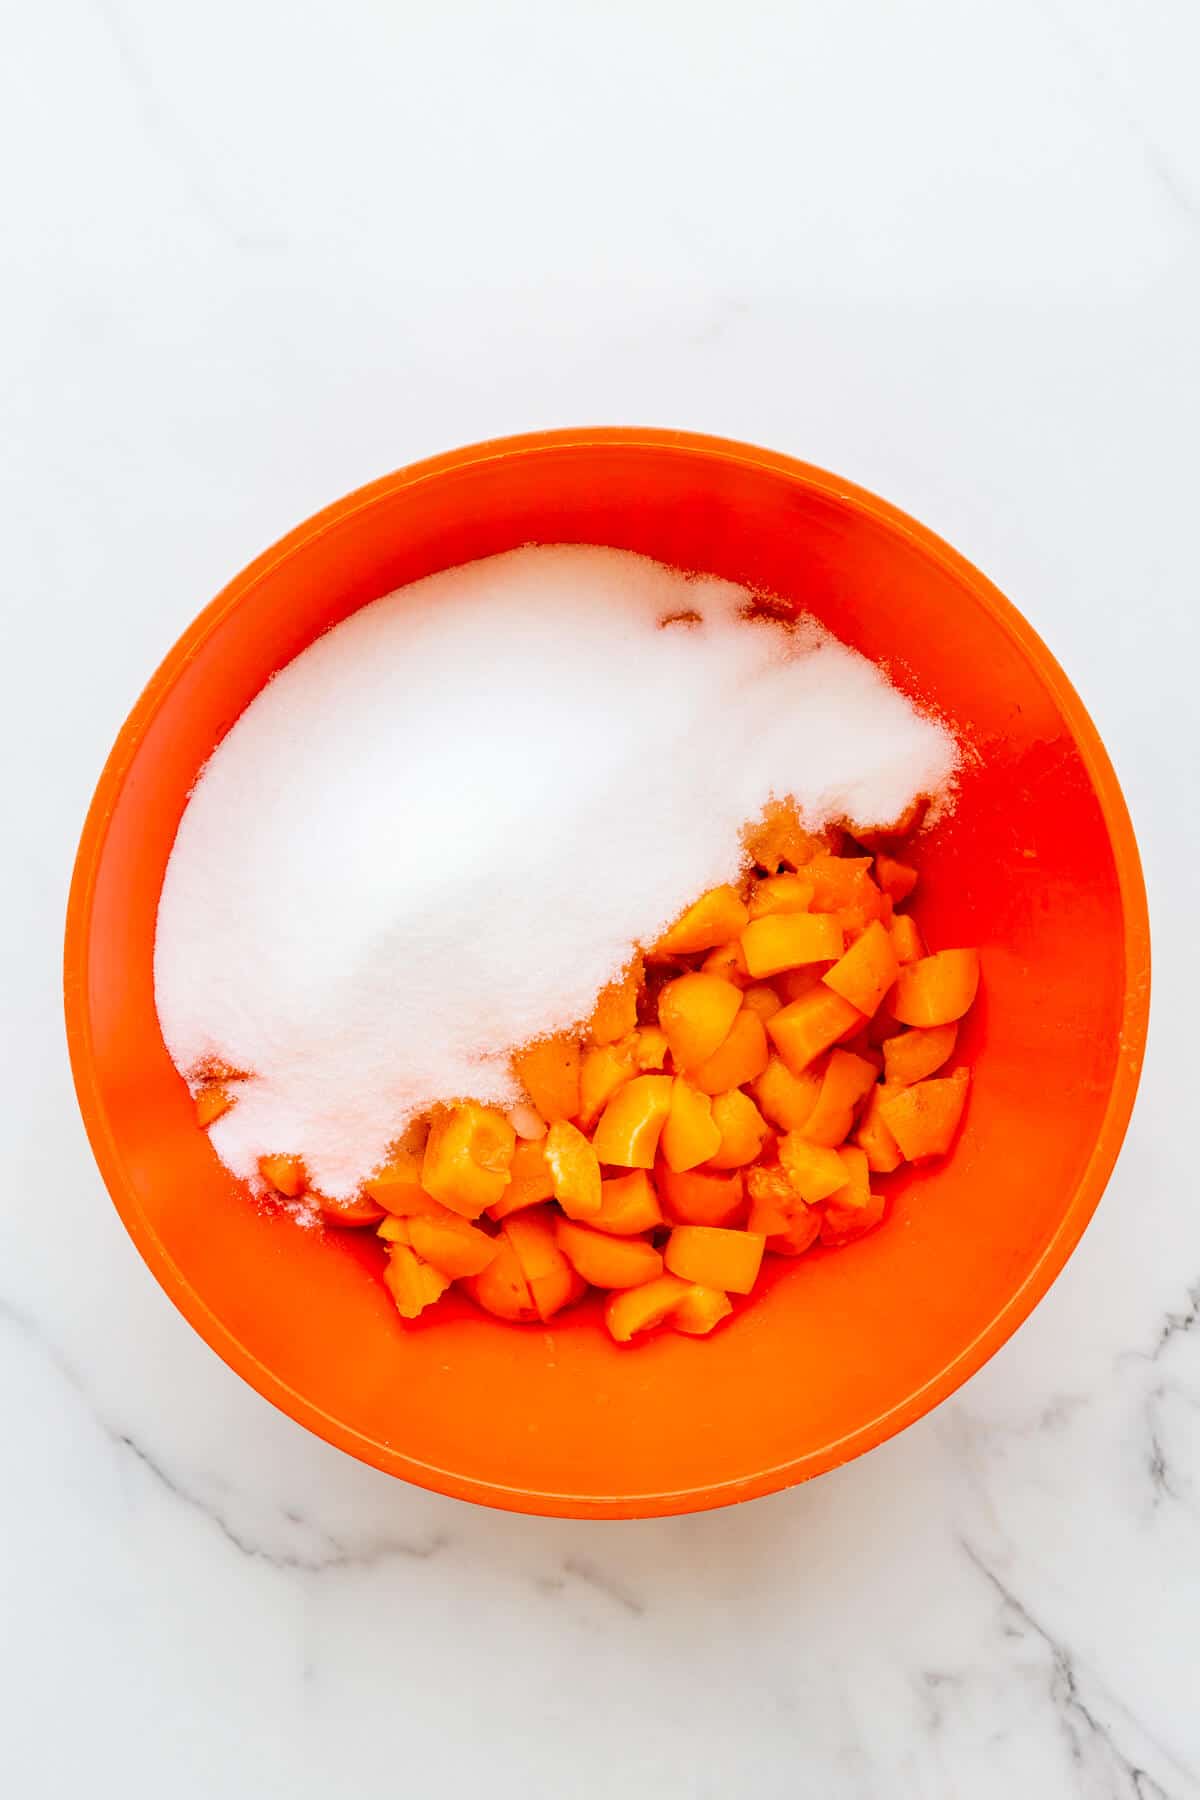
Maceration
The first step in most jam recipes is to macerate the chopped fruit with sugar. Maceration draws out the fruit juices and helps extract pectin. This helps with the set of the jam so that you don't have to add commercial pectin. This step also helps dissolve the sugar. When you boil the mixture, the texture will be smooth without any sugar crystals.


Boiling to the jam setting point
Achieving the perfect set, whether for marmalade or jam, is tricky. It can take some experience to be able to judge, visually, if your pot of jam has boiled sufficiently to set properly later. Here are three things to look at to determine set:
- the bubbles: when the jam first comes to a boil, the bubbles are quite volatile. They form and pop almost instantaneously. Whereas when the jam has thickened enough, the bubbles will be more stable and resemble blinking fish eyes. The visual cues are hard to see for beginners. If you are learning to make marmalade and jams, I recommend you observe the changes in the bubbles as you go, but you should rely on other methods to decide when your marmalade has reached the setting point.
- the wrinkle plate test: freeze a few small saucer plates in your freezer overnight. When you think your jam is cooked enough, retrieve a saucer from the freezer and place a dollop of hot marmalade on the plate. Put it back in the freezer for 1 minute, then take it out and push the dollop with your finger: if the dollop wrinkles nicely, your jam is probably done, if it's still too fluid to wrinkle, keep cooking.
- the temperature: measure the temperature with a thermometer. You want to cook jam to somewhere in the range of 102-103 °C (215–217 °F), depending on how fluid or thick you want it. Don't overcook your jam because you will ruin the fresh flavour of the fruit and the sugar will caramelize, so be careful how high you push the temperature before you stop cooking.
Hint: I like to monitor the temperature using a Thermapen or a ChefAlarm, both of which are fast-reading digital thermometers that are calibrated so that they work well!
The ratio of fruit to sugar is important
The amount of sugar is not important, but rather the ratio of sugar to fruit (i.e. the amount of sugar compared to the amount of fruit) is what is essential to making good jam with the right set, that stores well for long periods, and where the sugar doesn't crystallize over time. You'll notice we have double the weight of fruit compared to the weight of sugar. This works for most fruit-based jams. You'll notice with something like orange marmalade, you will need equal parts by weight of fruit and sugar.
Variations
When you make homemade jam, there's a lot of room for infusing the jam with different flavours
- Floral—add crushed green cardamom seeds or even a couple of sachets of Earl Grey tea that can boil with the fruit, which means you can easily pull them out before transferring to jars
- Vanilla—slice open a vanilla bean and add it to the pot with the macerated fruit before so that the vanilla bean will infuse the jam as it cooks on the stove
See this honey apricot jam recipe if you think you would like to swap out some of the sugar and replace it with honey!
Other jams to make in Spring
In the months of late Spring and early summer, there are a lot of preserves that you can make:
- rhubarb jam
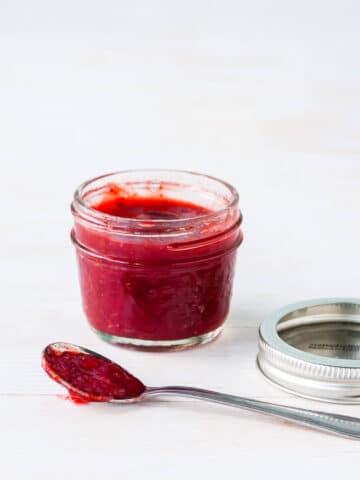
- strawberry and red currant jam
- honey apricot jam (a variation on this recipe)
Equipment
To make homemade jam, you don't need much! Here's a rundown of the tools that will make your life easier:
- a stove
- a big pot
- a wooden spoon or heatproof spatula
- a canning kit that includes a non-reactive wide-mouth funnel, jar lifters, headspace measuring tool, etc.
- 250 mL jars or 125 mL jars to store your preserves in
- a Thermapen or a ChefAlarm to monitor the temperature
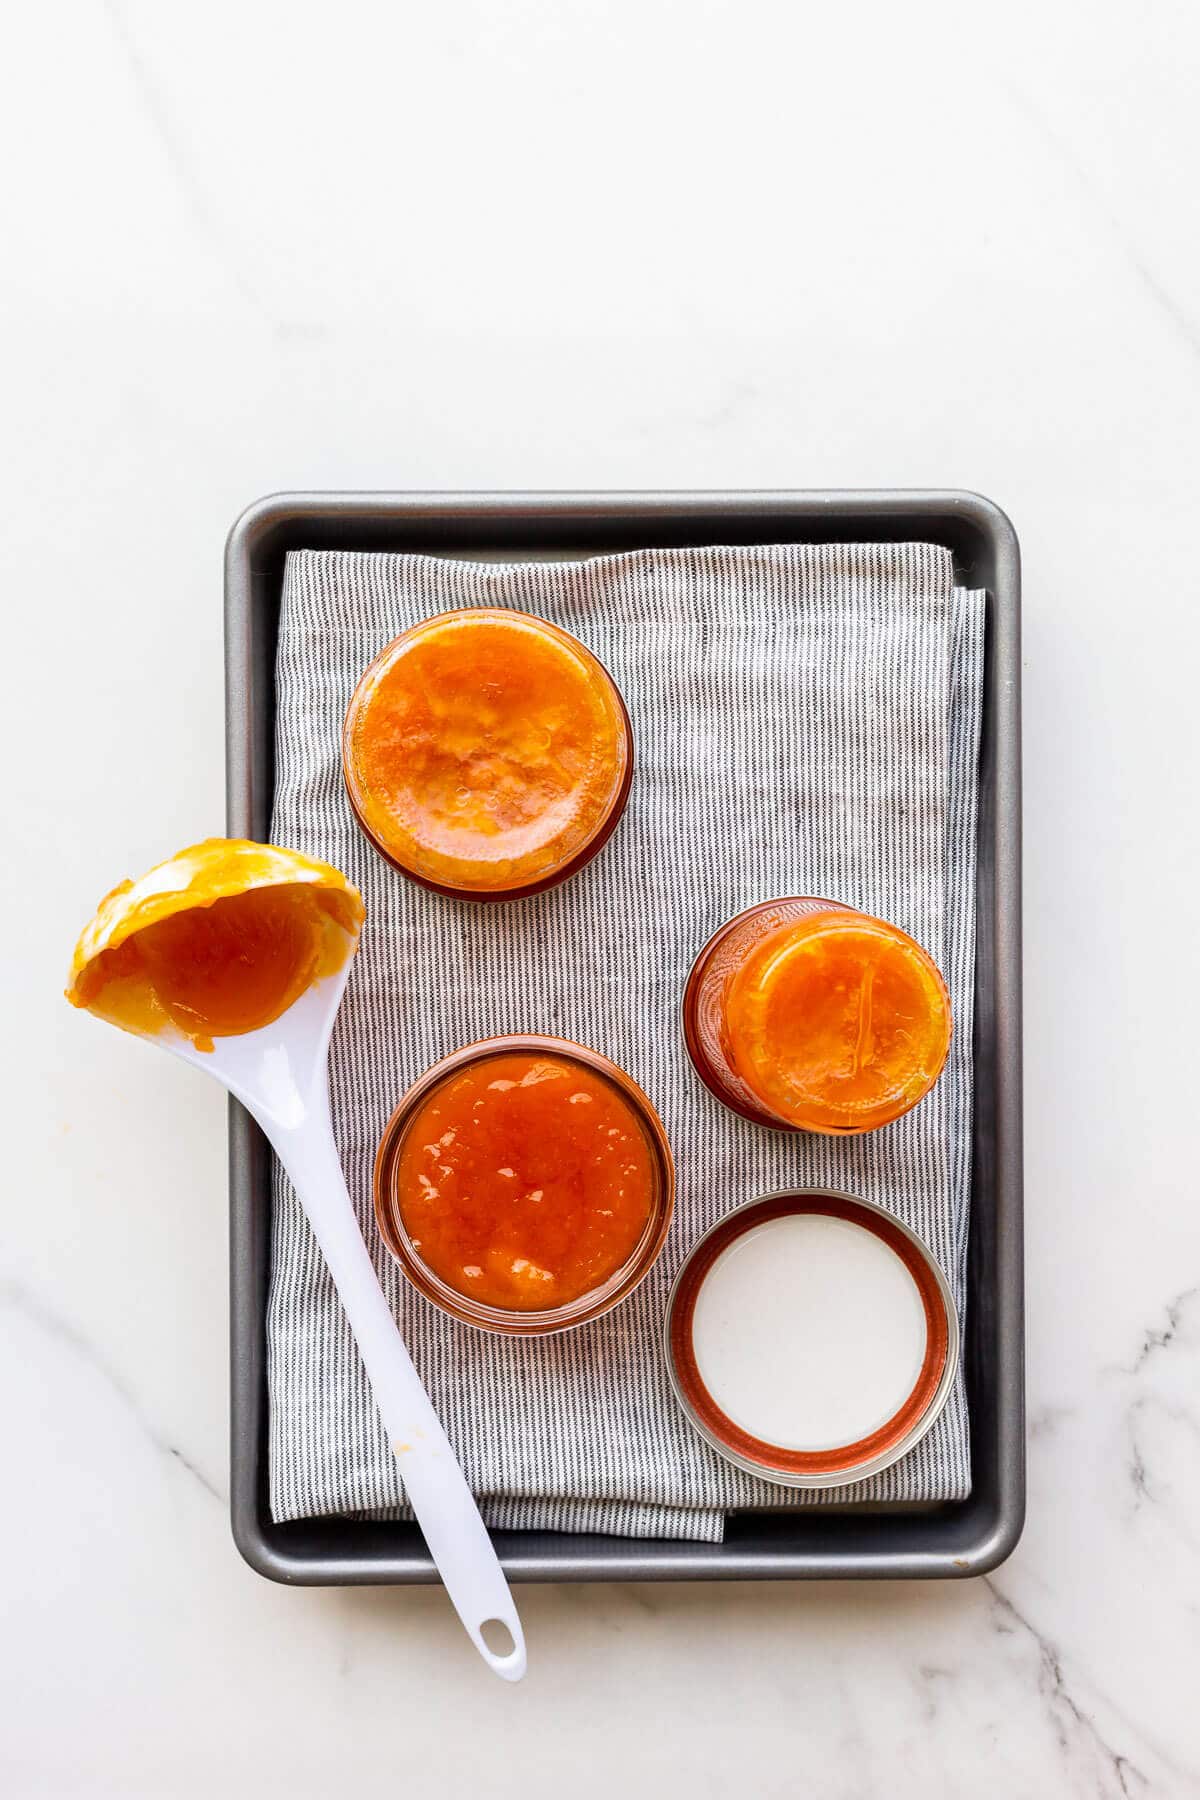
If you choose to process the jars to seal them, you will need a canning kit, which comes with a jar lifter, a helpful tool to measure headspace and remove air bubbles, among others. You can actually skip the step of boiling the closed jars to seal them and instead, invert the closed jars of hot jam and let them stand upside down for 2 minutes before flipping right side up. This will create a vacuum and seal the jars too.
Storage
If properly sealed, your jars of homemade jam will last for years, but technically one year is the recommended shelf life. Over time, you will notice the colour will change, the bright orange will darken with time. This is normal and not a sign of the jam degrading or going bad, so don't worry if the colour darkens!
Store sealed jars in a cool, dark place.
Note that if you don't seal the jars properly, or if you have a doubt, just keep the jars in the fridge.
When it's time to use your jam, always use a clean spoon or knife to take out a serving and don't double dip into the jar of jam because you will contaminate it. Once the jar is open, you must store it in the refrigerator. Otherwise, mold may develop.
After the jar of jam is open, you must store it in the refrigerator and according to most professional canners, an open jar of jam will last up to one month if stored in the refrigerator.
Once common misconception is that you can reboil a jar of jam that has developed mold. I would not recommend this. I also would not recommend removing the layer of mold from the top and eating what's below. The mold you see is a fraction of what exists below and it's better to be safe: toss the contents of jar, wash and sterilize the jar, and reuse it to make a fresh batch of jam.
What to serve it with
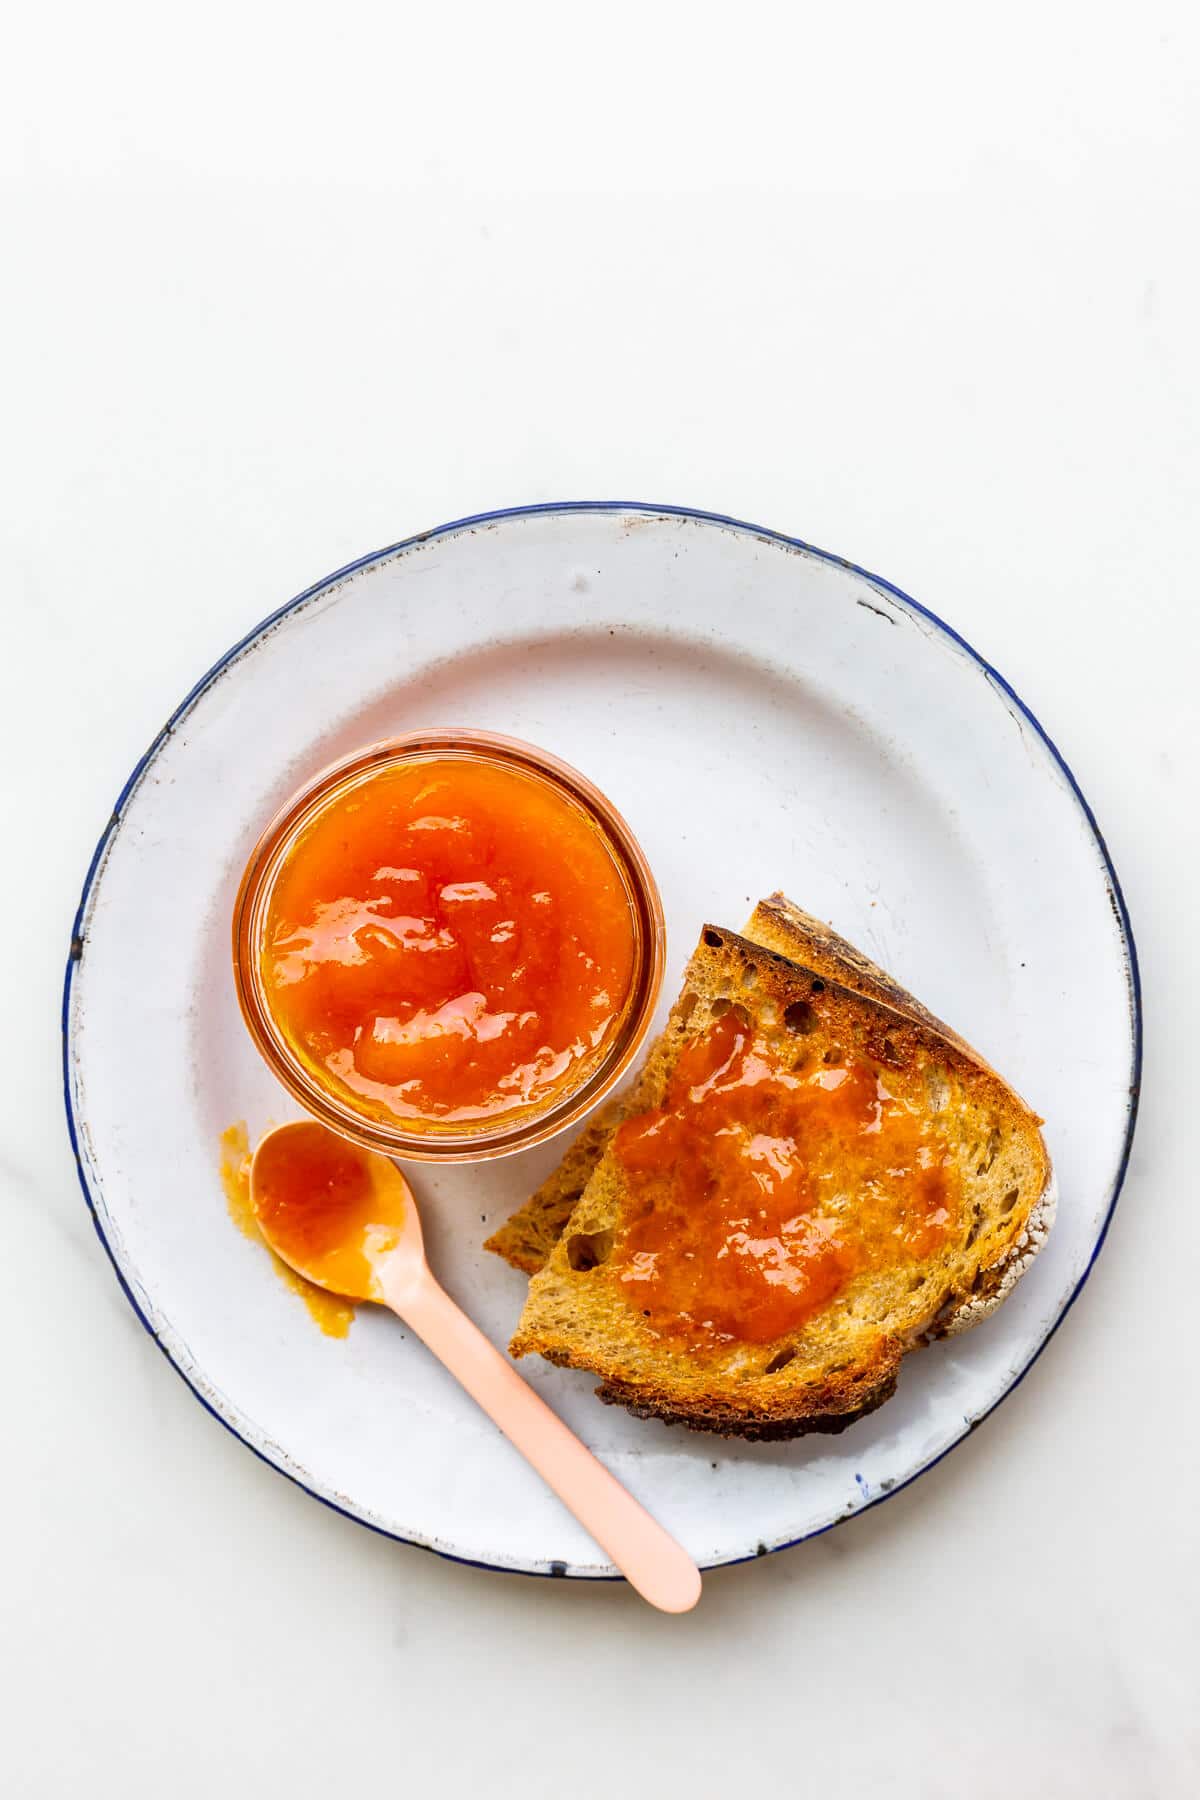
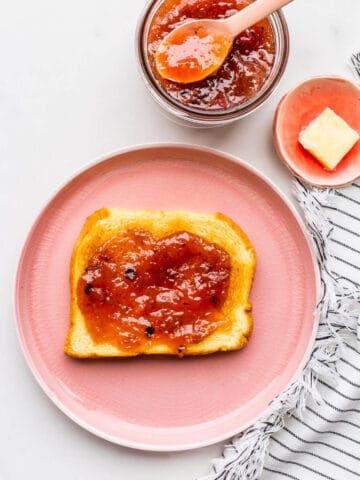
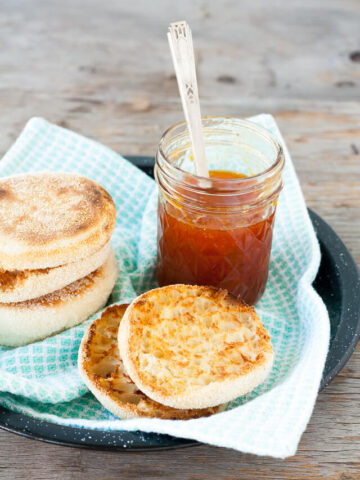
Apricot jam makes a great filling for jam tarts, but it's also great for breakfast, smeared on slices of brioche bread or even on cinnamon raisin bread!
Frequently asked questions
Apricots are low in pectin, especially when compared to fruits like apples or oranges. But that doesn't mean that you have to add pectin when you make apricot jam! Your jam will still set if you macerate the fruit, use enough sugar, and boil for long enough to reach the jam setting point.
Absolutely not! And you won't notice the peel at all when you eat this apricot jam so don't worry about it! If you wanted to peel them, the best would be to slice a small X at the bottom of the fruit to cut the skin and then blanch the fruit to loosen the peel. It's not necessary though!
Lemon juice will make sure that the pH of your macerated fruit mixture is right in the zone so that your pectin will gel the jam. The acidity also increases the shelf life of fruit preserves, and it balances out the sweetness of the jam.
You don't need to add extra ingredients to get apricot jam to set, but you do need to use the right amount of sugar (2 parts fruit to 1 part sugar, by weight), macerate the fruit, and boil the jam to the jam setting point (just like you have to boil marmalade to the marmalade setting point). If you follow these steps and use a reliable recipe, you will succeed!
📖 Recipe
Apricot Jam
Ingredients
- 1 kg fresh apricots washed and coarsely chopped, discarding the pit and stem
- 500 grams granulated sugar
- 60 mL fresh lemon juice
Instructions
- Mix the chopped apricots with the sugar and lemon juice in a large bowl.
- Cover the mixture and let the fruit macerate for 30 minutes to an hour. Stir every so often to help the sugar dissolve.
- Transfer the macerated fruit and all the juices into a big pot and place the pot with the macerated fruit on the stove. Heat on medium, uncovered, stirring every so often to help the sugar dissolve completely.
- Bring the mixture to a boil, stirring with a wooden spoon to help distribute the heat.
- When the jam comes to a boil, continue cooking it until it hits the jam setting point, around 102-103 °C (215–217 °F). Watch the bubbles and do a wrinkle plate test to verify the set.
- Take the pot off the stove. Let stand 2 minutes then stir well to distribute the fruit.
- Divide the jam among the jars, leaving a ¼ inch headspace. Remove air bubbles, wipe the rims clean, then cover with the lids, fingertight. If any of the jars aren't filled full, don't seal them. Instead you can cover them and enjoy them right away, storing in the fridge.
- Seal the closed jars according to the manufacturers recommendations, either using a water bath canning kit or by inverting the hot jars of jams for two minutes before flipping right-side-up.
- Let the jars sit 24 hours undisturbed before storing them in the pantry. Don't forget to label them with the date and the name of the jam!



Hannah says
Is the nutritional information per 1 Tbsp or one serving of x grams?
Janice Lawandi says
Hi,
It's per tablespoon. Basically, I calculated the total calories for the entire recipe and divided by the number of tablespoons it yielded (assuming 1 tablespoon per serving, and 15 mL per tablespoon, and each jar is 250 mL).
Hope that makes sense!
Pierre says
Good day
How do you adjust the set-point of jam in the case where I reside at 1520m above sea level. I presume that 104 degrees Celsius used in most recipes are for sea level.
Janice Lawandi says
Hi Pierre,
Since water boils at a lower temperature at higher altitude, this means you will likely hit the set point sooner. I've seen mentioned in a few places to decrease the set point temperature by 2 °F (1 °C) for every 1000 feet (305 metres) elevation, which to me would mean you would want to aim for somewhere around 99 °C. To be safe, I'd pay close attention to the texture and the bubbles at 97-98 °C to avoid over-cooking the mixture. Hope that helps and please let me know how it goes!