The best scones are rich, tender, light and fluffy, and the worst scones are dense, dry, heavy, and hard to swallow. Find out how to make awesome scones, with tips and tricks to improve your recipe and technique.
Jump to:
- Ingredients to make scones
- The ratio of ingredients
- American vs British scones
- Which is better? Cream vs milk vs buttermilk
- Tools to make scones
- How to make the dough
- What shape should they be
- Ways to dress them up
- Baking temperature
- Preventing scones from spreading
- Storing scones
- Troubleshooting
- Tips for how to make the best scones
- Serving suggestions
- 📖 Recipe
Ingredients to make scones
Scones are made from very basic baking ingredients, which means you probably have everything you need to make the basic scone in your pantry and fridge. Here's a rundown of the components of scone recipes.
Dry ingredients
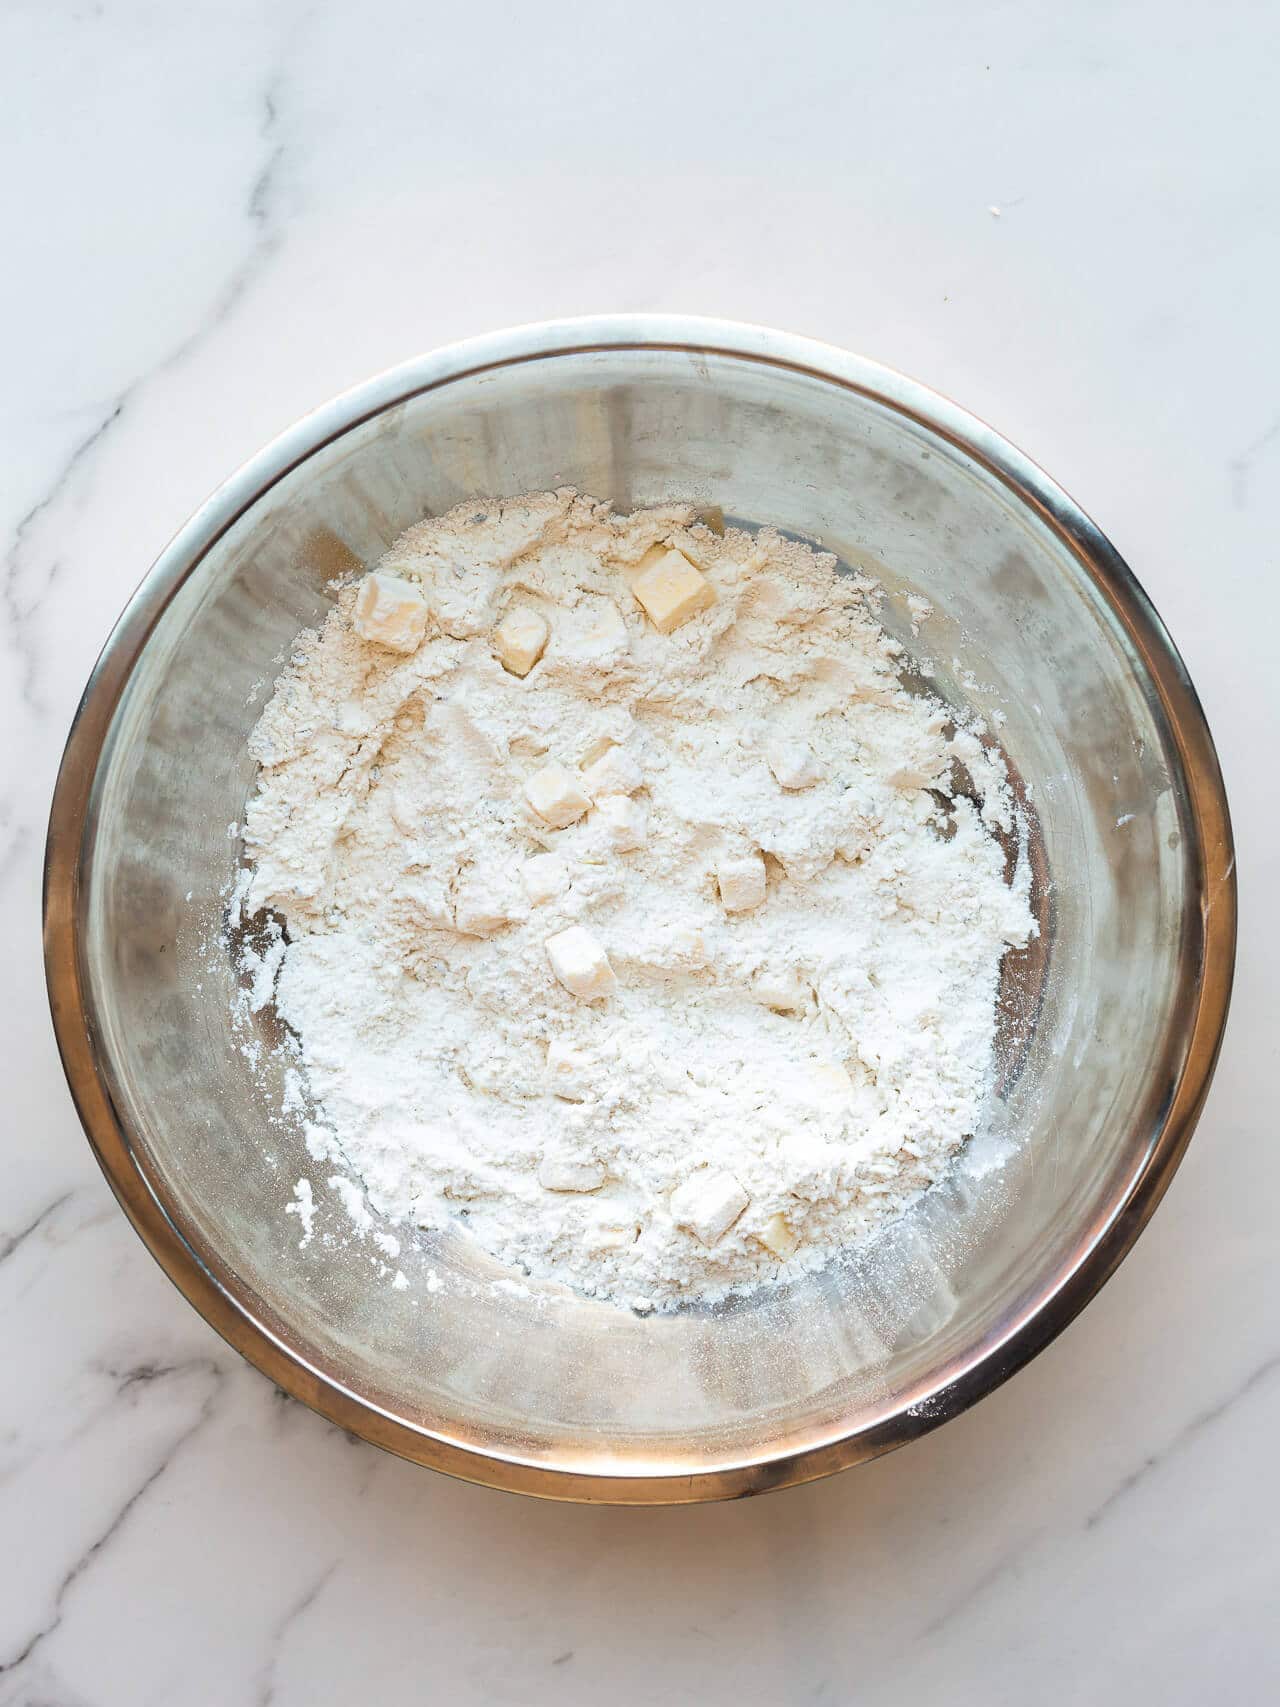
The dry ingredients to make scones include flour, chemical leaveners, and salt.
In the UK and some other parts of the world, the flour you bake with could be plain flour (all-purpose) or self-raising flour. If you are baking with plain flour or all-purpose, you would have to add baking powder and salt to your dough.
Self-raising flour comes with those in the mix, so in recipes with self-raising flour, you probably won't add any baking powder or salt. If you have a recipe that calls for one or the other, and you want to swap them, make sure to check out this guide to baking substitutions to help you.
Liquid
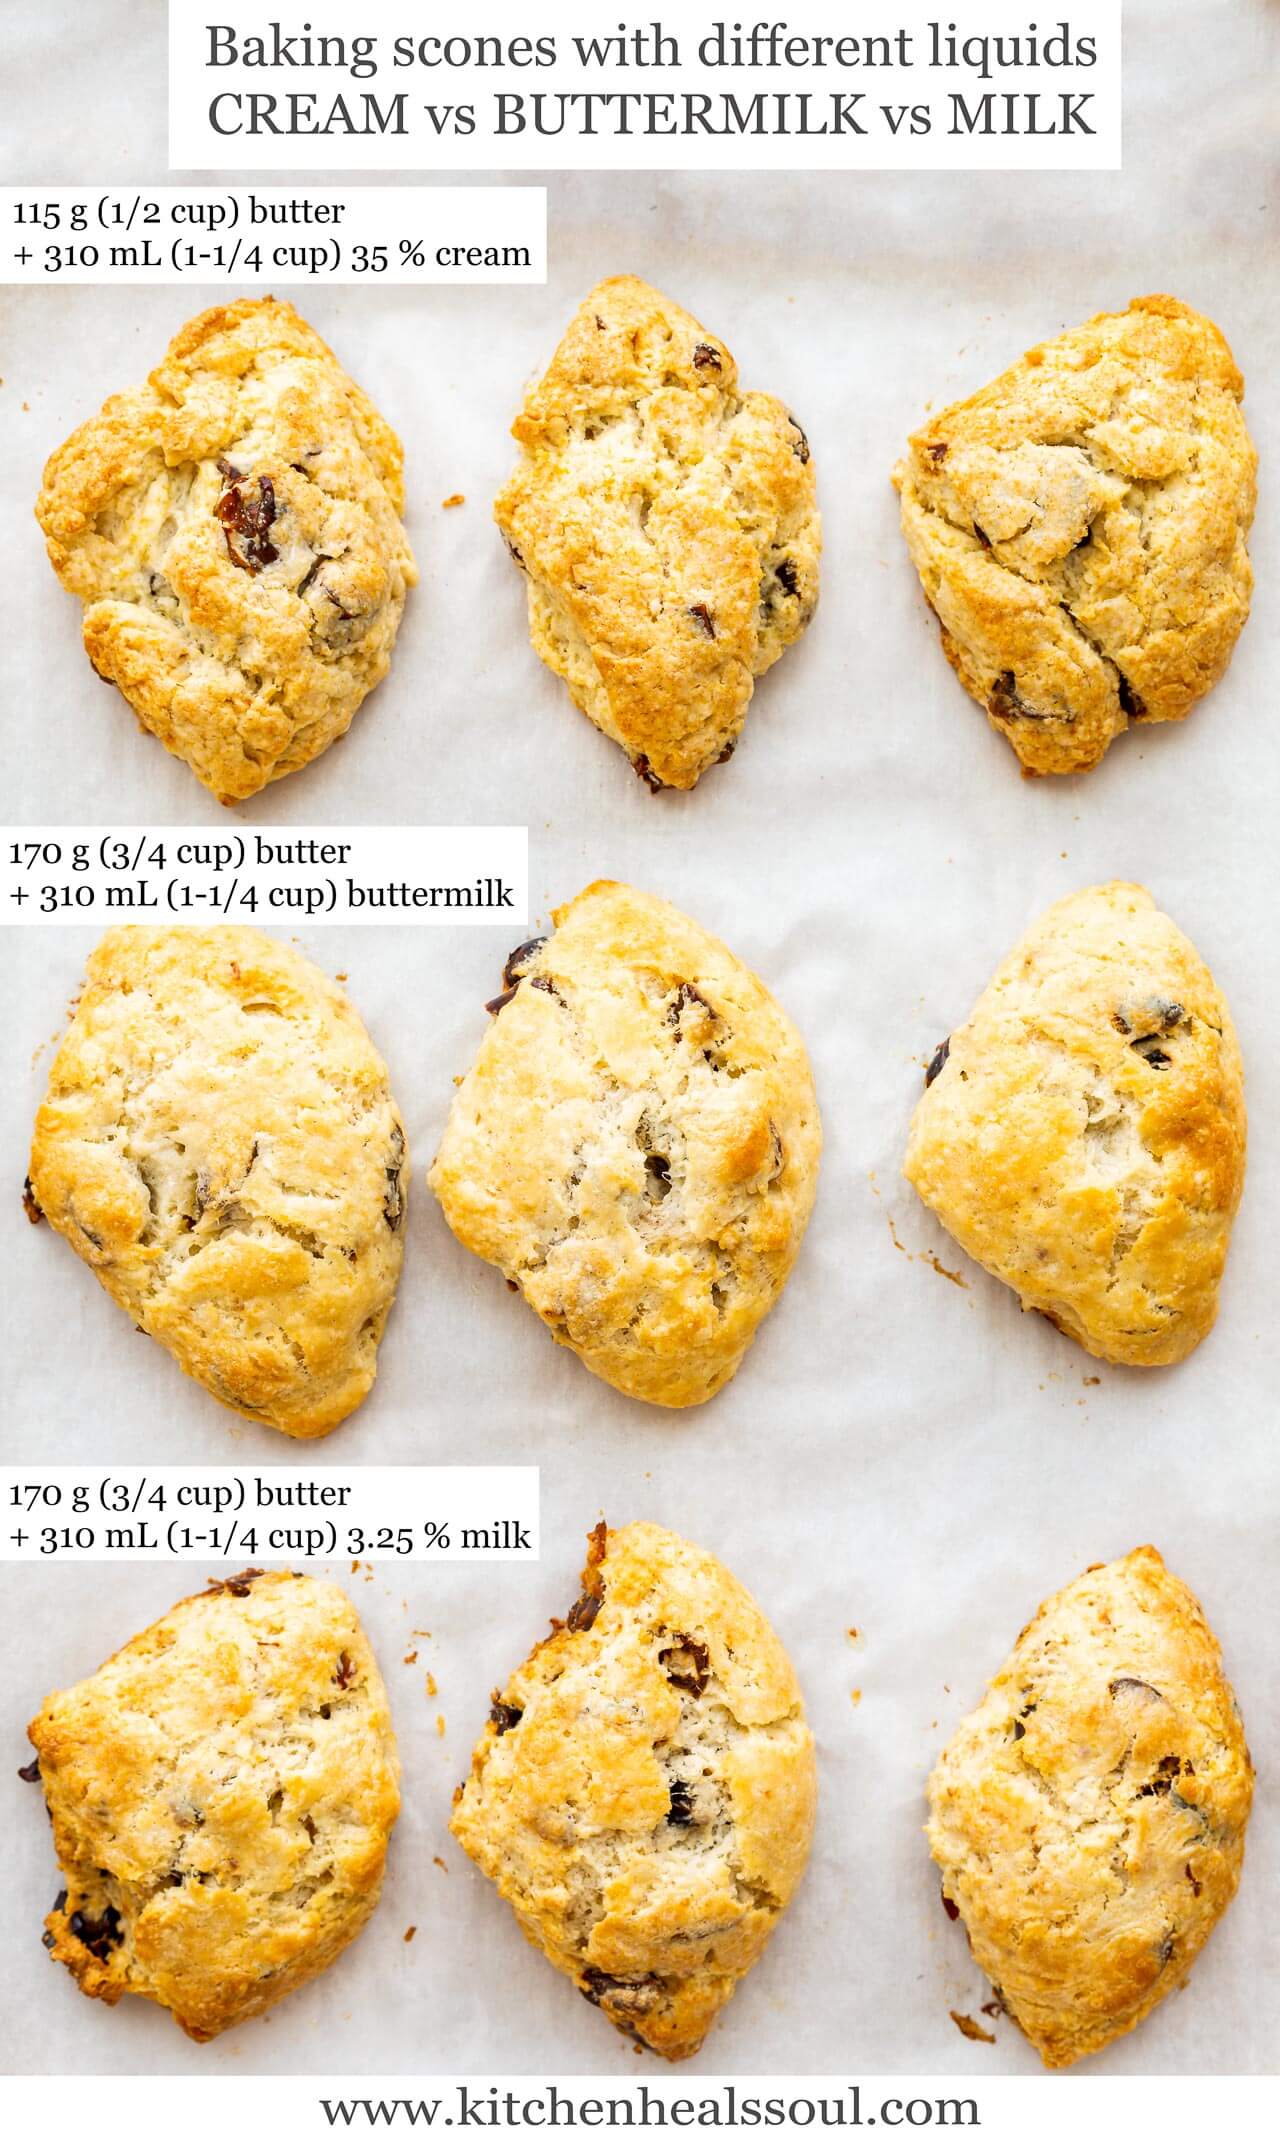
When it comes to the liquid ingredients to make scones, you have also options! Cream scones are made with flour, chemical leaveners, salt, a little sugar, and cream. Nothing more. The cream used is typically whipping cream with 35 % fat, though you could use double cream which has 40 % fat, or you could use half-and-half, with 15 % fat. All roads lead to scones, though depending on the fat content of the dairy you use, your scones will be more or less rich, and more or less tender.
Sometimes cream scones can be made with a combination of cream and butter, which is what I like to use instead of straight cream. I find working a little butter into the flour from the beginning helps "lighten" the scones and leads to a more tender scone in the end.
Americans often prefer to make buttermilk scones, using buttermilk instead of cream. Remember buttermilk is virtually fat-free. Scones made with buttermilk often have extra butter in the recipe to add back that richness. If you use buttermilk, you might want to also add some baking soda to your dry ingredients (roughly 2.5 mL (½ teaspoon) baking soda for every cup of buttermilk). Otherwise, your scones may not brown properly.
You can also make scones with milk, but given the lack of fat, you'll want to also add butter to your recipe. To replace 250 mL (1 cup ) of heavy cream, try adding 190 mL (¾ cup) of milk and an additional 60 mL (¼ cup) of cold butter instead.
Sometimes, the liquid ingredients might include an egg, as I did in the pear and chocolate scones. That recipe has a lot more liquid than most and so it could fall into the drop scones category, where the dough can be scooped with a disher or muffin scoop to portion it out. No rolling needed! Instead I opted to do some rolling and folding with flour to yield a flakier scone.
Fat
The key to a good scone is the fat which makes them tender and rich, and prevents them from ending up hard as a brick or awfully dry. The fat in your scones will:
- reduce gluten formation, so that you don't end up with a chewy scone that's hard to swallow
- contribute to that melt-in-your-mouth quality so that they aren't dry nor as prone to drying out over time. Scones with more fat will store better than scones with less fat.
The fat in scones is usually butter, but remember that if you are making cream scones, the fat will come from the cream you use, which is why some scones have no butter and are made with only cream (with a high percentage of fat around 35 to 40 %).
The ratio of ingredients
The easiest way to make scones is to remember the scone ingredient ratio and use it as a formula: 1 part fat, 2 parts liquid, 3 parts flour, by weight. The fat is usually cold butter, the liquid can be cream (or milk or buttermilk), and the flour is generally all-purpose flour (or self-raising flour in the UK). To these three ingredients, you will probably add sugar (but not too much because we aren't making cookies here).
To make a batch using this ratio, you could measure out 115 grams (½ cup) of butter, 250 mL (1 cup) of milk, and 375 grams (3 cups) of flour, adding 15 mL (1 tablespoon) of baking powder, 100 grams (½ cup) of granulated sugar, and 2.5 mL (½ teaspoon) fine kosher salt to the mix.
With milk, I prefer to add in a little more fat, so 175 grams (¾ cup) of butter, 250 mL (1 cup) of milk, and 375 grams (3 cups) of flour, adding 15 mL (1 tablespoon) of baking powder, 100 grams (½ cup) of granulated sugar, and 2.5 mL (½ teaspoon) fine kosher salt. The extra butter prevents them from drying out too quickly. Otherwise, scones made with milk go stale quite fast.
I like to make scones with a combination of butter and cream which leads to richer, more tender baked good that don't dry out as quickly, and I work with more cream than milk: 115 grams (½ cup) butter, 310 mL (1.25 cups) of 35 % cream, and 375 grams (3 cups) of four, adding 15 mL (1 tablespoon) of baking powder, 50 to 100 grams (¼ to ½ cup) of granulated sugar, and 2.5 mL (½ teaspoon) fine kosher salt to the mix. I used this recipe to make these lavender white chocolate scones.
American vs British scones
In the US, scones tend to be a little larger and they are often made with buttermilk and in most bakeries and cafés, you'll see them glazed. They are served with nothing on the side.
This is quite different from British scones, which don't have any icing on them and are usually served with butter, clotted cream and jam or marmalade (like a rhubarb jam or three fruit marmalade).

Which is better? Cream vs milk vs buttermilk
The liquid used to bring the dough together can be cream, milk, or buttermilk, but which one you use is entirely dependent on the chemical leaveners you will be using.
If you are using baking soda, you will want to use buttermilk, an acidic ingredient that will react with the leavener to help them rise. On the other hand, if you use cream or milk, you'll want to use baking powder because it combines the acid needed with baking soda all in one complete powder.
And if you are debating whether to use cream or milk in your scone dough, remember that cream, especially whipping cream, is 35 % fat (or more), which brings a lot of richness to the dough, while adding slightly less water, and this will yield scones that are more tender and richer that store very well and don't dry out the way scones with milk or buttermilk do. But if you just have milk, use that. All roads lead to scones! And you can compensate by adding more butter to your recipe to replace the fat.
Tools to make scones
Scones are simple to make and you don't need any special tools. You could mix a batch with just a bowl and a whisk (or even a fork!), and then bake them on a parchment-lined sheet pan. That being said, there are some special tools you can invest in to make your life easier if you want to bake scones often:
- a kitchen scale will help you weigh out ingredients and create more consistent scones batch after batch.
- a Danish dough whisk works a little better for mixing scone dough and it makes cleanup easier because it's flat, making it easy to clean off bits of stuck-on dough compared to a standard balloon whisk.
- a bench scraper is great for cutting dough and cleaning your work surface
- a disher or muffin scoop helps scoop softer scone dough without handling it too much
How to make the dough
When you are making scones, you'll notice that the mixing method is the same as for pie dough:
- Start with all the dry ingredients in a big bowl (the flour, chemical leaveners, salt, sugar, and any dried spices or other dry flavour elements you want to incorporate, like dried tea leaves or lavender buds).
- Add diced cold butter to the big bowl and work it into the flour with your fingertips to form a crumbly mixture
- Add the liquid and stir it in with a fork or a Danish dough whisk.
- When a dough starts to form, you can dump the contents of the bowl onto your work surface and using your hands, press and work the dough just enough to gather it all together into a disk.
- You can use a rolling pin to roll the dough to the desired thickness, or just pat it out with your hands. At that point, you're ready to cut out the scones and bake them.

What shape should they be
There are actually many ways to shape scones before baking.
- Use a disher or muffin scoop to form "drop scones"—this method is especially appropriate for scones that are made from a dough that is wetter
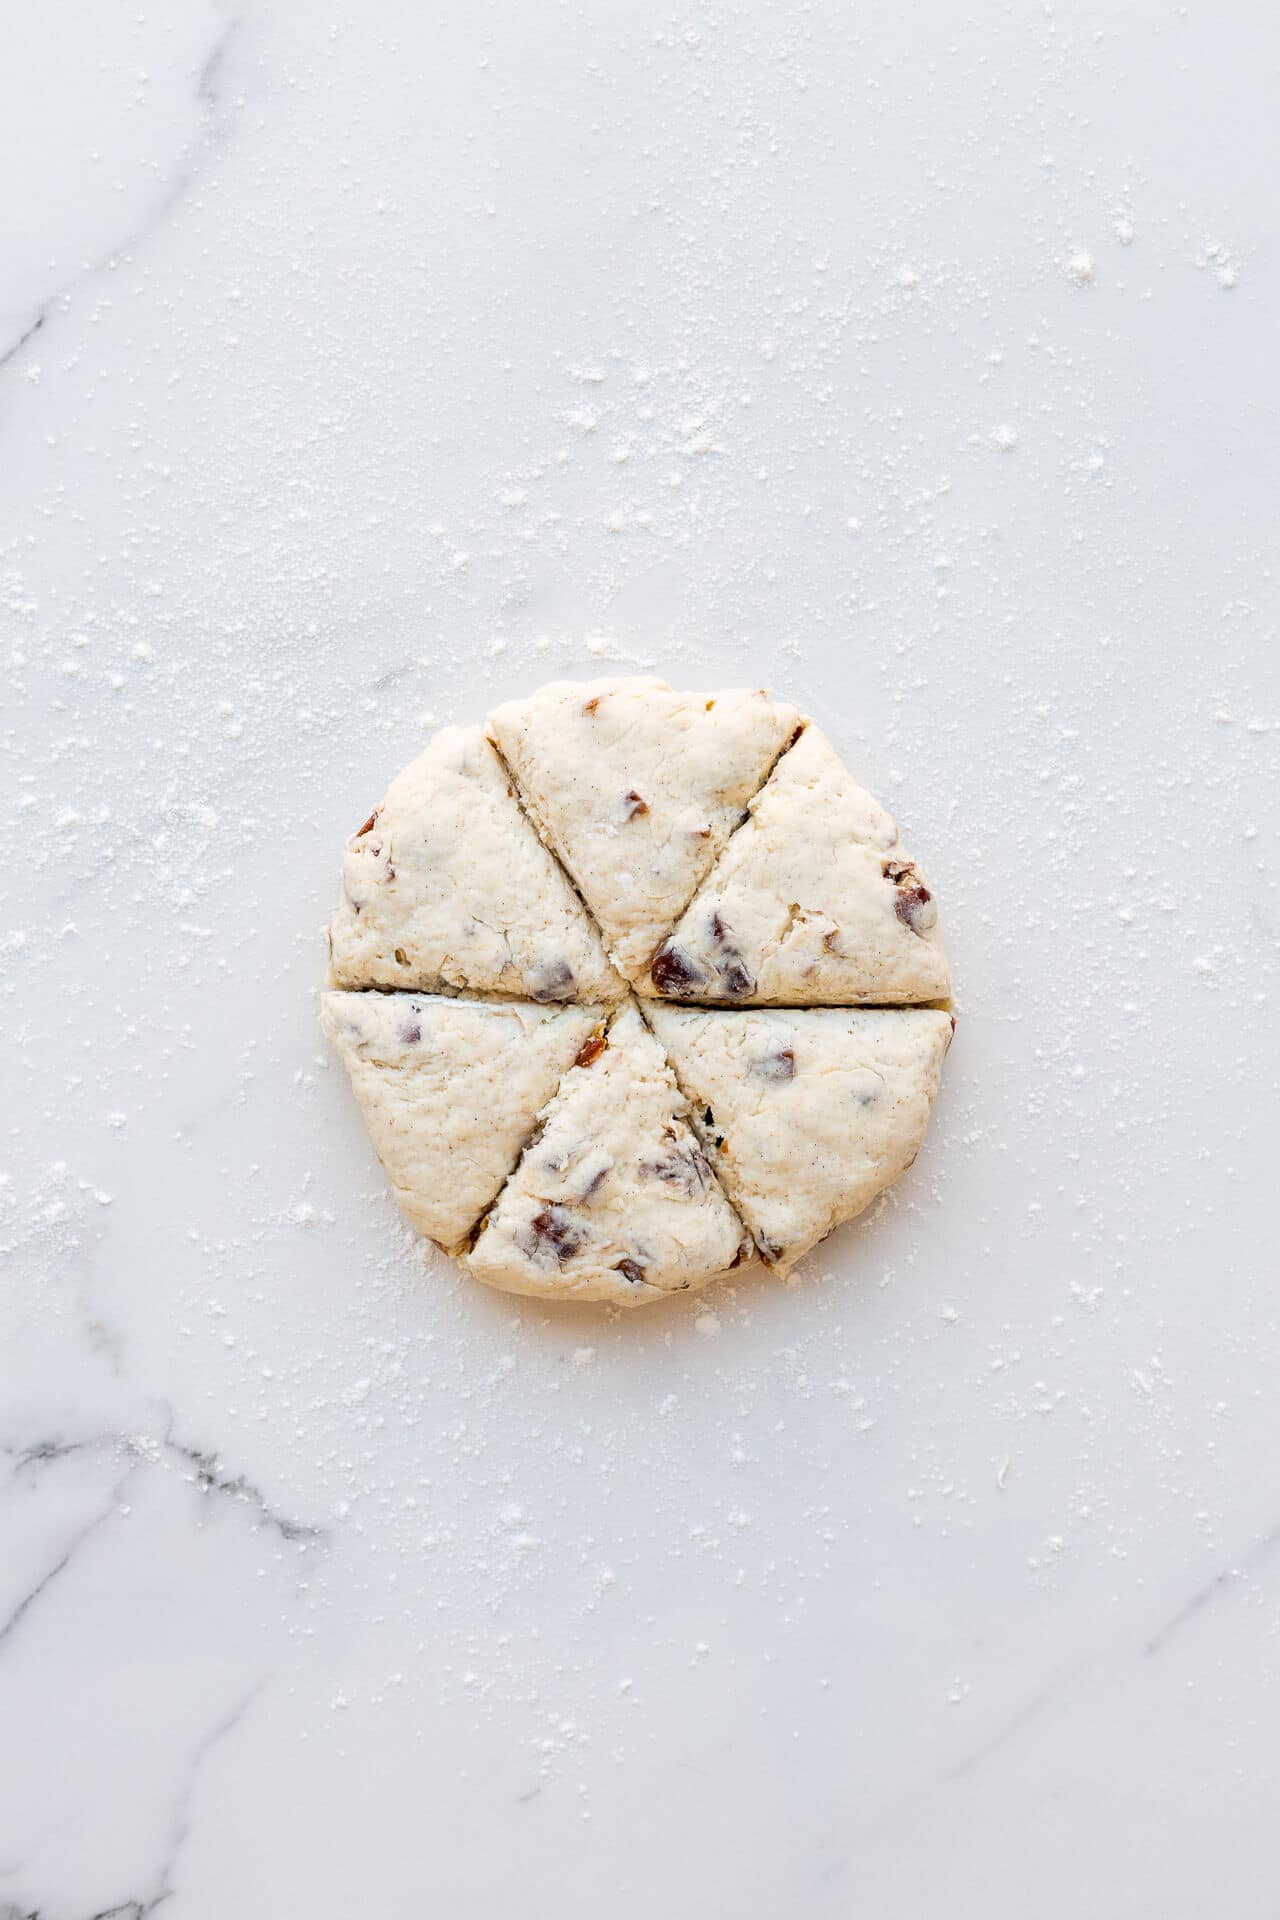
- Pat out the dough into a disk and cut it into wedges or triangles
- Pat out the dough into a square or rectangle and cut it into squares or rectangles
- Pat out the dough to flatten to the desired thickness, ignoring the shape, and using biscuit cutters or large cookie cutters to achieve the desired shape, like plain round or round with a crinkled edge
Ways to dress them up
Before baking
You can include fun add-ins when you are making scones, from dried fruit (which is the more traditional route) to fresh fruit or even canned fruit. You can incorporate dark chocolate or white chocolate, sprinkles, fun spices, and more.
When you are making the dough, you can:
- incorporate dried fruit, like raisins to make traditional fruit scones or dates to make date scones
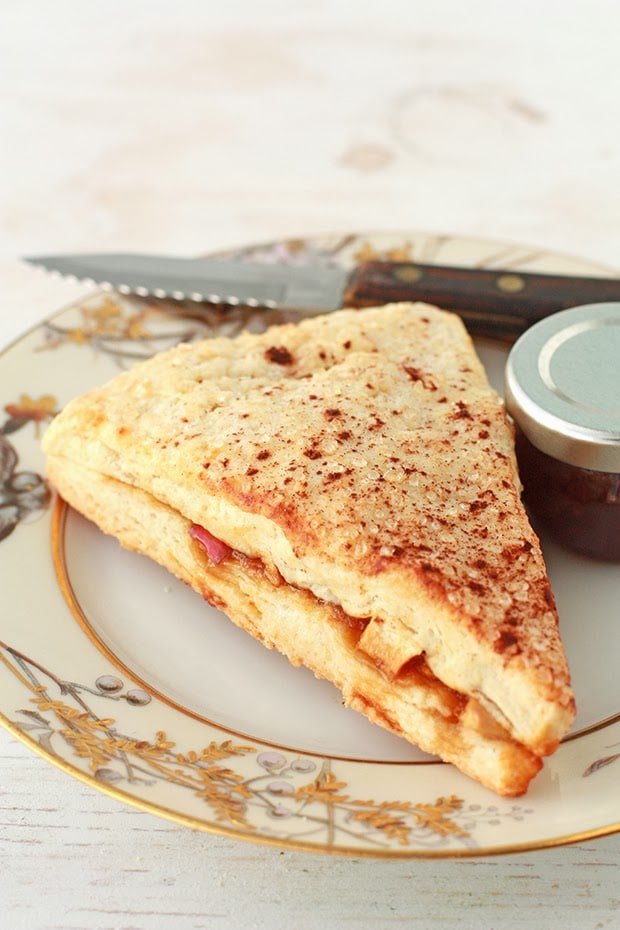
- stuff scone dough with a filling, like an apple filling in these apple pie scones
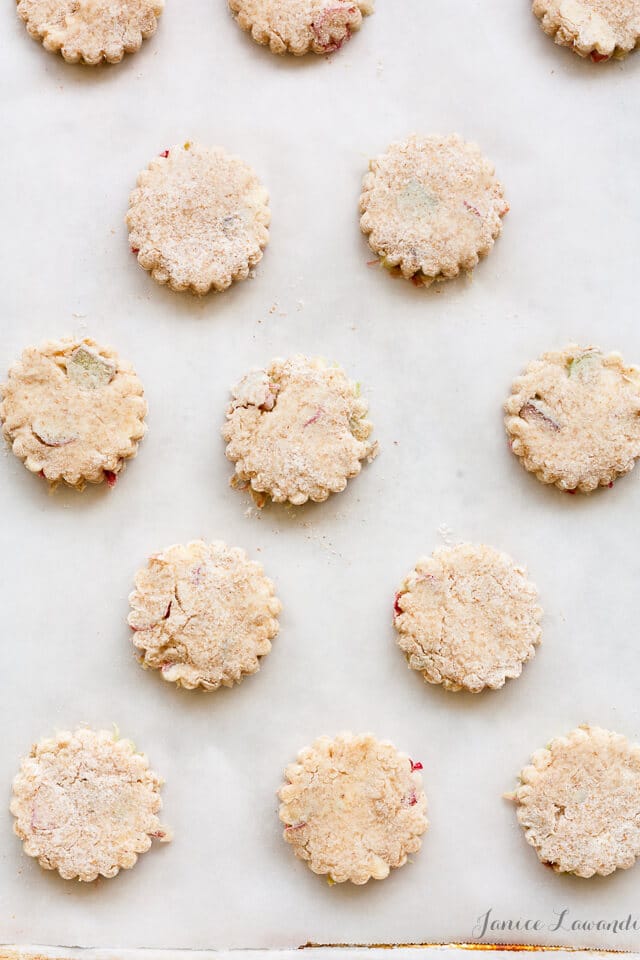
- add chopped fresh fruit like fresh rhubarb in these mini rhubarb scones
- add whole berries, like in these scones with blueberries
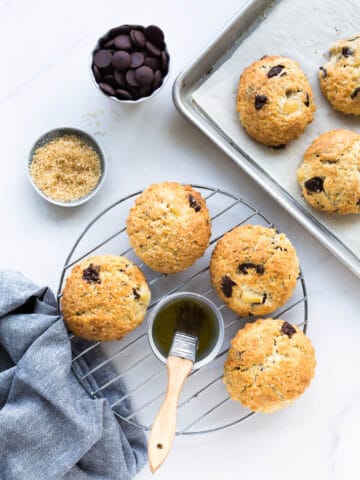
- add chopped canned fruit and chunks of chocolate to make pear and chocolate scones
- add culinary lavender buds to make lavender scones or Earl Grey tea to make Earl Grey scones
- add cheese to make cheese scones
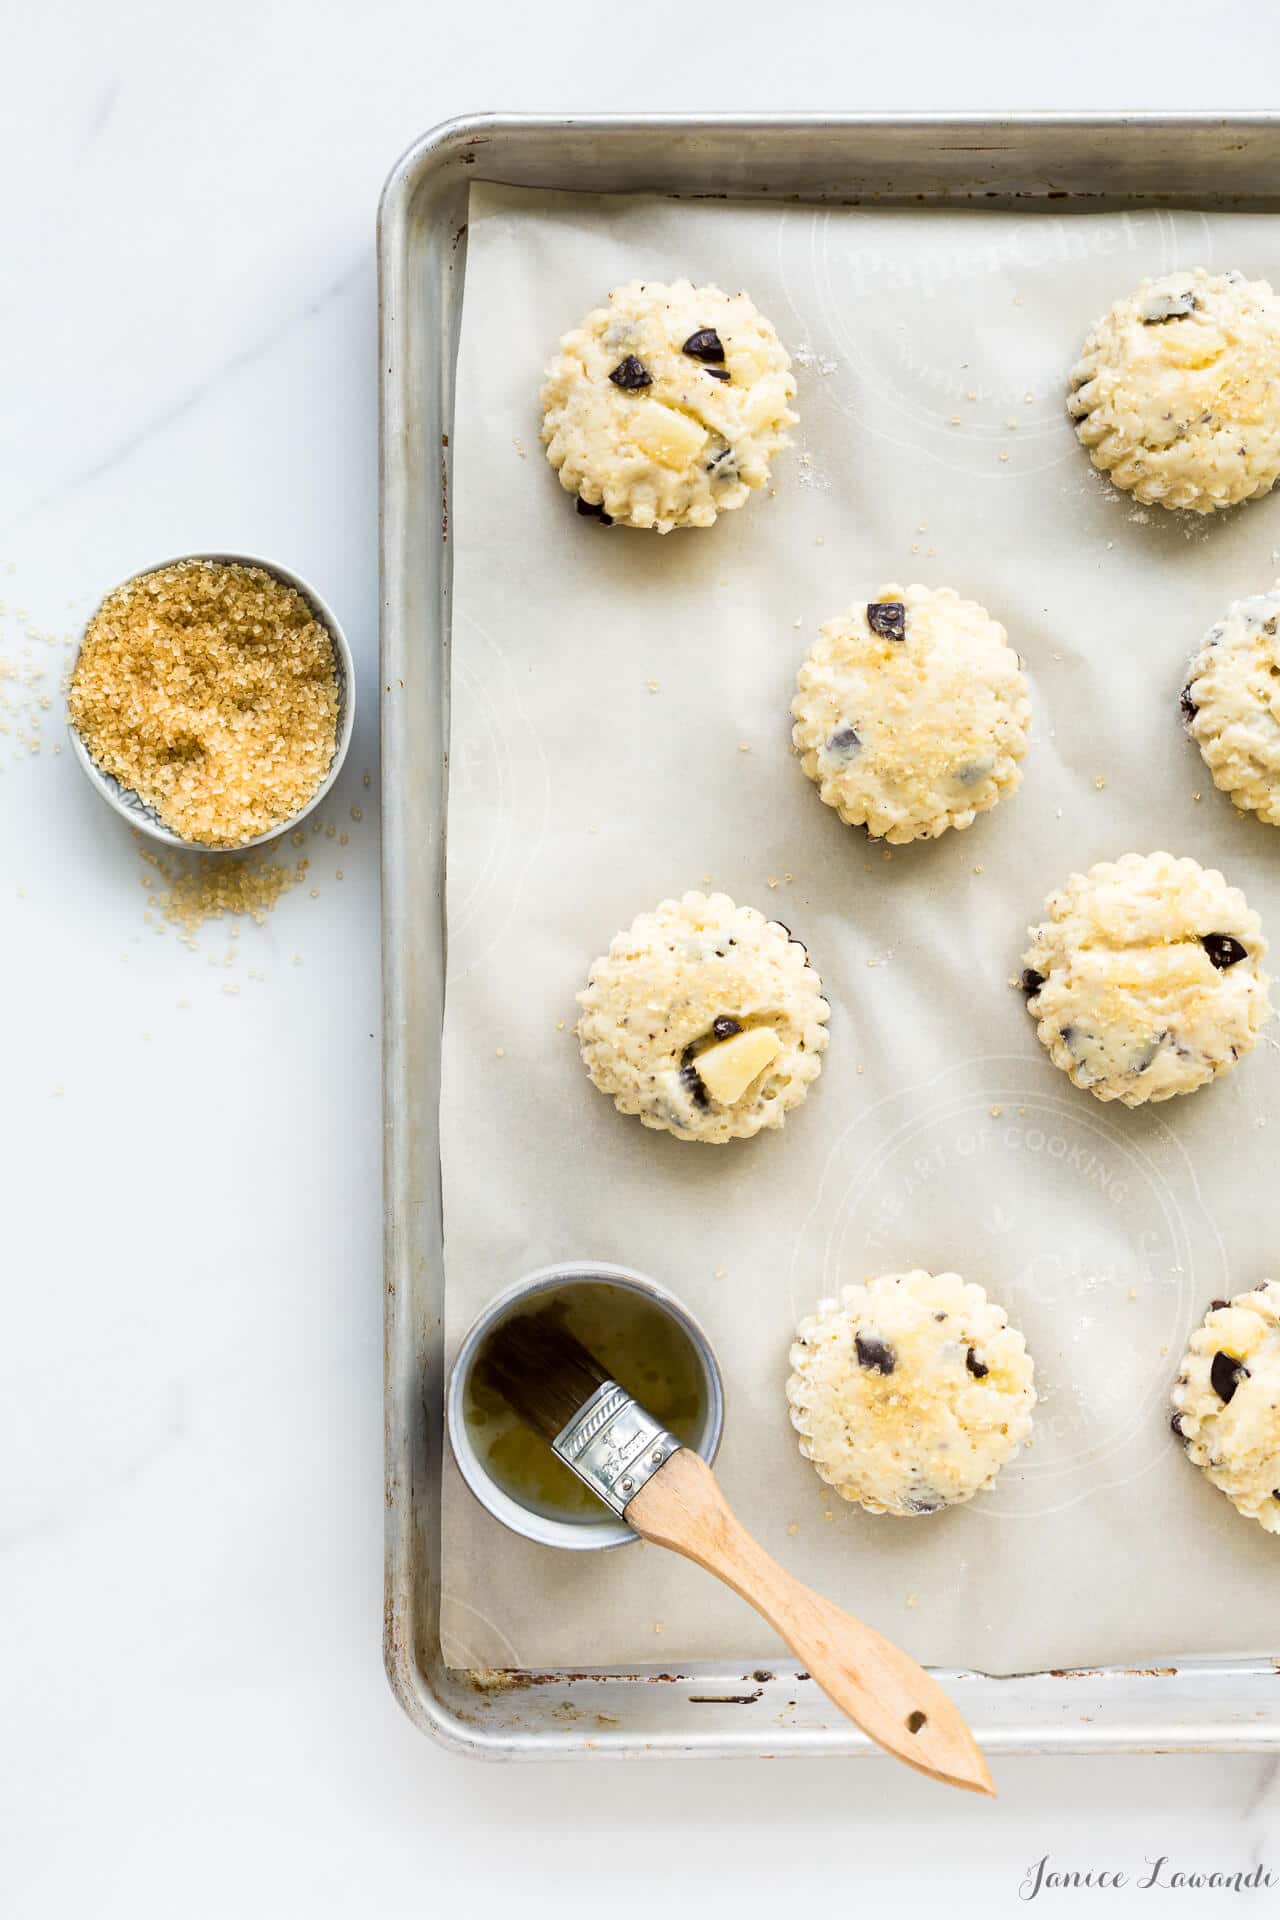
Once scones are cut into the desired shape, you can bake them as is, "naked", or before baking, you can brush them with an egg wash, a little milk, or even cream. You can then bake them with nothing more, or you can also sprinkle the brushed tops with granulated sugar, cinnamon sugar, or even coarse turbinado, which adds a lovely crunch.
After baking
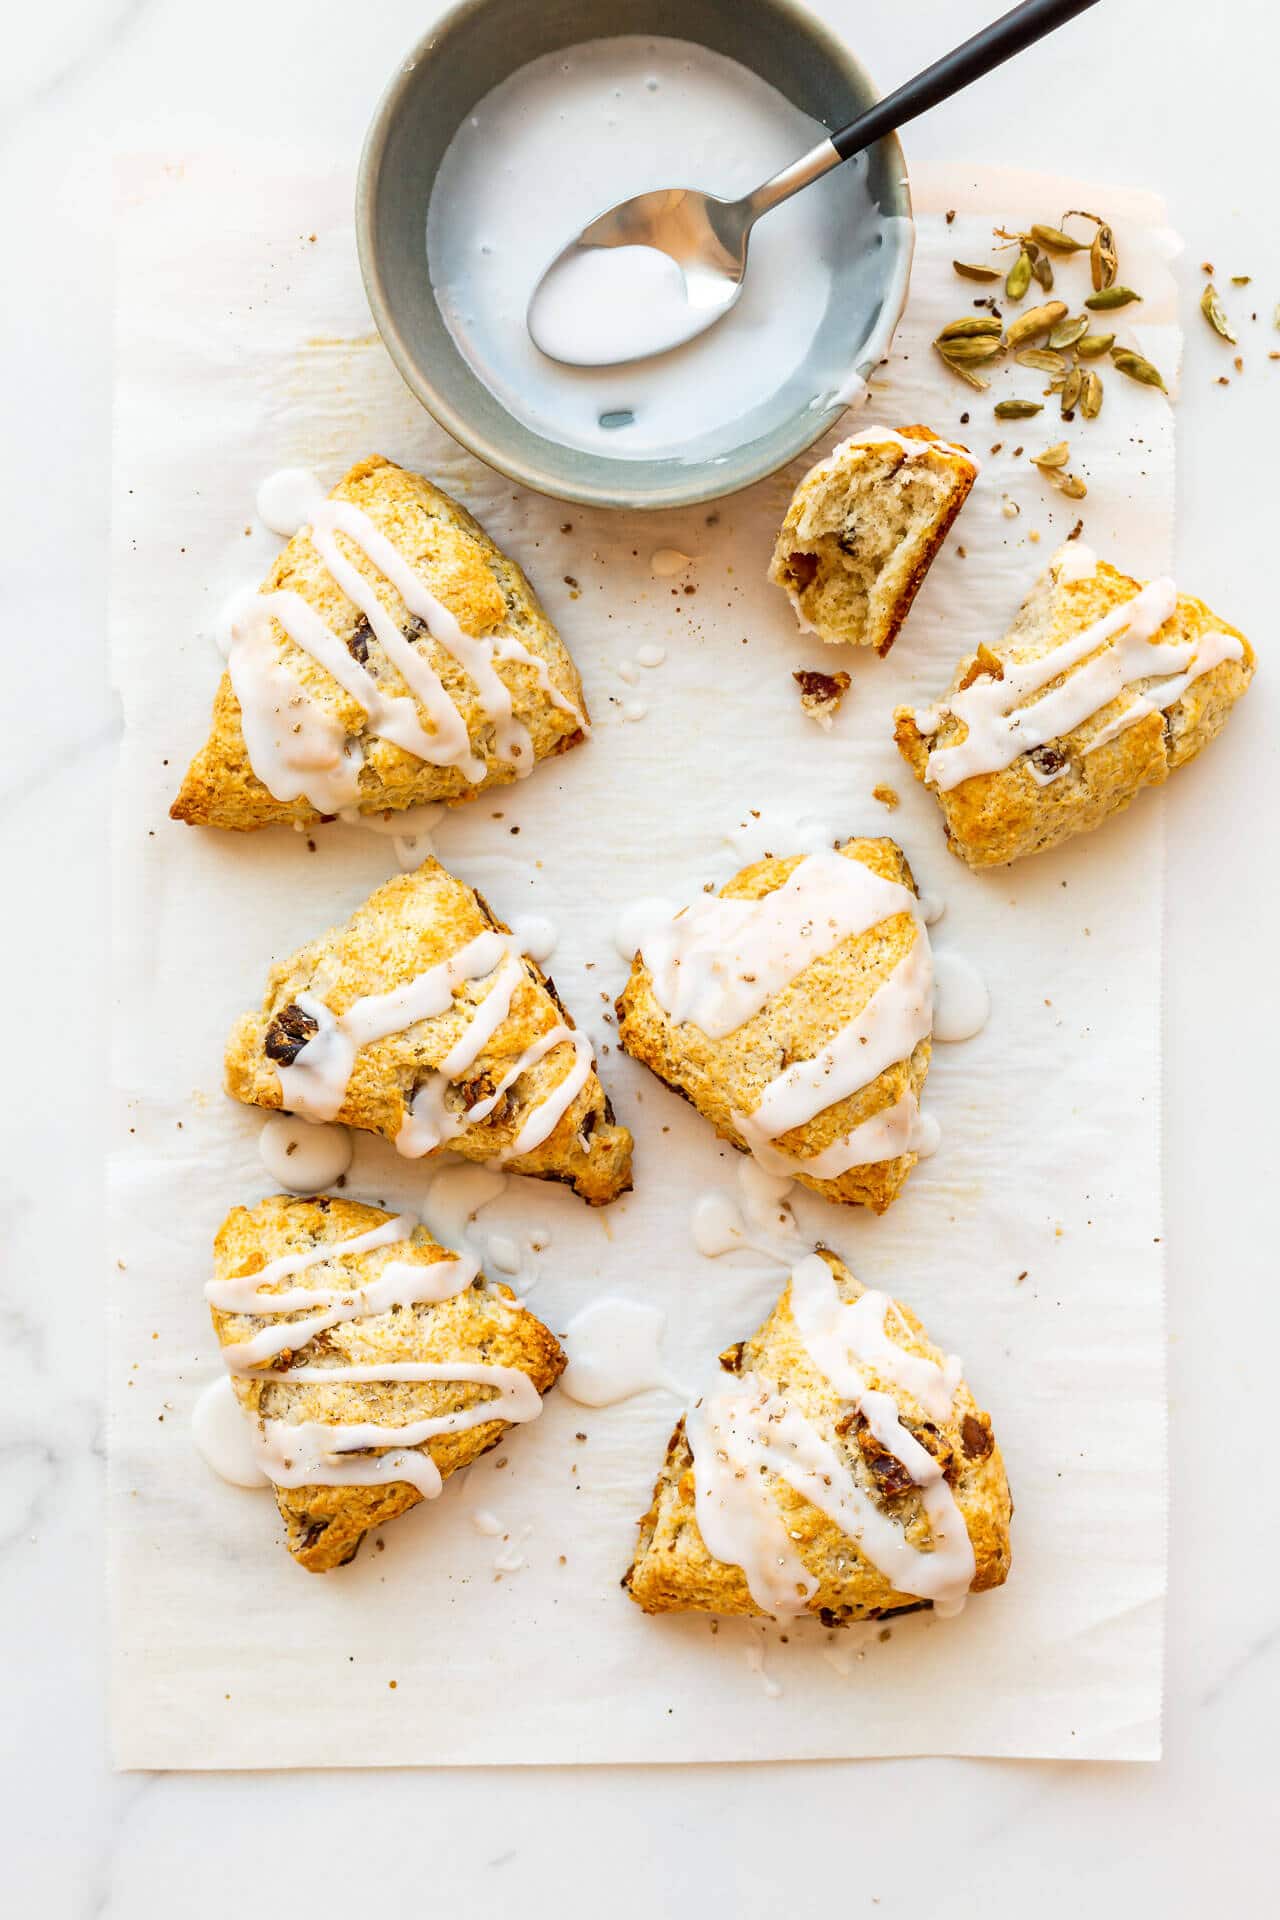
If you will be glazing your scones after baking with a thin icing, I recommend leaving them naked or just brushing them lightly with some cream or milk. This way, your icing will adhere better to the scone, without any sugar getting in the way.
American bakers tend to favour topping baked scones with a thin icing made from powdered sugar (icing sugar) and milk to thin it out. These thin glazes can be flavoured with spices, coffee, tea, rose water, orange blossom water, or other extracts including simple vanilla extract. This would be a great place to use that vanilla bean paste instead of vanilla extract.
Baking temperature
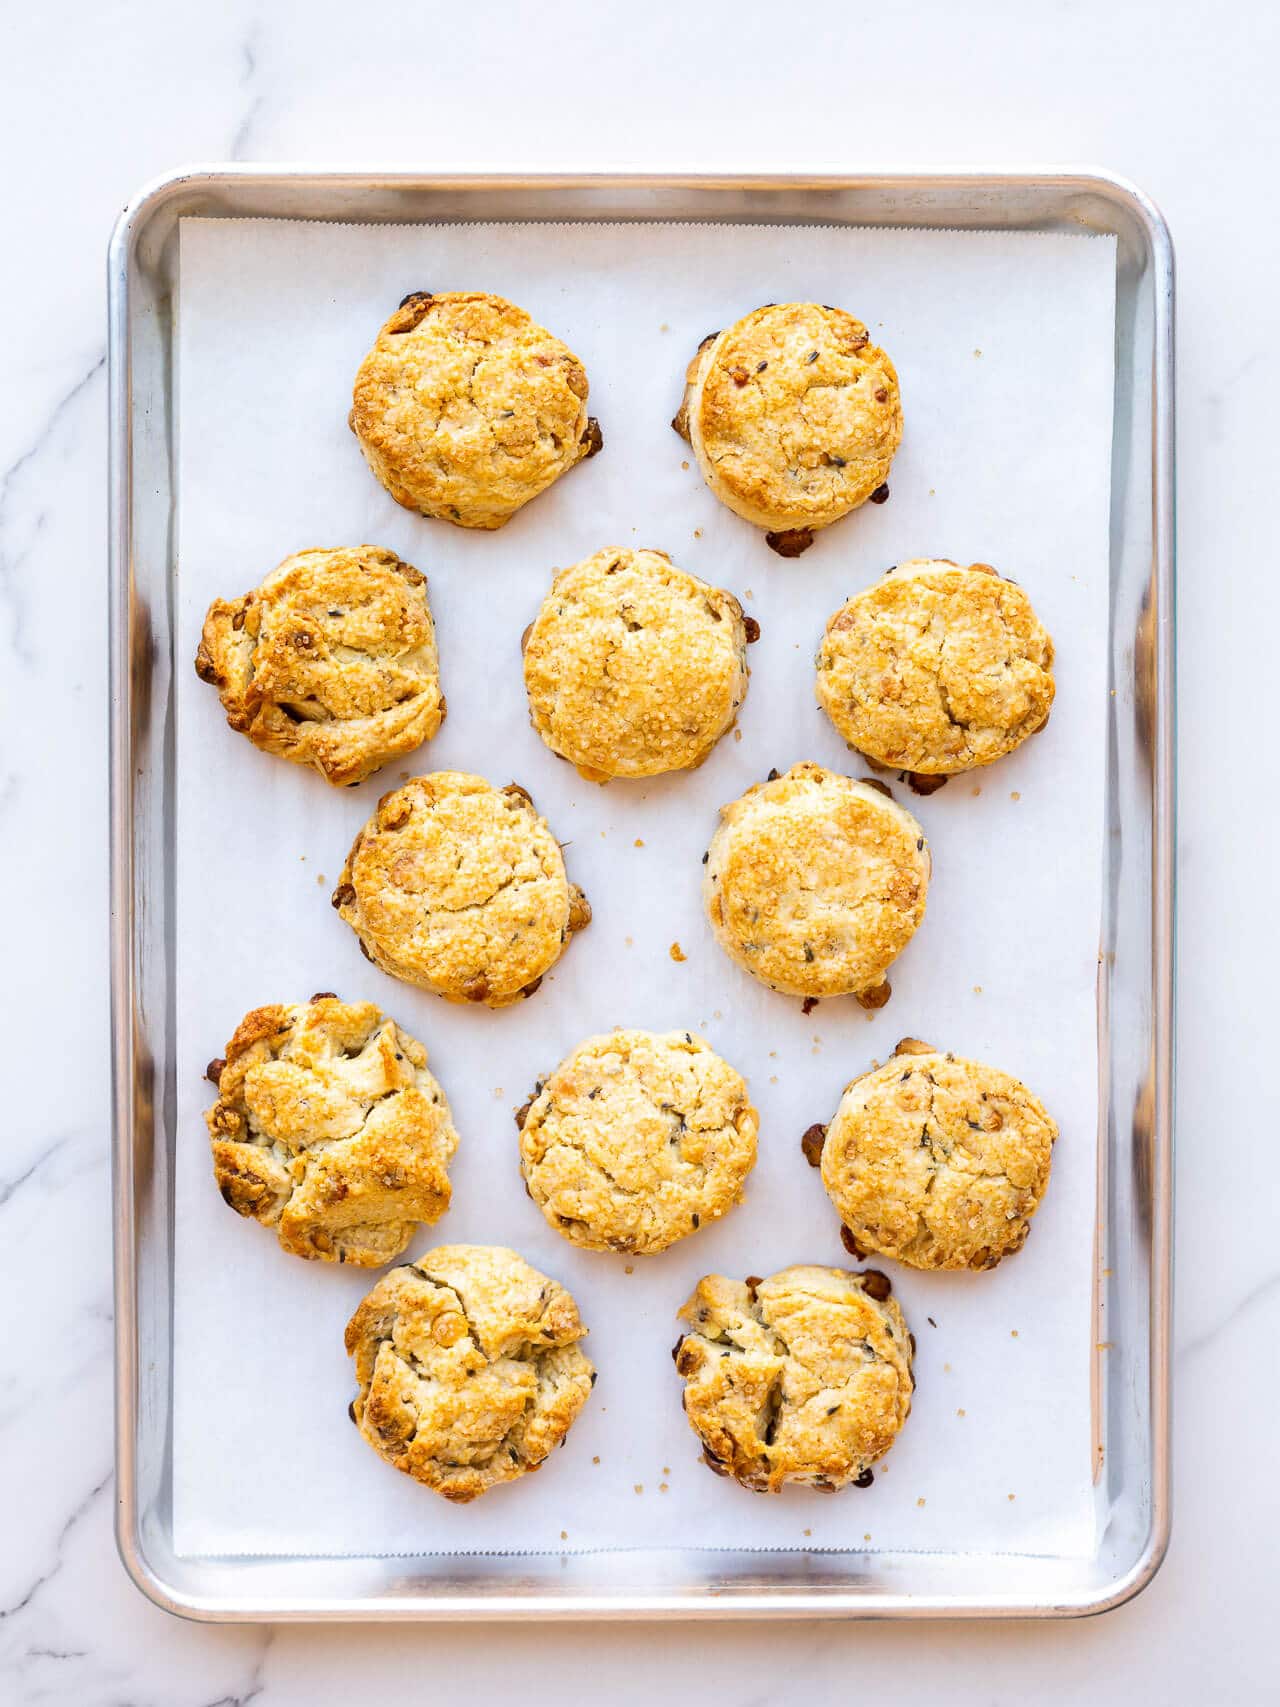
Though many bake their scones at 350 ºF, I prefer to bake them at a higher temperature (400 ºF) so that they rise up before the outer crust sets. I also prefer to bake at a higher temperature to help them brown more since scones are low in sugar, and browning is slow at 350 ºF.
Preventing scones from spreading
To prevent scones from spreading when they bake, it's the same principle as for other baked goods: chilling cookie dough prevents spreading and chilling a pie before baking helps the crust hold its shape: bake cold scones in a hot oven. Bake them at a higher temperature, like 400 ºF or even 425 ºF to set the outer crust before the butter has time to melt within. They will bake golden brown with a nice shape. This is one of the secrets to making the best scones that keep their shape!
Storing scones
Freshly baked scones taste great the day they are made, but the longer they are stored, they will dry out and become pretty unappetizing. Though they can be quite rich, scones are high in fat and low in sugar. Remember sugar leads to moist baked goods that store well because sugar is hygroscopic, meaning it absorbs humidity. That lack of sugar in the recipe means that they don't have as much ability to retain or absorb moisture. They dry out very quickly, especially if made with milk or buttermilk and less butter. For this reason, it's best to bake smaller batches of scones, or better yet, freeze them unbaked so that you can bake the amount you need when you want them.
Freezing scones
To freeze unbaked scones, set them on a parchment-lined sheet pan and freeze them in a single layer. Once they are frozen solid, you can transfer them to an airtight freezer bag to seal them and store them in the freezer long-term.
To bake frozen unbaked scones, preheat the oven to 400 ºF and bake them, straight from the freezer, for at least 5 minutes longer than the recipe calls for.
You can also freeze freshly-baked scones in the same way, on a parchment-lined sheet pan. Then reheat them in a low oven (around 250 ºF) for 15 to 20 minutes, or until they are warmed through.
Troubleshooting
Scones are made from simple ingredients and are very easy to make, but if made incorrectly, they can be pretty darn terrible! Here are some of the things that can go wrong and what to do differently next time.
They're too flat or they lose their shape as they bake
Scones can flatten out in the oven, instead of baking tall, for a number of reasons:
- the butter is too warm leading to faster melting before the structure of the scone begins to set
- you used too much liquid, leading to a looser dough that flattens out as it bakes because there's not enough flour to add structure
- you didn't add enough chemical leavener or your leavener is expired
- you rolled them out too thin
They're tough
If your scones end up super tough or chewy, it means you overworked the dough. After you add the liquid in your recipe to the dough, at that point, you should handle the dough as little as possible, briefly mixing just enough to moisten the flour and to be able to gather the dough into a messy disk.
Some people like to knead the dough, or roll and fold the dough a few times, with the hope of adding flaky layers, but these extra steps can lead to gluten developing given that you have a lot of flour in the dough and a fair amount of liquid, which can make scones tough.
They're dense
Scones can end up dense and have a very tight crumb if you aren't careful. The key to a light scone is working with cold ingredients so that the butter stays cold and distinct throughout the dough. This way, when the scones hit the hot oven, the butter will melt, and steam will form, causing them to rise, opening up the crumb. It's the same principle behind pie dough and homemade croissants.
If you overwork the butter from the beginning, the butter will melt into the dough and you will lose those tiny pockets of butter that open up the crumb of the scones as they bake.

Tips for how to make the best scones
Now that you know everything that can go wrong, here are some tips on what to do to make sure you make the best scones every time:
- Make sure to chill everything before making the dough
- Chill before baking them, especially during the summer when your kitchen is warmer
- Consider using a little less liquid OR a little more flour to avoid having an overly loose or wet dough
- Check if your baking powder is still active
- Work the dough minimally after you add the liquid in the recipe. This is key! We aren't making bread so don't knead the dough too much, if at all!
Serving suggestions
Scones are so versatile and you can serve them plain, with a little softened butter, clotted cream, and/or the following:
- lemon curd
- sweet compound butters
- orange marmalade
- grapefruit marmalade
- lime marmalade
- three fruit marmalade
- strawberry and red currant jam
- plum jam
- blueberry jam
- rhubarb jam
📖 Recipe

Basic Scones
Ingredients
- 375 grams bleached all-purpose flour
- 100 grams granulated sugar
- 15 mL baking powder
- 2.5 mL Diamond Crystal fine kosher salt
- 115 grams unsalted butter very cold, cut into small pieces
- 310 mL whipping cream (35 % fat) plus a little extra for brushing on the scones before baking
Instructions
- In a large bowl, whisk together the flour, sugar, baking powder, and salt.
- Drop the cold butter cubes into the dry ingredients, and press the cubes of butter into the flour with your fingertips to get large flour-covered flakes (approximately the size of corn flakes).
- With a big fork, stir in the cold cream until the dough clumps (don’t over-mix it!). The dough should be a clumpy, floury mess at this point.
- Using your hands, press and gently squeeze the dough together, working it just enough to be able to gather the dough into a fat disk.
- Divide the dough into two.
- Working with one disk at a time, pat out the disk to a 15 cm (6 inch) diameter. The thickness should be a little around 2 cm ( 1 inch).
- Cut the dough into 6 wedges.
- Repeat with the second half of dough. You will have 12 scones in total.
- Place the scones on a parchment lined sheet pan. Freeze for 15 minutes.
- Preheat the oven to 400°F (200 °C) while the scones are freezing.
- Just before baking, you can brush the tops of the scones with a little cream.
- Bake the scones for 25 to 30 minutes, until the edges and tops are golden brown.
- Serve warm, as is or with a glaze.
Notes
- use 375 grams self-rising flour and do not add the baking powder and the salt.
- Add 58 grams (¼ cup) extra butter for a total of 173 grams (¾ cup) cold butter
- Replace the 35 % cream in the scones dough with the slightly less 3.25 % whole milk, so use 250 mL (1 cup) milk.





Brittany says
Hi! If I wanted to do pumpkin scones, would I substitute some of the heavy cream for pumpkin puree to keep the ratios roughly the same?
Thanks in advance!
Luz says
Hi. I'm a little lost. The ratio mentioned is 1 part fat, 2 parts liquid, 3 parts flour, by weight. Using the example - 115g butter, 250ml (roughly 230g) milk, 375g flour. But 375g is not 3 parts of 115g. Could you let me know if I misunderstood something..? Thanks.
Janice says
Hi Luz! Good catch! You are right: it is slightly more flour, so 1:2:3.26 - the extra flour gives scones and biscuits a little more structure, but honestly, it will work fine and well with a true 1:2:3 formula.
Nix3r says
The equivalent of all purpose flour is plain flour, not self-raising.
Janice says
Exactly! So you can't replace plain flour/all purpose flour with self-raising, unless you make adjustments to the recipe.
Julia says
Could yogurt thinned with another liquid be used instead of milk or cream? I like adding juice or coffee for additional flavor. Also, I often see eggs in scone recipes. I assume these add additional fat and lift. Do you think they are beneficial or not as good as the dairy liquid they would replace? Great article, thank you!
Yvonne Conti-O'Brien says
Can you add cream cheese to a scone recipe? What would happen?