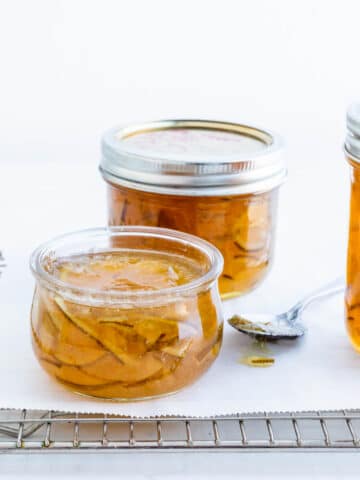
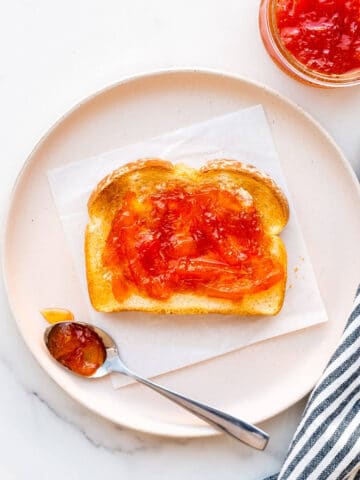
This gorgeous homemade three fruit marmalade recipe is made with oranges, lemons, and grapefruit, using the whole fruit method so nothing is wasted! This easy marmalade recipe without pectin yields a thick marmalade that is not too sweet and not too bitter. It's just right!
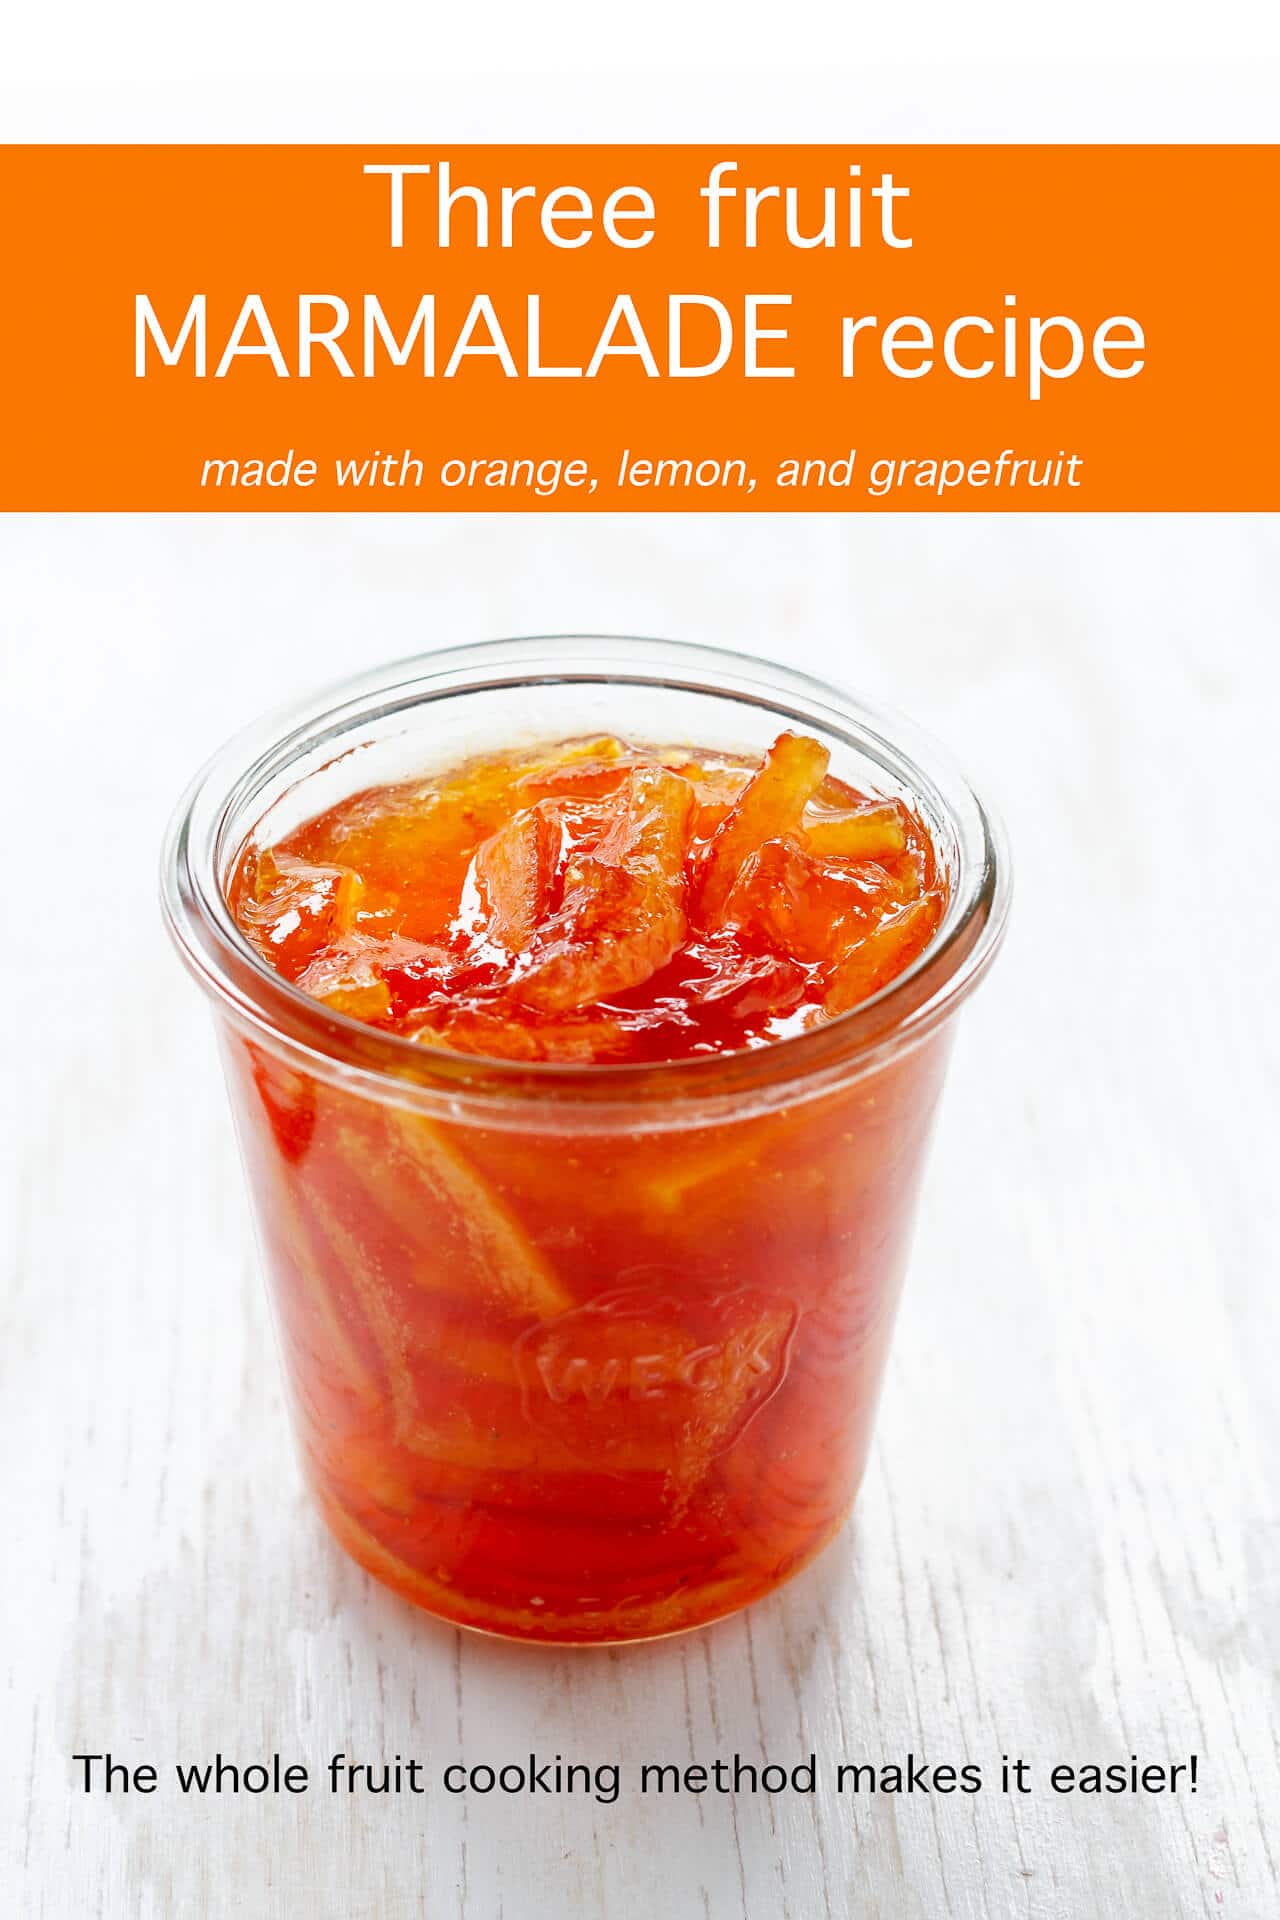
Marmalade is a bittersweet preserve made from citrus fruit, usually oranges, though lemon, limes, grapefruit, and other citrus can also be added to marmalade.
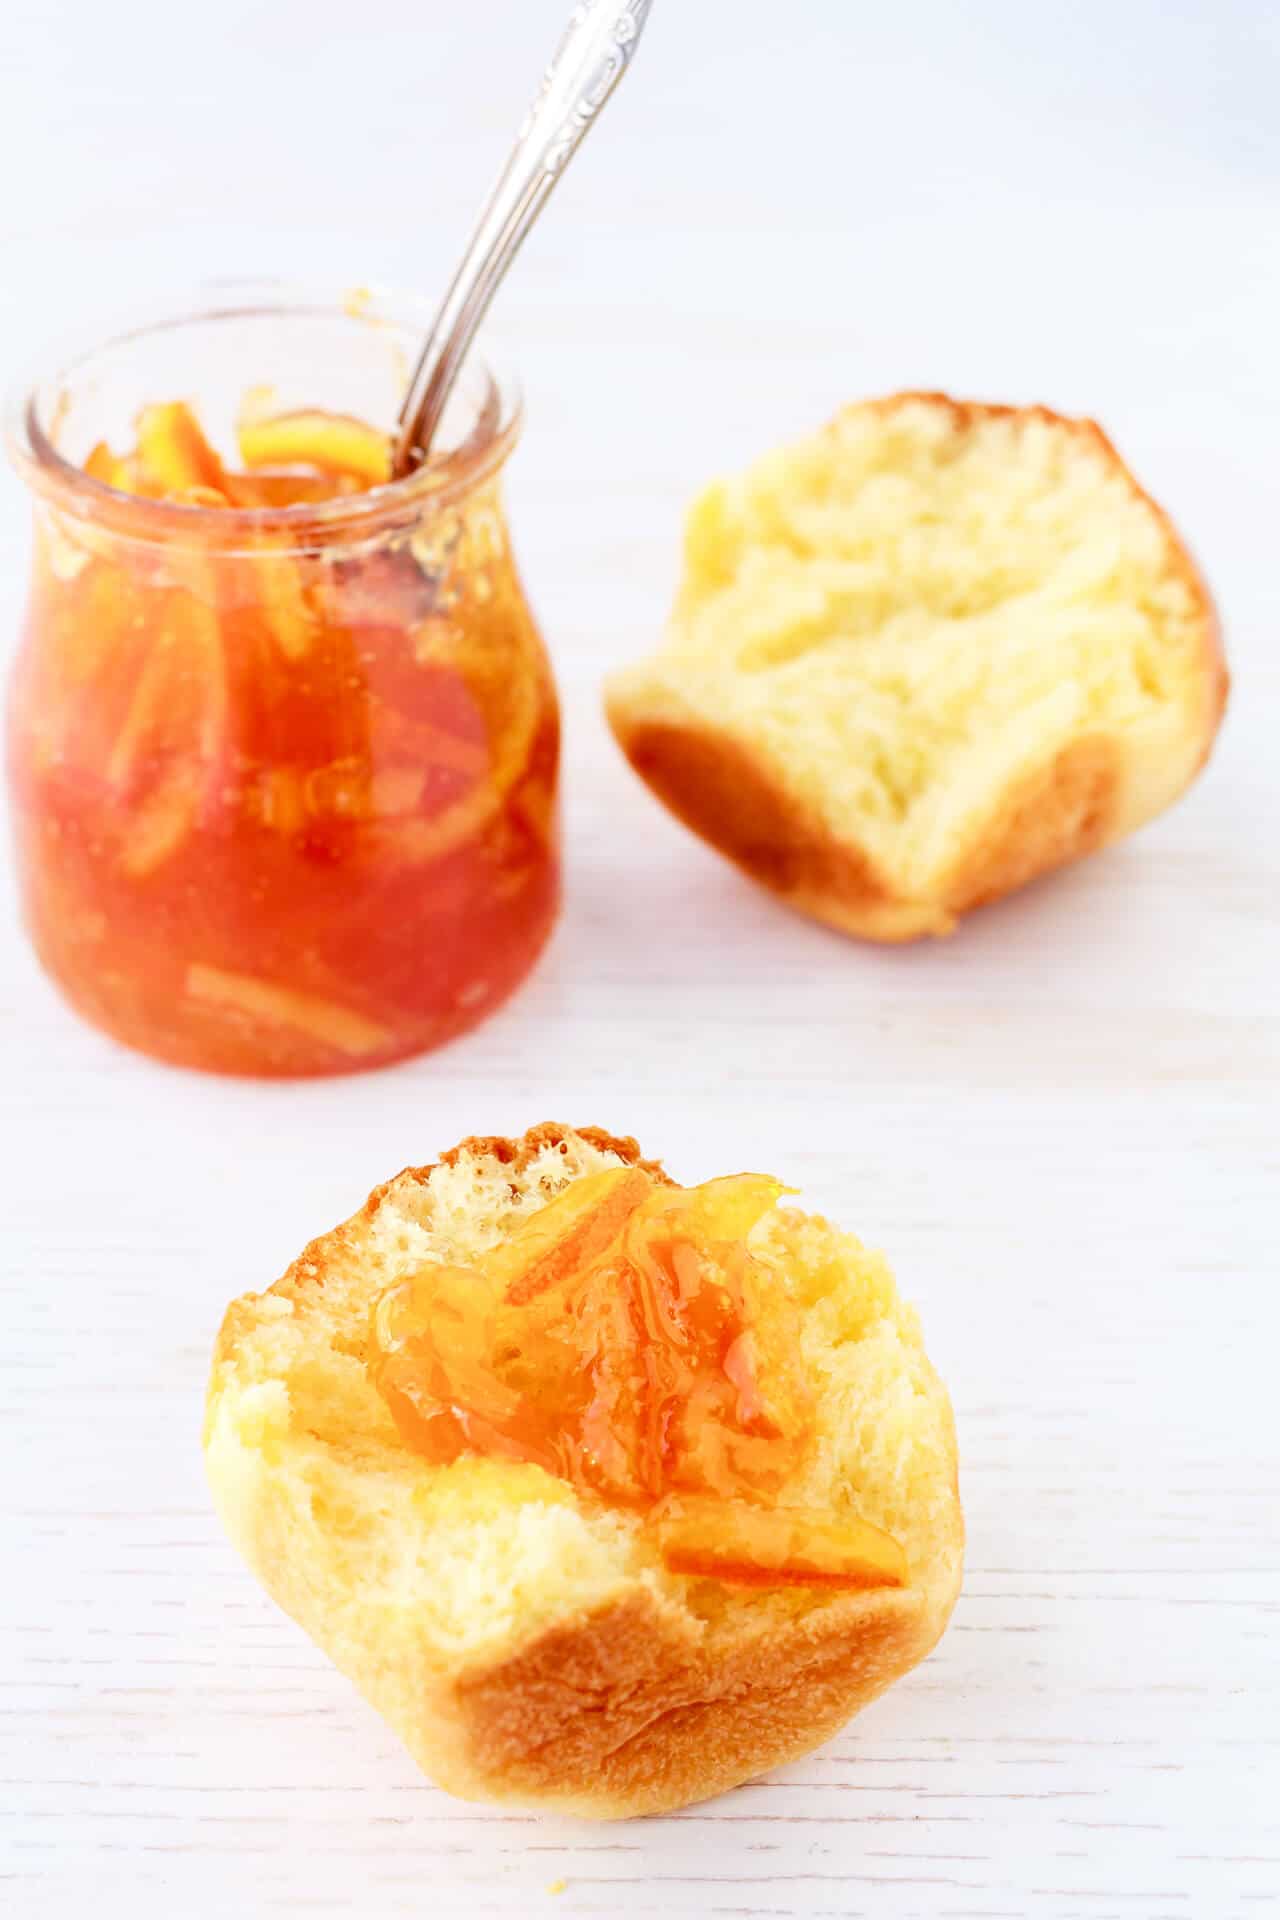
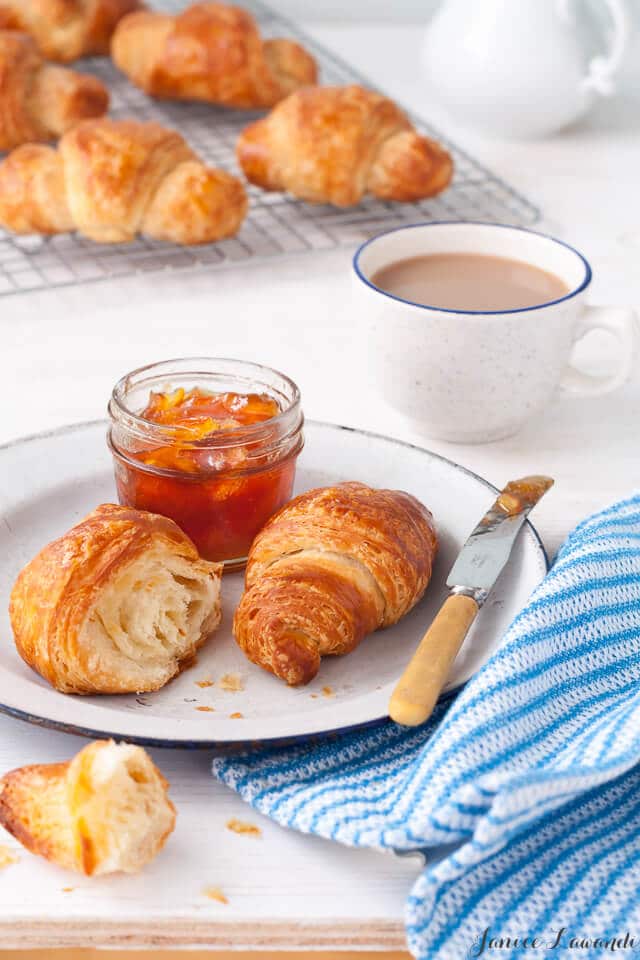
Homemade marmalade tastes so much better than most grocery store marmalades, which tend to lack scent and flavour, tasting mostly like sugar. It’s a real treat served with homemade brioche and croissants. Need I say more?
Making marmalade is simpler than you think. Most people worry about the set of marmalade. How do you avoid making marmalade that is too runny or overcooked?
If you've never made it and aren't familiar with making preserves at home please read about how to make marmalade and the marmalade setting point before proceeding!
Jump to:
I like to check the temperature as the marmalade boils with an instant-read thermometer. I use a Thermapen which is very fast at registering temperatures and temperature changes, but a probe thermometer with a longer cable like the ChefAlarm would be better because then you don't have to hold it with your hands, which would be much less dangerous to use than my hand-held setup.
This marmalade recipe is adapted from Camilla's book Preservation Society Home Preserves. Camilla is the mastermind behind the Preservation Society in Montreal and I am unabashedly addicted to her preserves.
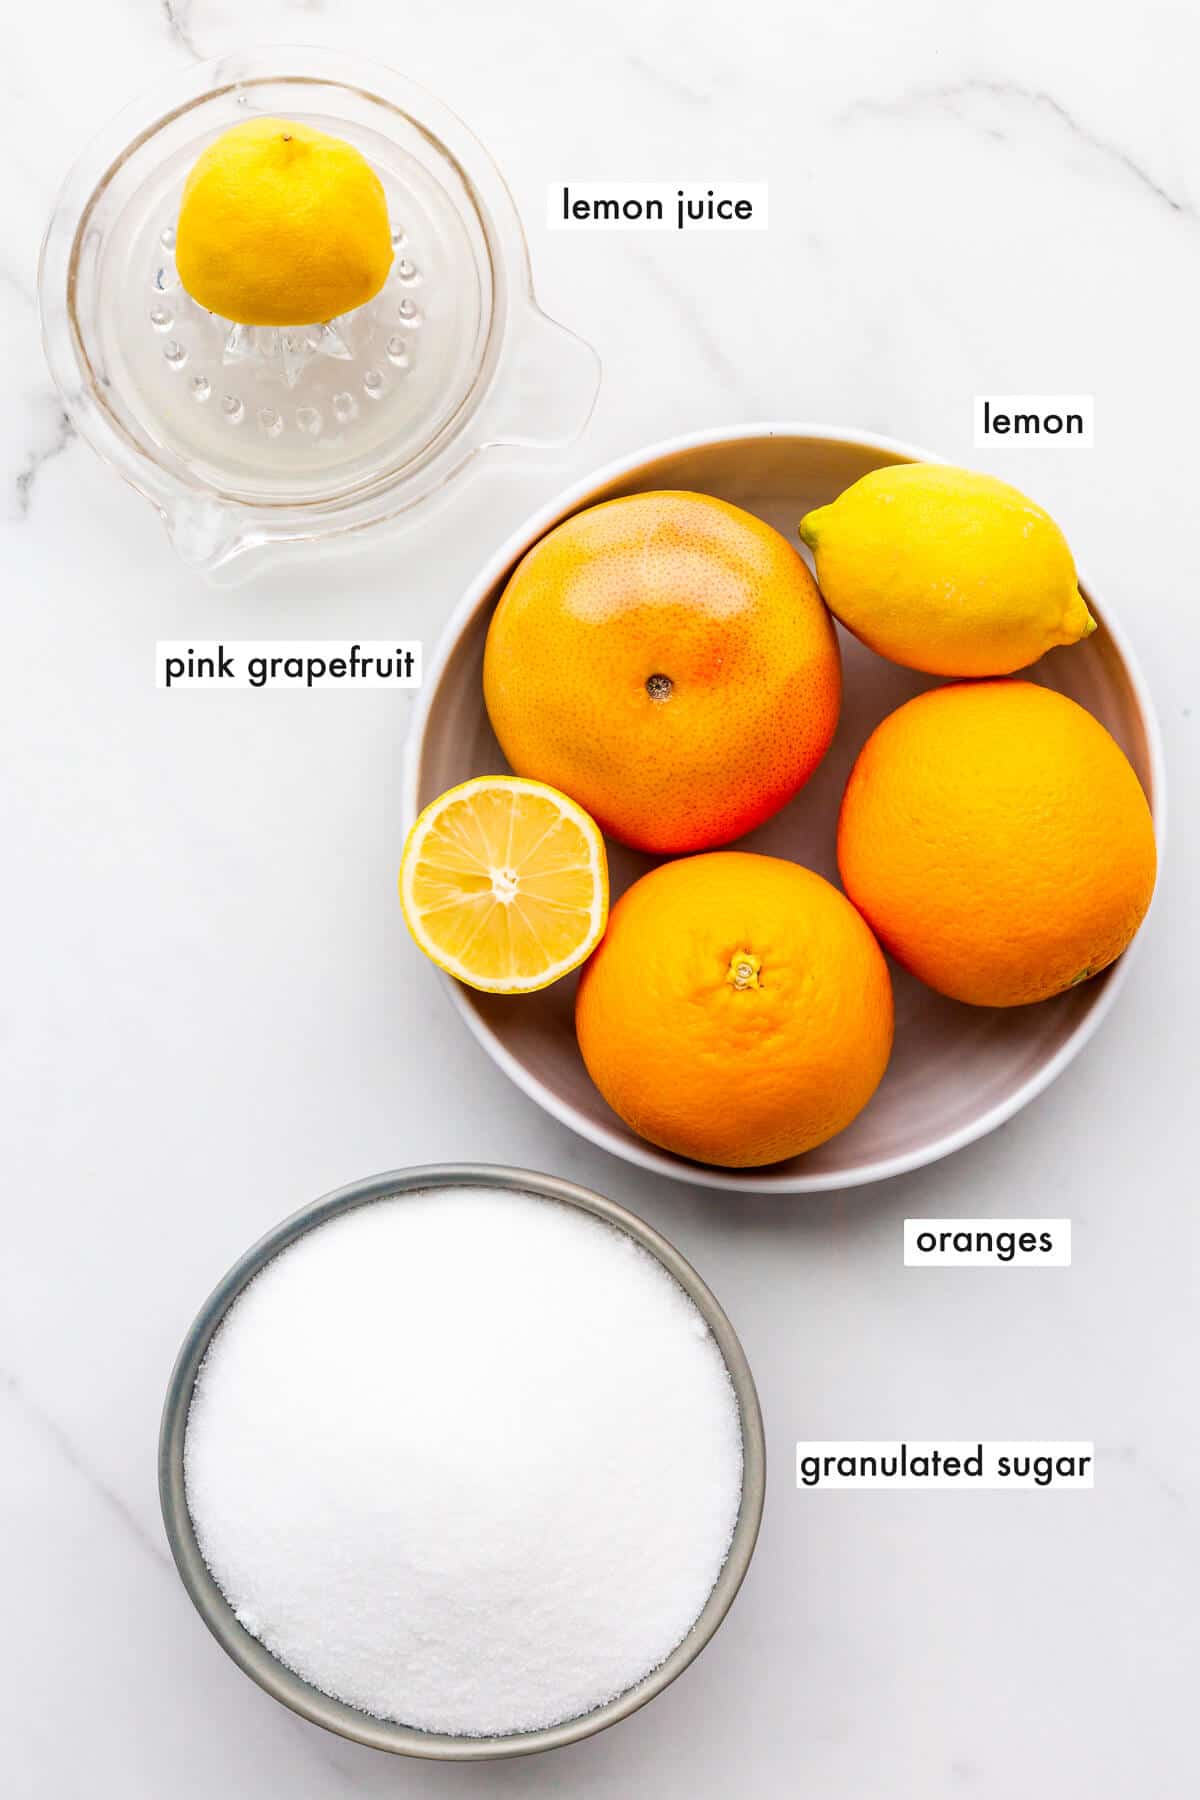
What you need to make marmalade
Marmalade recipes are made from a simple list of ingredients:
- citrus fruit
- sugar
Best citrus for marmalade
During the winter season, Seville oranges are prized for their bitter, astringent, sharp orange flavour and high pectin content, which is great for homemade marmalade, but not so great for eating.
But the Seville orange season is quite short, and for the rest of the year, you can make marmalade from any of the common citrus fruits: orange, lime, lemon, and grapefruit. When making marmalades, it's really important to scrub your citrus fruit and wash them really well to remove any dirt or pesticides that may be on the skin.
Type of sugar
Any white sugar will work whether granulated sugar, superfine white sugar, or fine natural cane sugar (like this one on Amazon). Fine sugar will dissolve quickly and more readily than a more coarse sugar. You wouldn't want to use coarse turbinado sugar in marmalade because you risk ending up with a marmalade with granular sugar crystals that didn't dissolve properly. I use granulated or fine sugar. That's caster sugar for the Brits among us.
You could also use a combination of white sugar and brown sugar to make marmalade, but remember that brown sugar contains molasses and so the flavour will be noticeably different than marmalade made with white sugar. Make sure the total weight of sugar in the recipe doesn't change.
Do not use jam sugar or gelling sugar in this recipe, which contains pectin and citric acid. You don't need the extra pectin to make this recipe, and it will likely throw off the texture.
If you are following a recipe that says to use 950 grams of white sugar, make sure that you use that amount. On that note, do not try to make a lower-sugar marmalade unless you are following a low-sugar marmalade recipe. Cutting back on the quantity of sugar will have a huge impact on the set of your homemade preserves and can also affect the shelf life. Don't reduce the sugar in a preserve recipe unless you know what you are doing.
Whatever type of sugar you are using, make sure that all the sugar is properly dissolved into your marmalade mixture before you bring it up to a boil to thicken it to the desired consistency.
Artificial sweeteners and sugar substitutes
I do not recommend using any kind of artificial sweetener nor most sugar substitutes to make marmalade (whether stevia, sucralose, or others) because the flavour won't be the same, nor will the stability of the marmalade. Stick with real sugar. You can add honey or maple syrup to your marmalade recipe, but like with brown sugar, I would use it combined with white sugar.
The whole fruit marmalade method
This easy marmalade recipe uses the whole fruit method for marmalades, so the flavour is bittersweet. The steps to making marmalade from whole citrus fruit can be summarized as follows:
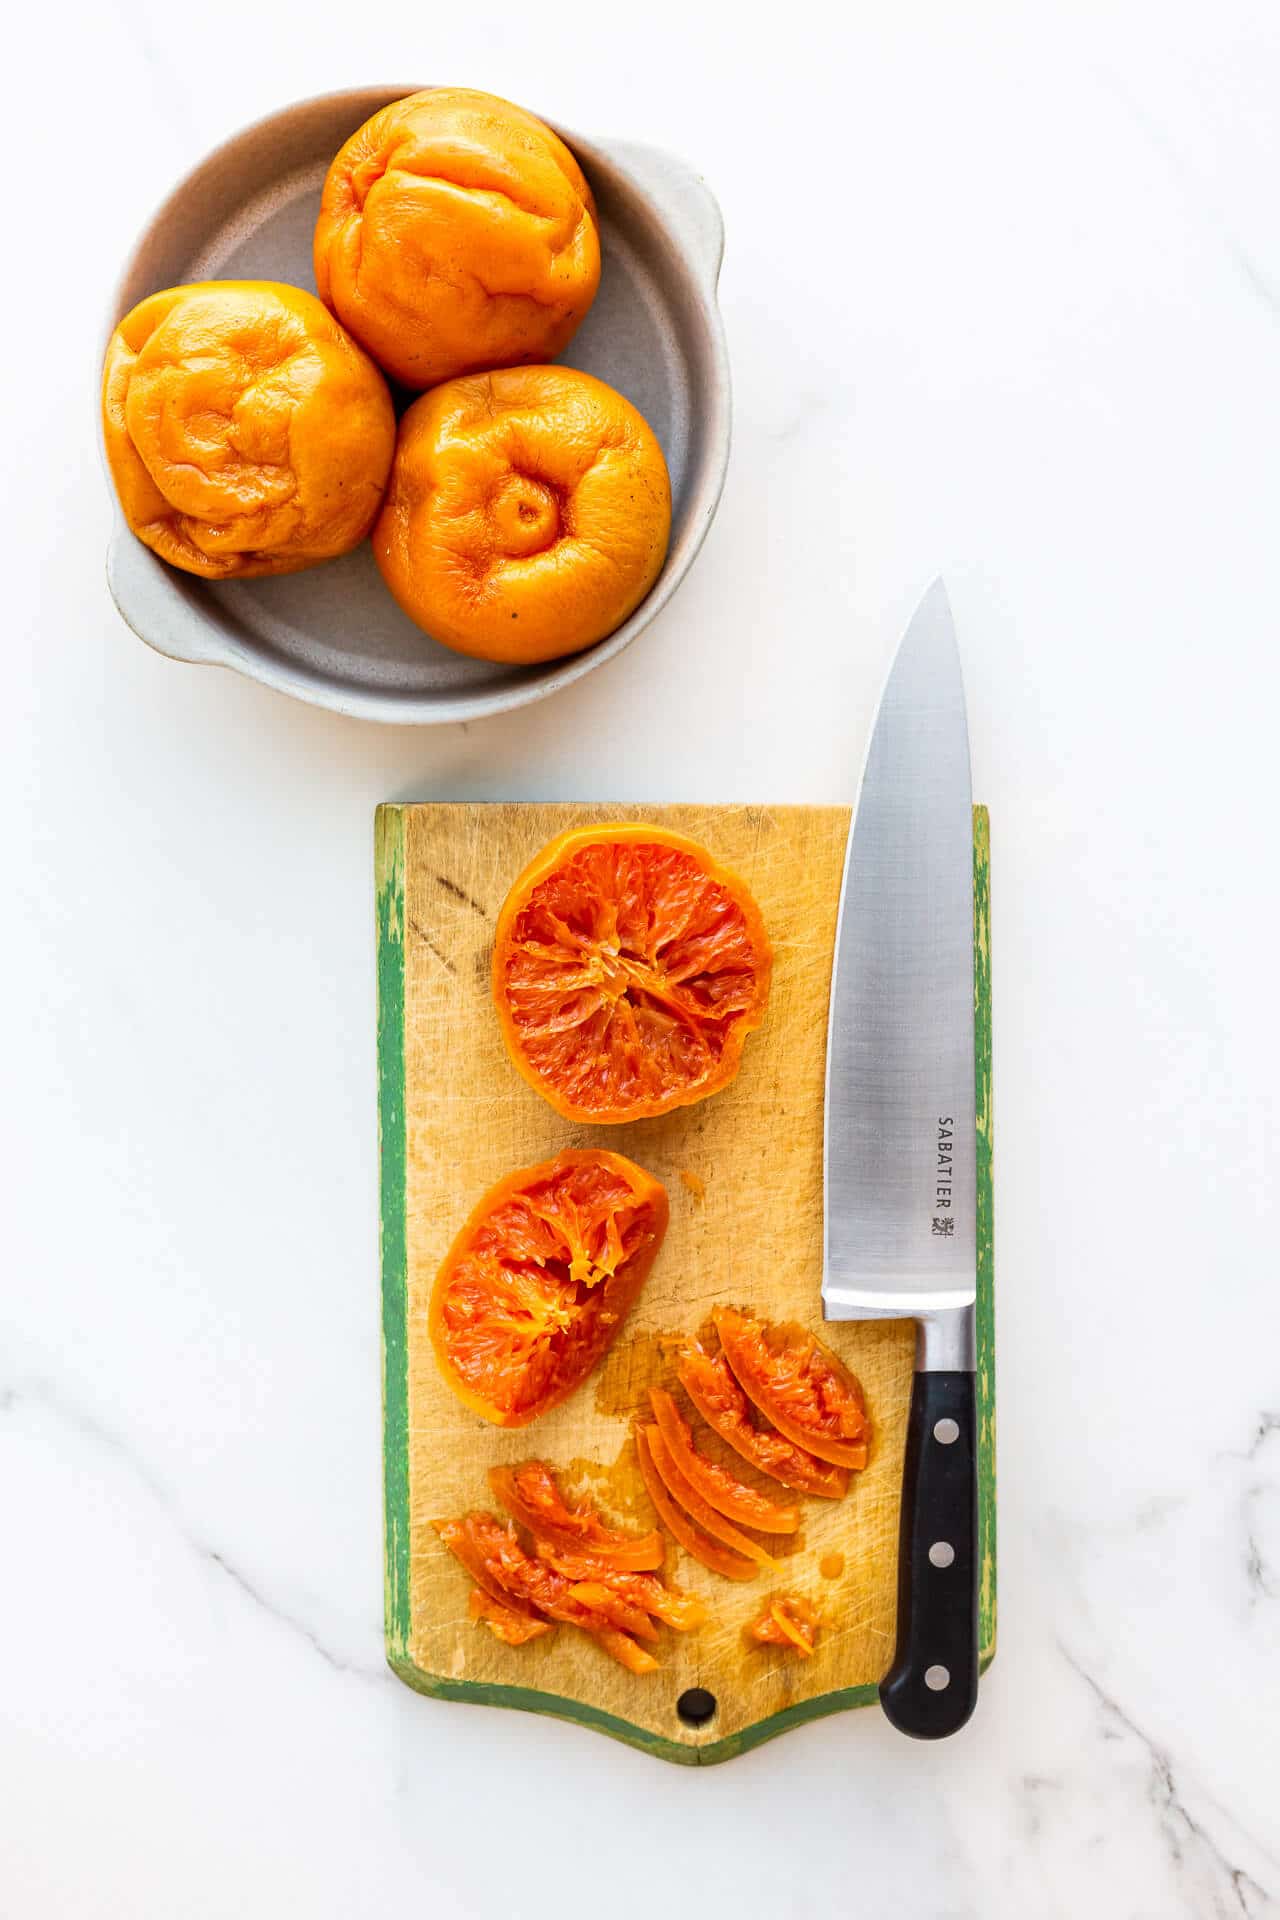
- Boil the whole citrus fruit: With the whole fruit method, the first step takes the longest, but is thankfully super easy: you just boil the citrus fruits in lots of water until they are very soft and tender. In my experience, navel oranges take the longest to cook through (about 2 hours), while lemons take just one hour. Grapefruits are done somewhere in between. I guess it has to do with the thickness of the pith. You MUST boil the fruit long enough and make sure it is quite soft at this step. If you skimp here and don't boil the whole fruit long enough, you will probably end up with a batch of marmalade with a tough chewy peel that is hard to bite through. Take your time to do this step properly to ensure soft peel in your next batch of marmalade. Boiling the fruit, specifically the peel, is also important to ensure that the peel is evenly dispersed through the jars of marmalade and to avoid having all the peel float to the top of the jars.
- Chop the soft-boiled citrus fruit: This step is the worst part for me, by far. You have to slice all that fruit. I truly hate slicing things, but here we are. You need to slice the boiled citrus fruit to make marmalade. You have to chop up all the boiled citrus fruit and make sure to remove all the seeds, which are discarded.
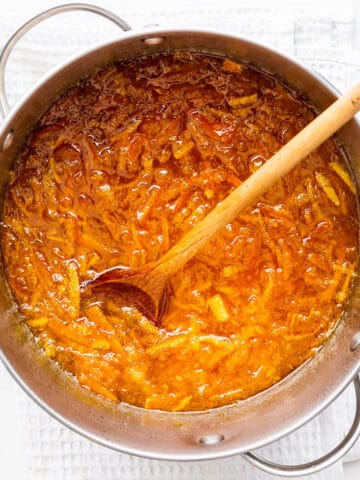
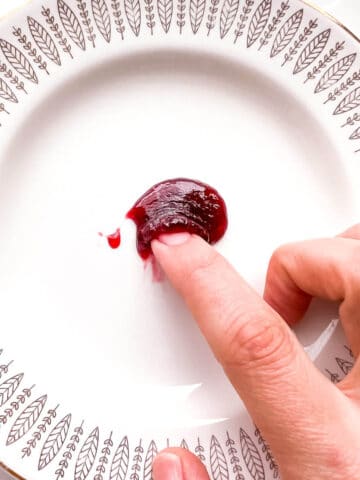
- Cook sliced citrus with lots of sugar to make marmalade: this is the fun part and not too difficult. Combine the sugar and all the sliced citrus fruit and juices and cook in a big pot on the stove. It's going to boil and bubble for a long time until the mixture reaches the right consistency (set point). You can tell the marmalade set point with a thermometer or using the plate test.
- Seal the jars: Transfer the marmalade to jars and process to seal the jars in a boiling water bath.
- Let the jars rest: After water bath processing, the jars of marmalade must sit undisturbed at room temperature for 24 to 48 hours (1 to 2 days) in order to completely cool and reach the correct consistency. Just let them be.

Special tools for making and canning preserves
You absolutely don't need any special equipment to make marmalade, but I highly recommend purchasing a canning kit, which contains everything you need to process and seal your jars of homemade preserves (namely a big pot for processing jars, a rack that fits in the pot, a non-reactive funnel, a magnetic lid lifter, a tool for measuring headspace and removing air bubbles, and jar lifter tongs).
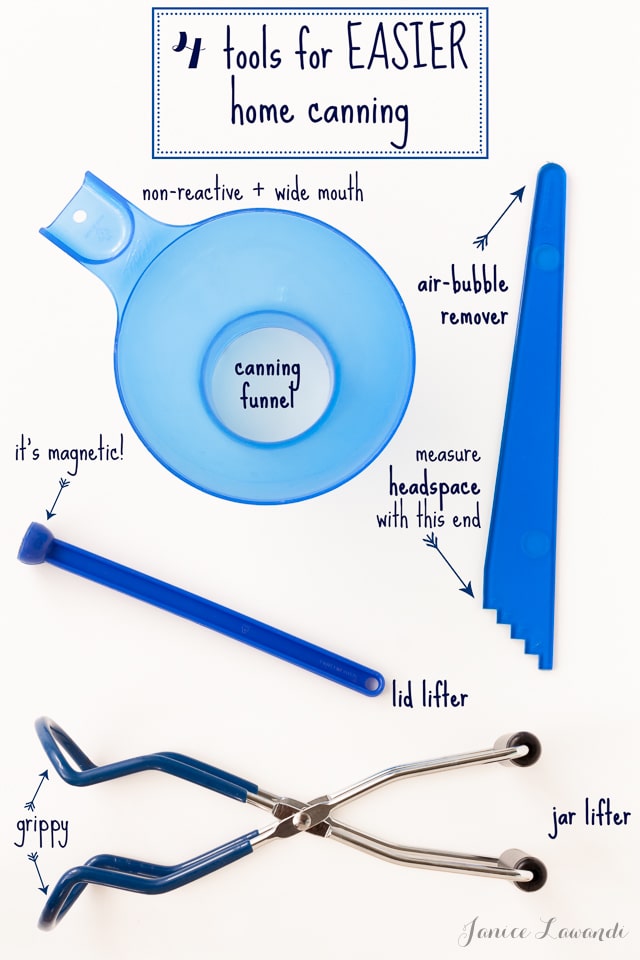
I have the Bernardin canning kit and it's really made jam-making and preserve-making much easier. Plus it's readily available in Canada. It's important to use heat-resistant and non-reactive tools given the sugar content, high temperature, and acidity level of marmalade. Besides the canning kit, you will also need:
- sterilized Mason jars with lids that have rubber seals. I like 250 mL (8 ounce) jars: make sure that the seal is new and in perfect condition or your jars may not close properly). It's always good to have extra lids in case any are damaged (get them on Amazon)
- a big heavy-bottomed pot (like this Cuisinart pot) that you will use to boil the whole fruit and to cook the marmalade in
- a wooden spoon or a heat-resistant spatula
- a digital thermometer (like the handheld Thermapen or the ChefAlarm probe thermometer) to measure temperature unless you have a lot of experience determining marmalade set visually or with the plate test
- a non-reactive ladle (Amazon)
Storage
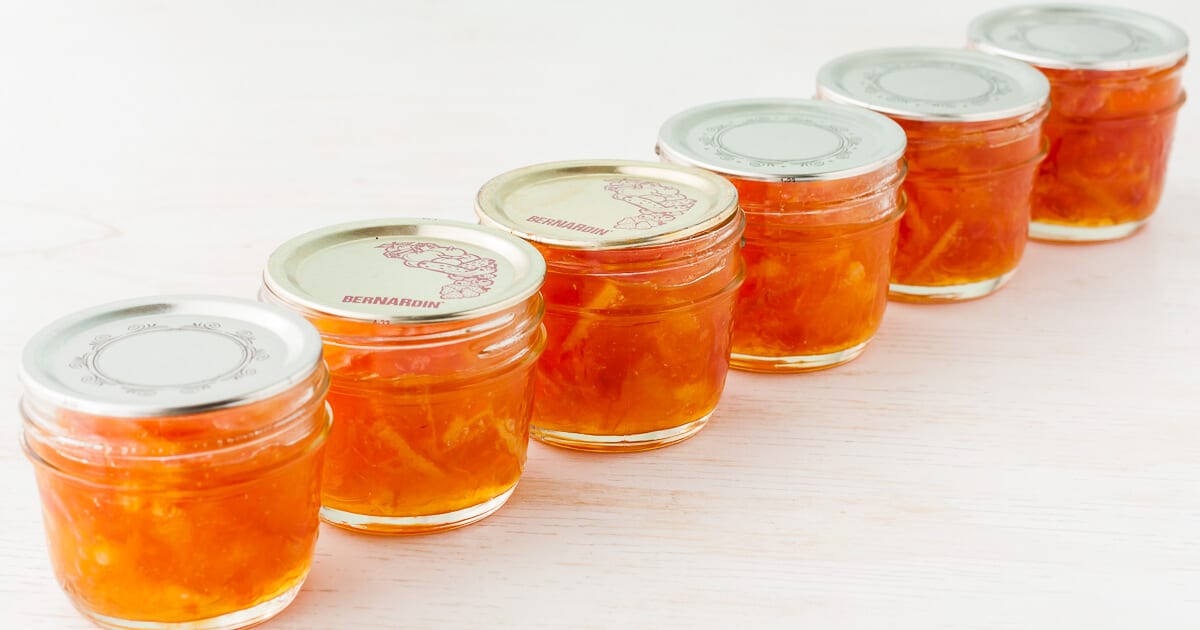
If the jars are properly sealed, you can store marmalade in a cool, dry place, away from the light for 1 year. After that, the marmalade will still be good, but you will notice the vibrant colour will change and the marmalade will become darker.
Store open jars of marmalade (or jars you have not sealed) in the refrigerator.
Making other types of marmalade
The steps are quite easy, but I understand that there are quite a few of them. Just remember that unappetizing jar of odourless grocery store brand marmalade. That should be motivation enough to make marmalade at home! And feel free to adapt this recipe and make different marmalade fruit combinations. Here are some marmalade recipe ideas to try:
- for grapefruit marmalade, use 800–900 grams of grapefruit + 950 grams of sugar + 100 mL lemon juice (use pink grapefruits to make this pink grapefruit marmalade)
- for lime marmalade, use 650–700 grams of limes + 1000 grams (1 kg) of sugar + 60 mL lemon juice (or make this fine-cut lime marmalade using a slightly different method)
- for blood orange marmalade, use 800–900 grams of blood oranges + 950 grams of sugar + 100 mL of lemon juice
- for orange grapefruit marmalade, use 800–900 grams of a mixture of orange and grapefruit + 950 grams of sugar + 100 mL of lemon juice
- for Seville orange marmalade, use 800–900 grams of Seville oranges + 950 grams of sugar + 100 mL lemon juice (or use navel oranges to make orange marmalade)
- for lemon-lime marmalade, use 800–900 grams of a mixture of lemons and limes + 950 grams of sugar + 100 mL lemon juice
I think you get the point: start with a solid recipe and make your modifications respecting the amount of citrus fruit and sugar in the recipe. The ratio of sugar to fruit is key so do not deviate too much. As you can see, the ratio of sugar to fruit is very close to 1:1 by weight. If you stick to the quantities as written, your homemade marmalade should taste great and set properly without any issues.
My marmalade didn't set! Now what?
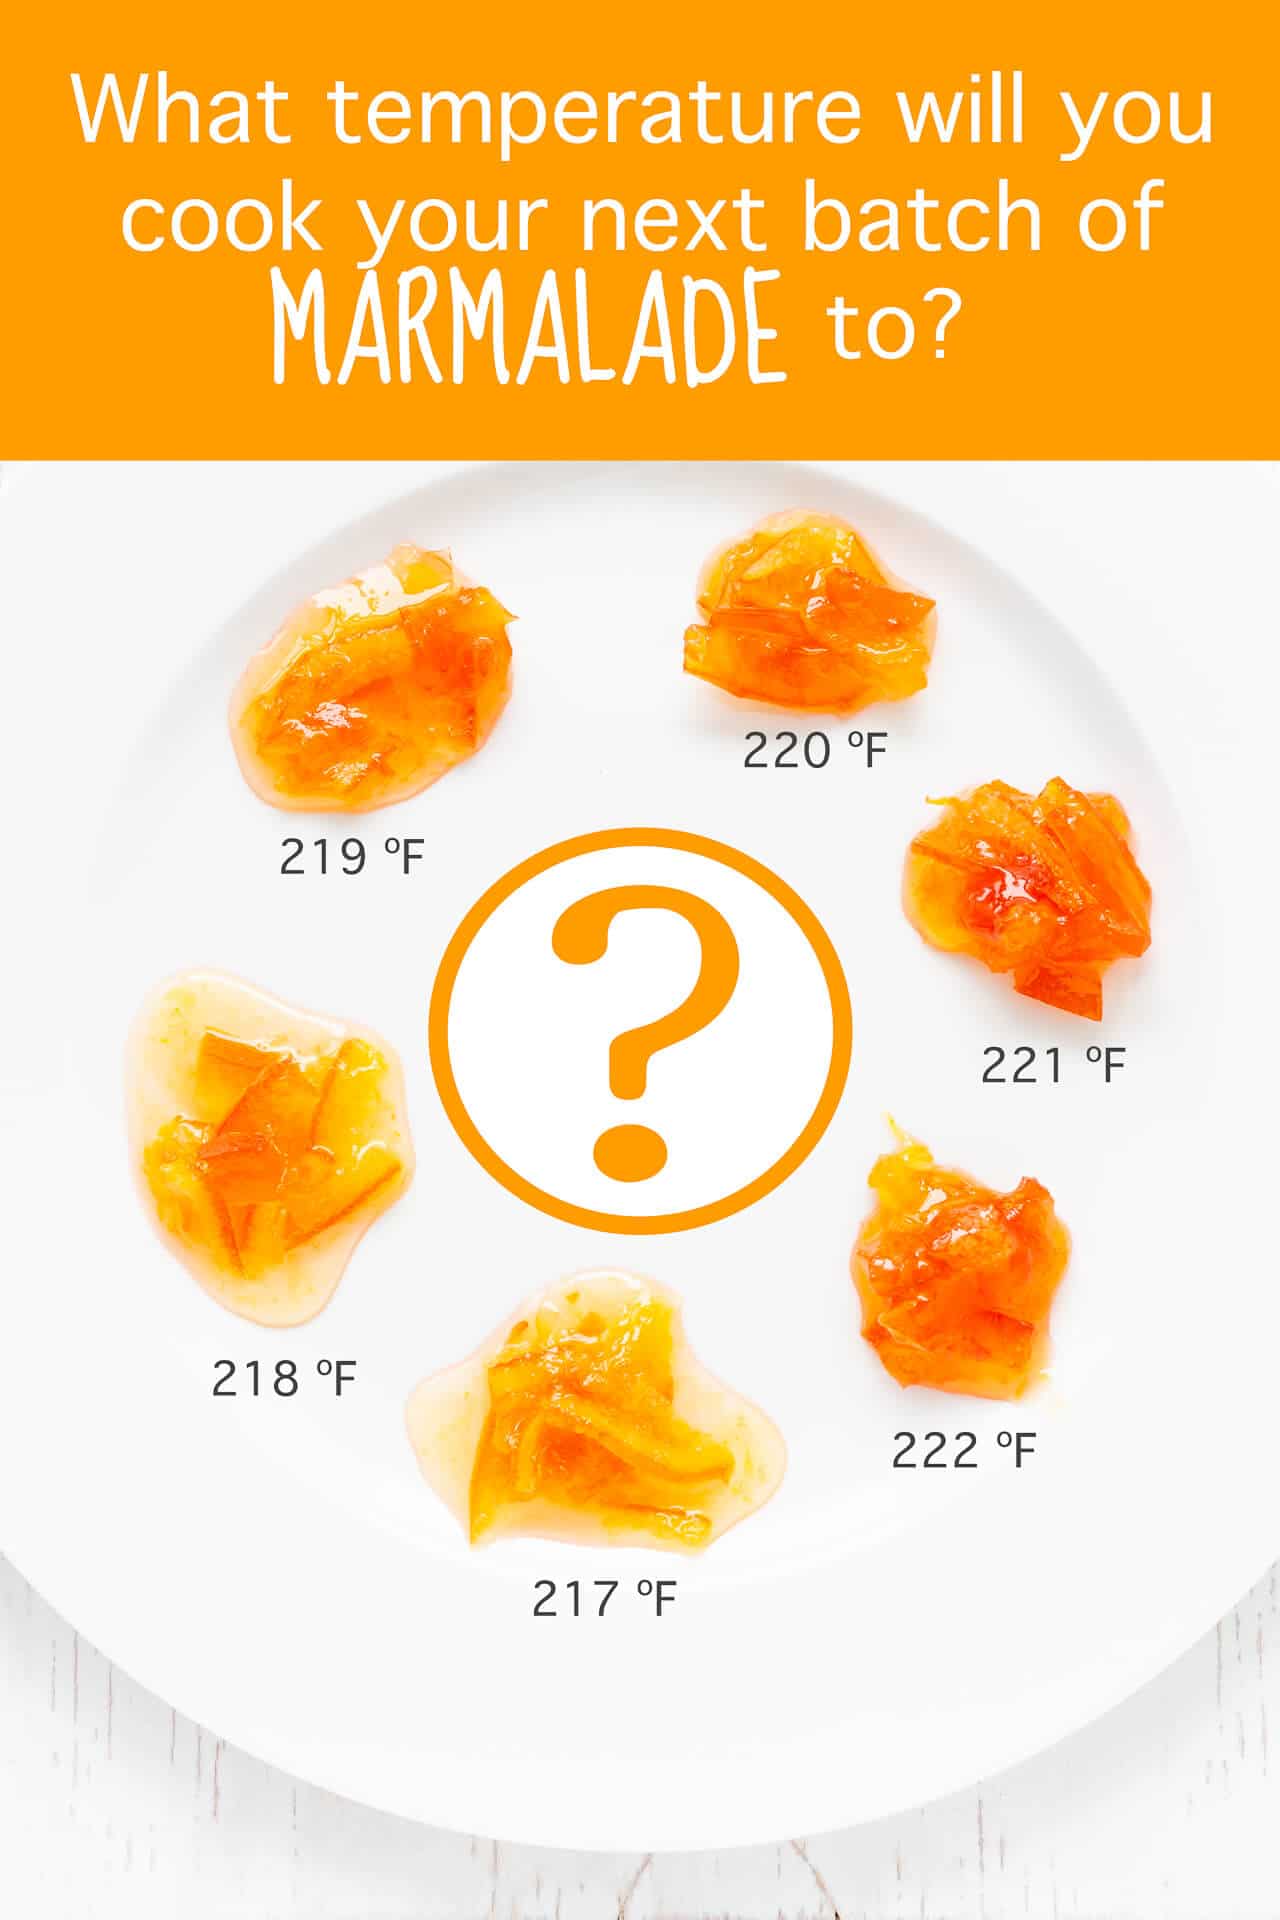
Assuming you followed the quantities in the three-fruit marmalade recipe below, I am guessing you didn't cook the marmalade to the right temperature.
Cooking to just above 220°F–222ºF but not much higher than that is key: if you cook to too high a temperature, you will end up with a very thick, slightly more caramelized preserve, and the peel may become overly chewy if you aren't careful. But if you don't cook to a high enough temperature, you risk ending up with a very runny, watery marmalade, which isn't ideal either.
If you find that, when the marmalade has cooled, it's too runny, you can dump it all back into a big pot and reheat to bring it up to 220–222ºF. Then you will have to transfer to sterilized jars again and reseal, of course. On the other hand, overcooked marmalade cannot be salvage. Overcooked marmalade can still be eaten, but the texture is dry and rubbery.
Yes, you can make three-fruit marmalade from oranges, lemons, and grapefruit with this recipe, using the right equipment and following these instructions!
Cookbooks on Preserves
If you are interested in simple recipes and techniques for making preserves, like this marmalade, check out Camilla Wynne's books on preserving:
- Preservation Society Home Preserves, covering all forms of preserves from jams and marmalades to pickles and savoury preserves
- Jam Bakes, which is dedicated to making preserves and baking with them too!
I used these books to research this recipe and follow Camilla Wynne's methods closely as she taught me how to make Seville orange marmalade years ago. Highly recommend!
📖 Recipe
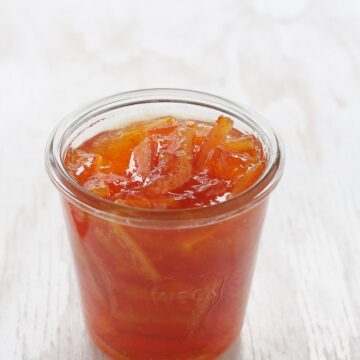
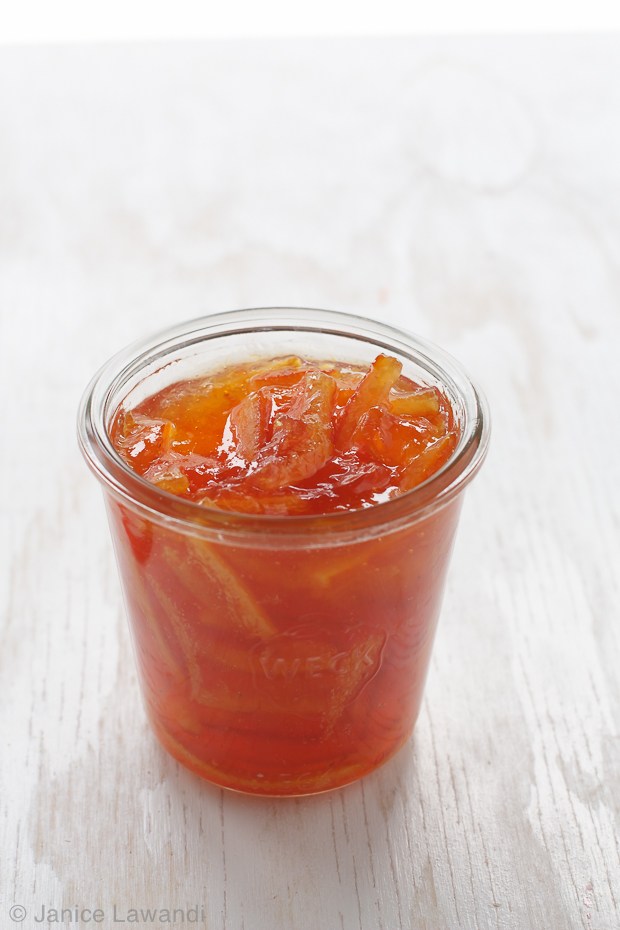
Three fruit marmalade
Ingredients
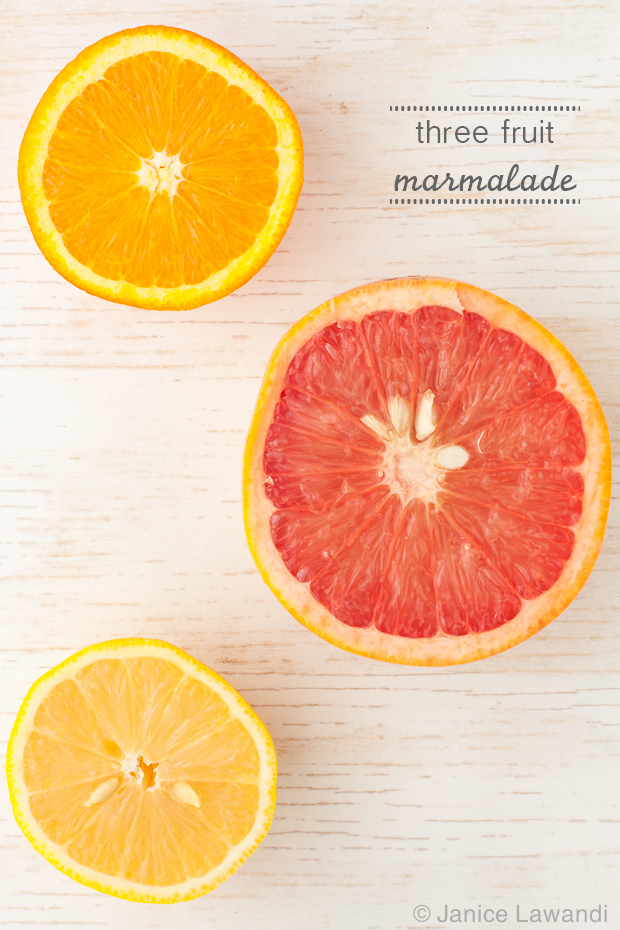
- 885 grams citrus fruit I used 1 lemon, 1 grapefruit, and 2 oranges
- 950 grams granulated sugar
- 100 mL fresh lemon juice
Instructions
- Bring a large, covered pot of water to boil with the whole citrus fruit. This Cuisinart pot from Amazon is a decent size for the job. Boil the fruit until they are very tender and soft. The lemon will take about an hour, while the oranges take the full 2 hours. The grapefruit take about an hour and a half. Drain the fruit and let them cool slightly before proceeding.
- Place a cutting board inside a rimmed baking sheet (these Nordic Ware sheet pans from Amazon are great). This is to catch all the citrus juices! Slice each fruit in half to expose the seeds. Remove the seeds, then quarter each half. Remove the flesh and chop it up. Slice the peel finely (if you have the patience). Transfer the sliced peel, chopped fruit flesh and juices into a large pot (like this Cuisinart pot from Amazon).
- To the large pot of chopped fruit, add the sugar and the lemon juice. Clip on your thermometer (like this fast-reading digital thermometer from Thermoworks). Bring the mixture to a boil on medium–high, stirring with a wooden spoon or heatproof spatula (grab this spatula from Amazon). When the mixture is boiling, this is when you want to start monitoring the temperature. Boil the mixture, stirring constantly, until it reaches 220°F. When the marmalade reaches this temperature, slide the pan off the heat, and let it cool for 2 minutes, then give it a good stir. This is to ensure that your canned marmalade will have an even dispersion of peel/fruit.
- Divide the mixture between 5 sterilized jars (I prefer wide-mouth mason jars like these Ball jars on Amazon), leaving a headspace of ¼ inch. If the 5th jar has a larger headspace, you are just going to have to eat it. Just kidding. Well, except that you can’t can it, so that will be your jar to enjoy right away, storing it in the fridge. Wipe the rims of all the jars with a lightly moistened paper towel. Top each of the jars with a sterilized lid, and tighten the band until it is finger tight. The Ball canning kit on Amazon is key for this step and the next! Get it on Amazon
- Line a rimmed baking sheet with a large kitchen towel (these Nordic Ware sheet pans from Amazon are great). This will be the “cooling station” for the processed jars. To seal the jars, place them in a large pot, with a towel at the bottom to prevent them from rattling and cracking. Fill the pot with hot water so that the jars are completely immersed. Bring the pot of water to a boil with the lid on and once the boiling point has been reached, boil the jars for 5 minutes. Then take the pan off the heat, and let the jars stand in the pan for another 5 minutes. Finally, carefully remove the jars from the water bath and place them on the towel-lined baking sheet. You will hear a popping sound soon after, a good sign that the vacuum seal is proper. Let the jars cool, untouched, for 24 hours before putting them away.
Nutrition


David says
This is a recipe I keep returning to!
The boiling of the whole fruit makes the process so much more efficient for me, although you have to plan ahead!
I really appreciate your scientific approach too!
Thank you!