Here's a list of baking essentials and all the must have baking tools that will make your baking life a lot easier. The list of tools will be especially handy for beginner bakers who want to invest in some useful equipment for future projects! You can also visit the Bake School Amazon storefront for more product and cookbook recommendations.
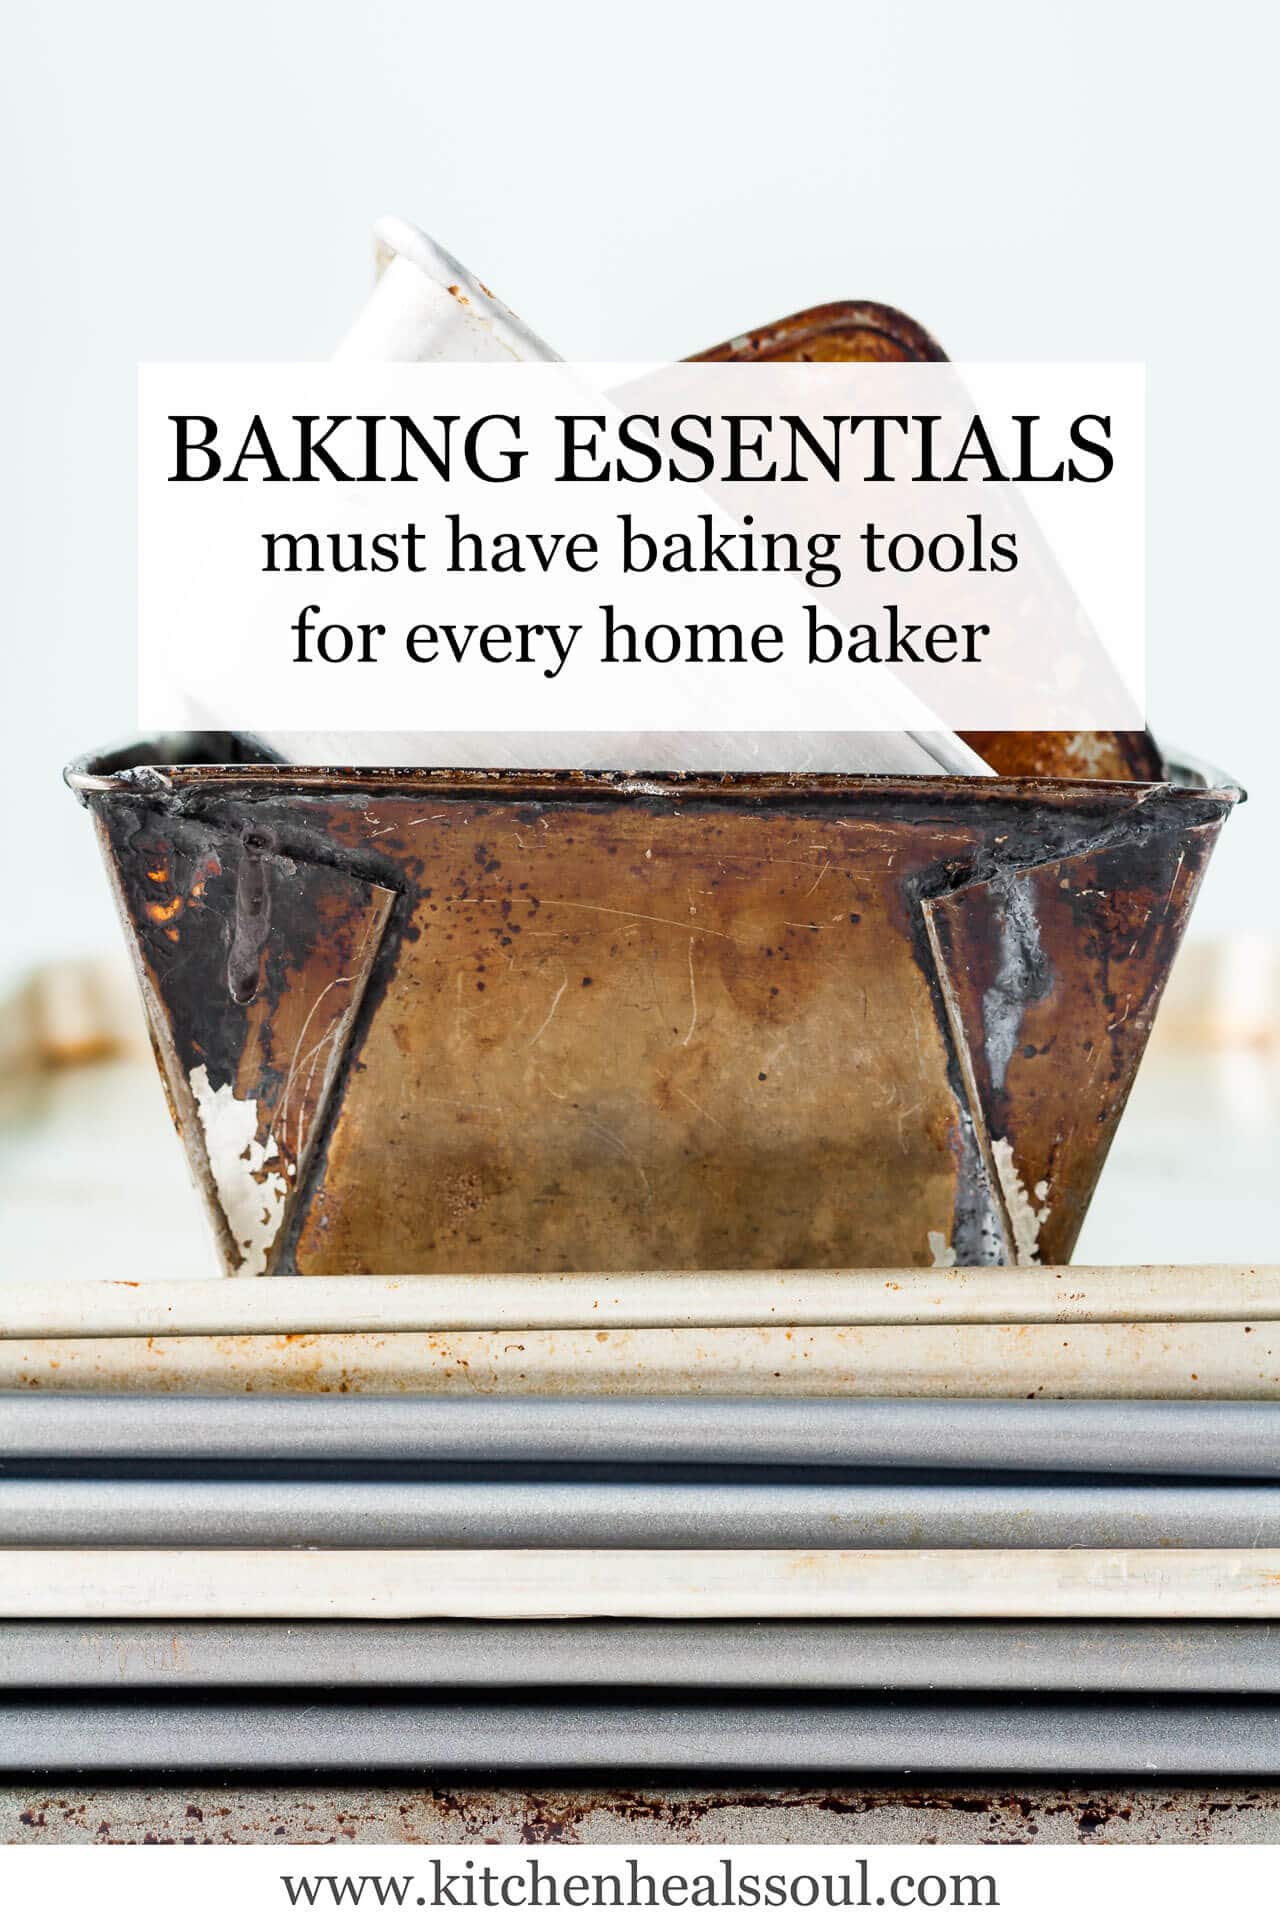
I have invested in a ton of baking tools over the years, and many of these items, I'd categorize as essential or must have baking tools that I can't live without. On the other hand, there are other tools that I probably didn't need to buy and didn't know any better at the time (I'm looking at you cake slicing saw tool that I never use!). I don't want you to buy baking tools that aren't useful, which is why I put together this list.
Jump to:
- For measuring baking ingredients
- For mixing
- Pans for baking quick breads, muffins, brownies, and cakes
- Tools for making pies and tarts
- Specialty pans
- Tools for making cakes
- Tools for candy making
- Specialty tools
- Other tools you should have in your kitchen that will be useful for baking
- Need more help with cake pans?
For measuring baking ingredients
If you want to bake, you will have to measure all your ingredients. There's no way around it! These are the best tools for measuring baking ingredients, whether wet ingredients or dry:
- Kitchen scale—I've happily used this model of OXO kitchen scale for over a decade. OXO released a new model in 2020, but I haven't tested it yet. Let me know if you have!
- Liquid measuring cup set—sure, you could get away with just the 1 cup liquid measuring cup, but if you do a lot of baking and cooking, you'll want the entire Pyrex measuring cup set.
- Set of dry measuring cups (if you aren't weighing your dry ingredients, like flour and sugar, you would need these, and if you are still debating over whether to bake by volume vs weight, perhaps now is the time to try a different way of measuring!)
- Set of measuring spoons that fit in spice jars and includes a ⅛ teaspoon measuring spoon for small amounts of baking soda or salt.
Remember if you ever need help converting recipes from one measuring unit to another (like from cups to grams), consult the baking conversions page. And make sure you know how to use your measuring tools with this guide to how to measure ingredients for baking.
I also recommend investing in the complete baking conversion charts bundle to get conversion charts for ingredients, pans, temperatures, volumes, weights, and more.
For mixing
Yes, you can mix all your baking recipes by hand, but I'd rather use a mixer or other tools to do the job for me. Here is a short list of small appliances and tools that will do the mixing for you:
- Stand mixer: the KitchenAid Artisan stand mixer with 5 quart bowl model is the most well known among home bakers and the most popular. The KitchenAid 6 quart professional mixer is good if you plan on baking larger batches of bread dough because the motor is more powerful and can handle more flour than the Artisan model.
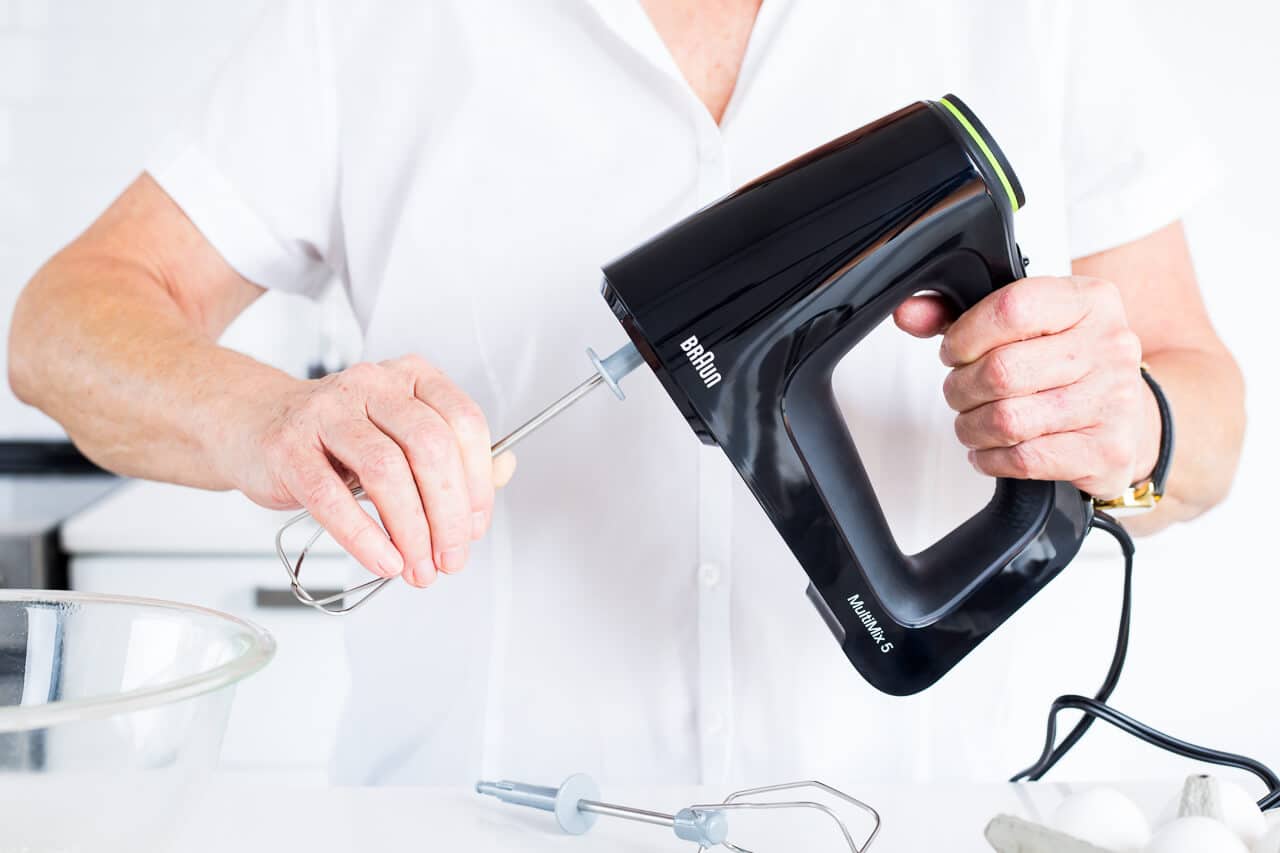
- Electric mixer—I have a big stand mixer, that is a little too big for small batches of cakes and cookies. I reach for an electric mixer in those instances and the one I use is this model by Braun.
- Food processor—I use a food processor to make pie my super easy pie dough and I am proud of it. Sure you can make it by hand, but use your food processor and see how fast it is to make pie! I use the 11-cup Cuisinart food processor and this size is great for making enough pie dough for a double crust pie, like this rhubarb lattice pie.
- Immersion blender—while most people will use an immersion blender to make soup, this is actually an essential baking tool that pastry chefs use all the time. Use it to emulsify chocolate ganache or to properly incorporate flecks of melted chocolate when you are making the best hot chocolate from scratch. I have this KitchenAid hand blender in blue.
You will still need to do a certain amount of mixing by hand and for that reason, you will also need the following:
- Whisk—having used low quality whisks that actually leached metal into homemade lemon curds (yuck!), I learned a valuable lesson: invest in a good quality whisk that won't ruin your baking. I use this OXO 11-inch balloon whisk.
- Heat-resistant spatula—spatulas are really important in baking but not all spatulas are created equal. Make sure to pick a spatula that is heat resistant so you can use it for stirring custards on the stove as well as for folding cake batters at room temperature. This GIR spatula will do those jobs well.
- Wooden spoon—I like wooden spoons with a pointed corner for reaching into the edges and corners of saucepans when stirring. OXO has a nice corner spoon for exactly these reasons!
- Bench scraper—these are so useful for scraping doughs out of mixer bowls, for working with bread doughs, and you can even use it for scraping and cleaning up your work surface after rolling out pastries! I like to use both a nylon dough scraper and a metal bench scraper like this one from Nordic Ware (which I have in blue)
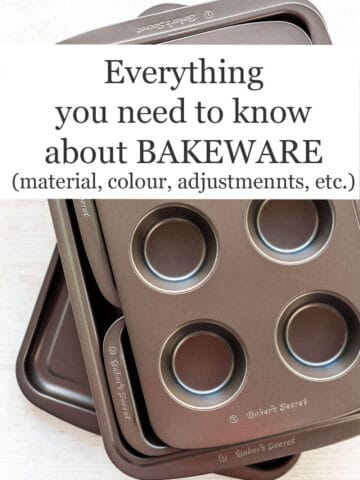
Pans for baking quick breads, muffins, brownies, and cakes
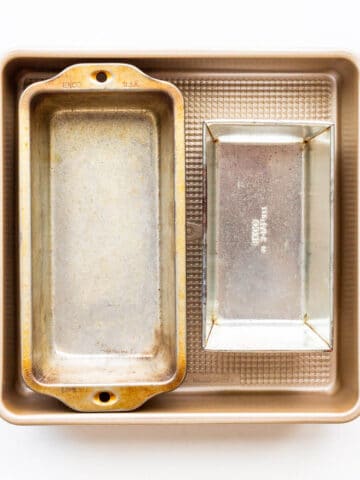
- Loaf pan—I used to bake my loaf cakes and quick breads in 9x5 inch loaf pans, but then I got this 8.5x4.5 inch OXO pan and fell in love. Originally, I got it to make the compost pound cake because Christina Tosi recommends this specific pan, but now I use it for all my loaf cakes.
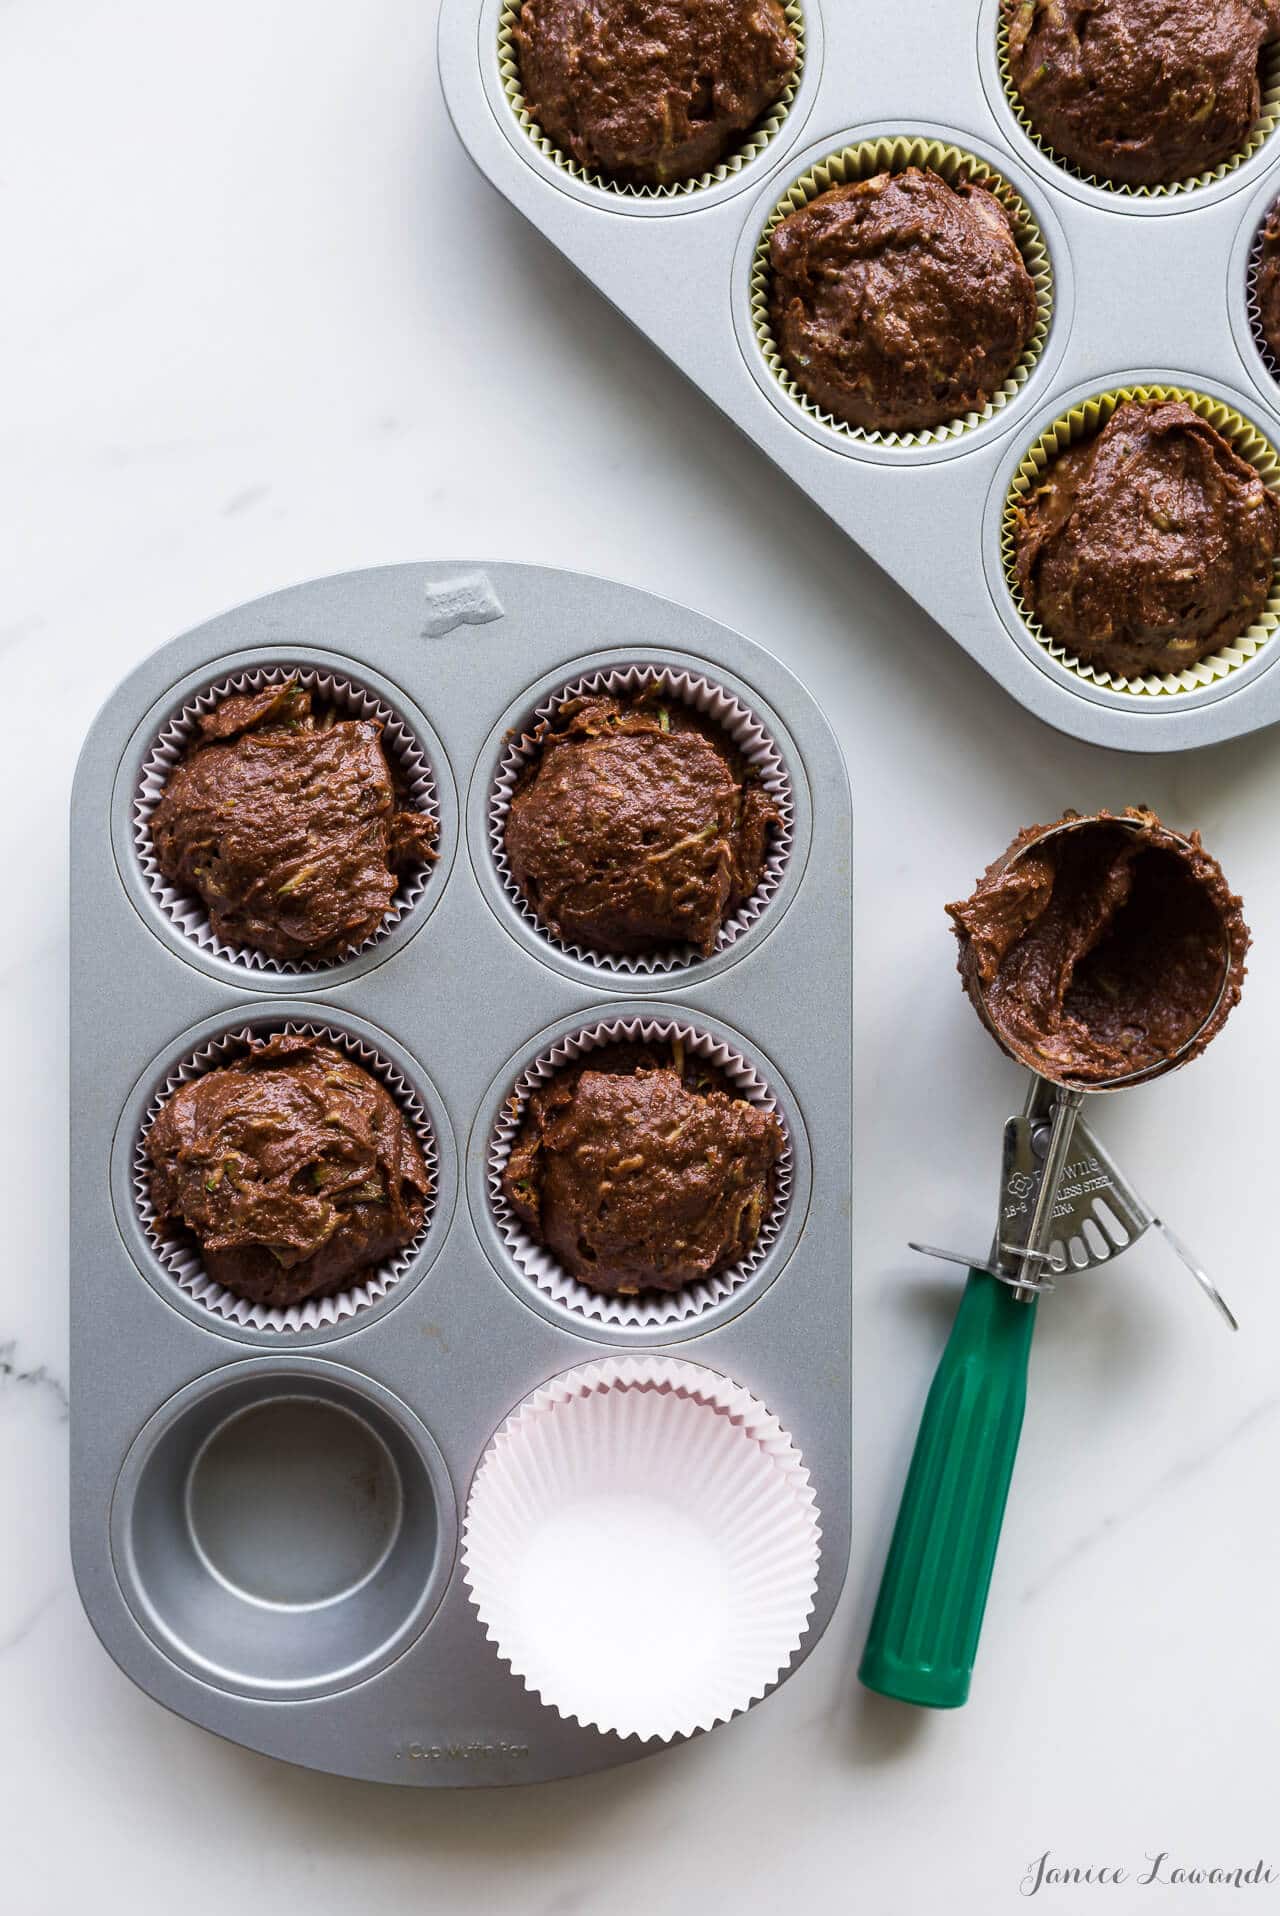
- Muffin pans—If you can get a 12 muffin pan instead of two 6 muffin pans, that's the way to go because more often than not, you will be baking 10 to 12 muffins per batch.
- Square cake pans for bars and brownies—start with a 9x9 pan like this one from Chicago Metallic. I've got two of them, plus smaller 8x8 pans.
- Round cake pans for layer cakes—I like to use light aluminum pans from the Wilton Performance line. I tend to bake smaller layer cakes in 6 inch cake pans, but it's good to invest in a few different sizes. Ideally you would have 2 or 3 pans for each diameter so that you can bake two or three layers of cake at the same time.
- Sheet pans—you'll want to buy at least two half sheet pans (18x13 inch rectangular rimmed baking sheets) and if you can also get a few quarter sheet pans (which are 13x10 inch rectangular pans), they're useful for making the Milk Bar birthday cake. I like the Nordic Ware sheet pans that are heavy duty and don't bulge or bend with temperature changes.
- Parchment paper is your best friend in baking and you should always have a roll on hand. I line all my cake pans with parchment on the bottom, this way I know that my cakes and quick breads won't get stuck on the bottom. Sure you can grease and flour the inside of your pans and that works great, but parchment is like insurance! It's there for the one time something doesn't go according to plan. I also use it to line my sheet pans when baking cookies.
Measuring the size of cake pans and bakeware can be tricky. Read this post about how to measure cake the size of a cake pan to find some tips and tricks (including using water to measure the size!). You can also get this workbook, which includes a pan volume calculator that does the math for you!
Tools for making pies and tarts
- Tart pan with removable bottom are made for preparing elegant tarts that can easily be unmolded from the pan to serve. Don't stress about that step, follow this guide for how to remove a tart from a tart pan! I use the Wilton tart pans with a non-stick finish.
- Metal pie plates are one of my best tools for properly baked pie crusts. I like these speckled granite pie plates The metal is a better heat conductor than glass and metal pie plates are the best way to make sure your pie crusts bake to a golden brown colour even on the bottom.
- Pie weights are necessary for blind baking pie crusts and tart crusts. Dried beans can work too, as can rice or even granulated sugar.
- Rolling pin—I like to roll out pie dough and pastry with a French wood rolling pin with tapered ends, but some prefer a straight rolling pin.

Specialty pans
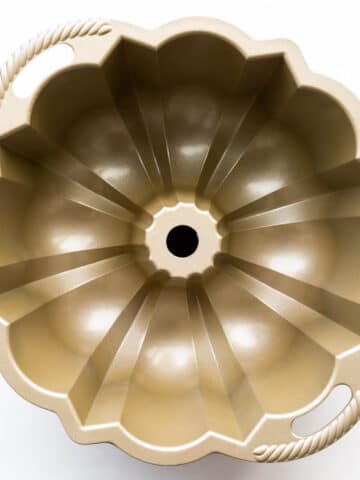
- Nordic Ware makes gorgeous intricate bundt pans and the Anniversary pan has the iconic bundt shape
- Madeleine pan
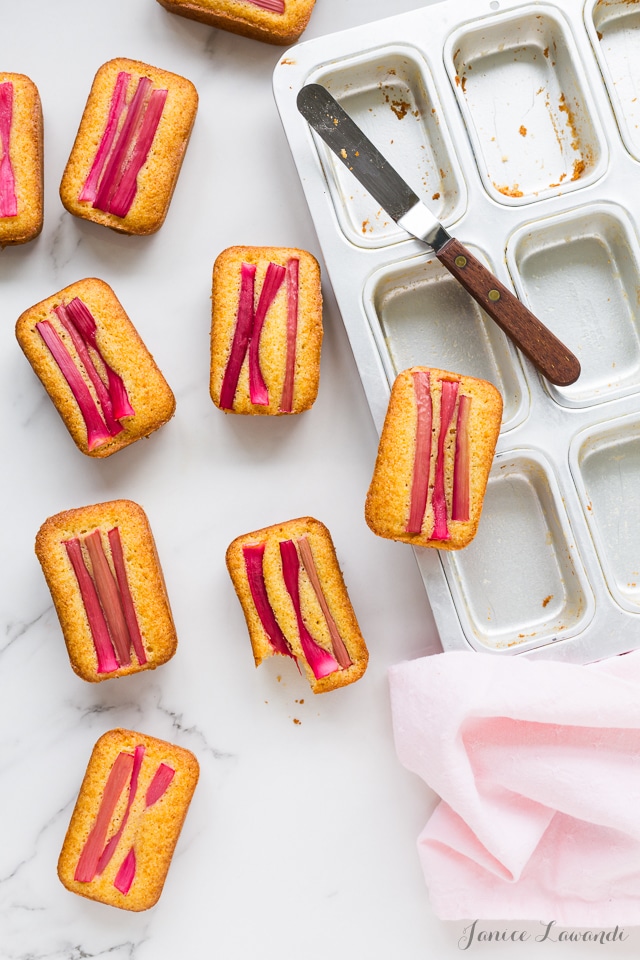
- Mini loaf cakes which I've used to make these mini cardamom banana breads and these matcha loaf cakes
- Mini tart pans—you'll want at least 4 mini tart pans, but if you can get 8, that would be even better.
Tools for making cakes
- Mini offset spatula—although full sized offset spatulas are useful, the tool I reach for the most is actually the mini version.
- Reusable piping bags or single use plastic piping bags, either is fine, just make sure to buy the larger bags because they are more useful for larger batches of pâte à choux. I use 18 inch piping bags
- 1M piping tip—this open star tip is great for piping stars, rosettes or roses of italian meringue buttercream, a perfect swirl raspberry frosting on a chocolate cupcake, whipped cream on homemade hot chocolate....
- Turntable—I've tried a few cheaper turntables but they weren't steady and didn't turn easily. This Ateco turntable on Amazon is slightly more expensive but well worth it. It's pretty to look at and the turn is so smooth!
Tools for candy making
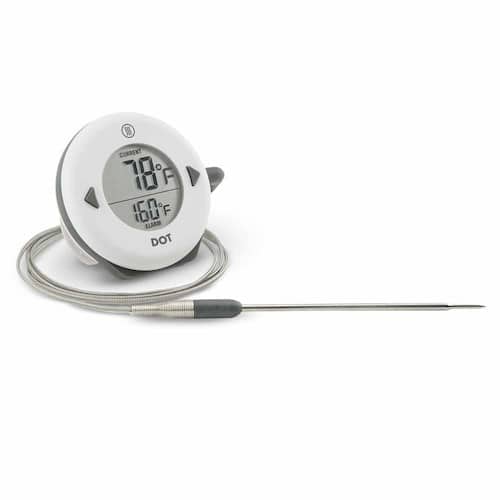
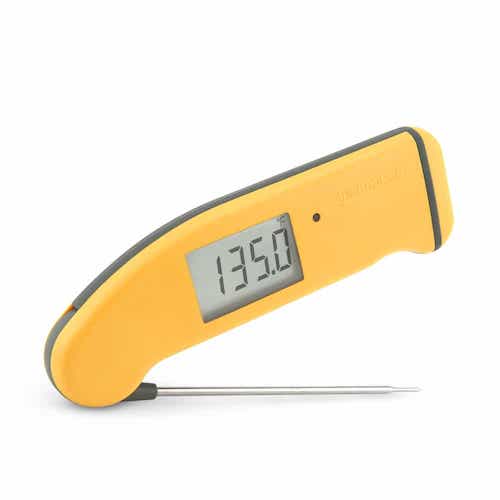
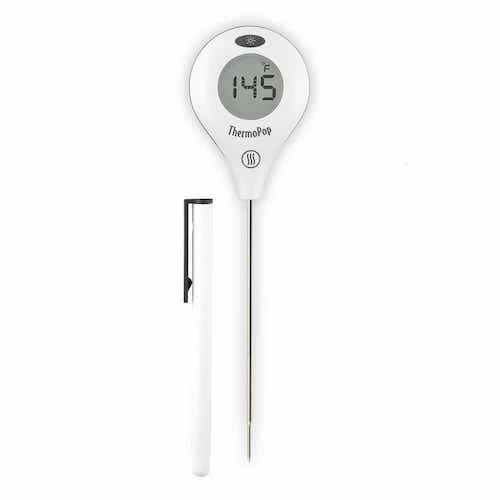
- Thermometer—invest in an instant-read thermometer if you can, which is especially important when you are cooling down batches of maple fudge or maple butter. For these recipes, you need a thermometer that can register temperature changes quickly so that you can stop heating or cooling at the right moment, without overdoing it. I own a pink Thermapen which is very fast at registering temperatures and temperature changes. The ThermoPop is a great instant-read thermometer that would be handy to check if your cake is done baking, while the ChefAlarm is a probe thermometer more appropriate for candy making, like if you want to make maple butter or maple fudge where you need to a fast-reading thermometer to monitor temperature over a longer period. Honestly, you can use these interchangeably, but if you plan on making candy or checking the marmalade setting temperature, a probe thermometer with a longer cable like the ChefAlarm is essential so that you can leave the probe in the pot and keep your hands away from the hot sugar!
Specialty tools
These tools will make your life easier, though they aren't as essential as the baking pans and mixing tools listed above. Still, I highly recommend you consider adding the following items to your baking toolbox:
- Dishers (a.k.a. cookie scoops, muffin scoops, and ice cream scoops)—sure you can get away with spoons for scooping cookie dough and muffins, but I love to use a disher so that the scoops are even, plus the task is much faster with this tool!
- For small cookies, I use a ¾ oz scoop, which allows you to scoop 30 to 40 grams of cookie dough.
- For muffins, I use a 2-⅔ oz scoop
- Pastry brushes (for applying egg washes, glazes, and also for dusting flour off of rolled out pastry)—I like to use the pastry brushes with natural bristles and wood handles and they come in a variety of sizes. Get a 1-inch pastry brush for glazing and egg washes, buy a larger 2-inch brush for brushing excess flour off of rolled doughs.
- Cookie cutters—if you can start with a set of round cookie cutters, you can use them to make anything from jam-filled shortbread, linzer cookies, and even doughnuts!
- Blow torch—you'll want a kitchen torch for making crème brûlée, among other things
- Ice cream maker—you can get a great base model Cuisinart ice cream maker for under $100, or you can invest in the self-chilling Breville machine. The ice cream maker I have is discontinued and it has just one function: churn. The base models for most will require you to chill the dewer flask (drum) for at least 24 hours, but I recommend longer, like 3 days, to be sure it is properly chilled all the way through.
If you plan on making jams and marmalades, make sure you get a canning kit, as well as jars and lids.
Other tools you should have in your kitchen that will be useful for baking
- baking conversion charts to help you convert pan sizes and ingredients from volumes to weights, as well as temperatures, and more!
- Chef's knife for slicing slice-and-bake cookies and trimming dough—I love my Sanelli knife because it feels heavy in my hand
- Serrated bread knife for levelling and trimming cake layers—make sure it's quite long, around 10 inches or so, because you'll need it for trimming larger cakes. This Wusthof serrated bread knife is 10 inches
- Pots and pans (a set of pots that ranges in size is perfect)
- Fry pans (small and large, preferably)—I like non-stick fry pans that can go in the oven. I have two from Cusinart that I like using. They aren't expensive and they go in the oven. They make decent replacement for a more expensive cast-iron pan in this Dutch Baby pancake recipe and they get the job done well!
- Set of mixing bowls, preferably a set that ranges from small bowls to a very large bowl—my largest mixing bowl is shallow but has a diameter of over 12 inches and I love it for mixing doughs by hand because I have room to work in the bowl.
- Dutch oven, which is especially useful for baking recipes like this no-knead cinnamon raisin bread or this Irish soda bread with raisins
Armed with the right tools, make sure you read these baking science books and listen to these baking, cooking, and food podcasts.
Need more help with cake pans?
Most of us aren't born with a natural ability to guess the exact size of any cake pan. If you would like to learn more about converting recipes from one pan type to another, you need the Baking Pan conversions chart.
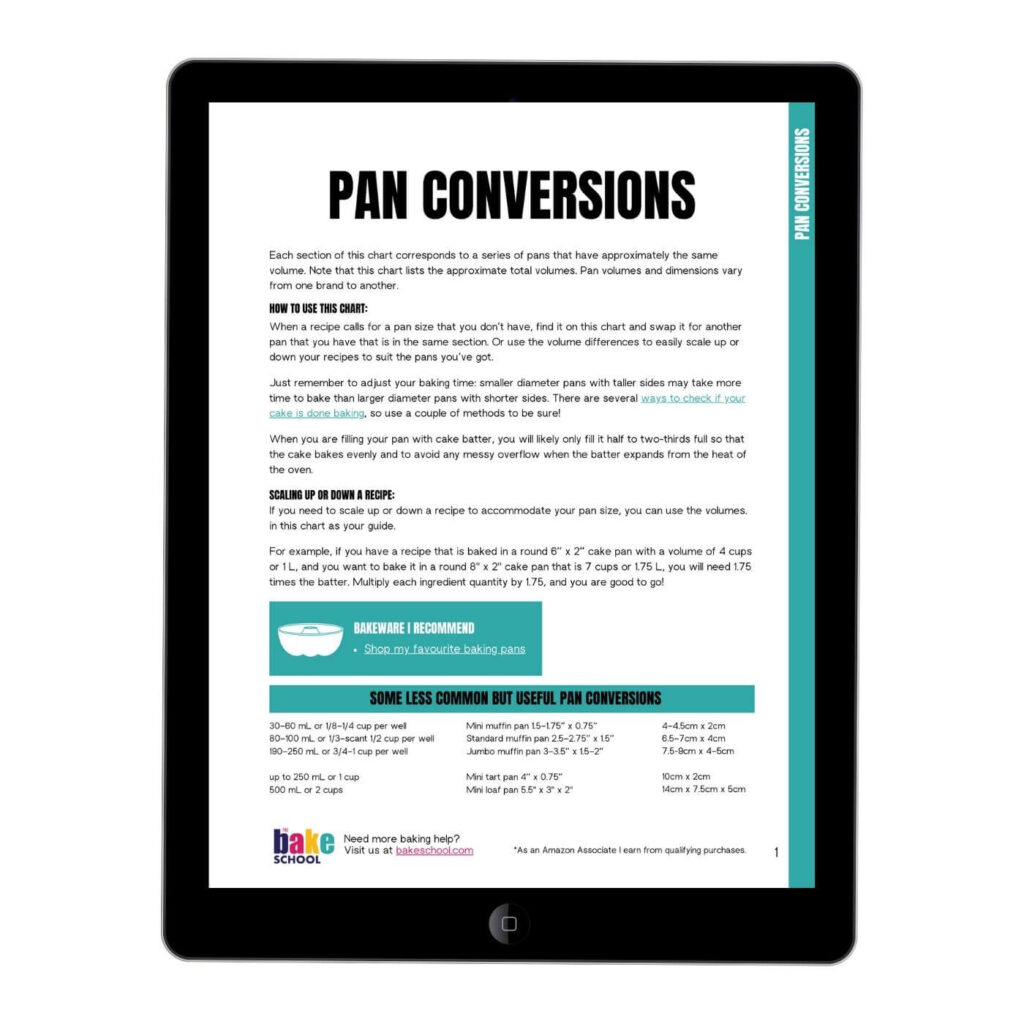
Pan conversions chart
Use this baking pan size conversion chart to help you swap cake pans in a recipe. Learn how to find out which pans are equivalent and how to convert from one cake pan size to another.

Leave a Reply