

If you want to make the best pies, here's a list of my favourite pie-making tools and a few tips and tricks to help you achieve a gorgeous flaky pie crust every time! You will also find some pie tools that I might not recommend. If you've ever debated about glass versus metal pie plate, this post is for you!
Jump to:

What you need to make pie dough
Opinions will vary on what are the best tools to make the best pie dough. I like to make pie crust in the food processor because it's so fast and easy. Others prefer to make it by hand, or you can even use a stand mixer to make dough. Here is what you need to make the dough:
- Use a kitchen scale (preferably) or dry measuring cups and liquid measuring cups to measure the ingredients
- If you want to make your dough in a food processor, you need a large food processor with at least a 9-cup or 11-cup capacity. This is not the place for a mini food chopper appliance because the bowl is too small to accommodate the ingredients for a double-crust pie. Use the metal blade.
- If you want to use a pastry cutter, use one with sharp blades like this one. Two knives can also work, or even your fingertips to slowly work the cold butter into the flour.
- If you want to use your stand mixer fitted, you will need to use one with a 4.5-5 quart bowl (like the Artisan mixer), though a mini mixer may work. A 6-quart pro mixer also works just fine. Use the paddle attachment or the new pastry beater attachment!
- If you want to make pie dough by hand, you will need a big bowl and a fork, a balloon whisk, or a Danish dough whisk to incorporate the water-I prefer using a fork or a Danish dough whisk because they are easier to clean than a standard balloon whisk.
Don't forget that you will need a large piece of plastic wrap to completely wrap the dough so that it doesn't dry out in the refrigerator. To freeze the dough, you should wrap it tightly in plastic wrap and then transfer the wrapped disks to a freezer bag to store long-term.
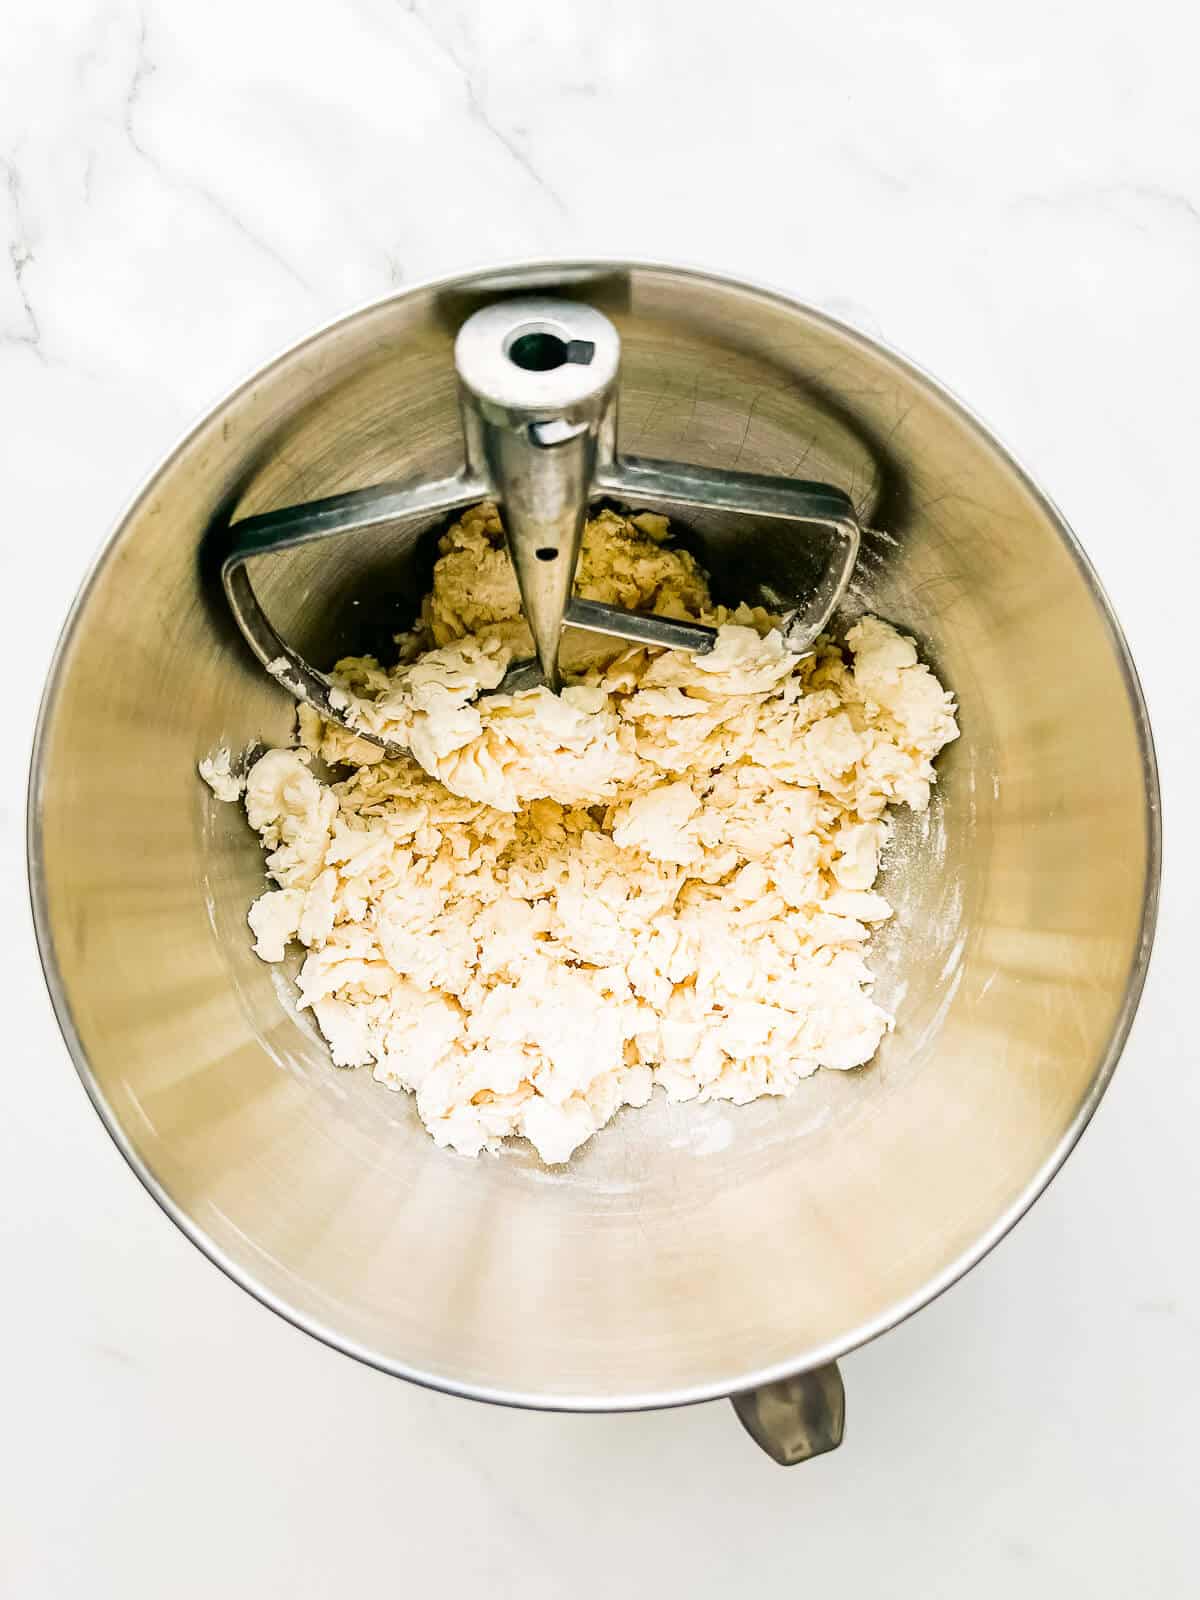
Pie dough made in a stand mixer tends to be a little flakier, as is pie dough made by hand because the pieces of butter in the dough are larger.
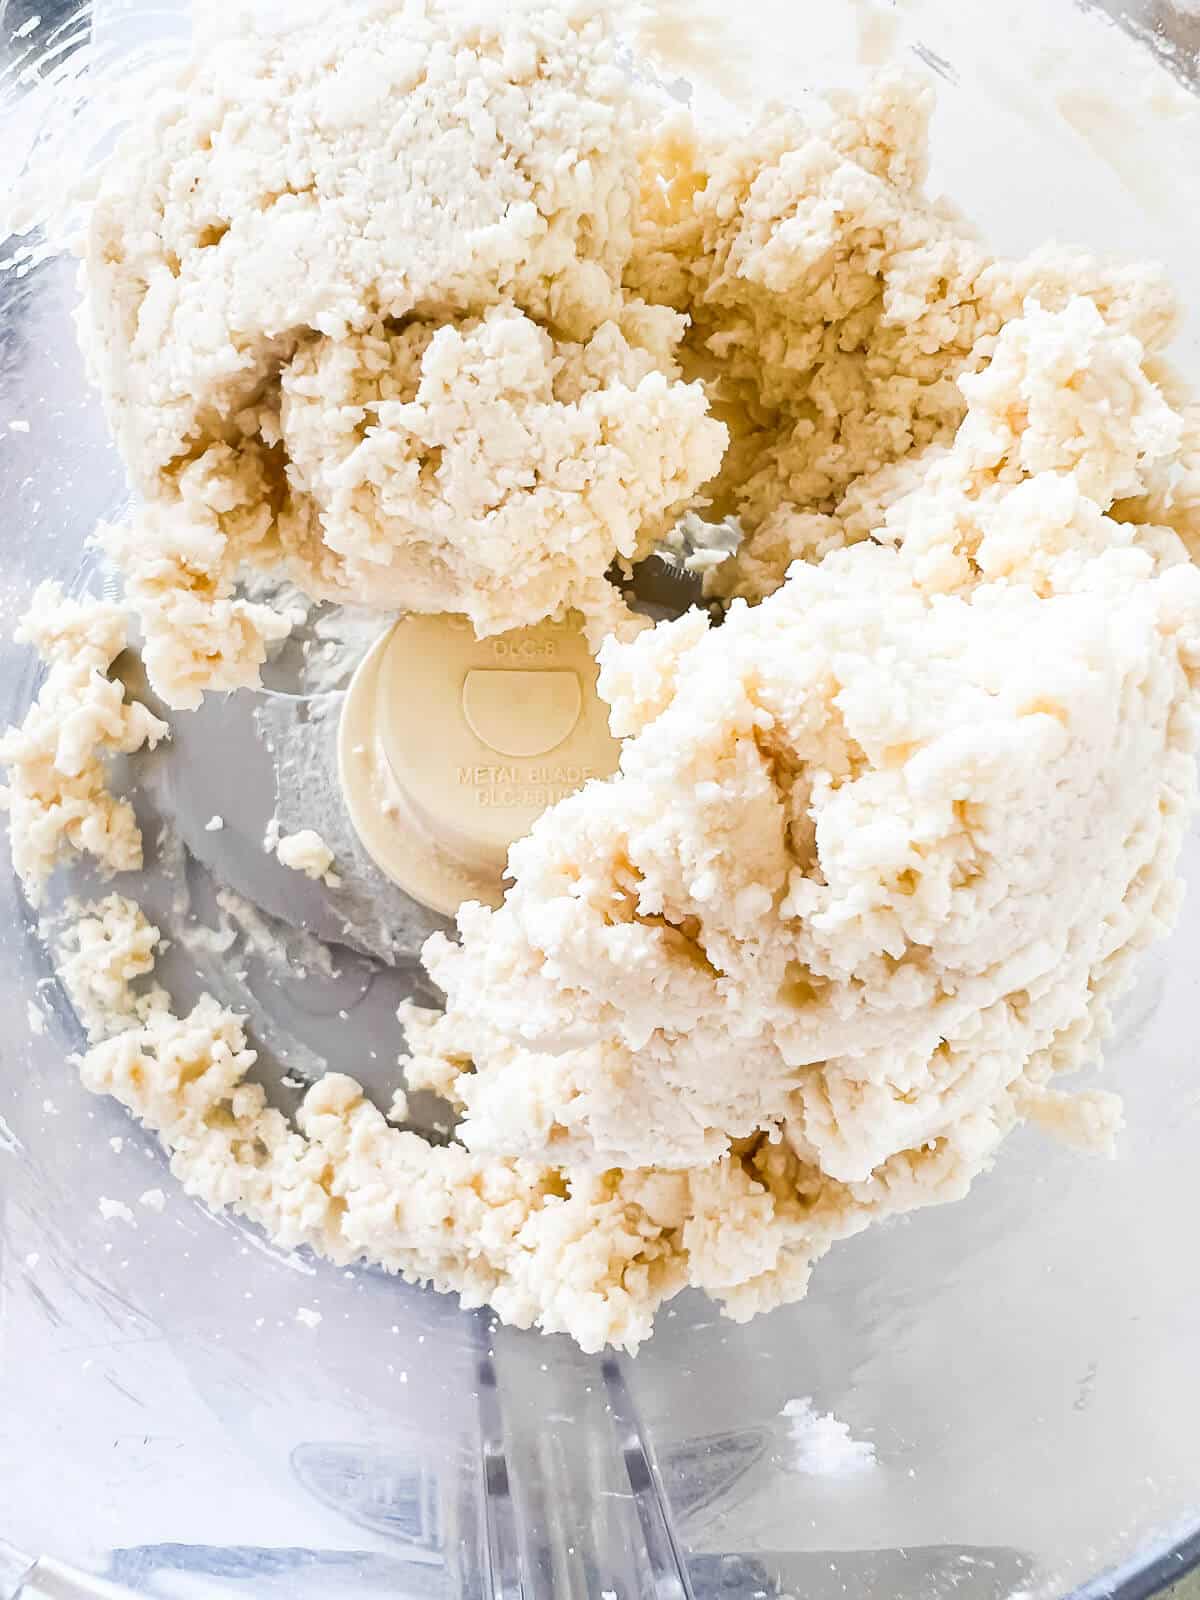
Pie dough made in a food processor tends to be sturdier and less flaky. Some say it's more mealy. It is great for holding cutout shapes, especially for decorative pie crusts.
Options for rolling out and cutting pie dough
You will need a rolling pin to roll out the dough, obviously, but there are different types:
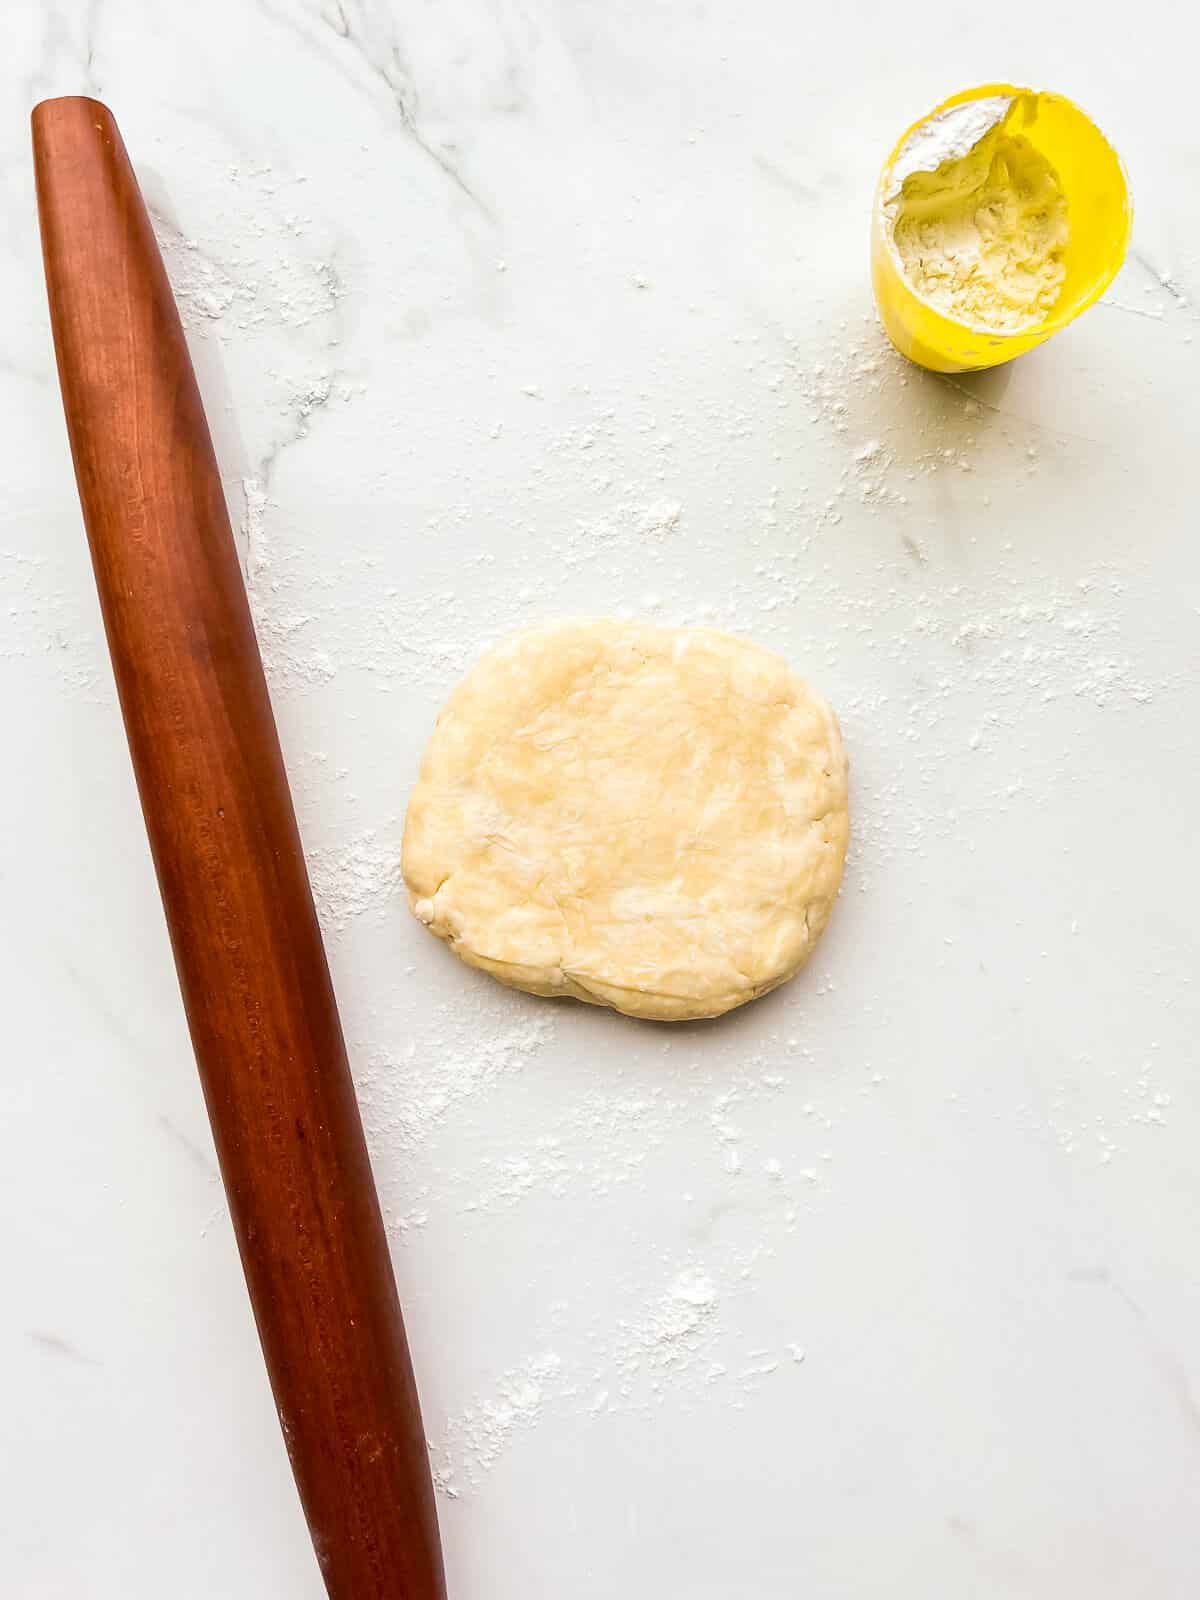
- a straight rolling pin may be made of stainless steel metal, silicone-coated, plastic, or even marble/stone material. I prefer wood rolling pins.
- French rolling pin with tapered ends and usually made of wood (my preferred rolling pin!)
- rolling pins with handles (often made of wood or plastic/silicone material)
- straight rolling pins with clip-on ends to measure dough thickness-great for beginners who are unsure about rolling dough evenly and to the right thickness
While I most definitely prefer a French rolling pin made of wood and feel most comfortable with this tool, you may not! For example, my mom hates tapered rolling pins and so we traded rolling pins! I gave her my rolling pin with handles and she gave me her French rolling pin.
I also keep a measuring tape or long ruler in my kitchen at all times for when I roll out dough. I use them to judge the thickness and to help me estimate if my disk of dough is large enough to fit my pan.
Tip: Here are a few measurements for rolling out dough:
- for a single-crust pie baked in a 9-inch pie plate, roll the dough to 12-13 inches to accommodate the depth and rim
- for a double-crust pie baked in a 9-inch pie plate, roll the bottom dough to 12-13 inches to accommodate the depth and rim and roll the top dough to at least 14 inches in diameter to accommodate bulky fillings (like if you are making an apple pie
- for a tart baked in a fluted 9-inch tart pan, roll the dough to at least 12 inches.
How to make decorative pie crusts
Double-crust pies can have a simple top with just a few slits cut into the top crust to allow steam and air to escape. Or you can create a decorative pie crust top using a few tools:
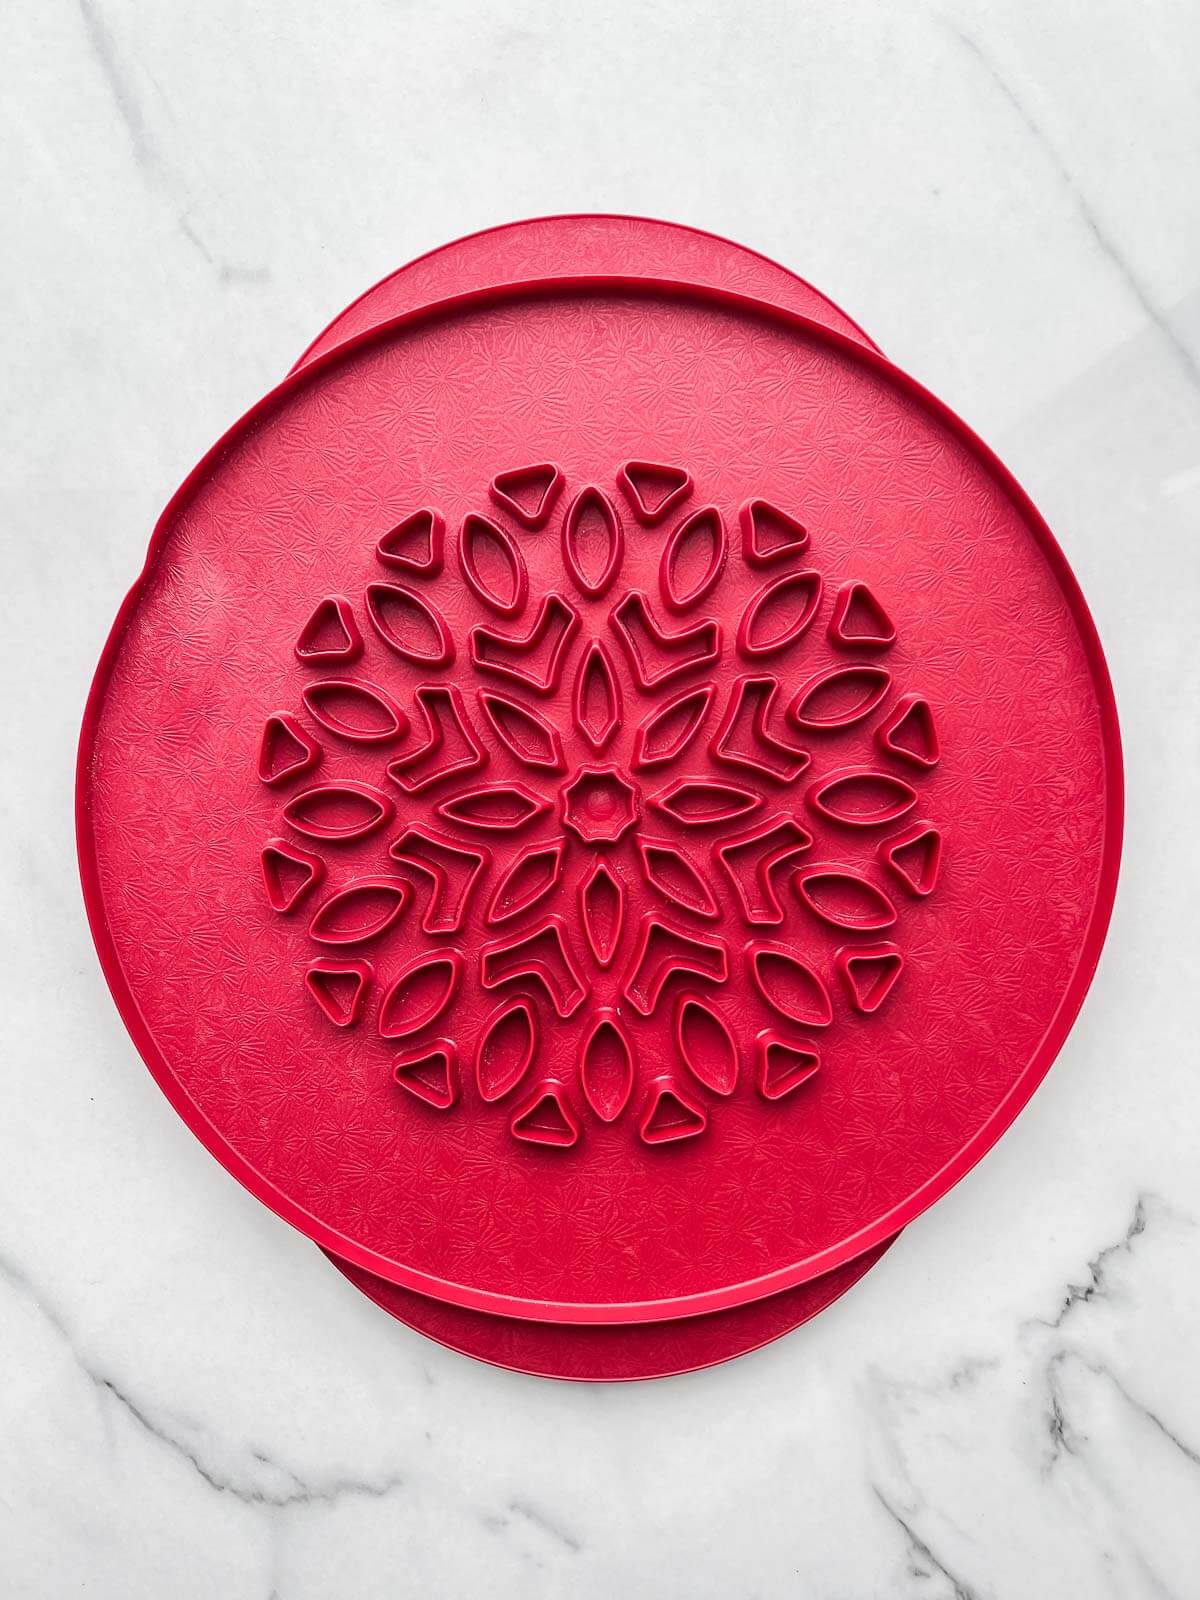
- pie top cutter is an easy-to-use tool that will make a stunning pie crust top! It's like a giant cookie cutter but for the top crust of a pie. I actually love this tool even more now that I have found tricks to use it more effectively, like using it upside down! I used this pie top cutter to make this stunning maple apple pie.
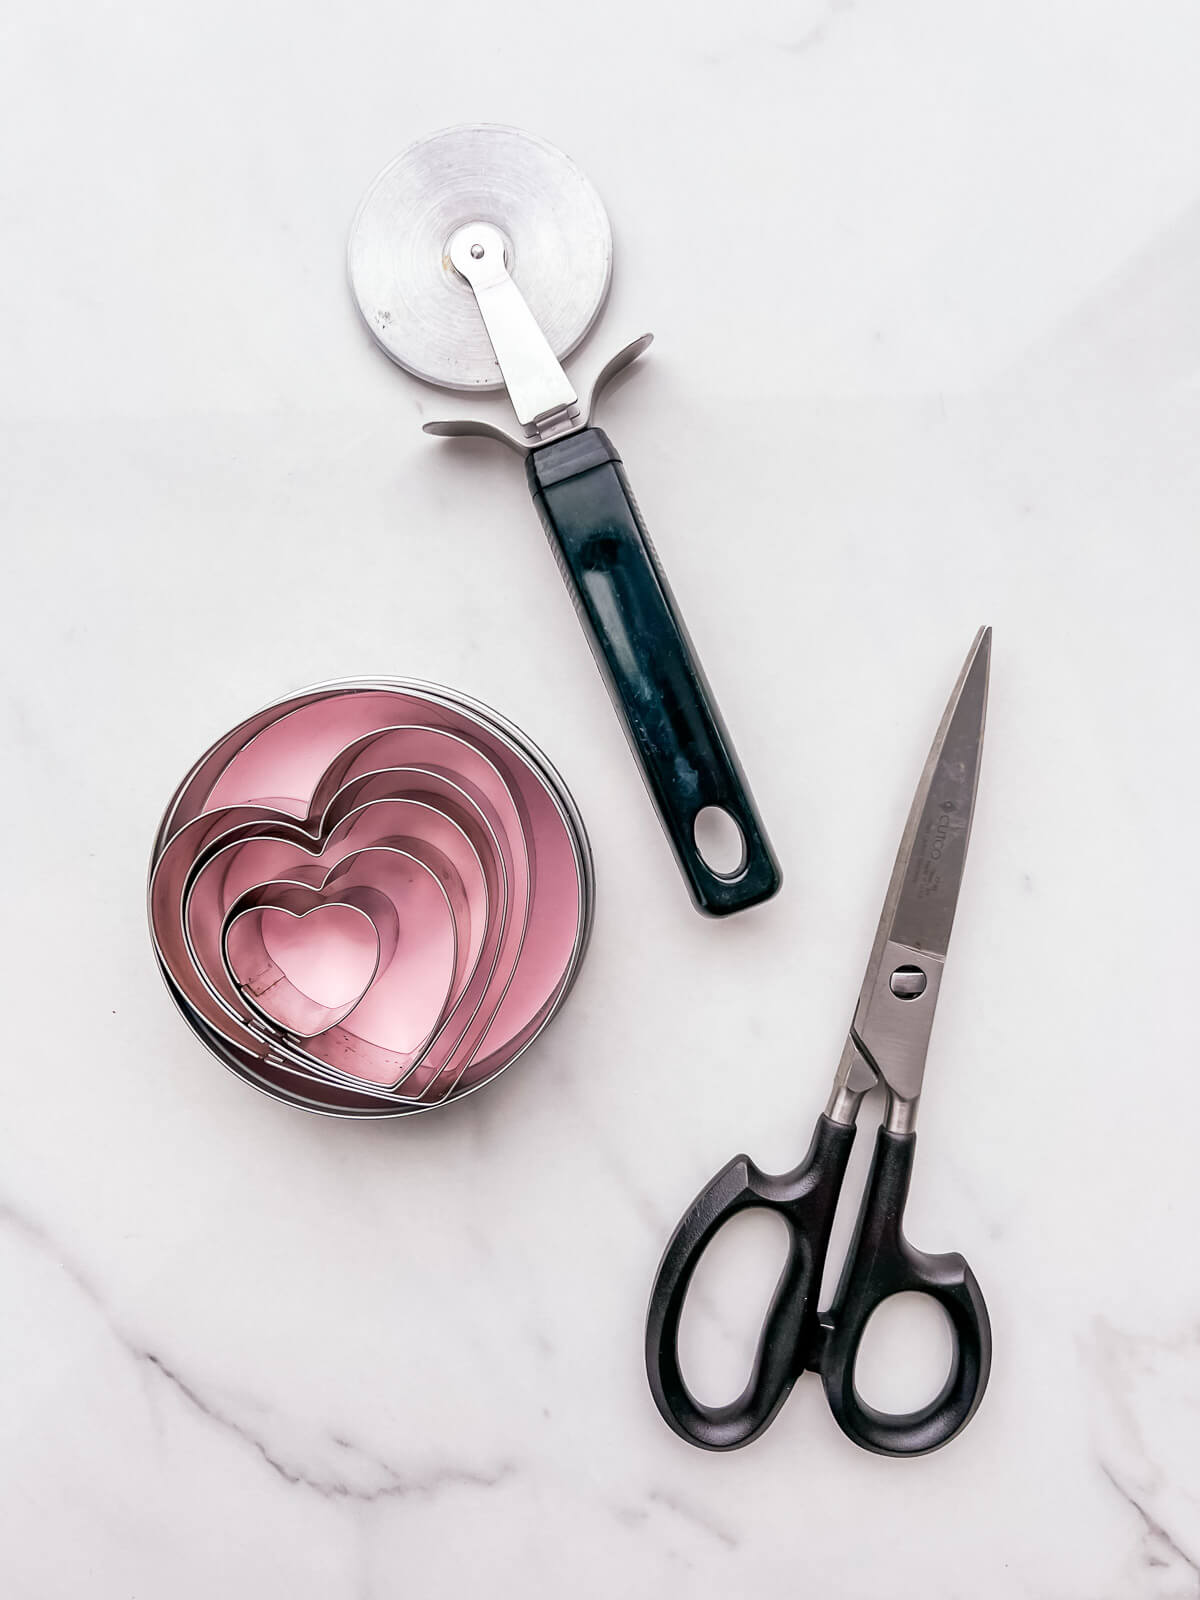
- cookie cutters-I used a set of star cutters for this fun peach mango pie top. You can use any shape cookie cutter to punch out decorative elements for the top pie crust. Cookie cutter sets will also be useful for window cookies like grapefruit coconut cookies or jam-filled shortbread cookies.
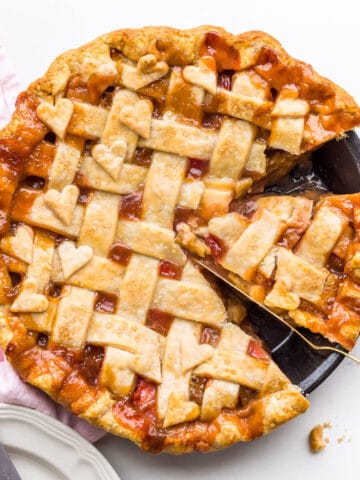
- lattice cutter, pizza wheel, or a knife to cut out even strips of dough to weave into a lattice pattern. I created a wide lattice for the best blueberry pie and a thinner lattice for this gorgeous rhubarb pie. You can also braid strips of dough as I did for this pear pie made with wine-poached pears.
- kitchen scissors are useful for trimming the edges quickly and easily, though a pairing knife also works.
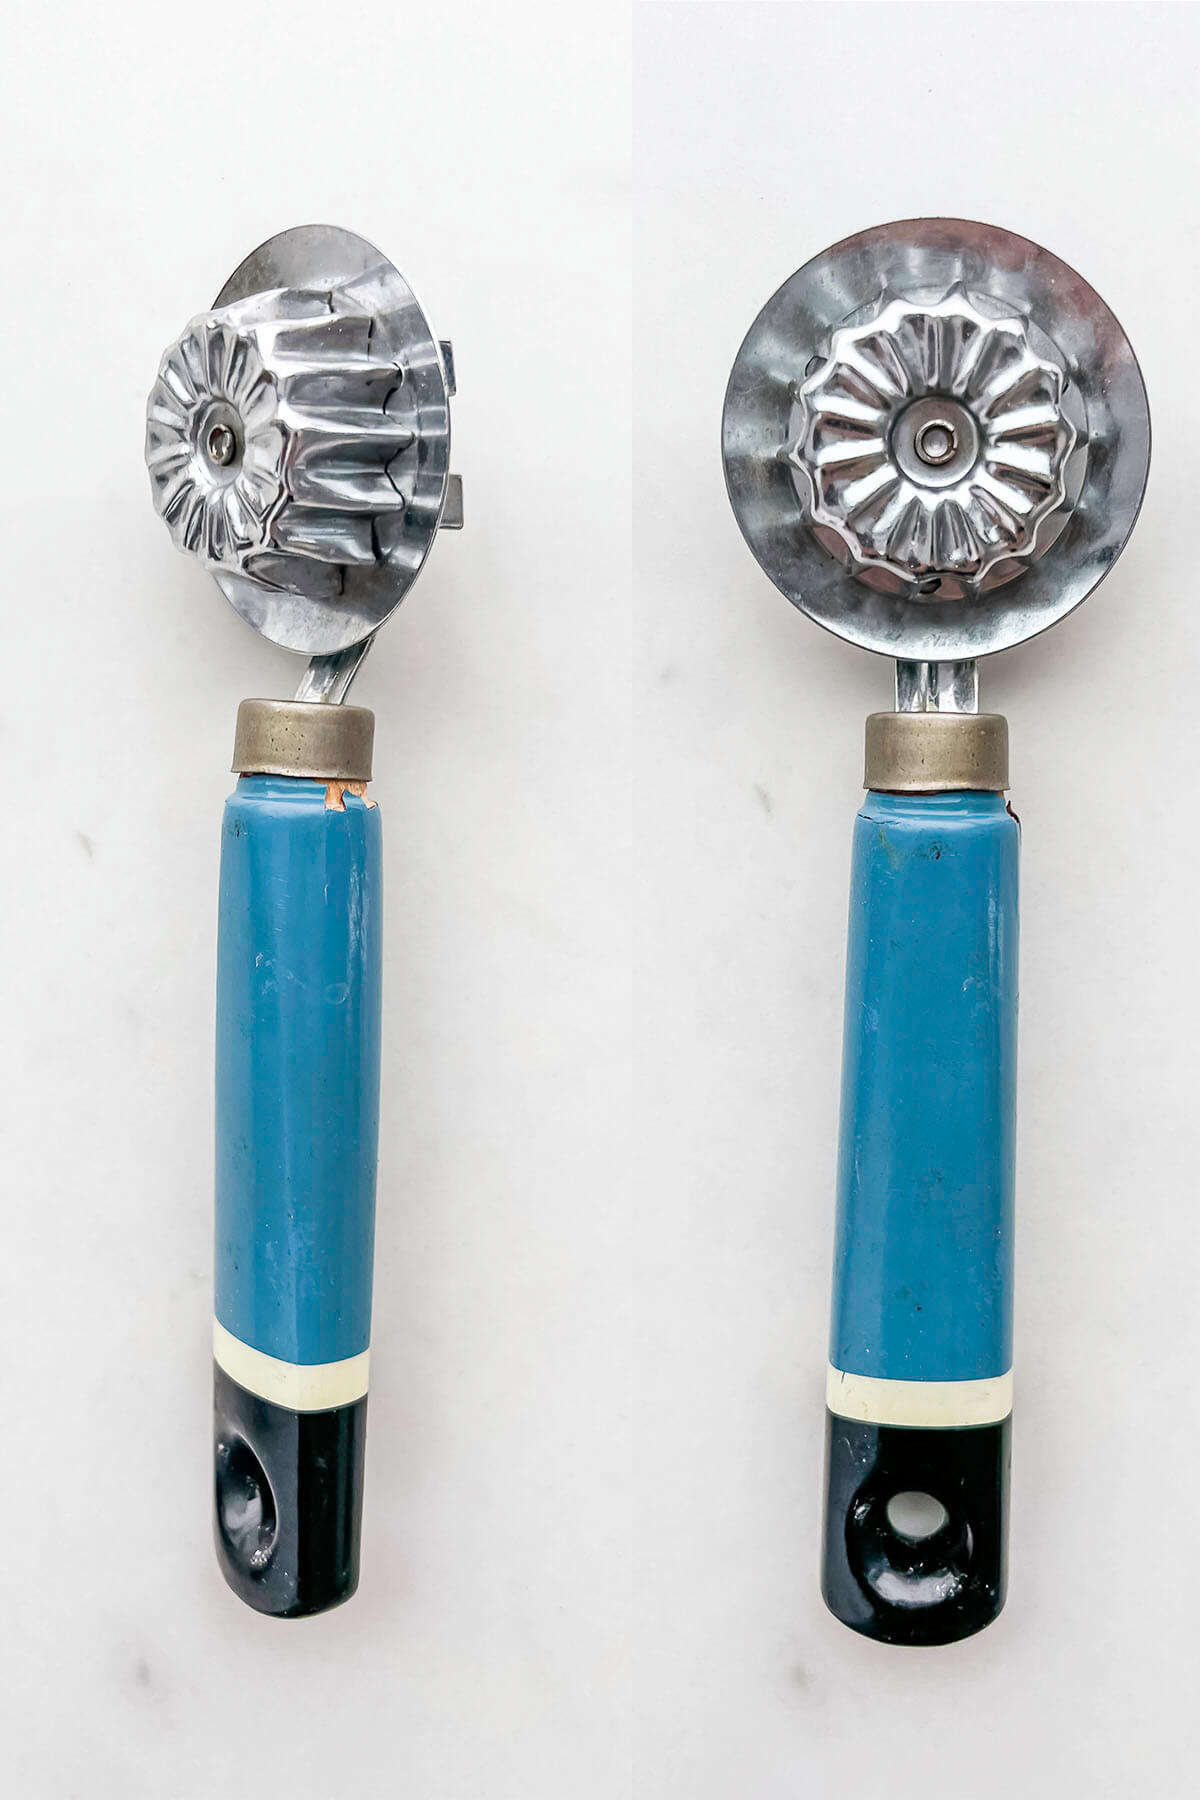
To create a crimped or decorative edge, you can use your thumb and index finger to press and indent the edge. You can also use a fork or even a spoon to create a decorative pattern on the edges of the pie. Some people use a pie crimper, which helps seal the top and bottom crust together and also creates a pattern, but this tool isn't necessary or essential.
For baking pies
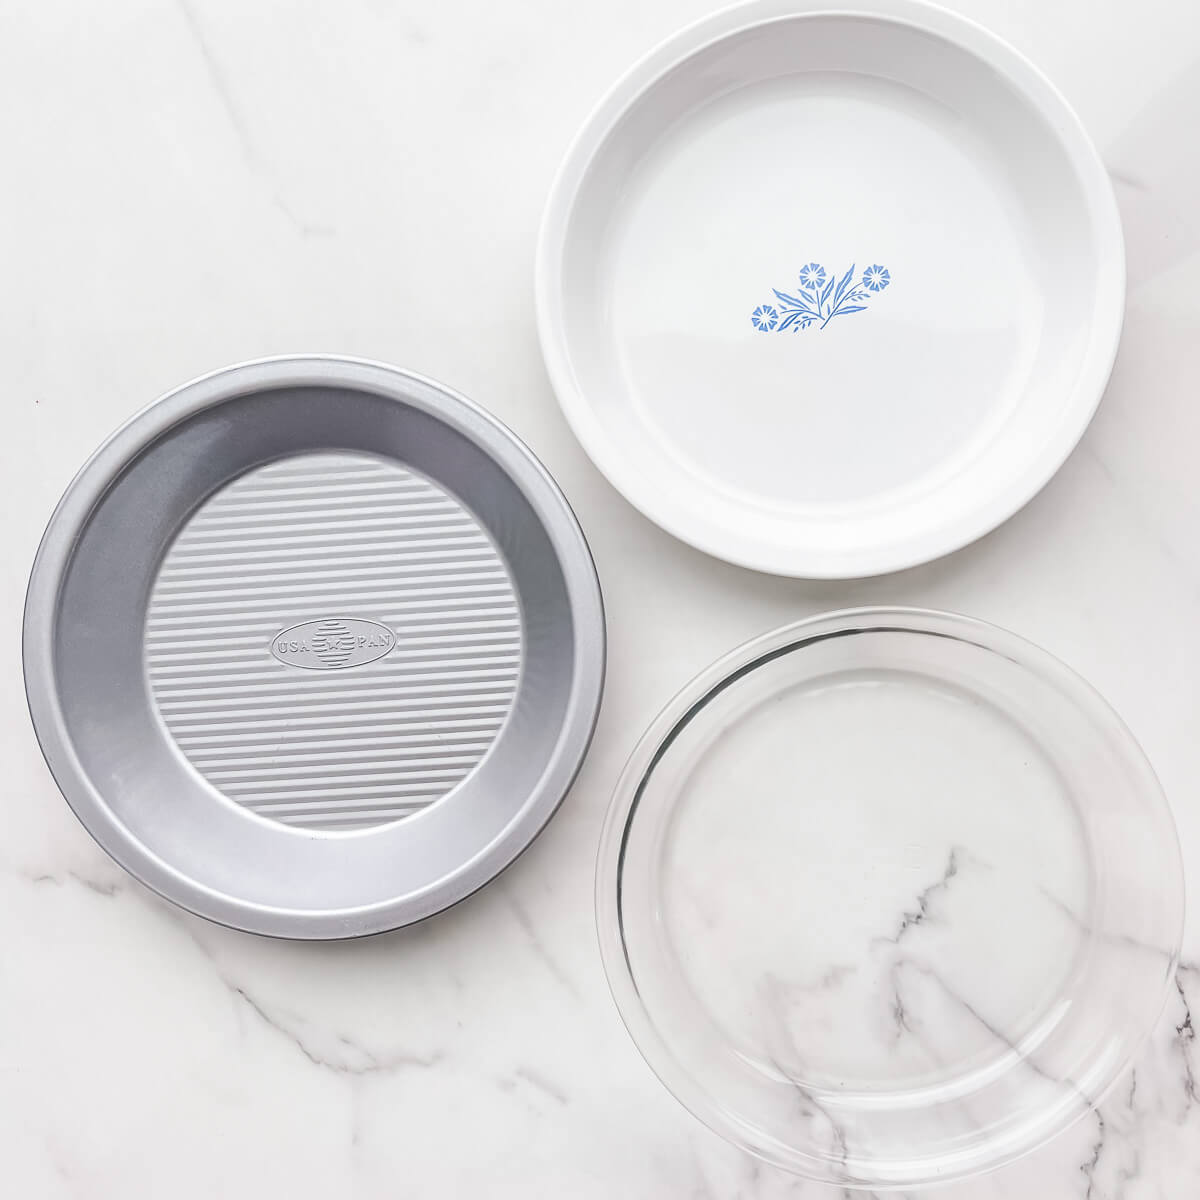
Once you've rolled out the dough, you will transfer it to a pie plate to fill it and bake it in. Not all pie plates are created equal. Your options include:
- glass, the pie plate of choice especially for beginners because it's transparent so that you can monitor how the crust is browning on the bottom. Remember, glass is a poor heat conductor and better at insulating, which means it can take longer for pies to brown on the bottom in glass pie plates and piies baked in glass plates will continue to bake for longer after you pull them out of the oven. This means they will stay warm longer too.
- ceramic, like glass, is not a great heat conductor, but they are lovely heirloom pieces and always beautifully for serving from
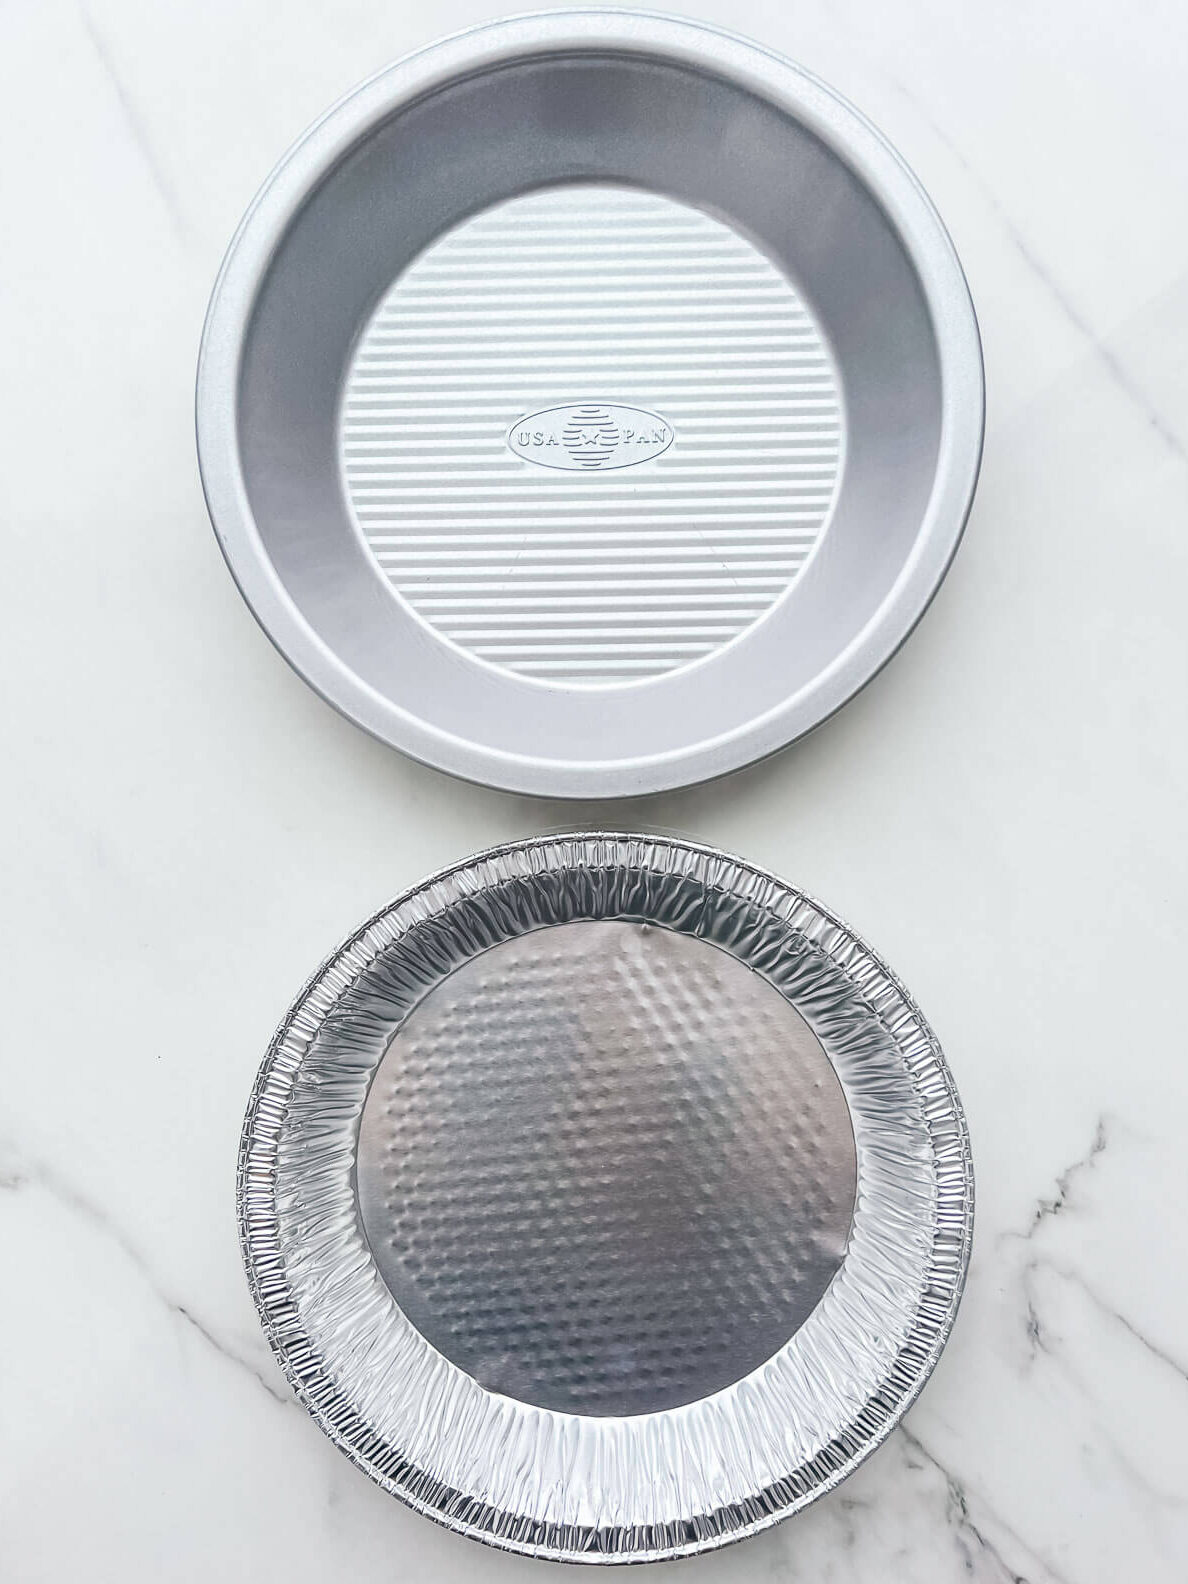
- metal pie plates, usually aluminized steel or anodized aluminum, which is a good heat conductor to help pies bake on the bottom and brown more evenly
- disposable aluminum pie plates, which are very convenient if you are bringing a pie to a neighbour or a friend, but they are made of thin sheets of metal that are pleated and not great for even heat distribution
- muffin pans for mini pies work great!
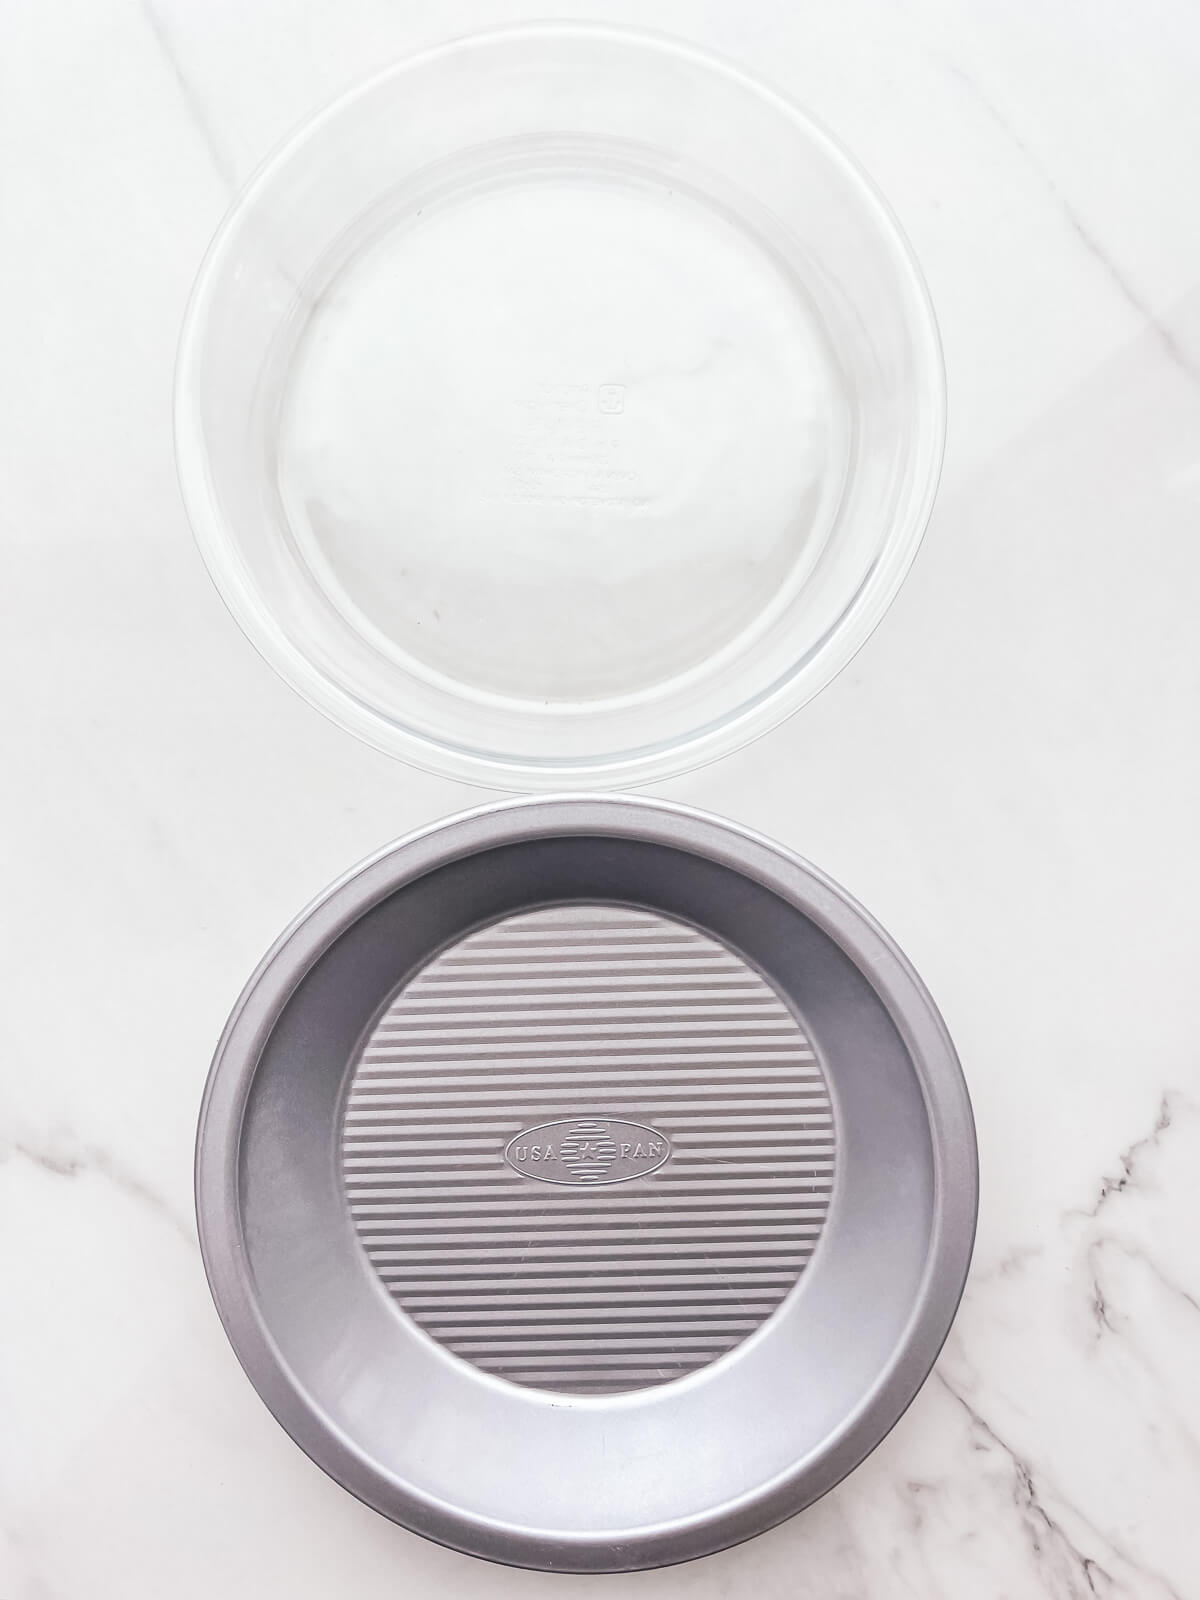
Glass versus metal pie plates
Ceramic pie plates are always gorgeous but if you are a novice baker, it's really hard to see what's going on behind the plate. For beginners, I definitely recommend clear glass pie plates so that you can monitor the crust on the bottom as your pie bakes (I usually favour brands like Pyrex or Anchor).
Glass definitely takes the guesswork out of knowing when a pie is baked properly. However, nowadays, I prefer baking pies in metal pie plates because these will promote browning. Metal pie plates heat up faster and are better conductors of heat, bringing tons of heat to the bottom of the crust, to the area underneath where it's hardest to bake properly.
When buying a metal pie plate, opt for aluminum, with a darker matte finish. These will transfer the most heat to the bottom crust of your pies, helping them bake properly underneath.
Other pie tools that make life easier
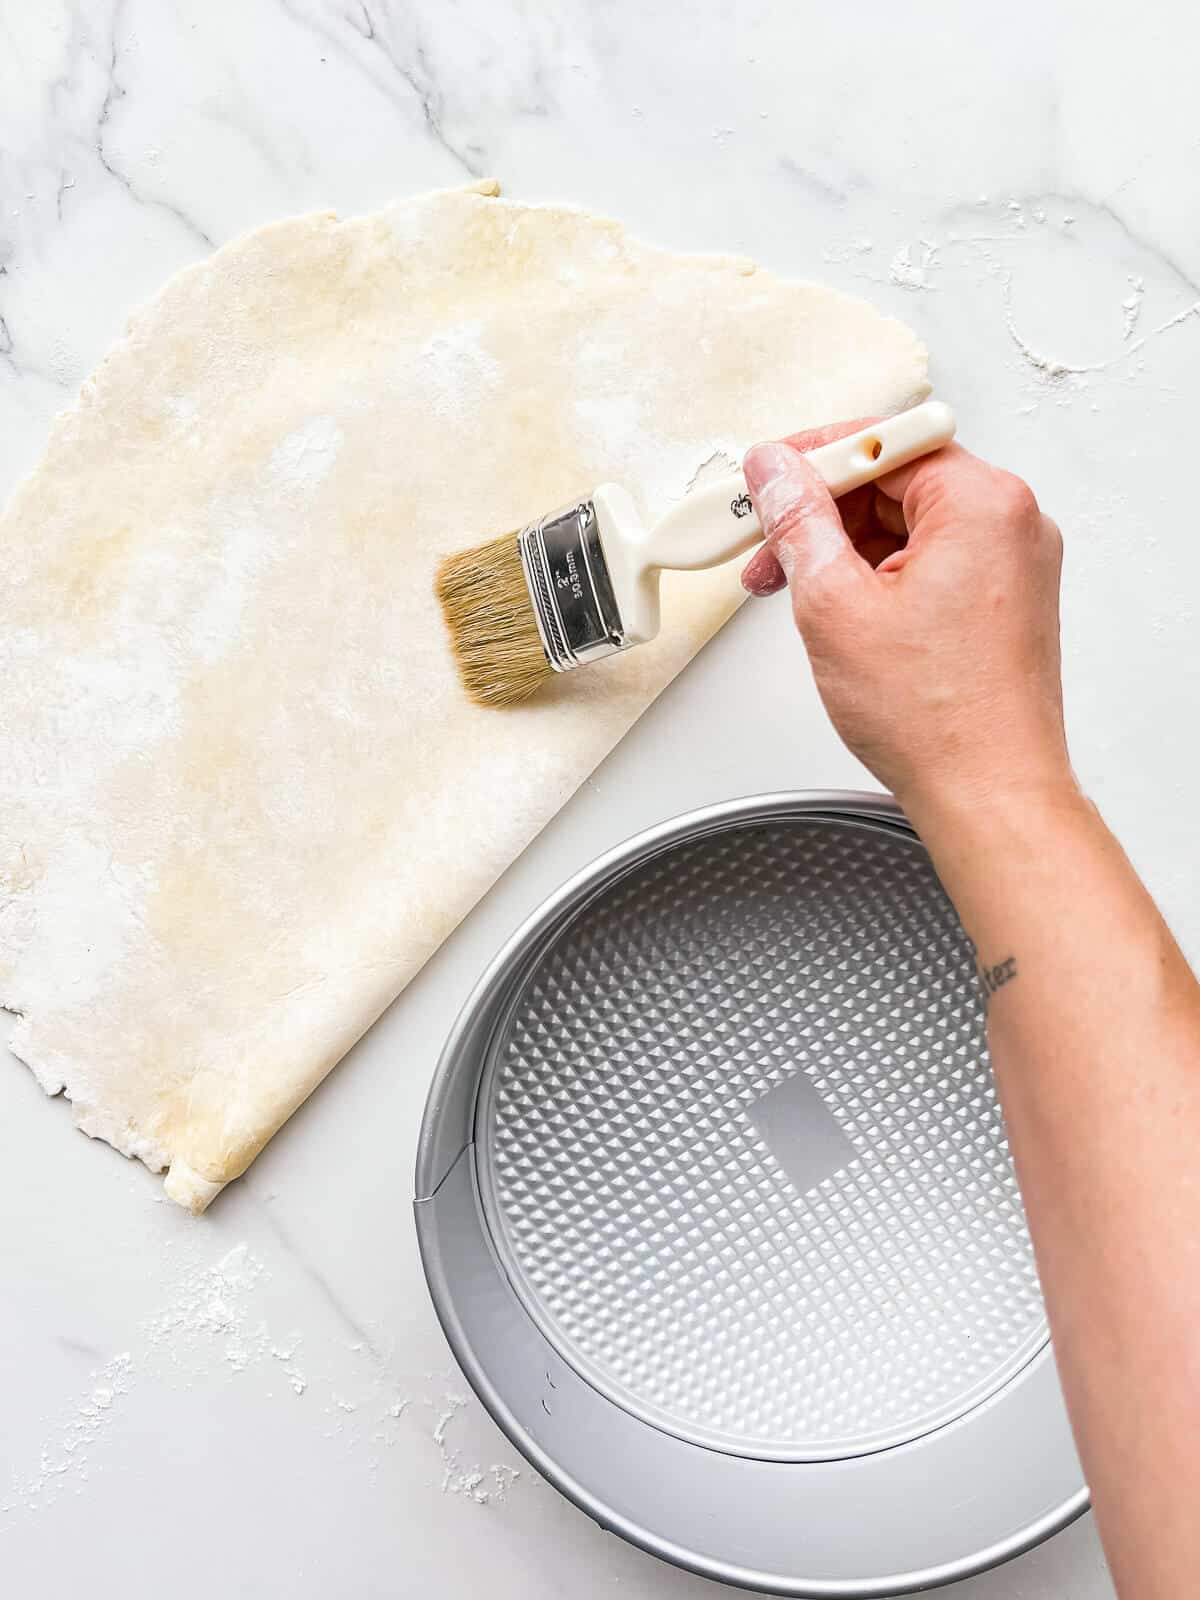
To brush off excess flour or brush on glaze
I like pastry brushes with hair-like bristles (whether natural or synthetic) and NOT silicone. Again, I know silicone is easier to wash and care for, but I don't like the way silicone bristles brush on glaze because it's hard to achieve a thin even layer with thick silicone bristles. Opt for old-school pastry brushes.
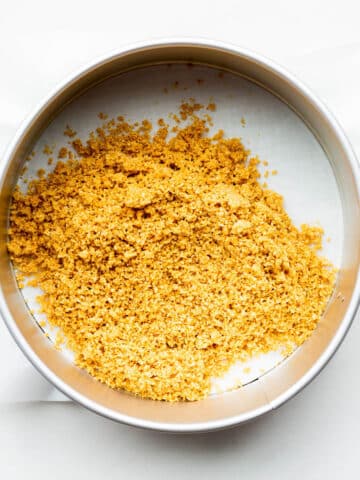
To blind-bake the pie crust

Some pie crusts need to be parbaked or blind-baked And again, you have options! You can use/reuse a bunch of dried beans or even rice, or you can buy a set of pie weights. The difference is pie weights can be washed, and beans/rice, not so much. Another option is using granulated sugar.
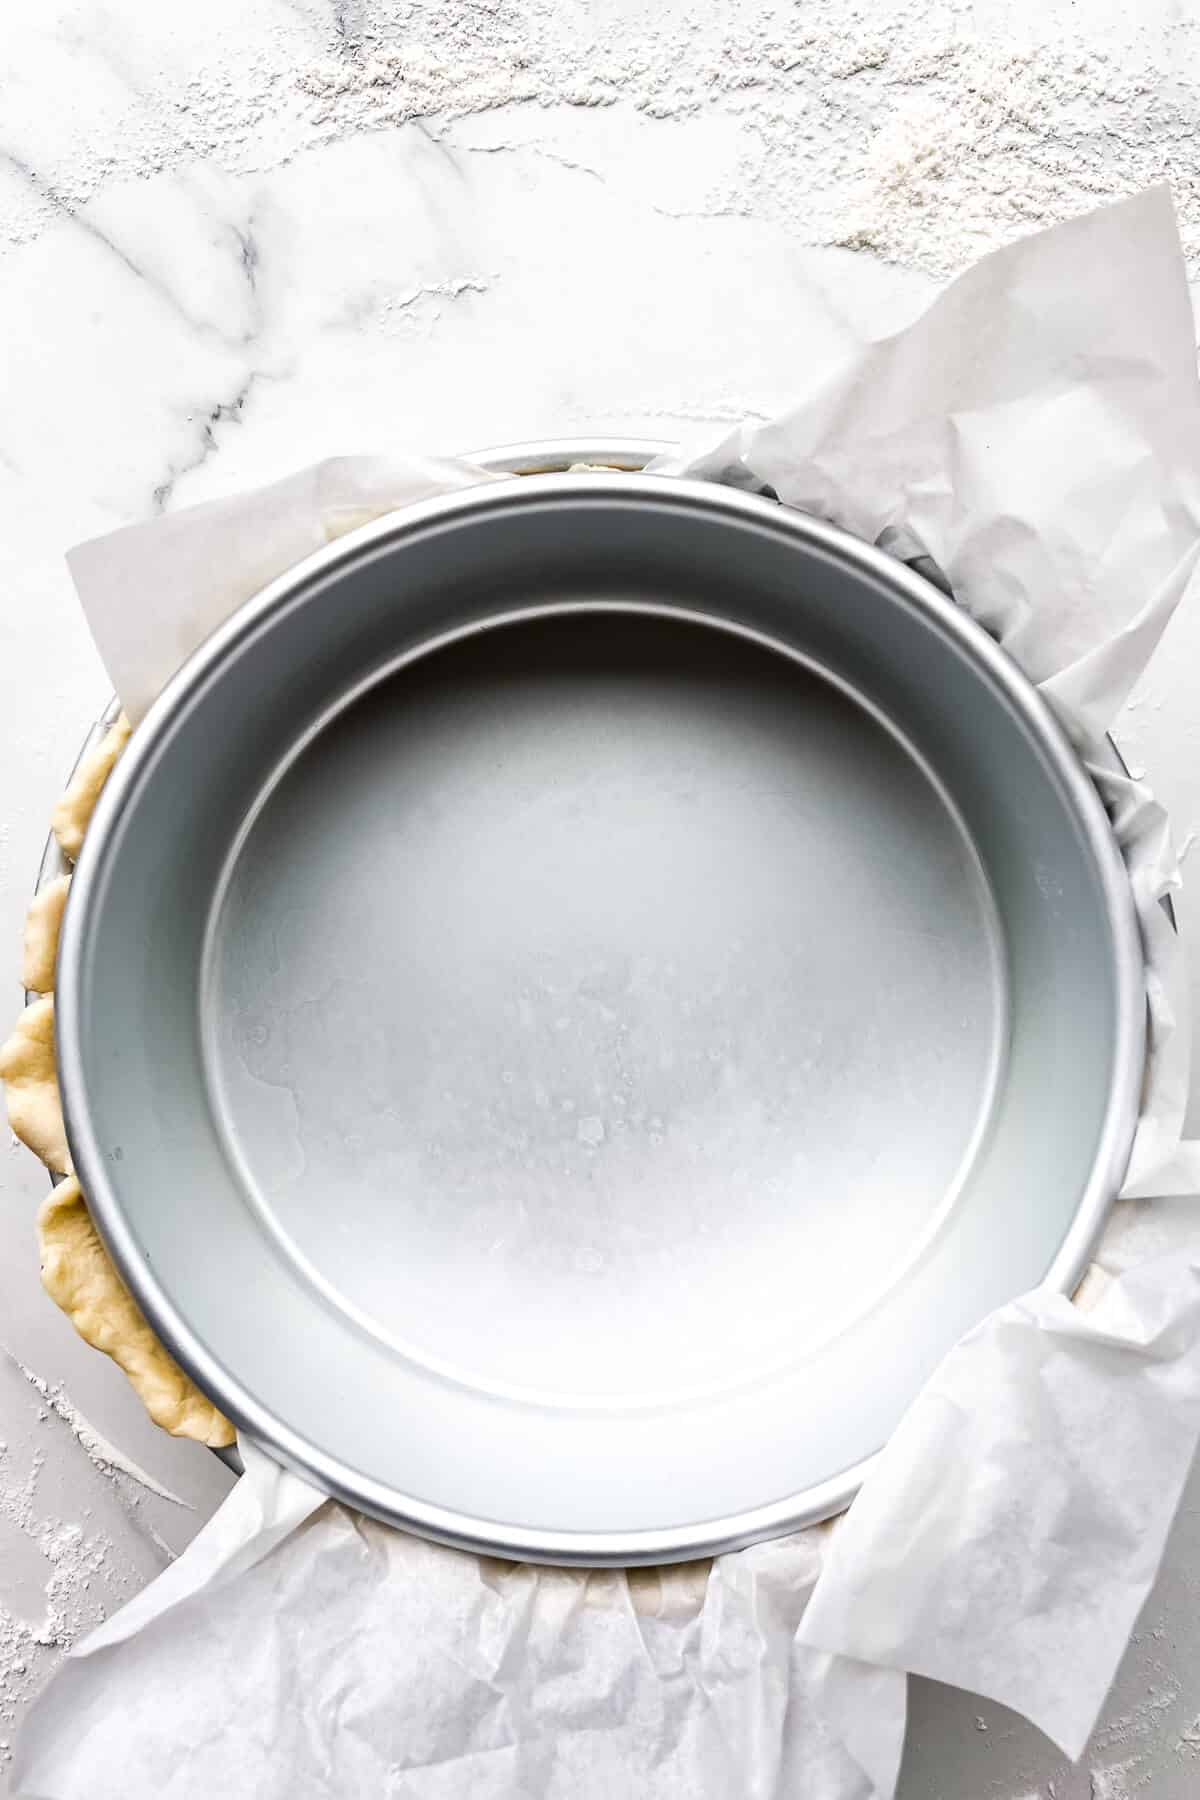
For deep dish pies, like a deep dish quiche, I've actually used another cake pan as a weight to blind-bake the crust and this worked very well!
My secret weapon to avoid soggy bottom on pies
It's simple, you probably have one already, and, if you've read some of my pie recipes, you might know what it is: a cookie sheet. Yes, that's right, to avoid a soggy bottom you use your cookie sheet like you would a pizza stone: put it in the oven before you set it to preheat, then by the time your pie is ready to bake, your cookie sheet is preheated and it will help cook the bottom of the pie, which is the hardest part for the oven heat to reach. Make sure beforehand that your cookie sheet is large enough to accommodate the pie plate (I use a rimless sheet like this one).

For slicing and serving
I slice most pies with a large chef's knife or a serrated knife if the pie crust is delicate or flaky. I use a mini offset spatula to serve the slices. If the slices are too fragile to lift, I may use a pie server.
Secret to cutting and serving neatly: make sure you've given your pie enough time to cool down. I like to cool pies overnight to ensure the filling has set before slicing and serving them. This makes them easier to serve with less mess and less dripping.
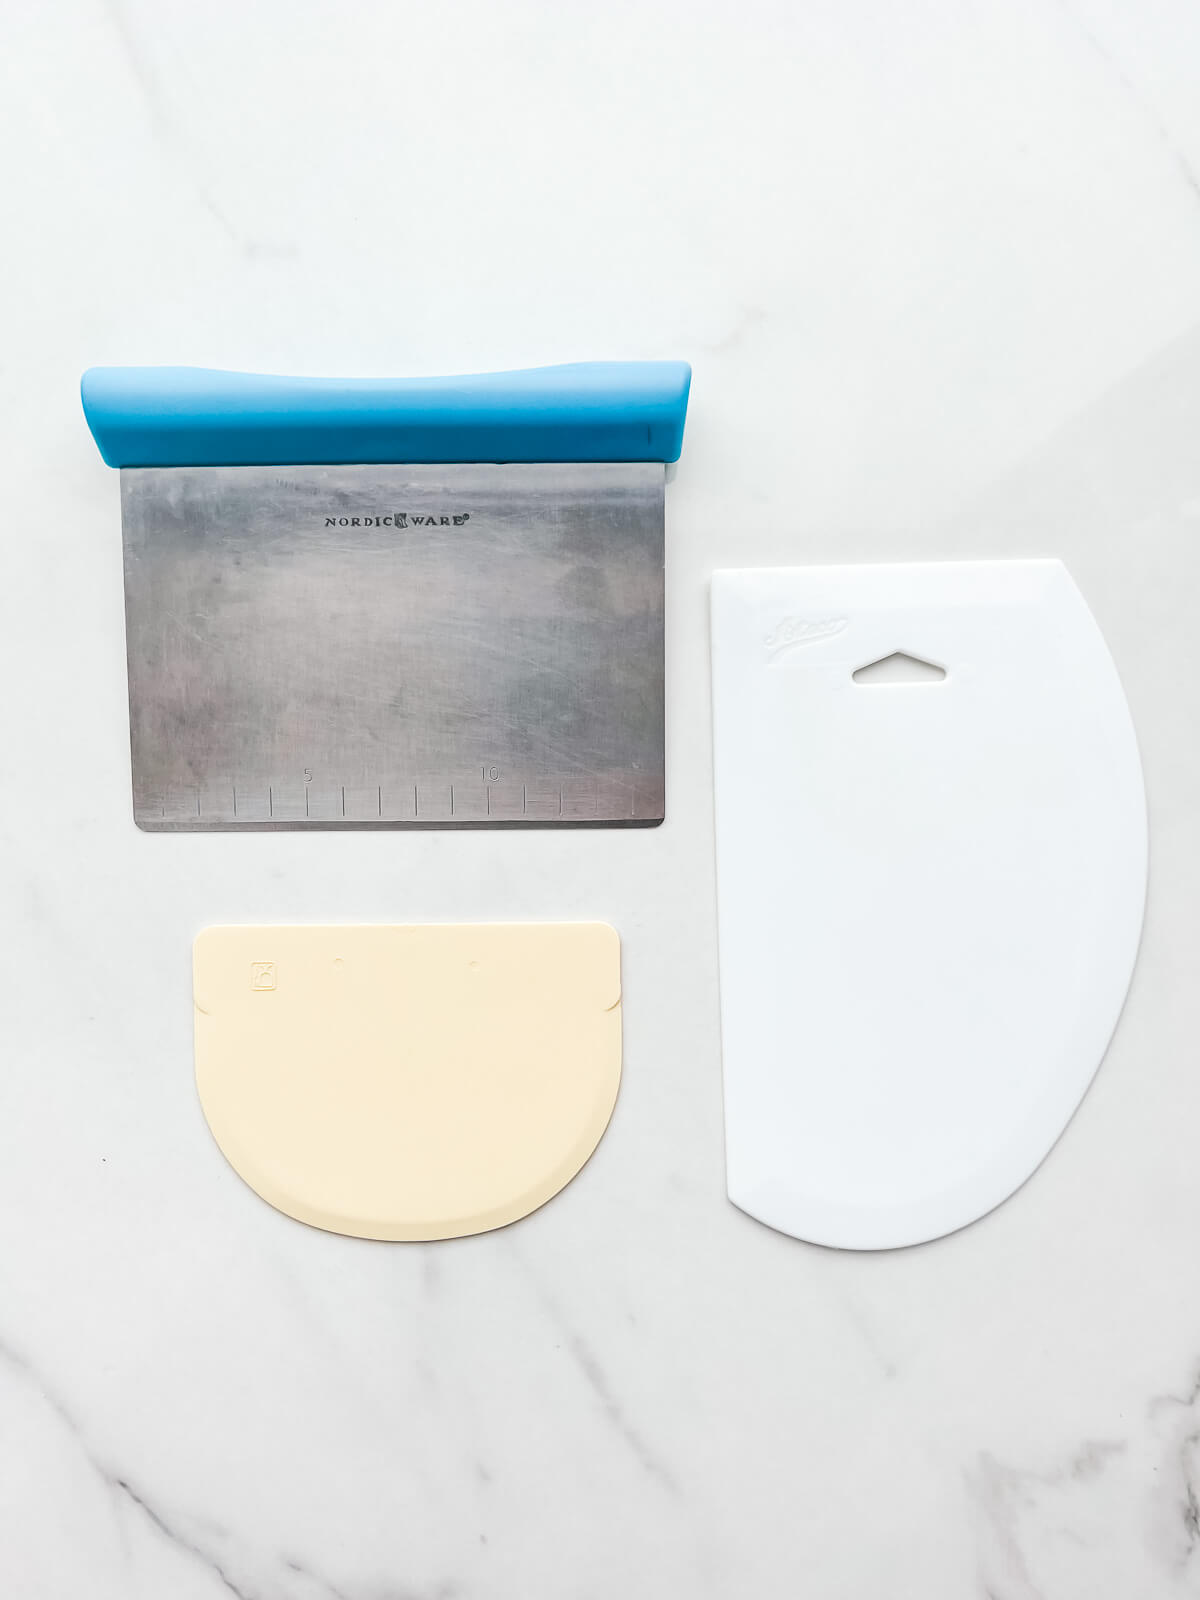
To make cleanup easier
Rolling out dough on the counter makes for a pretty messy kitchen. I like to use a metal bench scraper to quickly and easily scrape the flour and dried on bits of dough straight into the compost!
Frequently asked questions
Pies and tarts are made from very simple ingredients and so few, but oftentimes, the simpler the ingredient list, the more things can go wrong! Here's a rundown of what can go wrong and what to do differently next time.
You can use anything cylindrical to roll out pie dough. It may be a little awkward, but using a wine bottle to roll out dough if you don't have a rolling pin can work decently well.
You can bake a pie in a springform pan, as I did for this quiche with Swiss chard. You can also make some pies free-form on a sheet pan, like this apple galette or these easy raspberry galettes. This will work as long as the filling is not too fluid. I've even seen people use cake pans to bake pie. Like with the springform pan, it's not ideal to use a cake pan, but you can make it work!
If you are blind-baking a pie crust, you need to use something to weigh down the bottom crust to partially bake it until the crust is set. If you don't have pie weights, you can use dry beans (or lentils), sugar, or even another pie pan fitted over the dough. For any of these "loose" items, line the dough with parchment so that you can easily lift the beans or weights out without much difficulty.


C Reese Nebeker says
Don't throw away or reuse the dried beans you use for pie weights!
I use Chickpeas/Garbanzo beans for pie weights, but any dried beans work, both for weights AND to make hummus! After baking the crusts I dump them into boiling water. Add a teaspoon of baking soda & continue to boil for at least 10 minutes, then remove from heat and let soak 12 hours or more, until tender. Drain the beans then grind them with equal part Tahinni & half as much olive or coconut oil, the juice from half a lemon, a clove of garlic, & a pinch of salt. The baked beans add wonderful flavor to this hummus
Elisa says
Hi, I've just discovered your blog, thanks to the comment you left on "A Cozy Kitchen" and I just wanted to let you know that I think you're blog is awesome 🙂 I've just flipped through your recipes and totally loved them! The pictures are gorgeous, too. I'll be definitely following your blog from now on, you can count me among your readers!
xo, Elisa
Stephanie {Clockwork Lemon} says
Love this post.. but I have to admit that it never occurred to me that the beans I have been using as pie weights wouldn't be good anymore. Obviously I don't cook dried beans very often because I have a habit of using them as pie weights, pouring them back into a tupperware container and putting them into the cupboard. Good thing I never tried to boil them up!
Janice Lawandi says
Haha, I would definitely not boil them and eat them! But they don't go bad either, but at a certain point, those beans have seen a lot of pies/flour/grease and I feel like they probably should get a good scrubbing, but then they are beans. You know?
musingmar says
Fantastic post! It's so helpful to see the basics set out so clearly like this. Pie making can seem very intimidating, but as you've said, the right equipment makes a great difference. I don't generally have the 'soggy bottom' problem, but I'm going to try the tray/baking stone idea to see if I can get the bottoms of my pie shells to be even crisper (I'm one of those 'pastry people' and the crust is my favourite part of the pie!). I'll be sharing and referring to this post for sure!
Janice Lawandi says
I'm so happy that you liked it! The preheated baking sheet also helps avoid raw pie crust on the bottom, which to me is a HUGE no-no (though there's a bakery in town that sells supposedly "the best pies" that seems to commit this raw-bottom crime every time I go!).