
What makes puff pastry rise and puff to become flaky?
You'll notice that unlike homemade croissants, which are made with yeast as a leavening agent, as well as lots of butter, homemade puff pastry has no leaveners, whether yeast or a chemical leavener, like baking soda or baking powder. The rise of puff pastry comes entirely from steam, which comes from butter. After all, butter is roughly 80 % fat, and about 15 to 20 % water.
Puff pastry is made from a very simple list of ingredients and it's mostly butter, flour, and water. You add a little salt for flavour and a little vinegar to delay gluten development when you mix the dough. This way, your dough will not be elastic, so that you can roll and fold, and manipulate the dough without it retracting back as you stretch it out.
Of course, the vinegar is optional, and you could probably get away without it. However, given how many times you have to roll out the dough to create the layers, you are better off adding a splash of an acidic ingredient, just in case. You can use white vinegar or cider vinegar. Stick to a vinegar that is light in colour and not flavoured.
When you bake puff pastry, the butter melts, and the water vaporizes, transforming to steam, which rises and pushes the layers up. The layering of the butter within the dough is key and this is why puff pastry requires more rolling and folding than croissant dough does. Since there's no yeast to contribute to the puff, you need more layers to achieve a good rise in the oven and to create that crispy flakiness we all expect.
Remember that homemade croissants have 4 turns, while you'll notice in the recipe below that homemade puff pastry has 6 turns, which means even more layers. The thinner you can roll out the dough before folding, the thinner and finer your pastry layers will be.
What to make with puff pastry
Once you've mastered puff pastry, you can use it to make tarts, cookies, and even savoury recipes (like cheese straws!). The recipes you can make include:
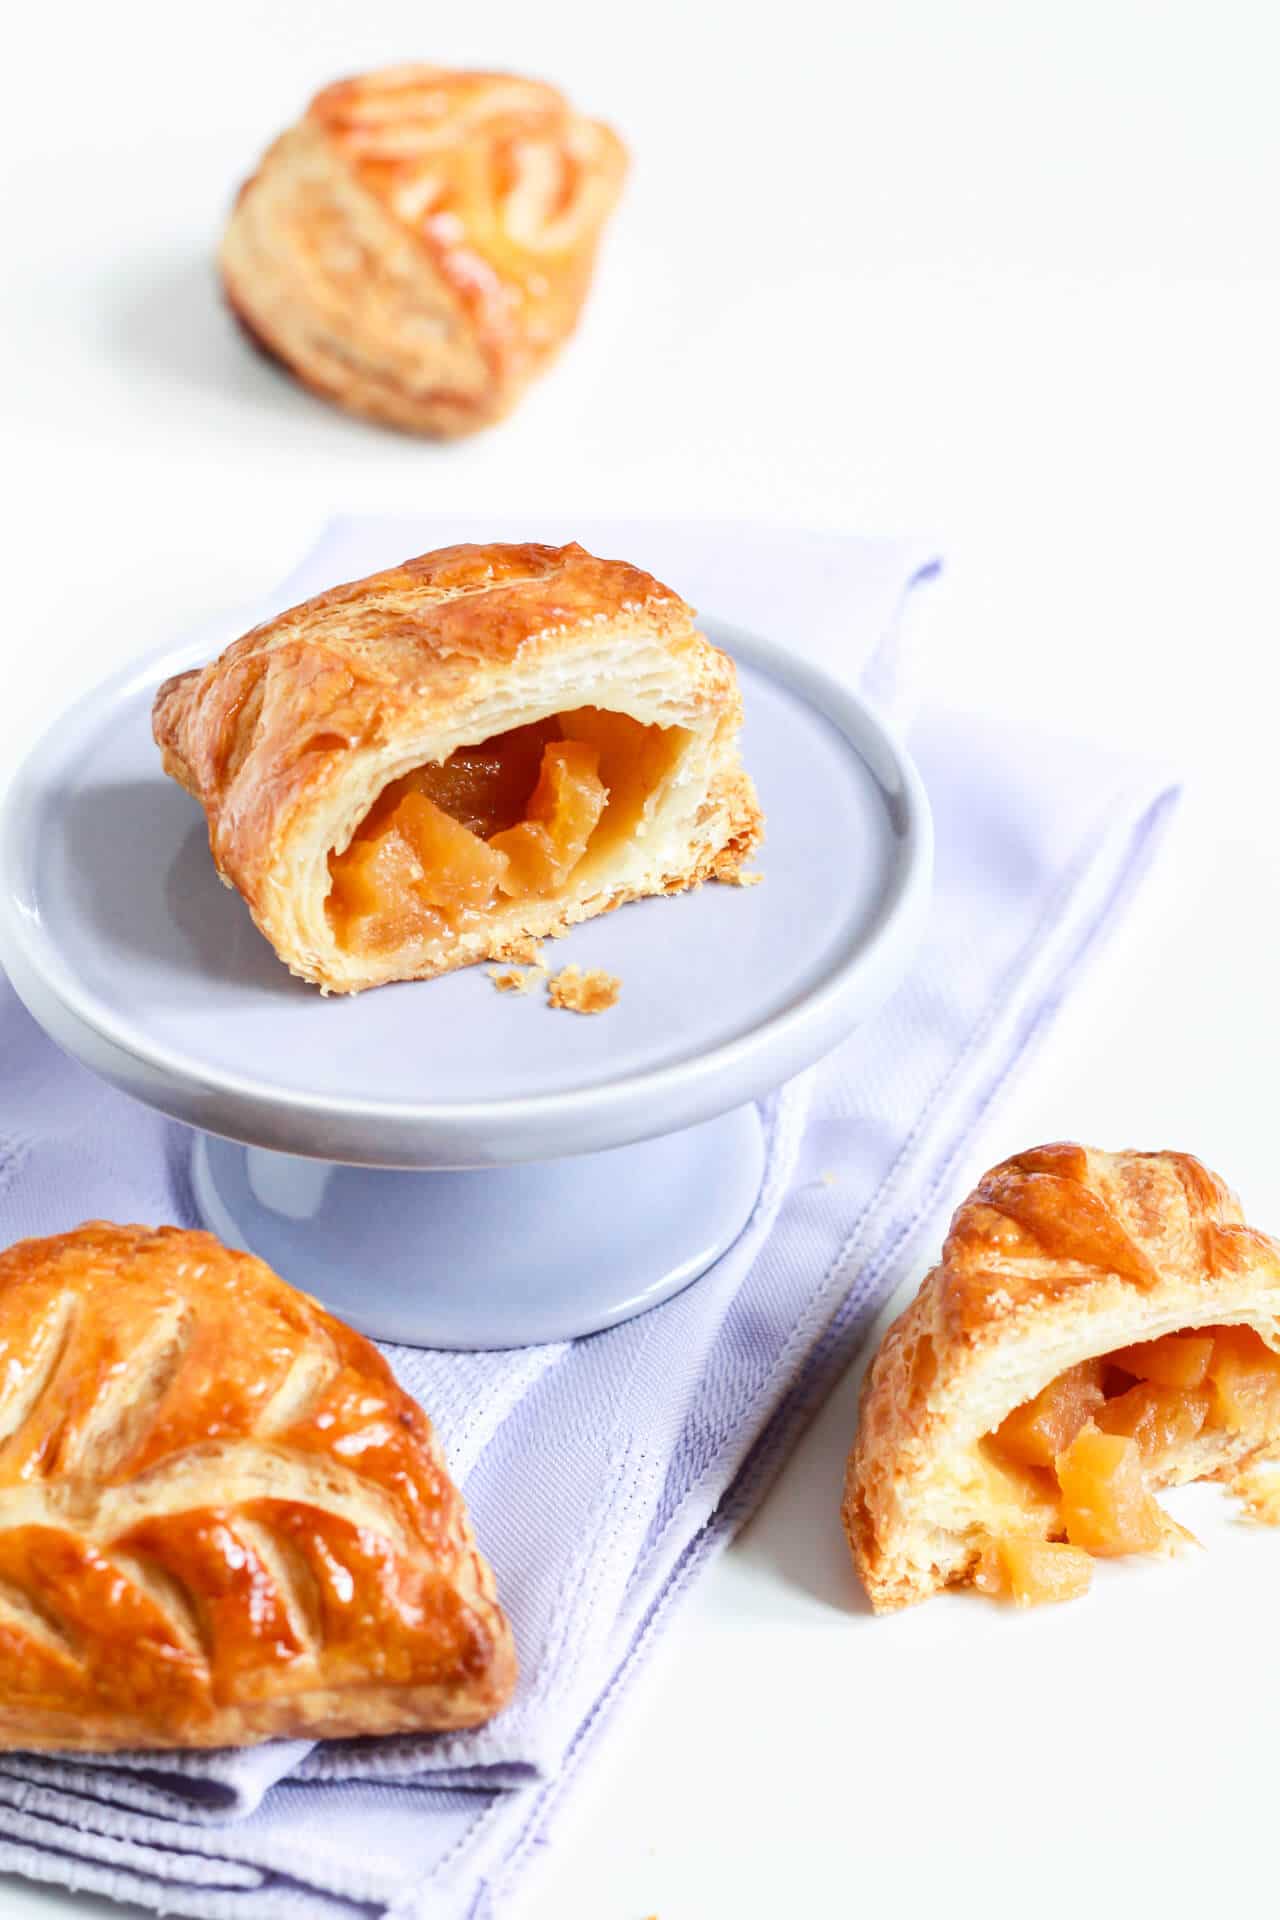
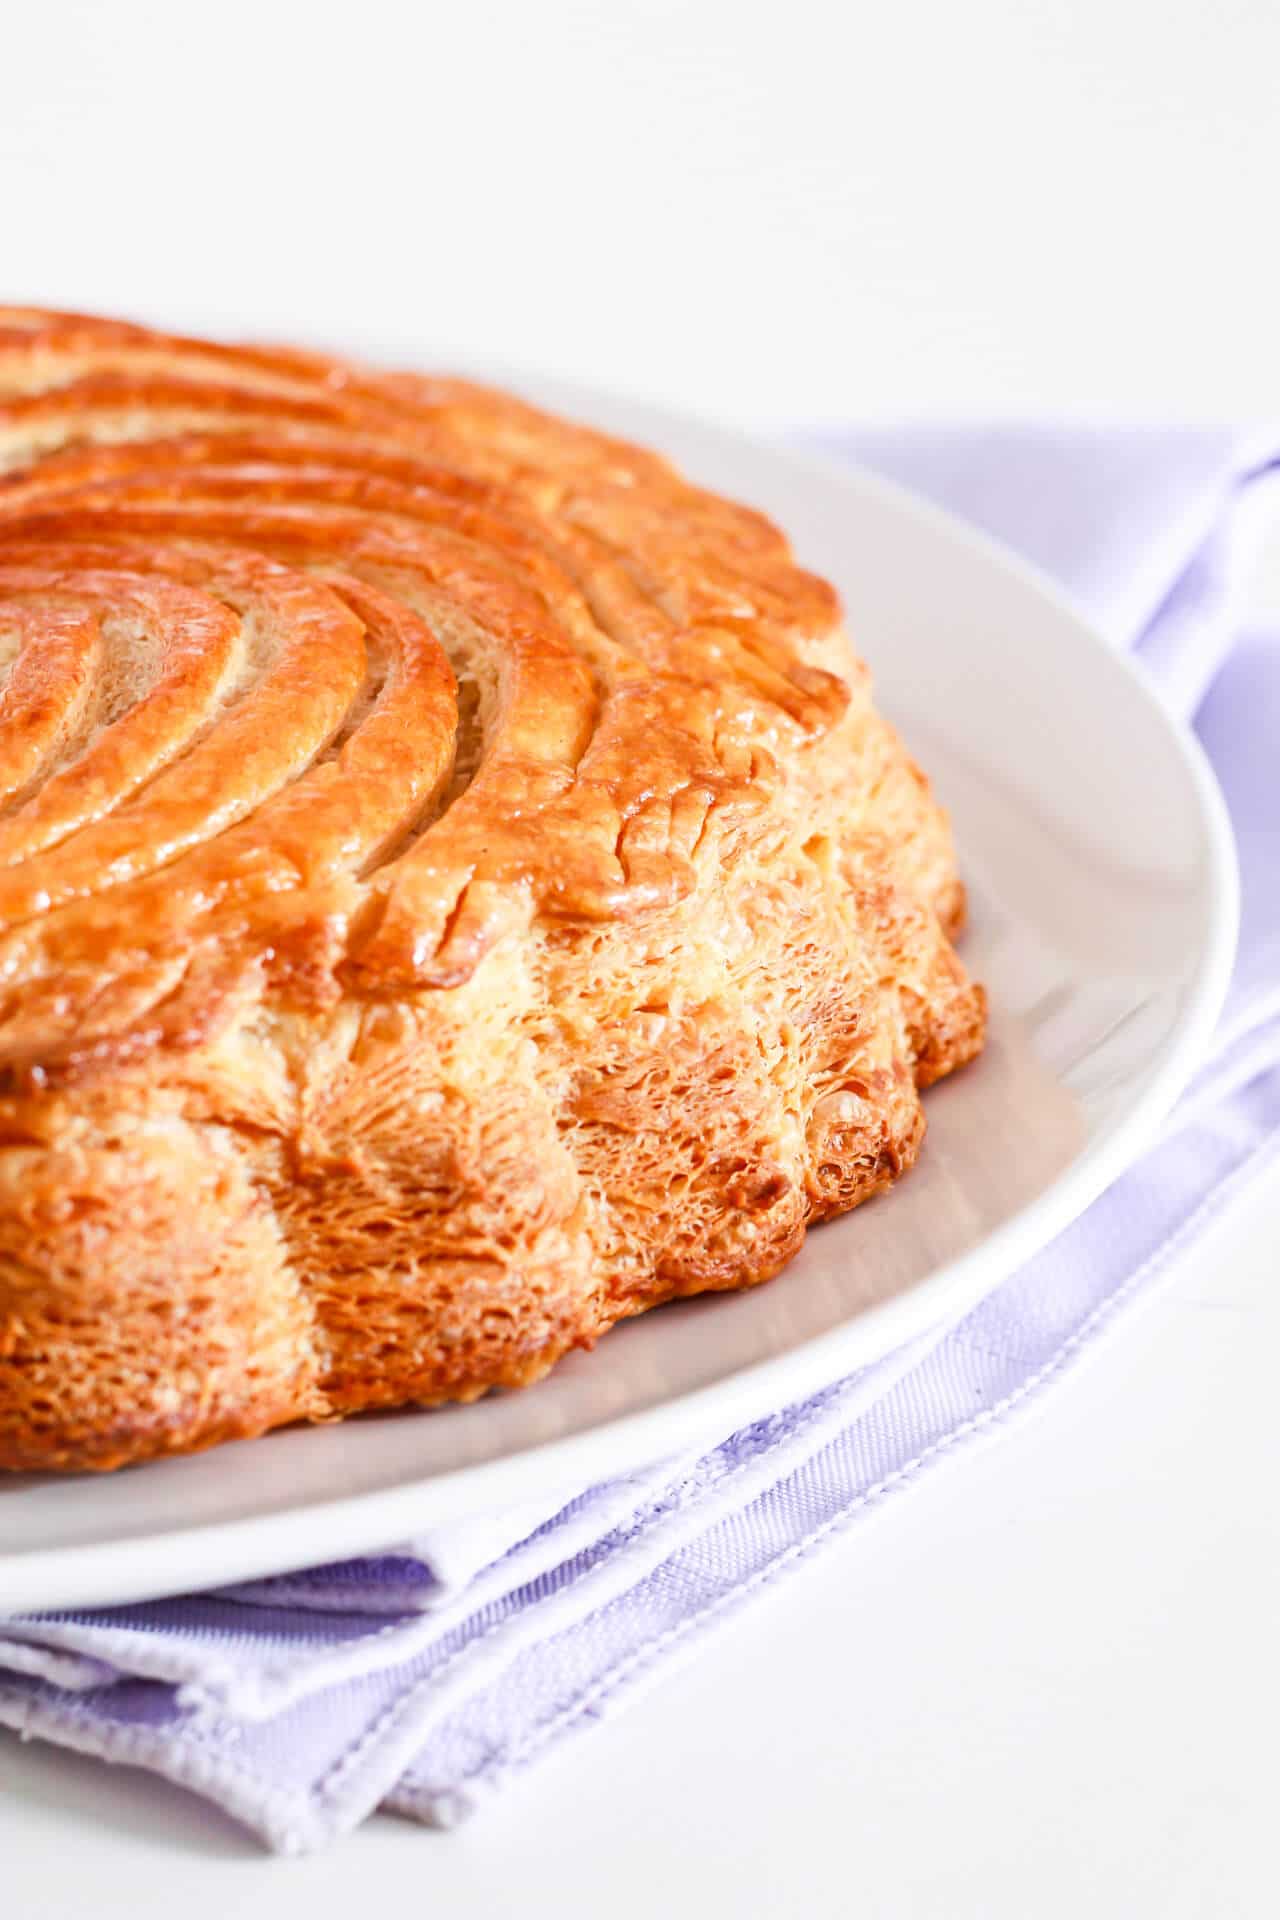
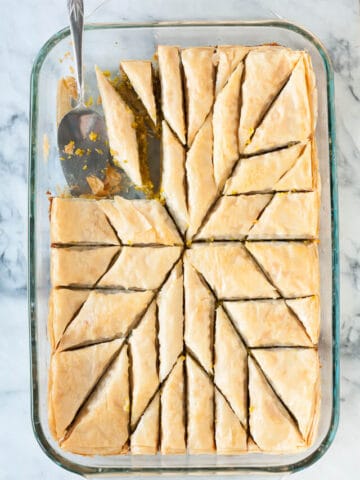
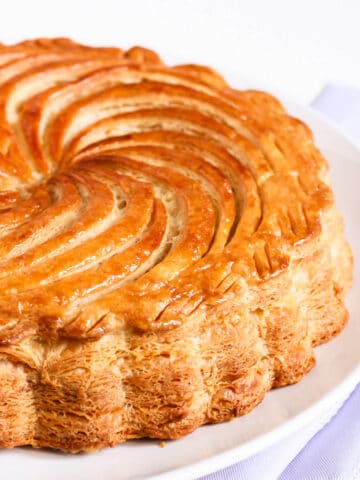
- galette des rois: a thick layer of frangipane (the French baking term for almond cream) is baked between two disks of puff pastry
- apple tarte tatin: this is an upside-down apple tart that is baked with puff pastry (or pie crust) on top and the apples on the bottom, and then it's flipped onto a plate to serve it!
📖 Recipe

Homemade Puff Pastry
Equipment
Ingredients
- 500 grams bleached all-purpose flour
- 300 mL water
- 58 grams unsalted butter melted
- 10 grams Diamond Crystal fine kosher salt
- 10 mL vinegar
- 400 grams unsalted butter
Instructions
- Sift the flour onto your work surface. Mix in the salt with your fingertips, then make a well in the center of the mound of flour.
- Mix the water and vinegar together and set aside.
- Make a well in the flour and pour the melted butter in the well. Work it into the flour mixture, slowly adding a little of the water at a time until a dough forms (you may not need to use all the water as you don’t want the dough to be too wet!).
- Form the dough into a square, cut a slit in the middle of one side, wrap and refrigerate the dough for 20 minutes.
- Meanwhile, shape the 400 grams of dough into a perfect flat square with the help of a rolling pin. Wrap it and refrigerate until it is cold.
- Take the chilled dough and roll it into a square (using just a little flour on the work surface and rolling pin to prevent sticking).
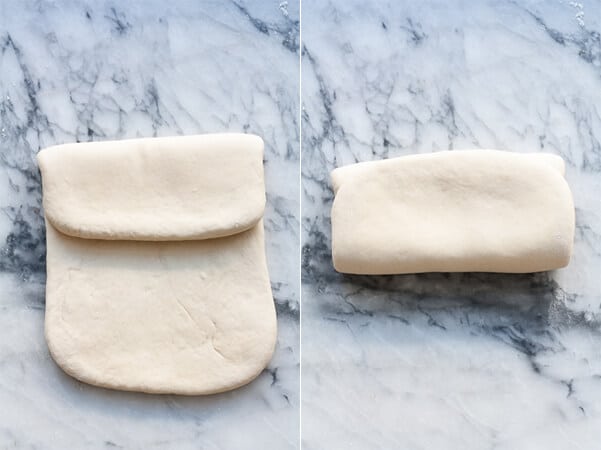
- Place the square of butter in the middle (with the points of the square of the dough pointing towards the middle of the sides of the square of dough). Bring up the corners of the dough toward the center and pinch all the edges together. Basically you want to wrap the butter with the dough and seal it in tightly.
- Roll the square into a rectangle for which the length is three times the width. Do a simple turn (folding in thirds like a letter). Flip the dough over, turn it 90 degrees, and repeat the rolling and simple turn. You’ve now made two simple turns.
- Chill the dough for at least 1 hour (or overnight). Then roll it out and repeat the simple turn two more times. That makes four turns so far.
- Chill the dough for at least 1 hour (or overnight). Then roll it out and repeat the simple turn two more times. Now you have done six simple turns overall and the dough is ready to use once you have chilled it again for at least 1 hour.
Notes
- This recipe calls for Diamond Crystal fine Kosher salt. If using regular table salt, add half the amount or the recipe may be too salty!
- For more information on how to make puff pastry, watch this Julia Child video and read this Q & A.
Nutrition
Nutrition information is automatically calculated and should only be used as an approximation.

Charlotte says
Well, I, for one, was not offended by the lack of a recipe. I think your culinary school experiences are interesting and worth sharing. And you're completely right - there are tons of puff pastry recipes out there that people could look up in a snap!
Jo says
I loved your post on Puff pastry, sans recipe, with incredibly beautiful and detailed photos. It actually inspired me to think about making puff pastry again. No wonder the photos were cross posted! Hooray for you. With today's posting of the recipe, I have more incentive to make my attempt. Thank you for keeping us informed as you go through your education in Pastry! It is terrific.
Joanne says
Well I personally think you should feel free to write about whatever you want...recipe or not! I have always wanted to make puff pastry though and haven't yet really found a recipe. This sounds great!
Mardi @eatlivetravelwrite says
Whoah! I cannot understand some readers. if you don't have anything nice to say..... I LOVED that post - and am in fact going over to tweet it right now it's so beautiful - and you should be able to write what YOU want on YOUR blog. Keep dong what you are doing - you are an inspiration.
yogamomnbaby says
Okay seriously, I made artichoke turnovers today with store-bought puff pastry. As I was rolling out semi-thawed dough (while swearing), I thought, "Hmm, I wonder if Jan can teach me how to make puff pastry from scratch". And here you go blogging about puff pastry! Thank you!!!
Aveen says
This is YOUR blog, and you should write about whatever you want to write about without having to feel guilty. I read your previous post and honestly, some of the comments made me really quite angry for you - some people have a nerve!
As someone who has been through pastry school myself, I know very well that it's not easy and I really enjoyed the post. And your puff pastry looked perfect 🙂