

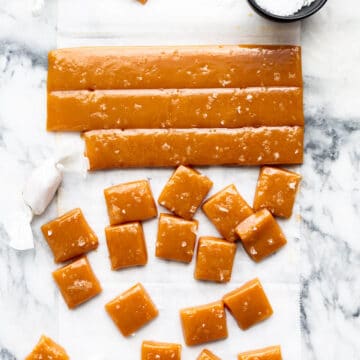
Making homemade sea salt caramels without corn syrup is actually quite easy, but you do need a thermometer to get the job done. Find out everything you need to know about making soft, chewy salted butter caramels.
When I was making salted caramel sauce the other day, I didn't caramelize the sugar enough and my caramel sauce was much too blond and light, so the flavour wasn't great. I made another batch, storing the blonder caramel in the fridge for later. The blond caramel sauce got me thinking if caramel sauce and soft caramel candies are made from the same recipe. So that's what I set out to investigate.
Jump to:
What You Need To Make Homemade Caramel Candies
If you can make salted caramel sauce, then you can make salted butter caramels. To make salted caramels, you are just taking the salted caramel sauce one step further by cooking it a second time.
Like caramel sauce, salty caramels are made from a lot of sugar, but also butter and whipping cream (35 %) and those two last ingredients play an important role in the texture of the final product, making it more taffy like and soft than if the caramels were made from straight sugar. The combination of cooking temperature and ingredients turns the hot sugar mixture into something that is soft, pliable, and stretchy, yet still firm enough to cut, hold its shape, and provide a chewy texture.
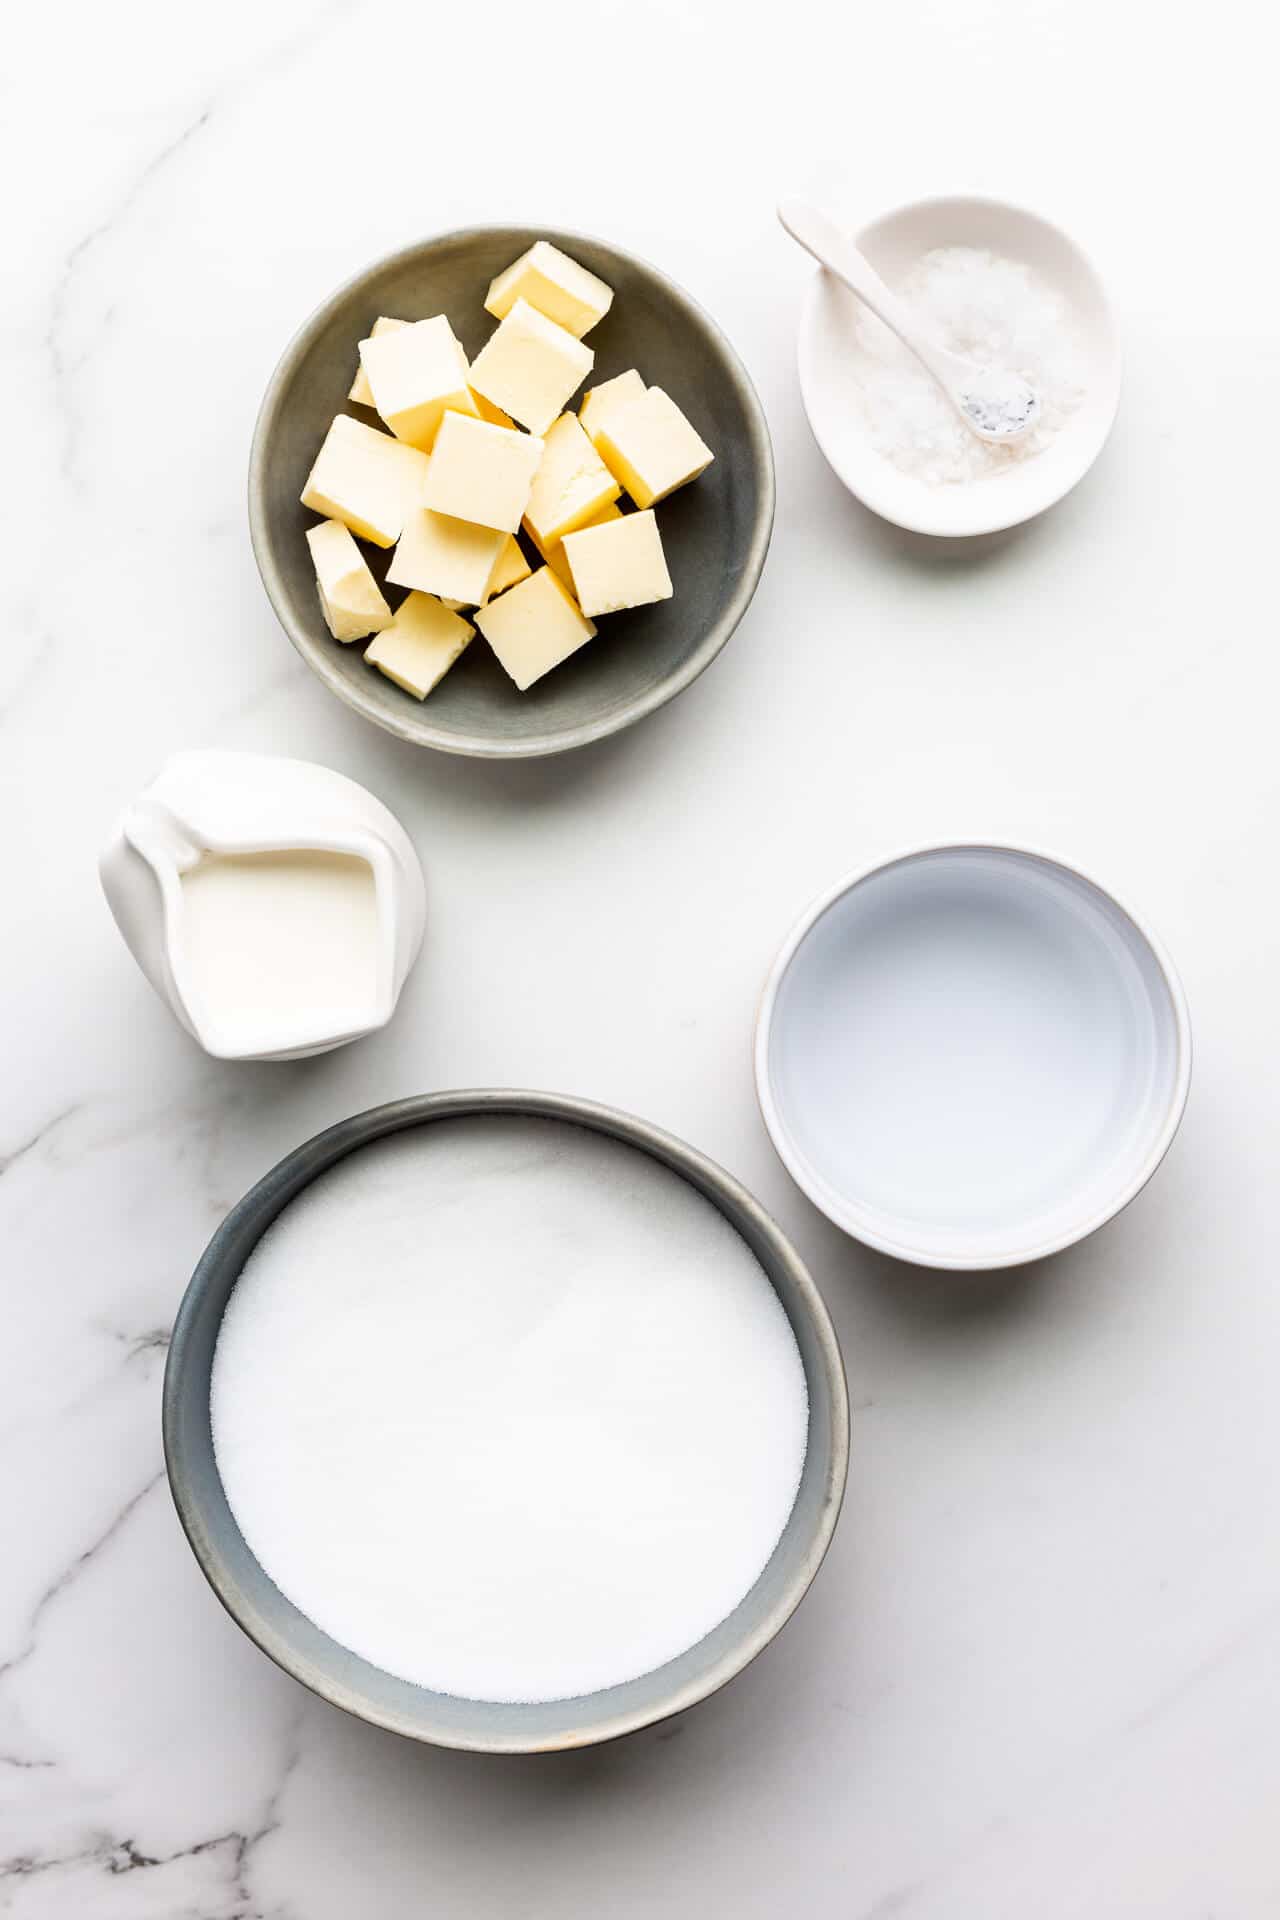
Homemade caramels are usually made from the same very basic ingredients: water, sugar, salted butter, and cream. Even though at their core, most soft caramels are made from the same components, there can be some variations and substitutions possible.
- Some recipes may use unsalted butter, instead of salted butter, in which case salt is added to the caramel mixture, as well as a garnish
- Some recipes may call for a mixture of brown sugar and granulated sugar instead of just granulated sugar. I don't do this because I find the brown sugar can cause confusion when it comes time to visually determining if your caramel has, well, caramelized. It's hard to make a judgment on the colour change if the mixture starts out tinted with brown sugar
- Some recipes may add honey, glucose, invert sugar, or corn syrup to the pot to make the caramel: these are added to prevent the sugar and caramel from crystallizing: we want smooth, soft, chewy caramels, not dry, gritty, or crystallized caramels. Florentine cookies are made with honey for this reason (and also for flavour)
Please see the recipe card for the exact ingredients and quantities.
Tools To Make Perfect Soft Caramels
Whether you are making soft caramels or caramel sauce, technically, you don't need a thermometer to make it. Still, I highly recommend you use an instant-read thermometer that registers changes in temperature quickly so that you can act fast and at the right moment. Takes a lot of the guesswork out of the cooking.
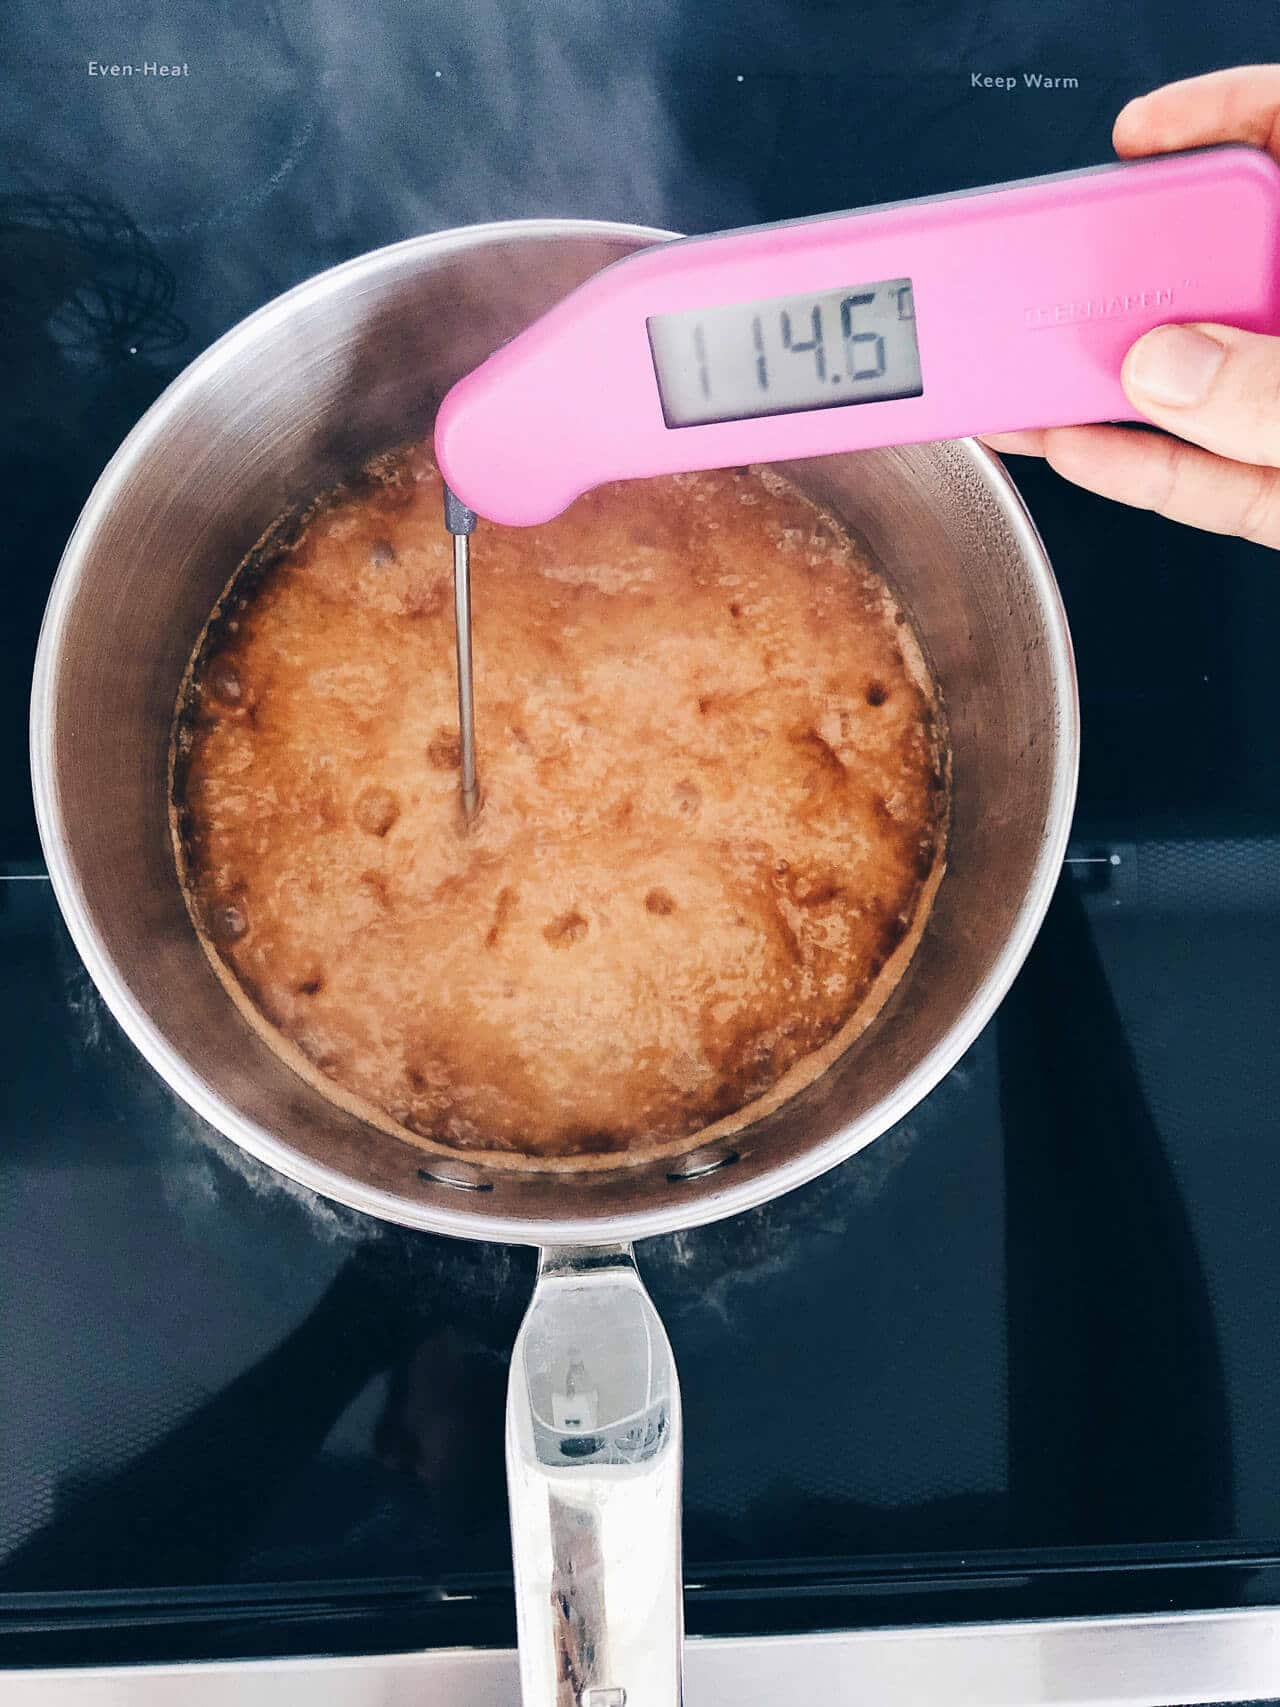
Soft caramels are caramel sauce that has been cooked to 121 °C (250 °F), which in terms of cooked sugar stages, the mixture is right in between firm ball and hard ball. The temperature is very important to achieve the right texture, but the temperature isn't the only factor in achieving a good set: the ingredients in the soft caramel also play a role.
Here is a list of the special equipment you might want to invest in if you plan on making caramels:
- a medium saucepan that is the right size! Avoid using a small saucepan even if when you start, you think there's plenty of room. There isn't. You need a bigger pot than you think to make caramel sauce and caramels or else the boiling sugar mixture will boil over and make a real mess of your stove. Aim to use a pan that is at least 2 L (or 1.9 Qt). Obviously, a spaghetti pot would be overkill here, but you get my point. Don't use a small saucepan.
- a wooden spoon or a heatproof silicone spatula
- a candy thermometer, preferably an instant-read thermometer: though a cheap glass candy thermometer on Amazon can work, I prefer using an instant-read probe thermometer like the ChefAlarm from Thermoworks. While both types will have no problem measuring the temperature of the caramel mixture as it boils, the analog glass thermometer will be slower to display the change in temperature. If you are going to use a thermometer to follow the temperature fluctuations in this caramel recipe, use a digital probe thermometer that is fast-reading.
- an 8×8-inch brownie pan with straight edges and right-angle "square" corners: a square pan with straight edges will make cutting the caramel into even pieces easier. A square glass pan will also work, but I prefer metal pans with sharper edges, like this one.
- a metal bench scraper to cut the caramels into squares is the best tool for this job. Truly, if you don't have a metal bench scraper, I highly encourage you to invest in one now. I will never use a chef's knife for this cutting job now that I've discovered how easy it is with the bench scraper. I love the Nordic Ware and OXO bench scrapers because they have graduated measurements marked on the blade that you can use as a ruler/cutting guide-the OXO bench scraper is available on Amazon.
- 4x4-inch squares of parchment paper, which you can find on Amazon. You could cut your own from parchment paper, but I feel like cutting 49 squares of parchment paper is a big waste of time and I lack the patience. If you have a local restaurant supply store, call them to see if they sell 4x4 squares of parchment or burger patty papers would work too! Note that not all papers are greaseproof so if the paper you buy isn't, the paper will absorb some of the fat from the surface of the caramels. It's not very pretty but also not a big deal!
Making Caramels Without A Thermometer
In pastry school, we weren't allowed to use thermometers and we boiled a lot of sugar syrups to make many recipes, like Italian meringue buttercream, which requires you to boil sugar to the soft ball stage (around 115 ºC). To check the temperature without a thermometer, we used ice water. We took a small sample of the boiling syrup and dropped it in ice water. If the syrup formed a soft ball, it was at the soft ball stage. If the syrup just disintegrated in the water, it wasn't hot enough. If the syrup formed a hard ball, you'd gone too far.
If you don't have a thermometer but you still want to make soft caramels, I think the same technique would be your best bet. Set up an ice bath next to your stove and then periodically drop a small amount of the boiling caramel in the bath. If it forms a ball that's between firm to hard, then you've cooked it enough. If the ball is too soft or disintegrates in the water, you haven't cooked it enough.
I highly recommend you buy a thermometer and the thermometer is your best tool to check if you've cooked your caramel enough. But if you are really in a bind, try the ice bath technique. Let me know how it goes because I've never tried it for caramels.
Ingredients and substitutions
Do you actually need corn syrup?
When you are making boiled sugar recipes, like caramel sauces, you may see recipes recommend adding corn syrup to the mixture of sugar and water. The corn syrup is added to stop the sugar (sucrose) from crystallizing. Remember, as you heat water and sugar, you form a syrup of dissolved sugar. As the dilute mixture heats up more and more, some of the water will evaporate: the syrup becomes more concentrated. When sucrose is concentrated in a syrup, it may "crash out of solution" meaning it crystallizes because you have a highly pure, highly concentrated syrup of sucrose and those sucrose molecules want to pile up and crystallize.
Adding in corn syrup (glucose, or another invert sugar) is the equivalent of adding an impurity to sucrose because glucose and sucrose are not the same thing. And when the sugar syrup has an impurity like corn syrup in it, the sucrose is less likely to want to crystallize.
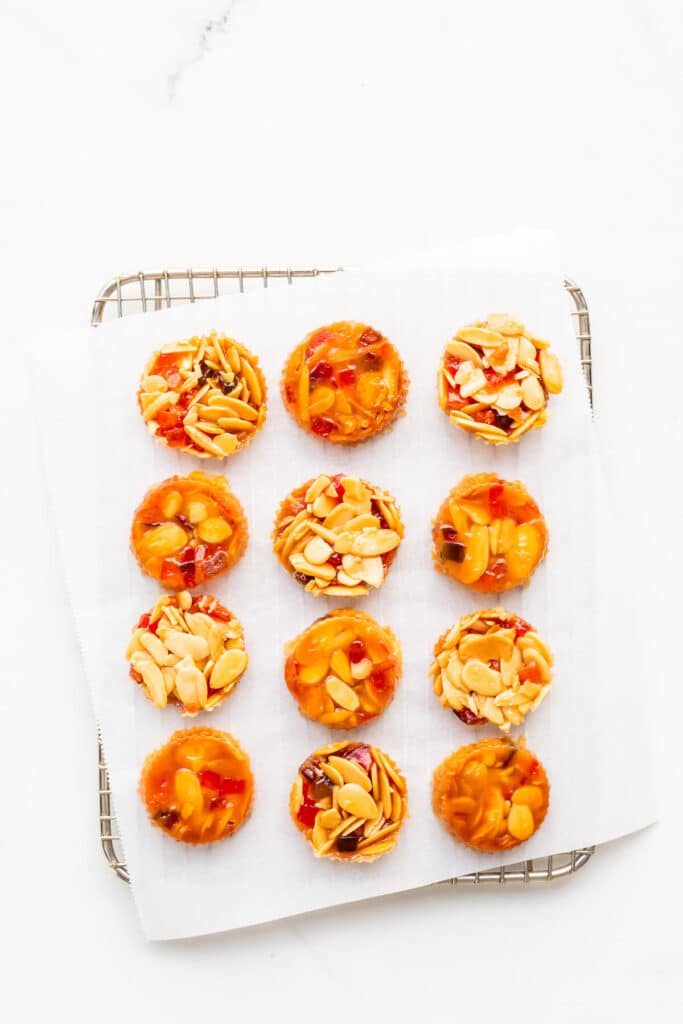
Florentine cookies are made with honey, adding flavour but also preventing crystallization!
When I make salted caramel sauce and when I make soft caramels like this, I don't add any corn syrup, but I am very careful to make sure the sugar dissolves properly from the beginning. Once the butter and the cream are added to the mixture, it's much less likely the mixture will crystallize at that point.
On the other hand, with quick caramel sauces made from brown sugar: those do have a tendency to crystallize and so in that case, a little corn syrup can help! But for salted caramels, like this recipe, I don't think it's necessary.

Caramel Troubleshooting And FAQs
Homemade caramels are too soft
One of the reasons your caramels might end up too soft is that your caramel was undercooked and that the caramel mixture wasn't cooked to a high enough temperature of 121 °C (250 °F). You need to boil the caramel mixture long enough so it reaches 121 °C (250 °F). At 121 ºC:
- most of the water has boiled off
- the sugar is concentrated
- the sugar has cooked to a stage somewhere between firm ball and hard ball
While some recipes will recommend a timeframe for how long to boil the sugar mixture, I don't think this is a reliable method for making soft caramels because your stove is different than my stove. It might take me 20 minutes to reach 121 ºC but it could take you less time (or more time). This is why it's important to use a candy thermometer to make soft caramels and to monitor the temperature. The same goes for making maple fudge.
How to salvage soft caramels that are too soft and don't set
You can salvage undercooked, soft caramels that are too soft and don't set. Put the mixture back in a saucepan. Heat the mixture on medium-low to dissolve/melt everything. Once you have a smooth consistency, then you can bring the mixture up to a boil and make sure to continue to heat the mixture until your thermometer reads 121 °C (250 °F), at which point you can pour the mixture back into the prepared pan.
Homemade Caramels Set Too Hard
If your soft caramels end up too hard, it could mean you've overcooked the mixture. You've boiled the caramel sauce to too high a temperature, above 121 ºC (250 ºF). Remember that at this temperature, the caramel is on the cusp of hard ball. If you boil the mixture above this temperature, the cooled mixture will be firmer and harder the higher you go. This means you may end up with hard caramels instead of soft caramels. This popcorn brittle was made by boiling the sugar to the "hard crack" stage and so, as you would expect, the brittle is very hard. It's unlikely your soft caramels will end up as hard as brittle, given the cream and butter in the recipe, but they can end up harder than you anticipated.
If it happens that your caramel sets too hard, you can still eat them, but be careful not to break a tooth! You could try breaking the caramel up into a pot, redissolving it in water, and heating the mixture back up to 121 ºC (250 ºF). Then go through the process of pouring into a greased pan and letting the caramels set. But honestly, you may have a hard time completely dissolving the hard caramel in water. The process won't be easy...
Caramels Too Dark
The key to soft caramels that are golden brown and aren't too dark is to start with a caramel sauce made from light-coloured caramel. I've made a lot of batches of soft caramels, and it turns out that a caramel sauce that is the perfect colour for serving as a sauce (more brown than golden) makes very dark, almost mahogany caramels. When you make caramels, you start by making a caramel sauce, which you then put on the stove to cook again. That extra cooking leads to browning, probably Maillard browning, as opposed to caramelization.
Maillard browning happens when the sugar is exposed to heat, a higher pH, and protein. Since salted caramel sauce is made with butter and cream, we've added protein to the mixture, and then heating it up on the stove again means the sugars will brown. This is the same browning that is caused by baking soda in baked goods.
The good news is that darker caramels are still VERY yummy. But if you want lighter coloured caramels, consider stopping your caramel by deglazing with cream when it's a lighter colour, more of a golden yellow on the verge of amber, rather than an amber colour.
Recipes With Caramel
If you love salted caramels and any dessert with caramel, try these recipes:
- apple tarte tatin starts with a dry caramel
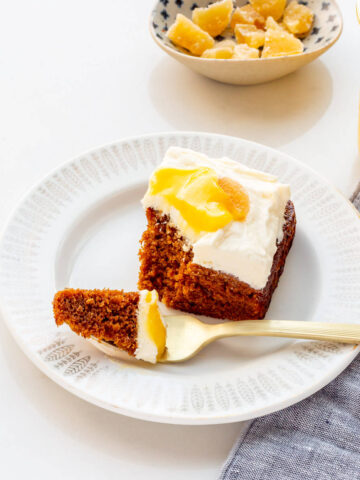
- apple bundt cake is topped with caramel sauce
- dulce de leche is a variant of caramel and you can use it to make alfajores cookies
If you tried this recipe for the best sea salt caramels (or any other recipe on my website), please leave a ⭐ star rating and let me know how it went in the comments below. I love hearing from you!
📖 Recipe
Sea Salt Caramels
Ingredients
- 125 mL water plus more for brushing sides of pan
- 400 grams granulated sugar
- 115 grams salted butter cut into cubes
- 250 mL whipping cream (35 % fat)
- Flaky sea salt
Instructions
- Measure all your ingredients before beginning and have them ready. This is very important.
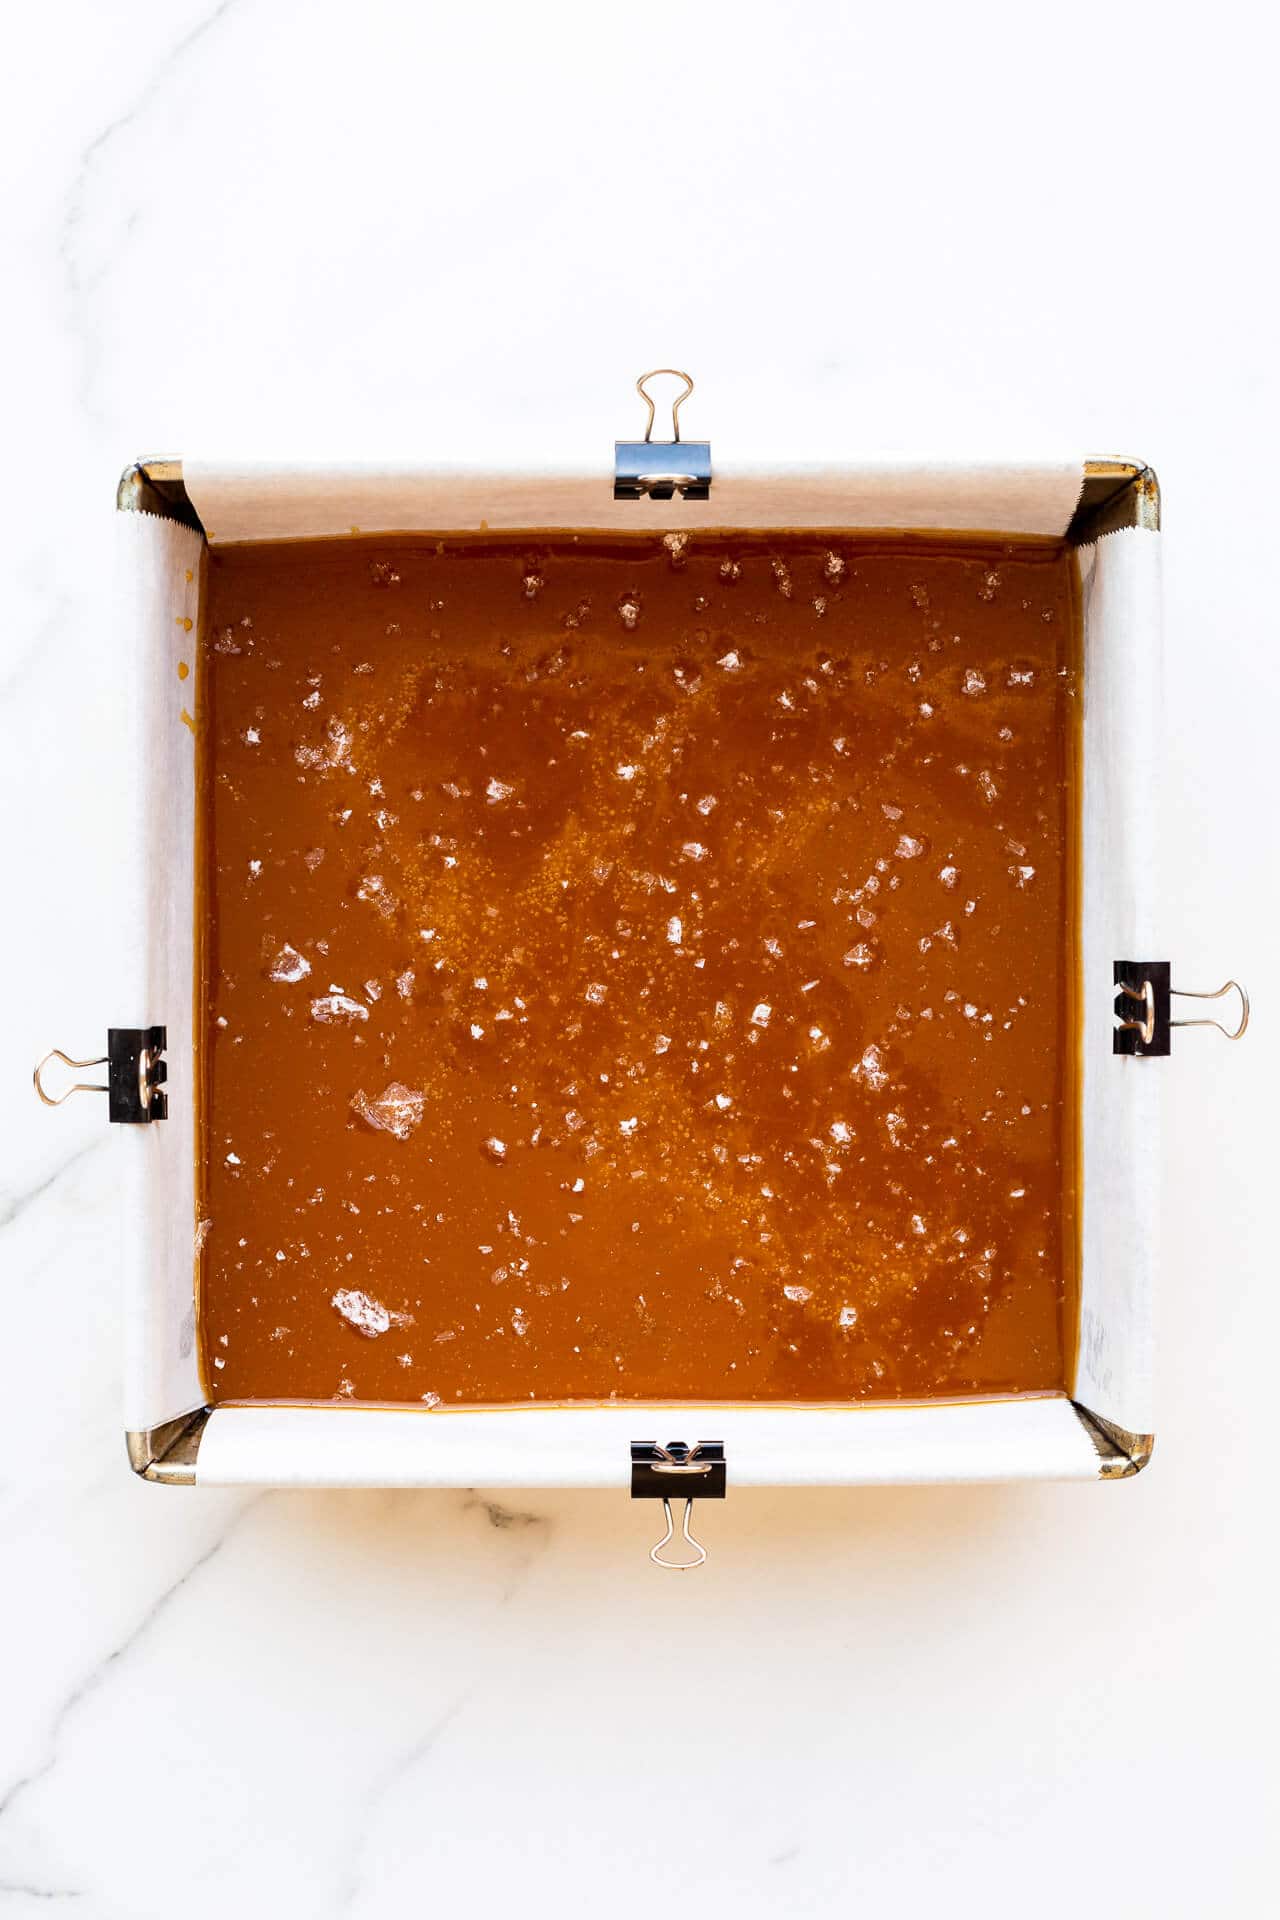
- Prepare your baking pan by brushing the pan all over the inside and inner walls with canola oil. Line the pan with two sheets of parchment leaving overhangs. These will serve as slings for you to pull the caramels out of the pan later. You can use mini binder clips to fasten the parchment slings in place.
- In a deep 3 quart saucepan, pour the water, and then the sugar. Don't stir it.
- Bring the mixture to a boil over medium heat. If there's sugar stuck on the sides of the pan, carefully brush it with a heat-resistant silicone brush dipped in a little water. Feel free to swirl the pan to give the mixture a stir, but when you set it back on the burner, brush the edges of the pan with water to dissolve the sugar crystals from the walls of the pot.
- Once the sugar is completely dissolved and the mixture starts to bubble, you can increase the heat on the stove to medium-high, or you can leave it on medium. The only difference is that on medium, it will take longer for the mixture to caramelize.
- Continue to boil the caramel until it turns light amber in colour (don't let it get too dark!). As soon as the caramel has reached the desired colour, slide the pan off the heat, and turn the burner off.
- Slowly and carefully drop in the cubed butter (it will bubble and erupt so be careful!). Pour in the cream, slowly and carefully.
- When the bubbling has calmed down, begin to gently whisk the caramel until it is smooth and homogeneous.
- Return the pan to the burner and turn it back on to medium-high. Bring the mixture back to the boil and cook the caramel until it reaches 121 ºC (250 ºF) on an instant read thermometer.
- Once the caramel has reached the desired temperature, turn the burner off and carefully pour the hot caramel into the prepared pan.
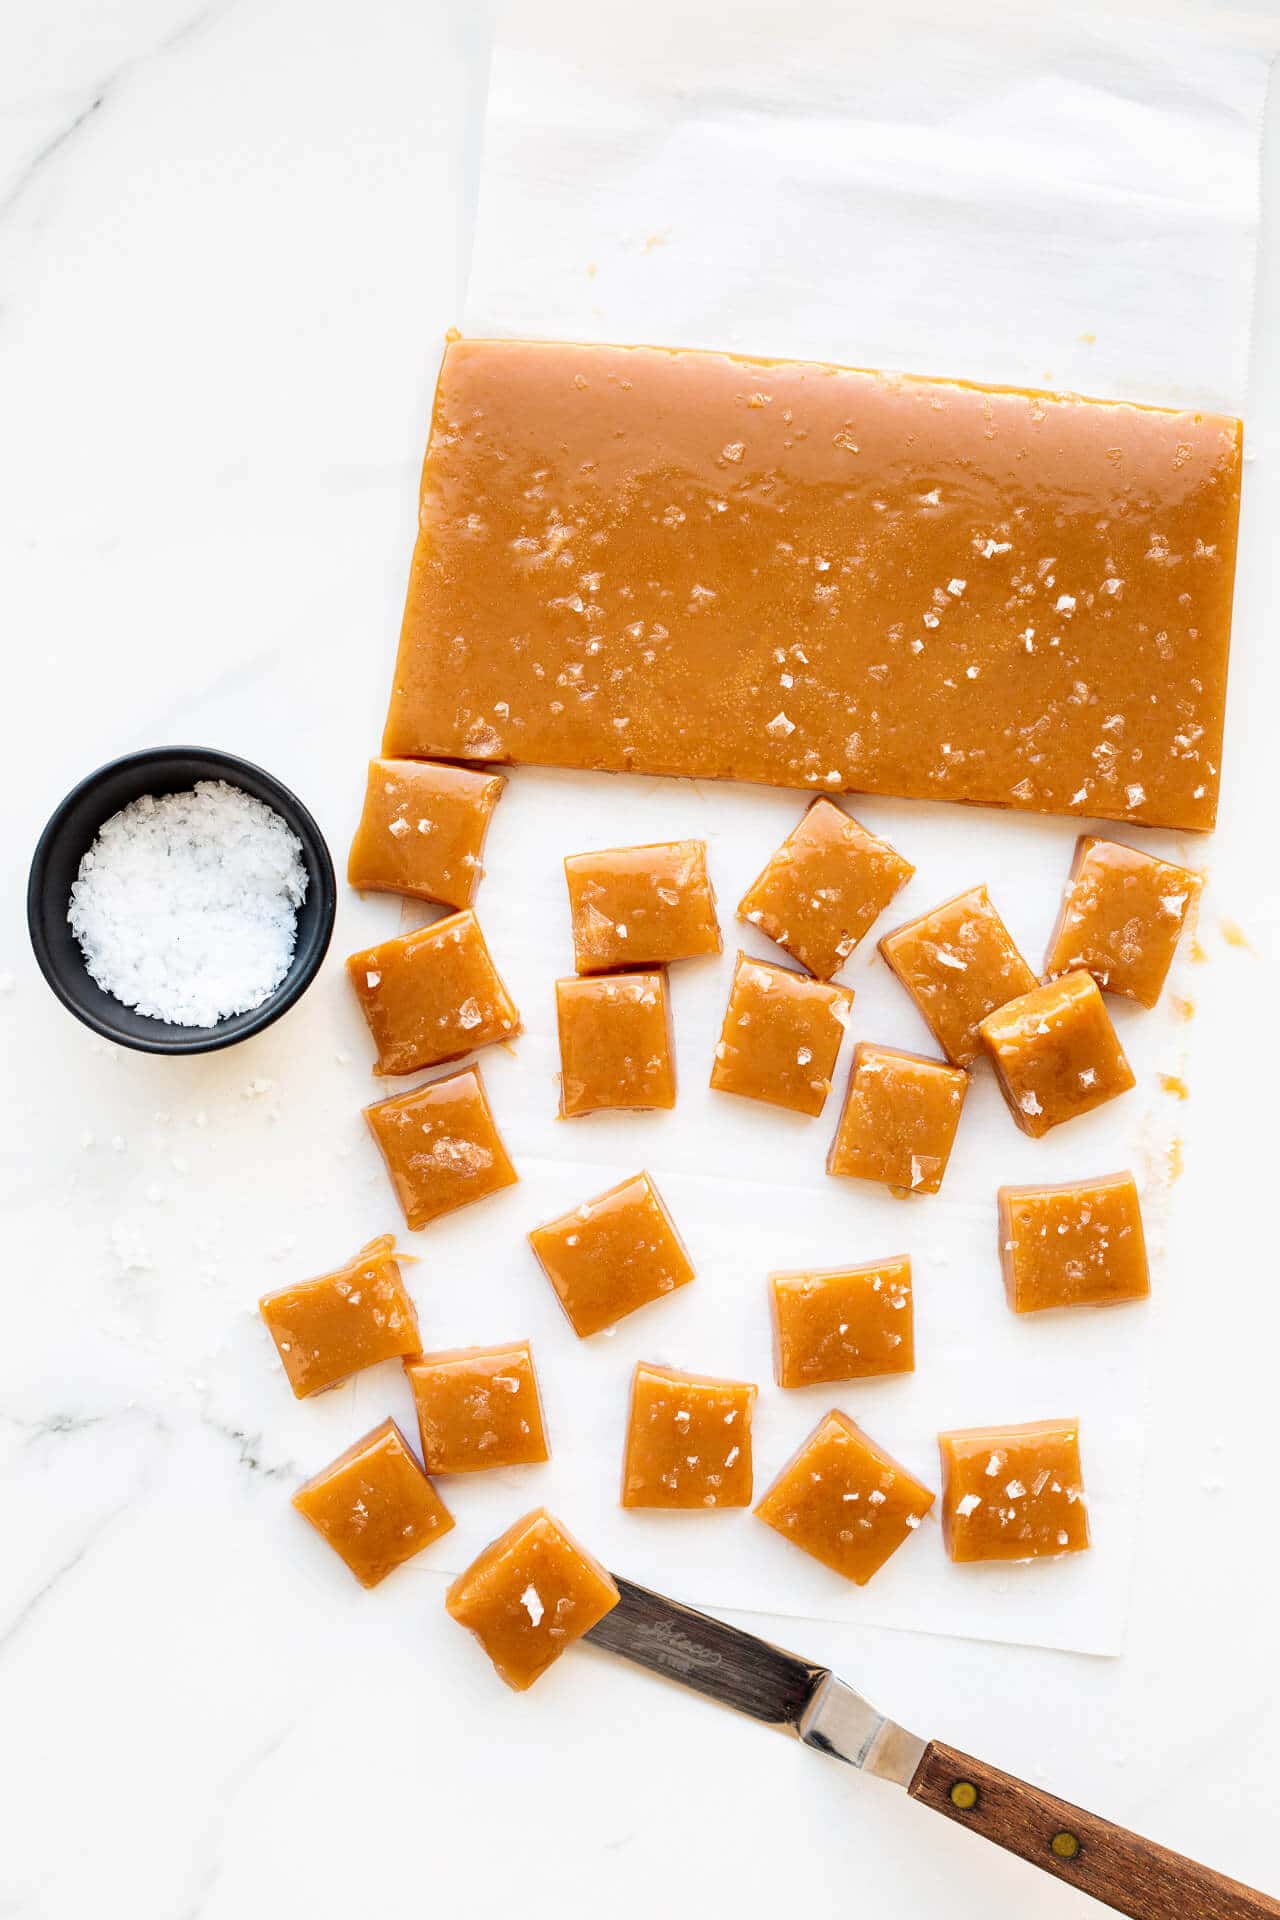
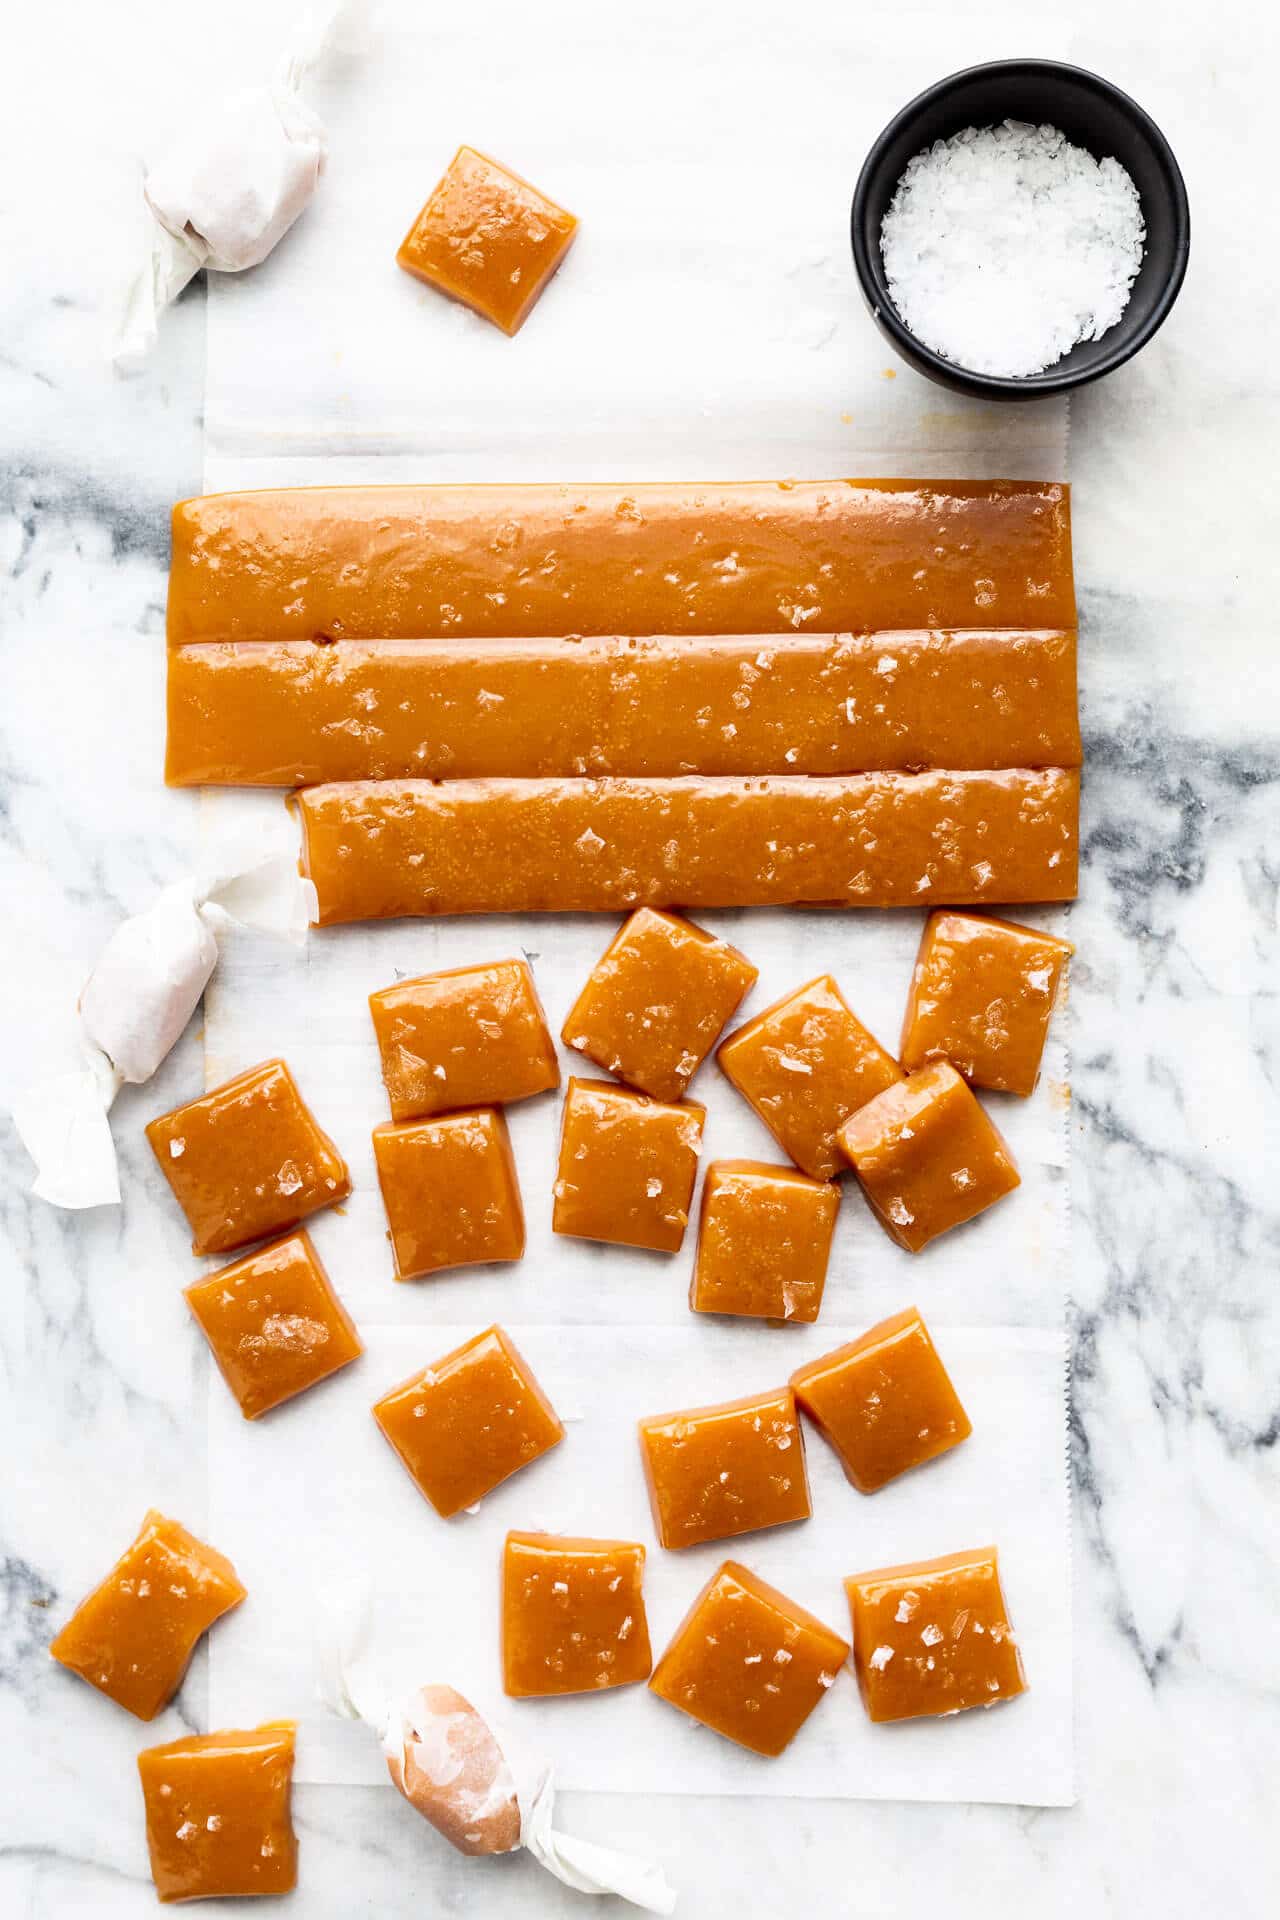
- Let the caramel set for 30 minutes, then sprinkle generously with flaky sea salt. Let the caramels set overnight.
- When the caramels have set, remove the slab from the pan using the parchment sling to lift it out of the pan. Set it on a cutting board.
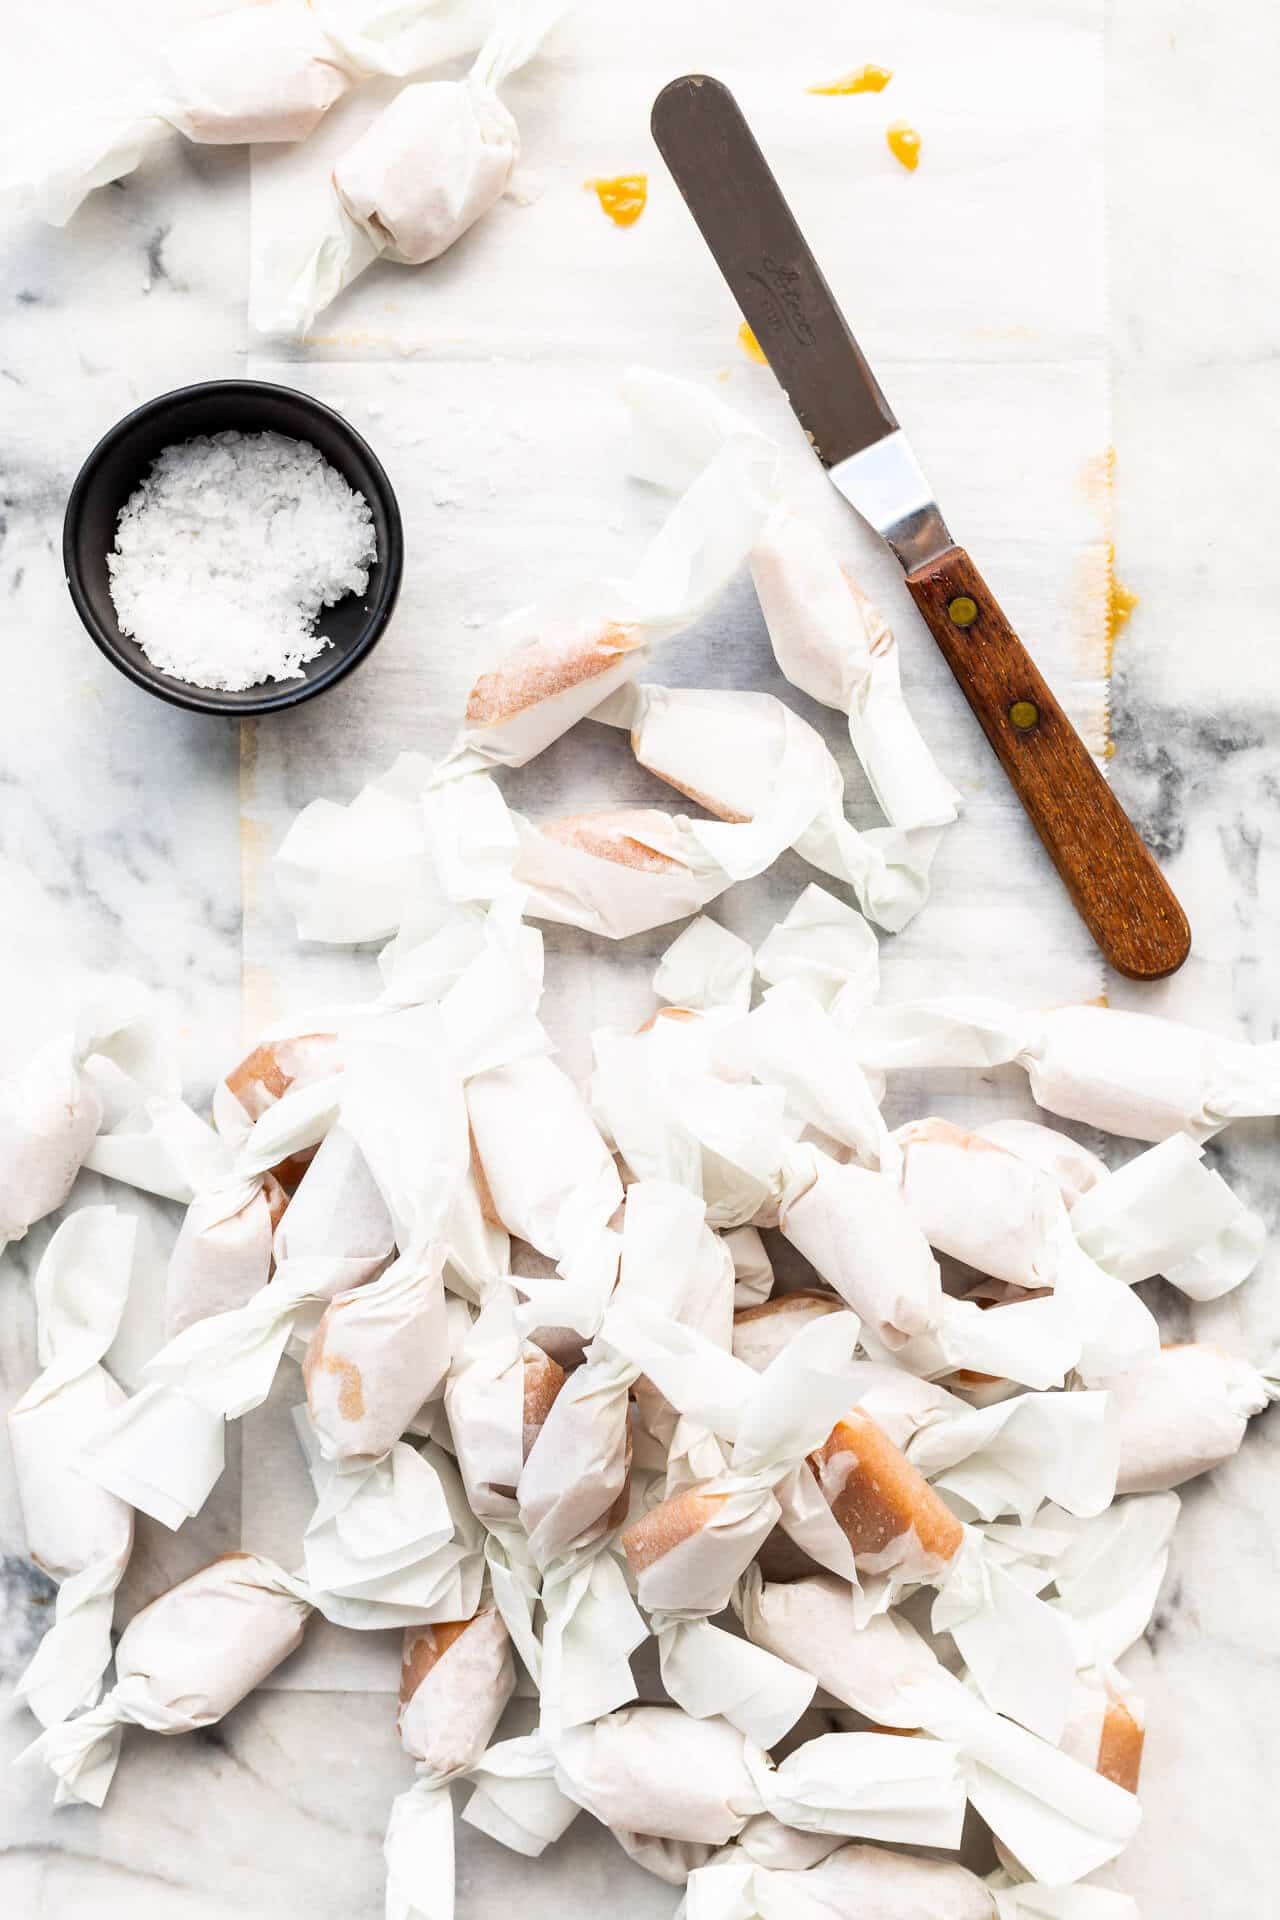
- Brush a metal bench scraper with a little oil, then cut the slab of caramel into 49 pieces (so 7 rows x 7 columns). Individually wrap each caramel in a 4x4 inch square of parchment or wax paper, twisting the ends to secure the wrapper in place.
Nutrition
Nutrition information is automatically calculated and should only be used as an approximation.

Ciera says
Hi am currently making this recipe, it has turned into that solid mess you speak of and is all over the only pot a have for this project. What can I do to use this same mixture, but properly get it off the sides of the pot?
Janice says
Hi Ciera,
If your sugar solidified/crystallized before it caramelized so in the first stages of heating, you are going to have to dissolve it again to get it off the sides. Take a pastry brush, dip it in lots of warm water, and brush the sides to get the sugar off the sides. Keep repeating to basically wash the sugar off the sides. You can use this technique as the sugar is heating to keep the sides clean. Since you are having problems with crystallization, I suggest you try to add a little corn syrup to the pot, maybe 1 tablespoon, to help prevent the dissolved sugar mixture from crystallizing again. The corn syrup will make it less likely to crystallize.
When you first heat the sugar and water mixture, I suggest doing so at a lower heat setting (like medium–low) to make sure the sugar dissolves properly and completely before increasing the heat to boil off the water and concentrate the sugar until it caramelizes. I hope this helps!
Lauren says
I COULD NOT get the sugar to caramelize. It would go from clear syrup to solid sugar in seconds
Janice says
Hi Lauren,
Sounds like the sugar wasn't fully dissolved or maybe the heat is turned up too high on your stove and so your sugar mixture was coming to a boil before it's dissolved. Undissolved sugar will cause the dissolved sugar to crystallize and crash out of solution into a solid mess in seconds if some of the sugar isn't properly dissolved or melted. If you are having problems with crystallization, you can add a little corn syrup or even a squirt of lemon juice. Both of these will help prevent the mixture from crystallizing. I've also written a whole post about why sugar crystallizes when you are make syrups and caramel sauces: https://bakeschool.com/focus-on-crystallization/
If you have any questions, let me know! Keep trying!
Pete says
I get it for the small quantities. But seeing as we’ve already got out the scales to weigh the sugar and butter, you might as well tell us that the cream is 230g (1 US cup). So much easier than guesstimating from a dodgy mark on the side of a jug. Just sayin’.
Pete says
Hi... why do you use volume measures for liquids? Weight (grams) is much better, don’t you think? 😊
Janice says
Most readers use volumes for measuring liquids and so that's how I report it. Yes, you absolutely could weigh out your liquids, but then people get confused because the density for ingredients other than water isn't 1 g/mL, and that leads to some confusion at times. So I've been sticking mostly to reporting liquids as volumes and dry ingredients as weights. For small amounts of ingredients, I always report the volume, not the weight, because most of us, myself included, don't have scales that can properly weigh out less than 10 grams consistently. So for things like leavening agents, salt, etc., I also use volumes because I don't want to encourage readers to use a top load balance to weigh small amounts like that. Hope that makes sense!