

Learn everything you need to know about making fudge without condensed milk, including what can go wrong, tips and tricks, and how to salvage a batch of fudge that didn't work out as planned. I've included a maple fudge recipe, which is a traditional, old-fashioned fudge made without marshmallows or condensed milk. It takes a little patience, the right tools, and precision to make fudge, but it's well worth it!

I love traditional maple fudge with walnuts. It's a classic candy treat that is usually made around the holidays (or just because). Fudge is mostly made of sugar and whipping cream. Some will make it with condensed milk or marshmallows, but for old-fashioned fudge, it's brown sugar, granulated sugar, a little maple syrup for flavour and whipping cream.
Maple fudge is quite sweet, but I love that fine granular texture that good fudge has. This is one time when you want the sugar to crystallize, as opposed to caramels or caramel sauces when you are trying to prevent caramel from crystallizing. But fudge has to crystallize just right, like for this maple butter recipe. Maple fudge, like maple butter, should have very fine crystals that give fudge the perfect amount of "grit", not dry or crumbly, which makes it utterly addictive, but still soft but not so soft that it has the texture of maple butter.
Jump to:
Ingredients For Maple Fudge
You'll notice this recipe uses mostly brown sugar, with a little pure maple syrup added for flavour. The main reason is that maple syrup is expensive, and while you could make this recipe with only maple syrup, it's best to practice with affordable brown sugar. Then, once you've mastered the techniques, try to replace the brown sugar with maple syrup or maple sugar.
Most of us have the ingredients to make maple fudge in our pantries and fridges. It's so simple! Here's what you need to make this recipe:

- Sugar: I use a combination of white sugar, brown sugar and maple syrup because maple syrup and maple sugar are quite expensive. You can do this recipe with all maple syrup or all maple sugar, but I suggest practicing first with brown sugar to make sure you master the temperatures and techniques before using the expensive stuff!
- Cream: Use 35 % whipping cream for a rich, creamy flavour
- Nuts: Walnuts are entirely optional. I often toast them for better flavour. You can also use pecans.
Please see the recipe card for the exact ingredients and quantities.
Note that you can add chocolate to fudge, but the technique can be a little finicky: if you stir in the chocolate at the wrong time, the chocolate may burn...
Tools To Make Perfect Maple Fudge
With patience and the right tools, you can make perfect fudge at home without too much worry. It's important to have the right tools to make fudge at home and to follow the steps and temperatures. Here's a list of the tools you need to make fudge at home and the steps to make fudge:
- a medium saucepan that is the right size! Avoid using a small saucepan even if, when you start, you think there's plenty of room. There isn't. You need a bigger pot than you think to make fudge, or else the boiling sugar mixture will boil over and make a real mess of your stove. Aim to use a pan that is at least 2 L (or 1.9 Qt). Obviously a spaghetti pot would be overkill here, but you get my point. Don't use a small saucepan.
- a wooden spoon or a heatproof silicone spatula
- a candy thermometer or an instant-read thermometer (preferably hands-free but handheld also works). A glass candy thermometer (on Amazon) or a metal Taylor thermometer (on Amazon) will also work for the cooking stage, but when it's time to cool the mixture, these analog thermometers are too slow to read the temperature changes. If you are going to use a thermometer to follow the temperature fluctuations in this fudge recipe, use a digital probe thermometer that is fast-reading if not, instant read, like this instant read thermometer pen on Amazon.
- an 8x8-inch brownie pan with straight edges and right-angle "square" corners: a square pan with straight edges makes cutting the fudge into even pieces easier. A square glass pan will also work
How To Make Fudge
Review the step-by-step photos below to see how the fudge mixture will look at each stage. This will help you succeed when you go to make this recipe!
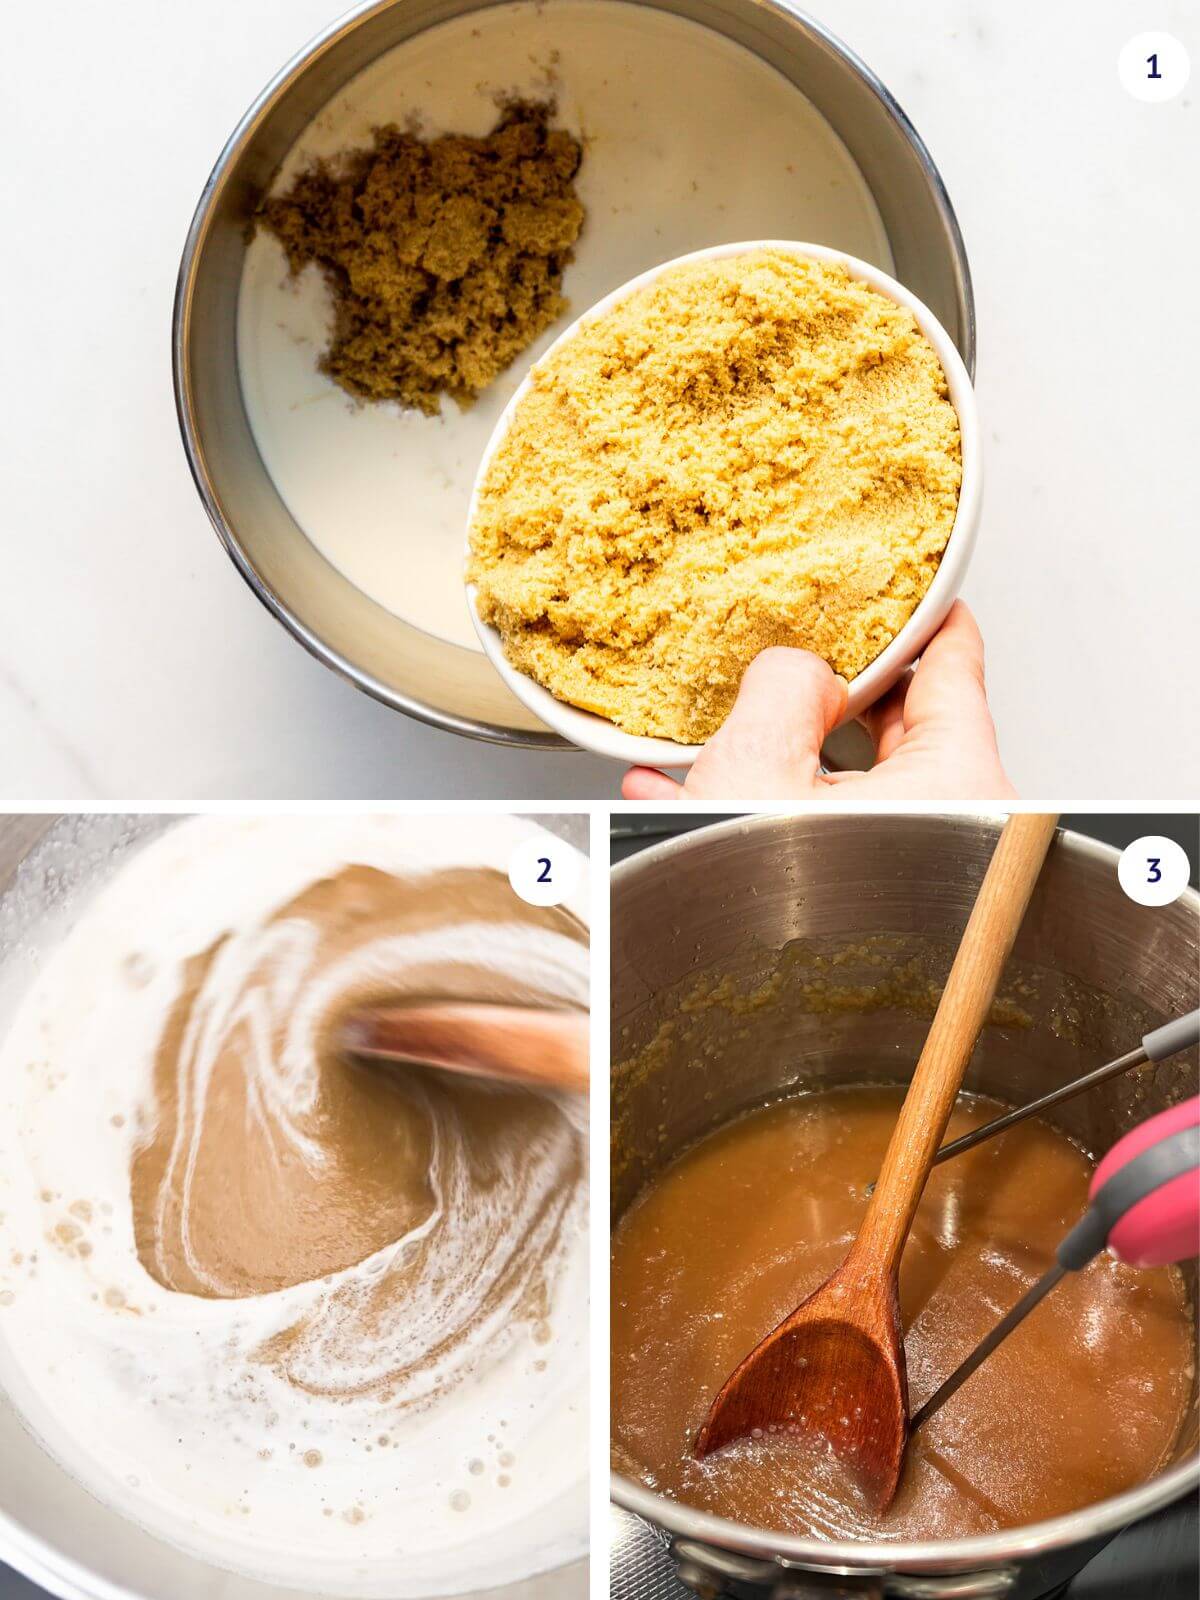
Step 1: Combine the ingredients in a medium saucepan (image 1) and heat over low heat to dissolve the sugars and form an even, homogeneous mixture (image 2). Stir the mixture with a wooden spoon as needed. Continue to heat the mixture on medium or medium-high. Boil the fudge mixture to 114-115 °C (237-239 °F), then immediately remove the saucepan from the heat and turn off the stove.
Note: At the end of this step, pour toasted nuts over top if using, but don't stir them in. This is also when you add chopped chocolate. Again, don't stir it in because it will burn. We want the fudge's residual heat to melt the chocolate on top, and we will stir it in later.
Step 2: Place the hot pan in a cold water bath. For example, fill your kitchen sink partway with cold tap water. Ice isn't necessary. You can let the mixture cool at room temperature, but it will take longer; without the bath, the fudge may continue cooking to a higher temperature than desired. A cold water bath is ideal for this step. Make sure you don't get water in the fudge, though!
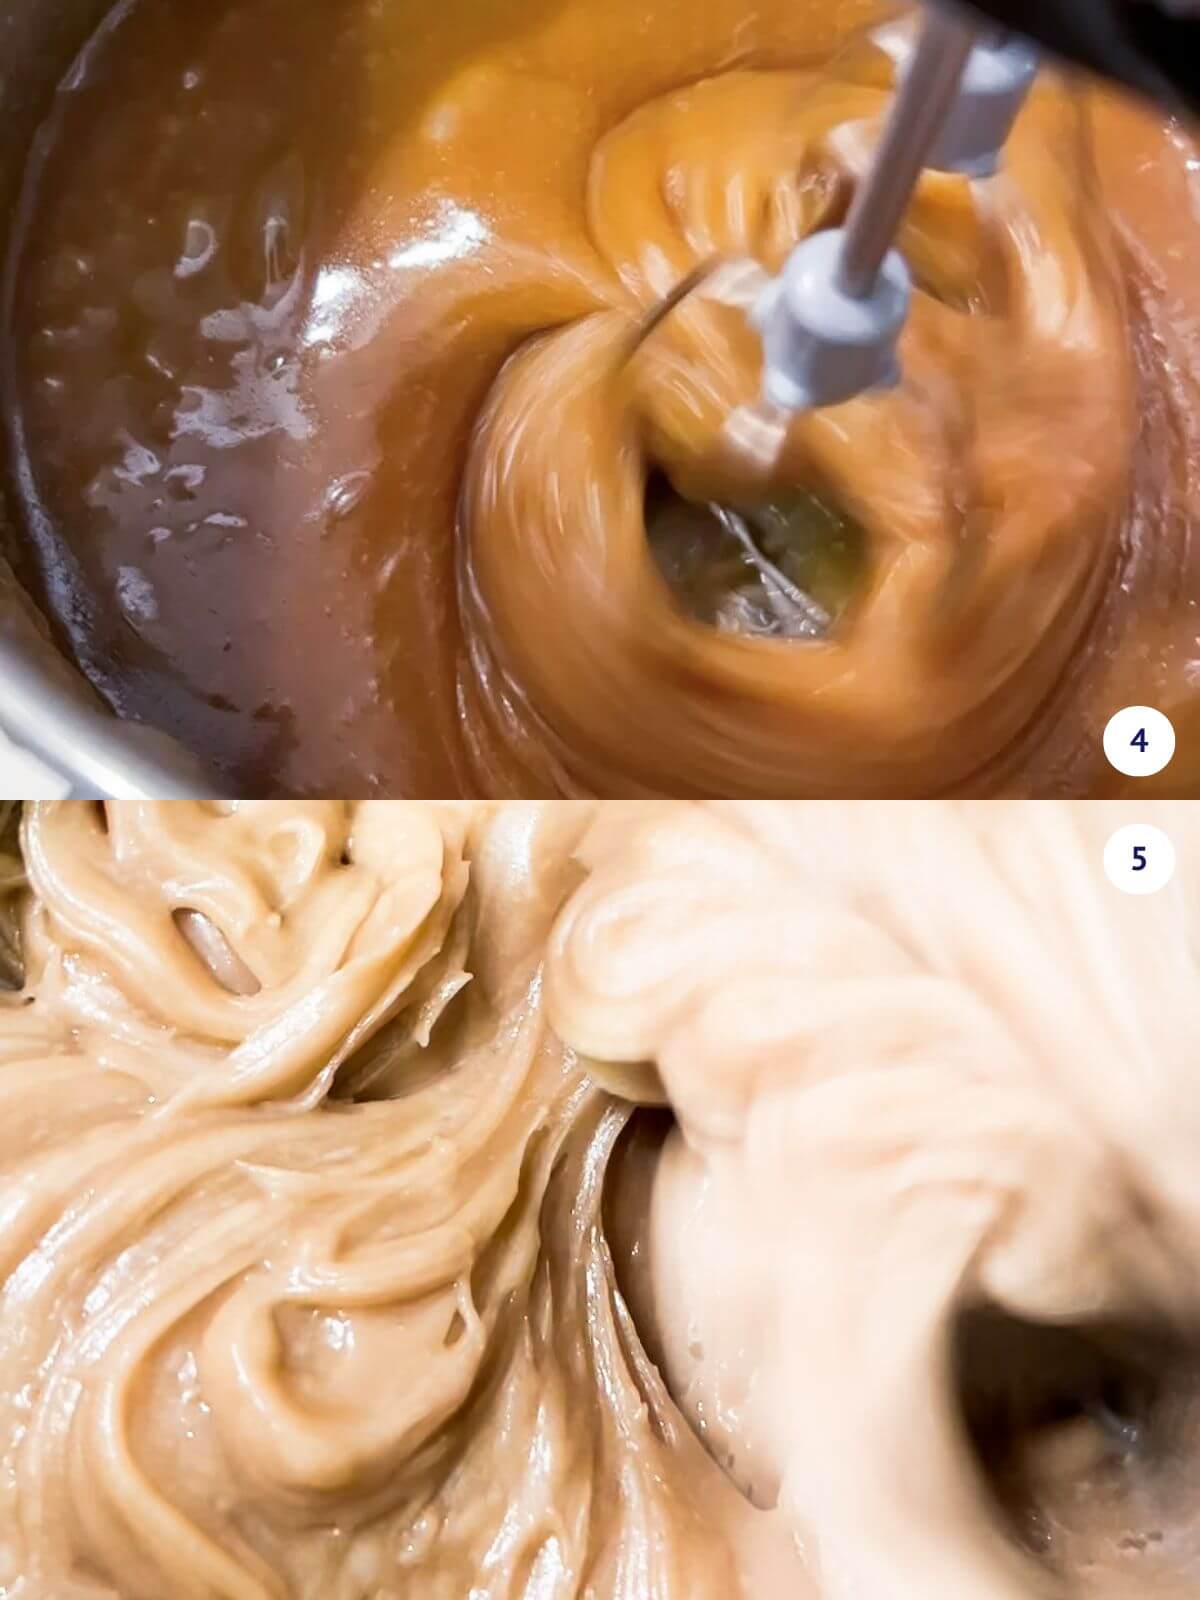
Step 3: Cool the fudge to 43-50 ºC (110-122 °F), basically around 45 °C (113 ºF). The fudge will still be translucent, but you may notice a little crystallization on the surface (image 4). Whip the fudge mixture until opaque, creamy, and lighter in colour (image 5)
Tip: Stir vigorously as soon as the fudge is below 50ºC until it loses it's lighter in colour, becomes opaque, and begins to thicken. This takes about 3 minutes.
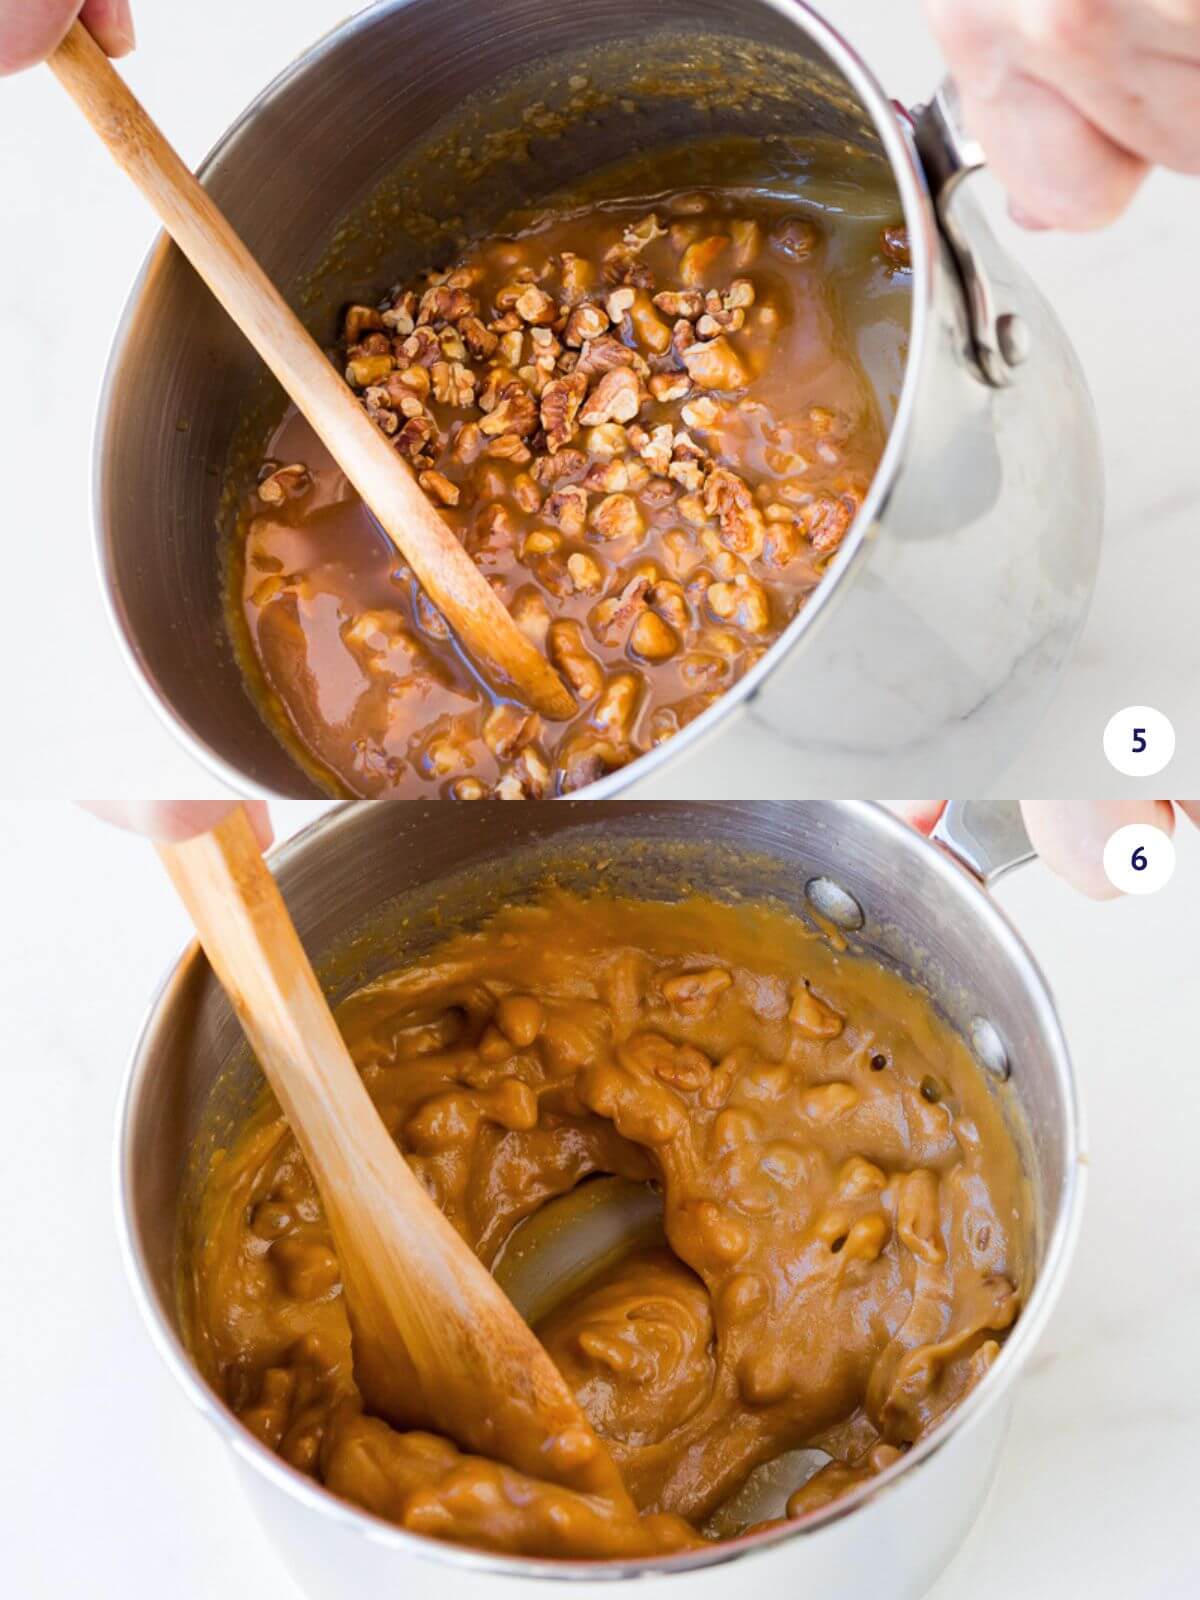
Alternative by hand: if stirring by hand, use your wooden spoon or spatula to rapidly beat the mixture so it goes from translucent (image 5) to opaque (image 6). The faster you stir, the finer the crystals and the lighter and creamier the fudge will be.

7
Step 4: Immediately pour the fudge mixture into the prepared pan and spread it out. Use the parchment overhang to help you spread and smooth the fudge from edge to edge with your hands (image 7). Let the fudge rest at room temperature for an hour or 2 until it's set. Once completely cooled and set, cut into small squares and store in an airtight container in the fridge.

Fudge-Making FAQs
Making fudge is really about controlling when and how the sugar crystallizes. If you make a mistake, the texture could end up too dry or too soft.

| Observation | Reason | Fix |
| Fudge too crumbly | Overcooked | Crumble it in a saucepan with up to 60 ml (¼ cup of 35 % cream). Heat to melt/dissolve the fudge, then bring to a boil and heat it to 114–115 °C (237–239 °F). Repeat cooling and whipping, then pour into a prepared pan to set. |
| Fudge too soft or not set | Undercooked | Put back in a saucepan with up to 30 ml (2 tablespoon of 35 % whipping cream). Heat the mixture to melt the sugar, then bring to a boil and heat to114–115 °C (237–239 °F). Repeat cooling and whipping, then pour into a prepared pan to set. |
| Fudge gritty or granular | Whipped too soon when hot | If you whip it when it's hot, the sugar will form bigger, coarse crystals and won't be smooth. It's important to wait until your fudge is below 50 ºC before stirring vigorously |
You likely overcooked the sugar mixture and boiled it too much. When making fudge, the temperature you cook the sugar to directly affects the fudge's texture. You are aiming to bring the sugar mixture to 115 ºC (240 ºF), which is the soft ball stage. At this temperature, you have evaporated just enough water to make firm fudge, but not so much water that the fudge is dry and crumbly, or brittle. If your fudge ends up dry, crumbly, or super granular, you overcooked it. If you boil fudge too long, your fudge will have a dry, crumbly texture
One reason your fudge might end up overcooked is if you don't act fast enough when it reaches the correct temperature of 114-115 °C (237-239 °F). As soon as it reaches this temperature, pull the pan off the stove immediately (before you even shut off the burner). Put the pan in a cold water bath fast. Otherwise, the heat might keep cooking the fudge. If the fudge mixture gets just a few degrees too hot (like to 118 ºC, or 244 ºF), it will be overcooked. It's best to have a water bath ready and act fast.
You can salvage overcooked, dry and crumbly fudge by breaking down the dry fudge and crumbling it, putting the fudge back in a saucepan with up to 60 ml (¼ cup of 35 % cream). Heat the mixture on medium-low and stir to melt/dissolve the fudge into a smooth mixture, then bring the mixture to a boil and heat it to 114-115 °C (237-239 °F). At that point you have to go through the steps of cooling the fudge and then stirring vigorously before pouring it out in a prepared pan to allow it to set.
The sugar mixture was undercooked. Just like you can overcook fudge, you can also undercook fudge. Undercooked fudge has too much water in it, so it doesn't set properly and the sugar doesn't crystallize as the sugar isn't concentrated enough. Undercooked fudge is soft and doesn't hold its shape as well when cut into pieces.
One of the reasons your fudge might end up undercooked is you that the fudge mixture wasn't cooked to a high enough temperature of 114-115 °C (237-239 °F). You need to boil the fudge mixture long enough so it reaches 114-115 °C (237-239 °F). At this temperature, much of the water has boiled off and the sugar is concentrated enough to crystallize and set properly when cooled. Some recipes will recommend a timeframe for how long to boil the sugar mixture, but I don't think this is a reliable method for making fudge because your stove is different than my stove. It might take me 20 minutes to reach 115 ºC but it could take you less time (or more time). This is why it's important to use a candy thermometer to make fudge and to monitor the temperature.
You can salvage undercooked, soft fudge that doesn't set by putting the fudge back in a saucepan with up to 30 ml (2 tablespoon of 35 % whipping cream). Heat the mixture on medium-low to dissolve/melt the sugar. Once you have a smooth consistency, then you can bring the mixture up to a boil and make sure to continue to heat the mixture until your thermometer reads 114-115 °C (237-239 °F), at which point you must cool the mixture back down before beating it.
If your fudge is too gritty, it could mean that you didn't allow the fudge mixture to cool enough: you beat it too soon and the crystals are too large. If you beat the fudge when it is too warm, the sugar will form bigger crystals and won't be smooth. It's important to wait until your fudge is below 50 ºC before stirring vigorously, just like when you are making homemade maple butter.
I hope this traditional maple fudge recipe is simpler and satisfies your maple fudge cravings. Remember it's quite important to use a good, reliable candy thermometer, preferably an instant-read thermometer, because the cooking and cooling temperatures are ESSENTIAL to making perfect fudge. If the temperature is off, your fudge may set too soft or end up too dry. All roads lead to something tasty, but getting the texture right is nice too!
More Maple Recipes
If you are looking for more to bake with maple, check out these maple syrup recipes.
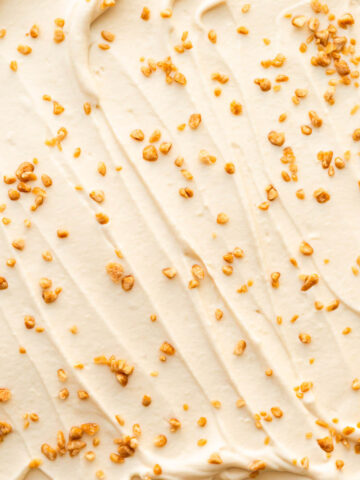
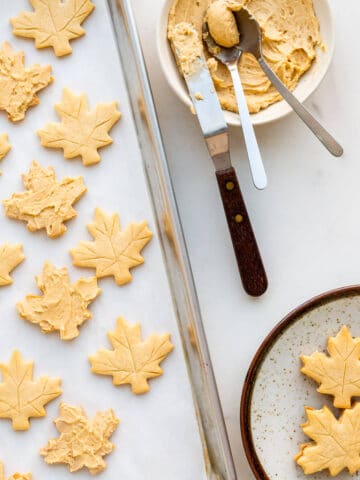
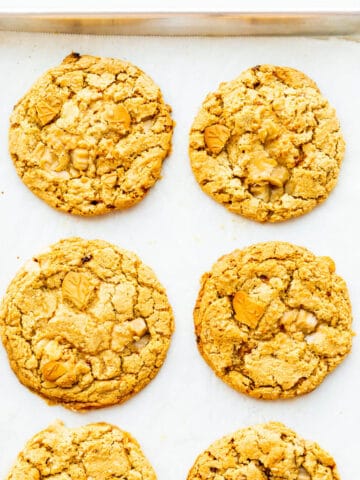
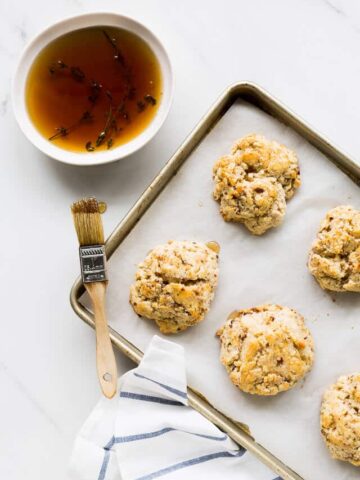
If you tried this recipe for the best maple fudge (or any other recipe on my website), please leave a ⭐ star rating and let me know how it went in the comments below. I love hearing from you!
📖 Recipe

Maple Fudge
Ingredients
- 250 mL whipping cream (35 % fat)
- 300 grams light brown sugar
- 50 grams granulated sugar
- 60 mL pure maple syrup
- 250 mL chopped walnuts toasted
Instructions
- Prepare an 8" x 8" pan by buttering it all over and then line it with parchment paper that hangs over two of the sides. Set aside.
- In a medium saucepan, heat the whipping cream, brown sugar, granulated sugar, and the maple syrup on medium-low, stirring constantly with a wooden spoon. When the sugars have dissolved, stop stirring. Continue heating the mixture until it reaches 239ºF (115ºC), then take the pan off the heat.
- Pour the nuts over the hot fudge mixture and let rest at room temperature for another 20 minutes to cool slightly (alternatively, you can set the pan in a shallow bowl of cold water for 10 minutes). You want the fudge temperature to drop to below 50ºC and this is best measured with a probe thermometer which takes faster readings than older candy thermometers.
- Stir the fudge mixture for 3 minutes with a wooden spoon, until it becomes quite thick, opaque, light in colour, and has lost some of its shine. Quickly transfer the fudge mixture to the prepared 8" x 8" pan, pushing it into the corners and smoothing it out as fast as you can. Use the parchment overhang to press down and smooth the surface.
- Let the fudge set for 1 hour minimum at room temperature before cutting it into small pieces.
Notes
- This maple fudge recipe uses a combination of sugars. You could make it with pure maple syrup or maple sugar and replacing all the other sugars with it, but this is expensive. Only attempt to use pure maple syrup if you are experienced and have practiced with a combination of cheaper sugars.
- The nuts are optional. Add them after cooking before stirring. Don't stir them in because you may initiate crystallization too soon in the process, resulting in gritty fudge.
- You can use pecans or walnuts, preferably toasted.
Explore More With AI
Nutrition
Nutrition information is automatically calculated and should only be used as an approximation.


Susan Sobon says
Would this work the same with canned coconut milk or cream?