
Learn how to make the best brown butter Rice Krispies treats with this easy gluten-free recipe. These no-bake puffed rice bars are made with salted butter that is browned and enhanced with milk powder for extra flavour before melting in marshmallows to create a flavourful and deliciously gooey, chewy salty-sweet treat that grownups and kids love.
Years ago, I attempted to make Rice Krispies treats for the first time in my life, and I am a little embarrassed to admit that I failed miserably at what should be a very easy no-bake dessert recipe. I overheated the marshmallows which led to puffed rice squares that were so crisp they were hard to bite through.
After years of avoiding making them, I finally faced my fears recently and tried again, perfecting my version to create the most flavourful bars with browned butter while also paying more attention to how to do each step properly to achieve perfect Rice Krispies squares.
Below you will find what you need to make the best Rice Krispie treats and step-by-step photos and instructions so that you don't make the same mistakes I did!
Jump to:
Ingredients
This recipe has a couple more ingredients than the Classic Rice Krispies treats recipe to create a more complex flavour that even adults will love. Here's what you need:
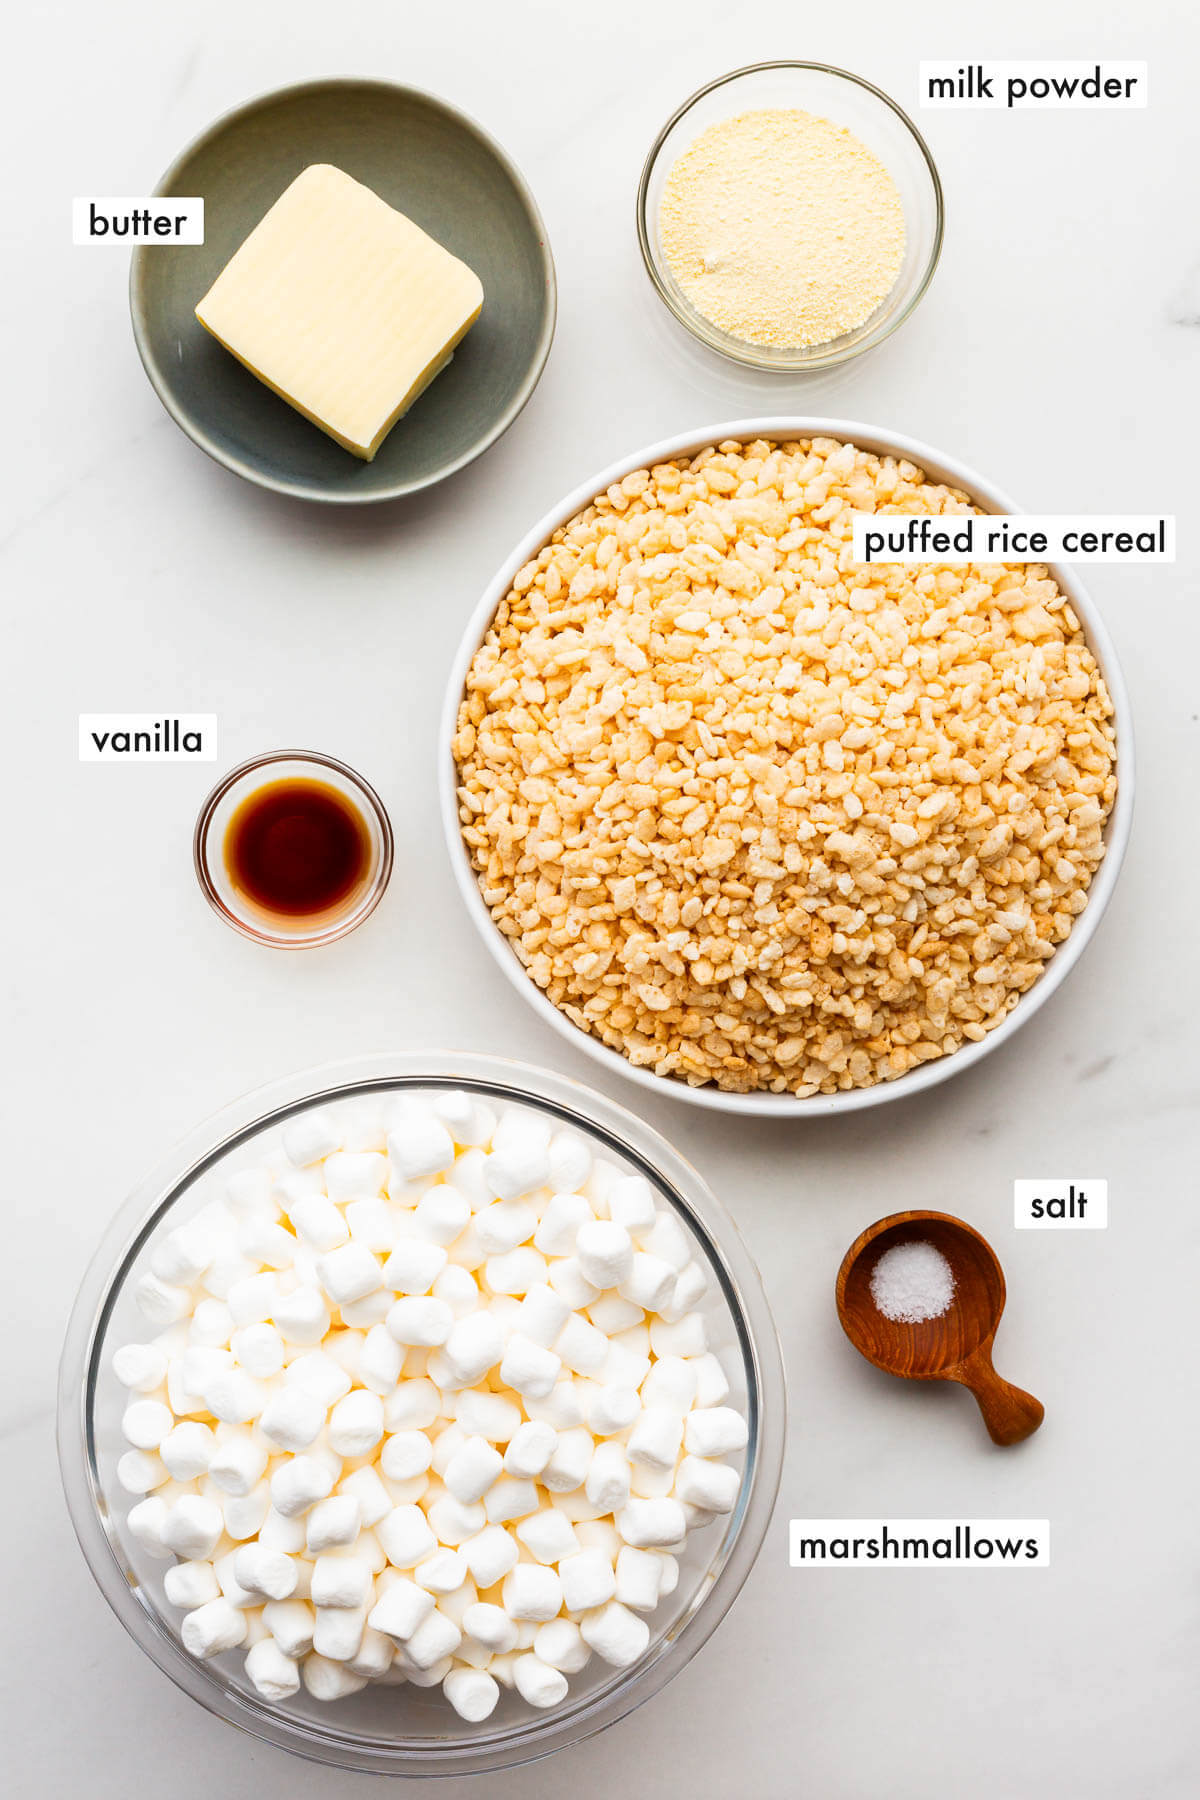
- butter-I like to make Rice Krispies treats with salted butter, but unsalted will also work
- milk powder-it's optional, but powdered milk enhances the flavour of the butter creating a more flavourful brown butter. I used fat-free milk powder for this recipe
- vanilla-use pure vanilla extract for a more refined complex flavour
- salt-I use Diamond Crystal fine Kosher salt. If using table salt, add half the amount
- marshmallows-I prefer to use mini marshmallows because I find they melt more easily and faster without overheating them.
- puffed rice cereal-I prefer to use name-brand Rice Krispies, but honestly any brand will work.
Please see the recipe card for the exact ingredients and quantities.
Substitutions and Variations
These no-bake treats are simple to make. Here are a few ways to change up the recipe:
- Cereal - You could actually make this recipe with any puffed cereal, like Corn Puffs or puffed wheat (as is popular in Saskatchewan).
- Dairy-free - use vegan butter in place of regular butter but you will not be able to brown it the way you can cow's butter
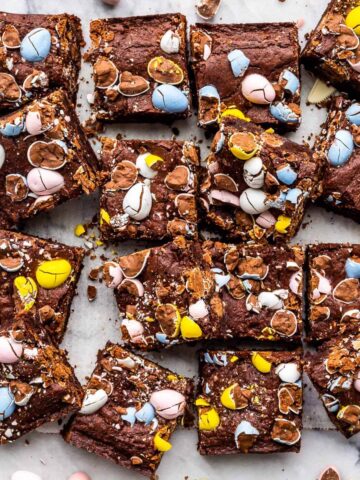
- Chocolate - you can fold chocolate chips or chopped Mini Eggs at the end before transferring the mixture to the pan to create Easter Rice Krispies treats
- Berries - fold in freeze-dried strawberries or raspberries before transferring to the pan to create berry Rice Krispies treats
- Peanut butter - add a couple of tablespoons of peanut butter (up to ½ cup) to the browned butter and melt it in before adding the marshmallows to create peanut butter Rice Krispies treats
Instructions
These puffed rice bars are so easy to make! If you've never made it, please read about how to make brown butter before attempting this recipe. Here's how you make perfect Rice Krispie treats every time:
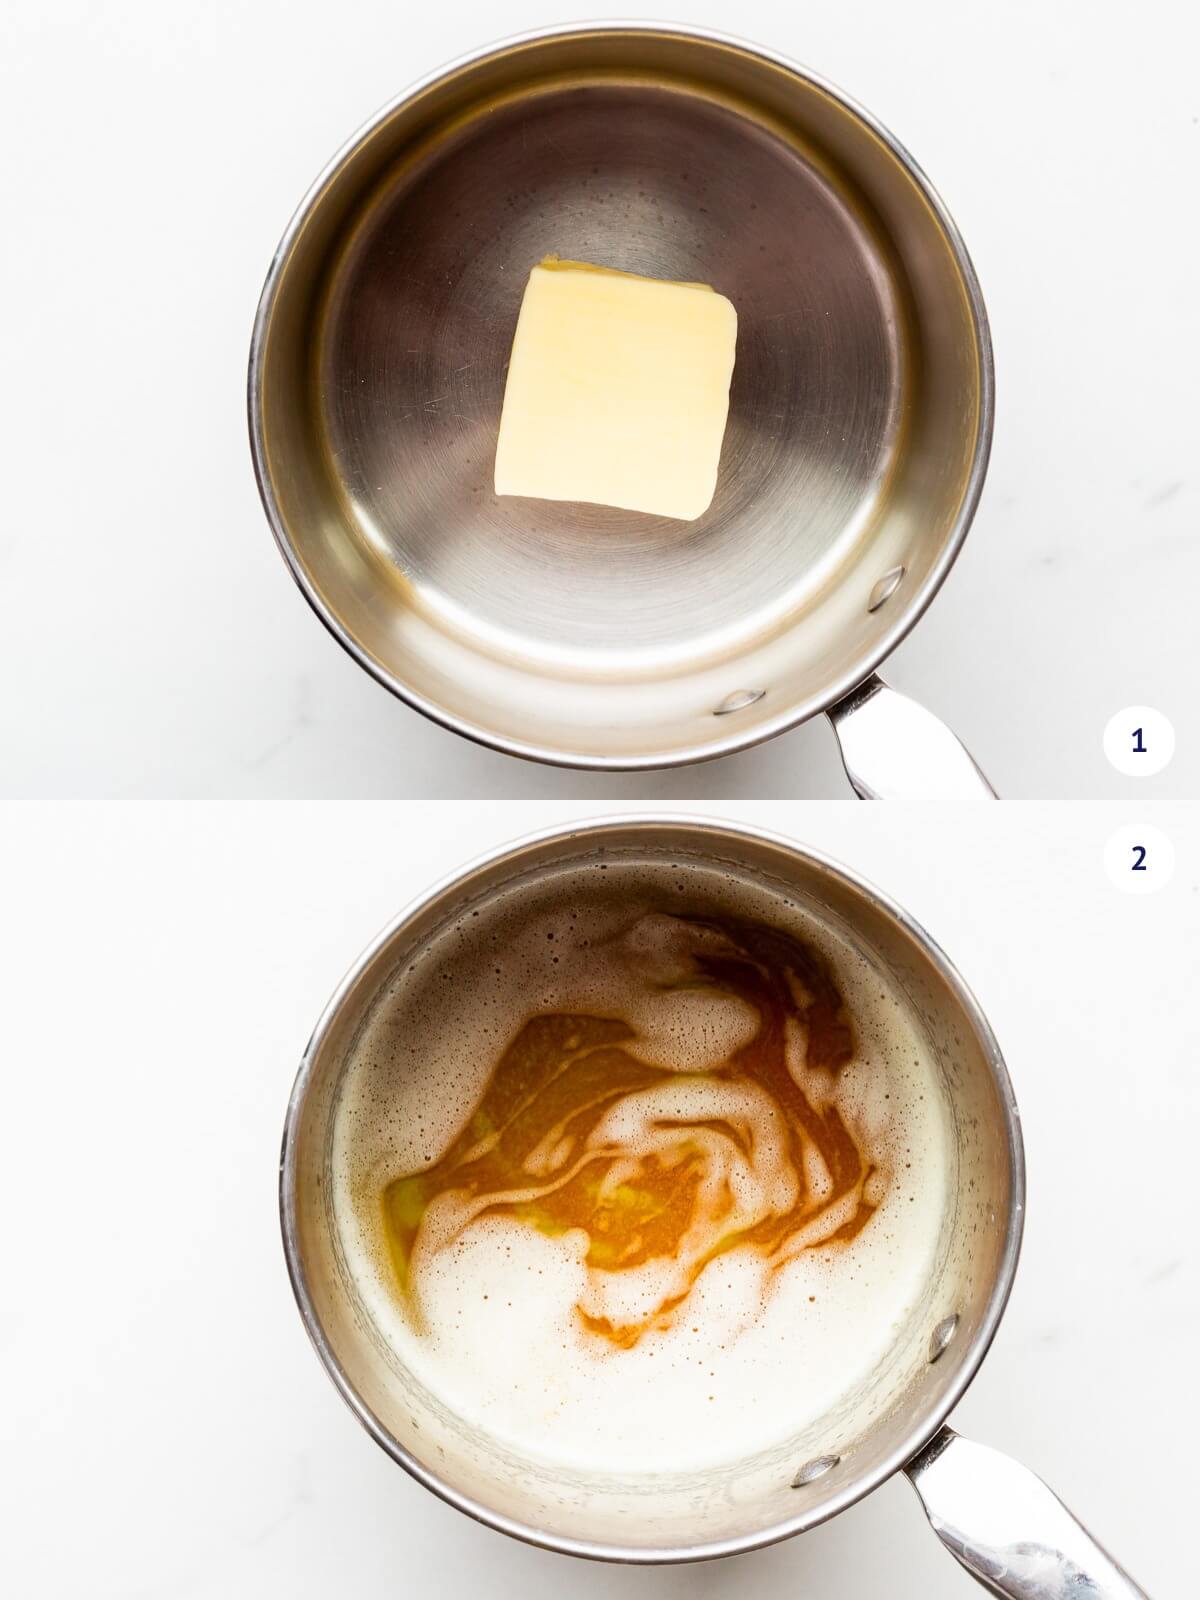
Step 1-Place the butter in a large saucepan (image 1) and melt it on medium heat, continuing to cook it until the milk solids begin to turn golden brown (image 2). The butter will smell nutty at this stage.
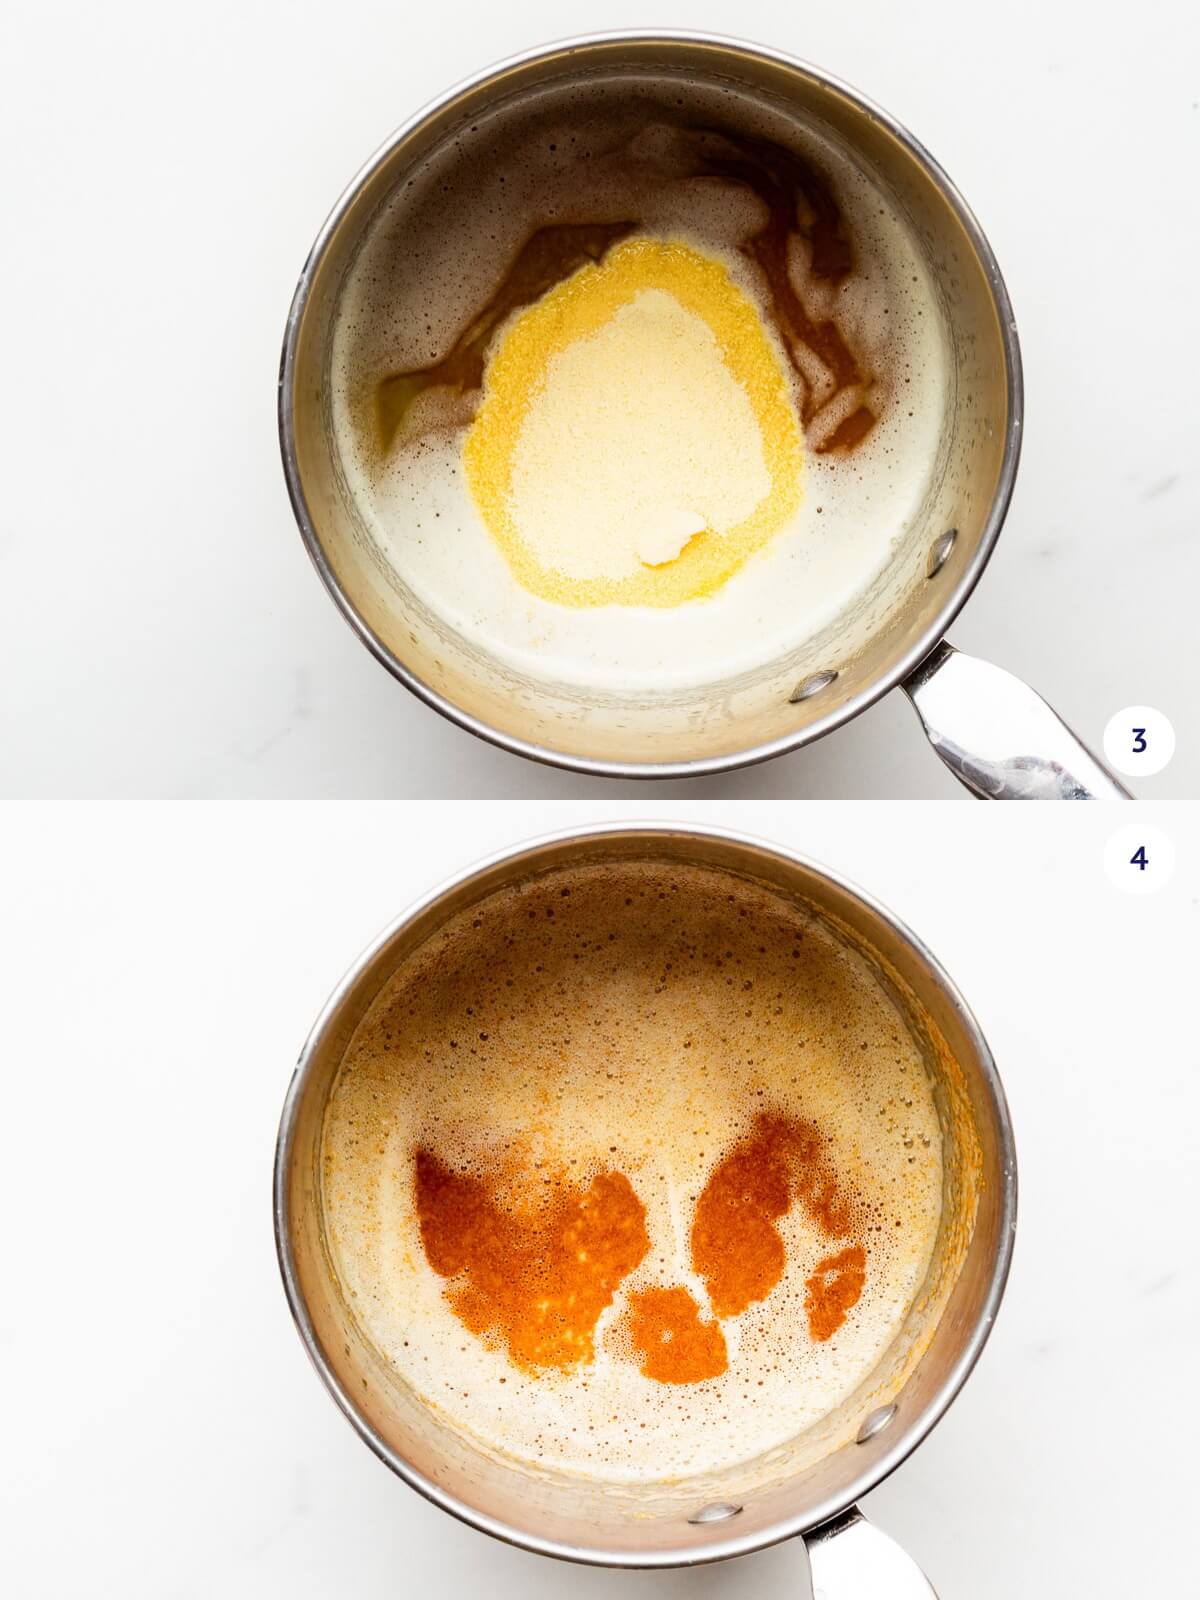
Step 2-Add the milk powder (image 3) and continue cooking the mixture on low heat, stirring constantly, until the mixture turns a golden brown colour (image 4).
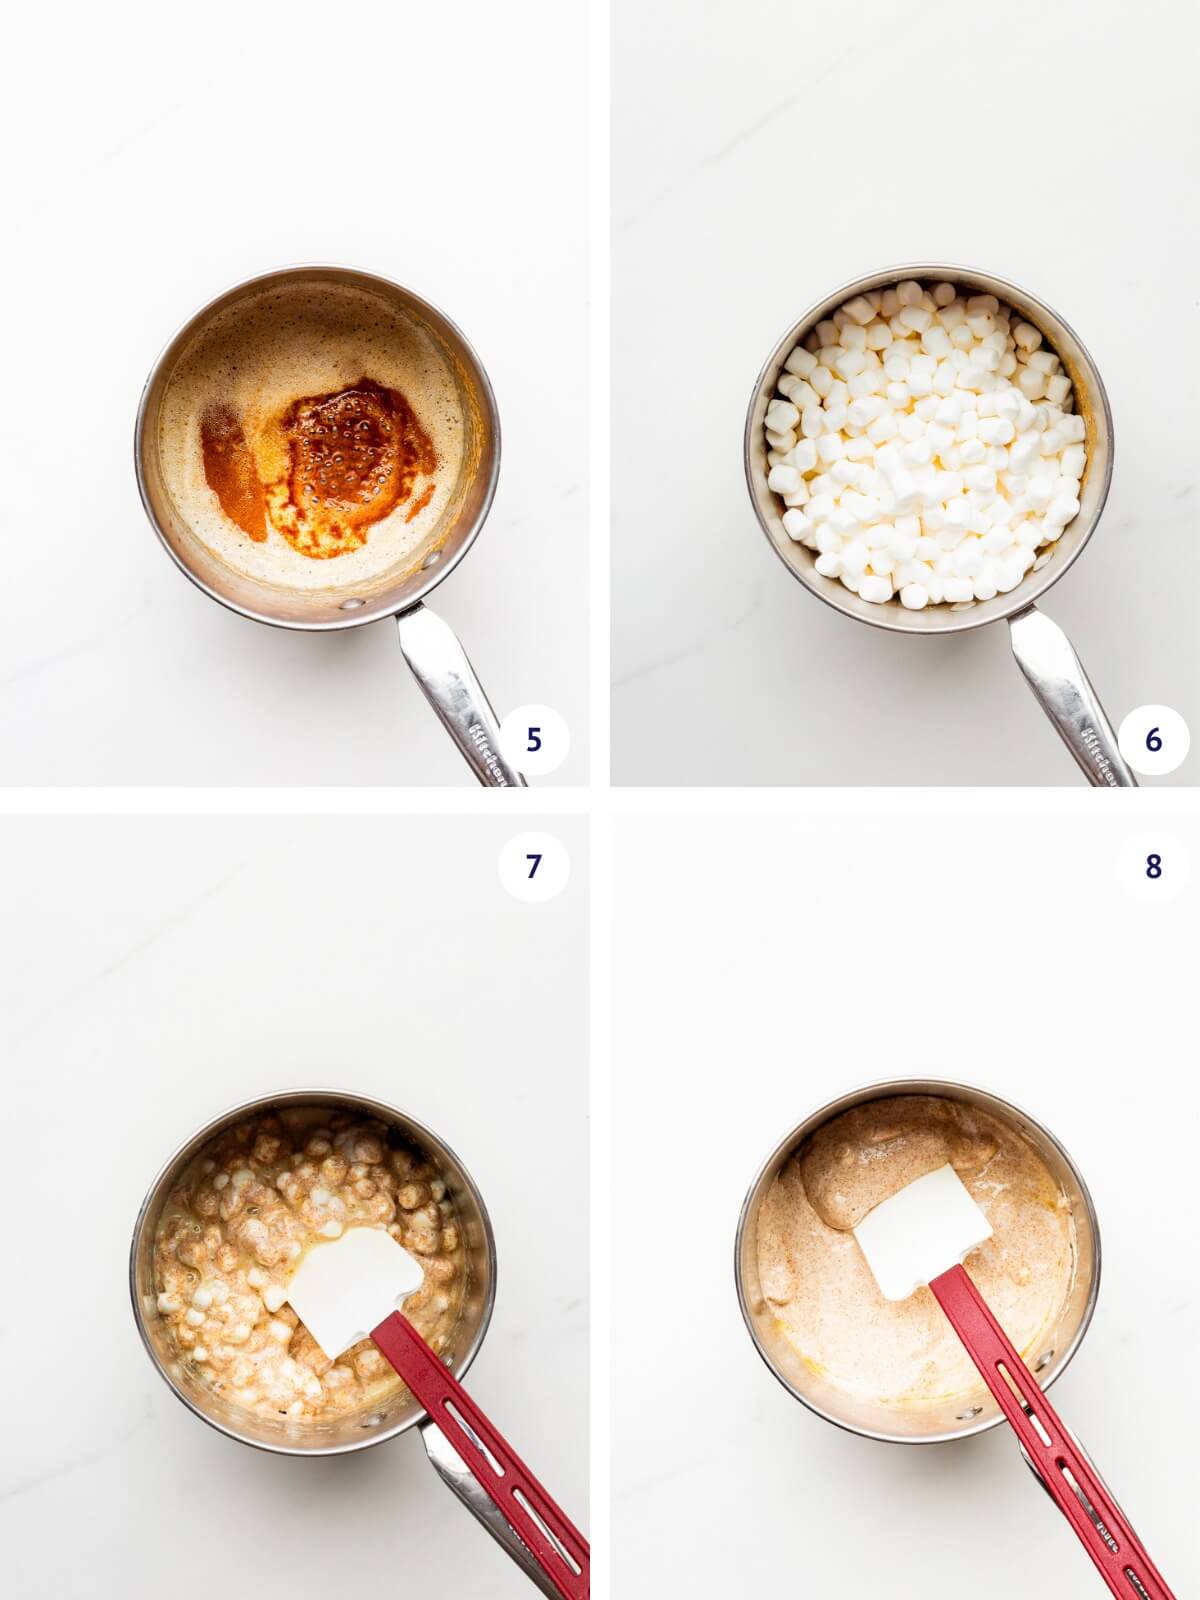
Step 3-Take the pan off the heat and add the vanilla and salt (image 5) and then the marshmallows (image 6). Stir the marshmallows in, which will gradually melt (image 7). Continue stirring until the melted marshmallow and butter mixture is fairly uniform and smooth (image 8).
Tip: it's very important not to overheat the mixture once you've added the marshmallows. If you overcook them, they will become crunchy and hard, making the Rice Krispies treats hard to bite through.
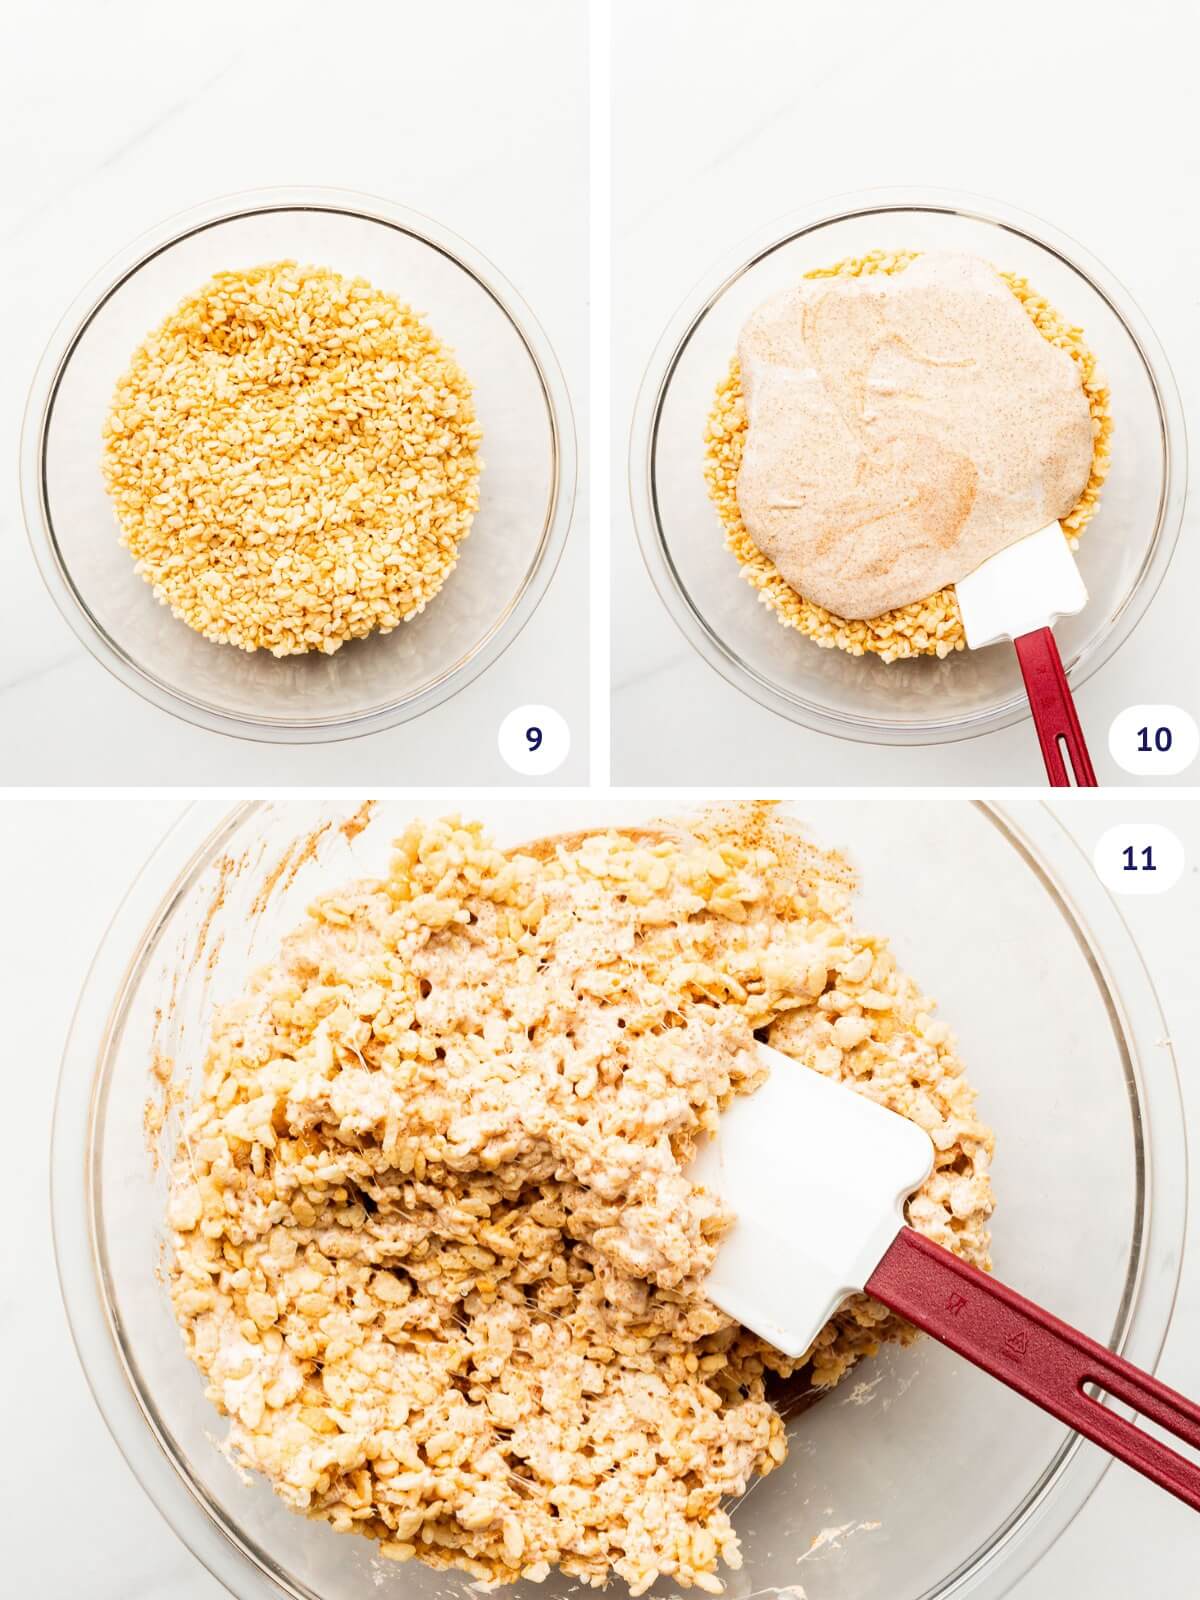
Step 4-Place the puffed rice cereal in a large bowl (image 9) and add the melted marshmallow mixture (image 10). Stir everything together with a spatula, gently, until combined and evenly mixed (image 11). Fold everything together being sure to lift the Rice Krispies from the bottom of the bowl to the top to ensure they are all coated in marshmallow.
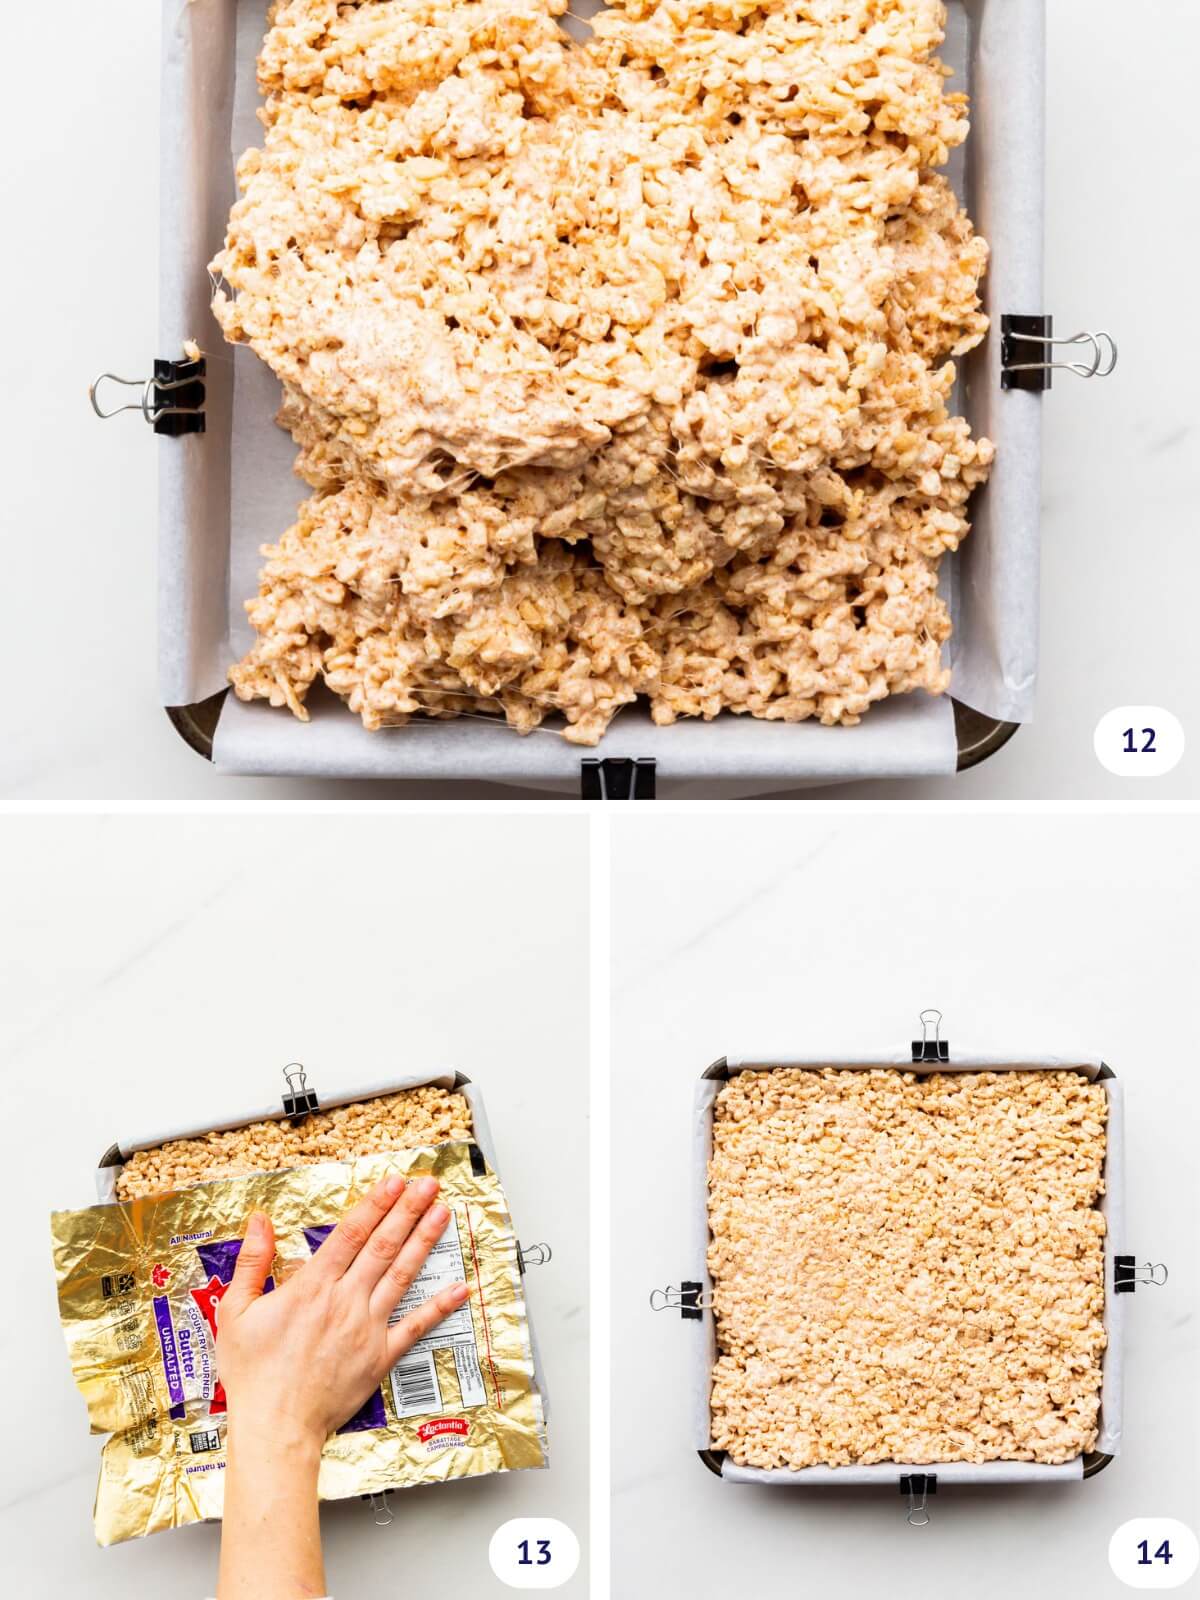
Step 5-Transfer the mixture to a square pan lined with parchment paper (image 12). Press the mixture lightly to even it out from edge to edge (image 13). Let the pan sit for one hour at room temperature until firm (image 14).
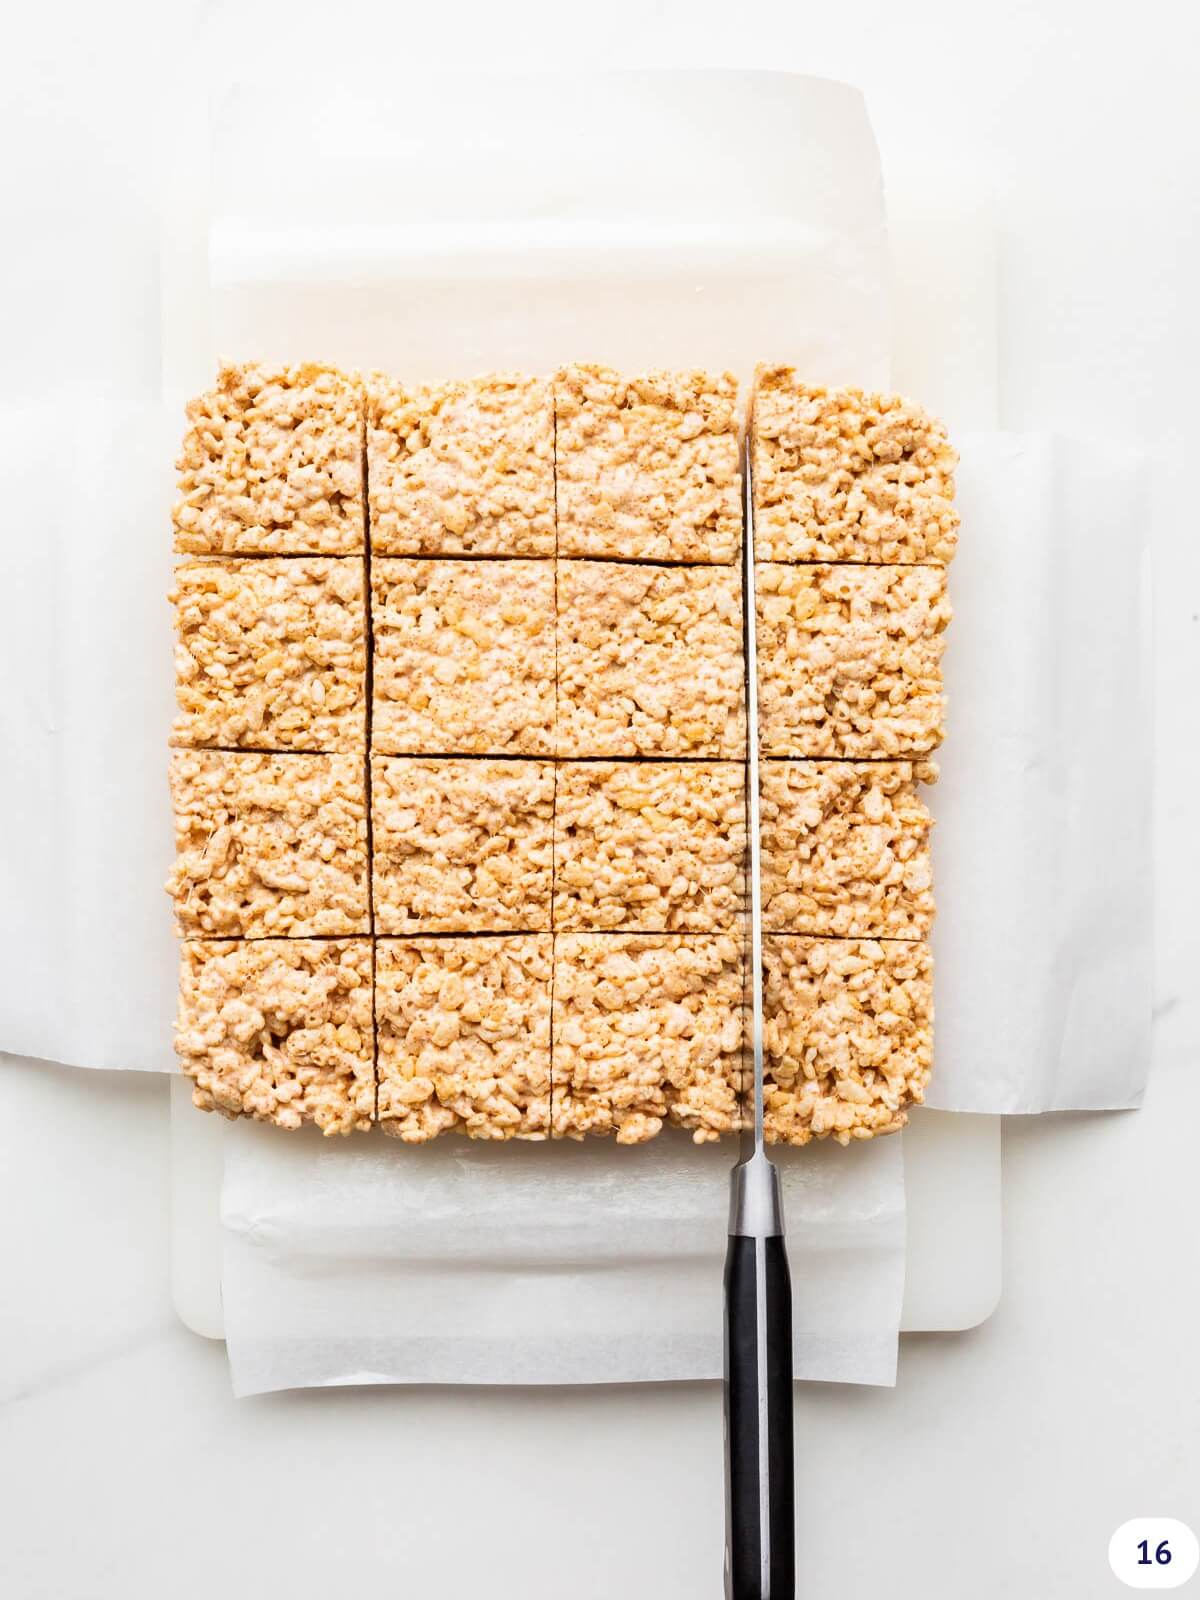
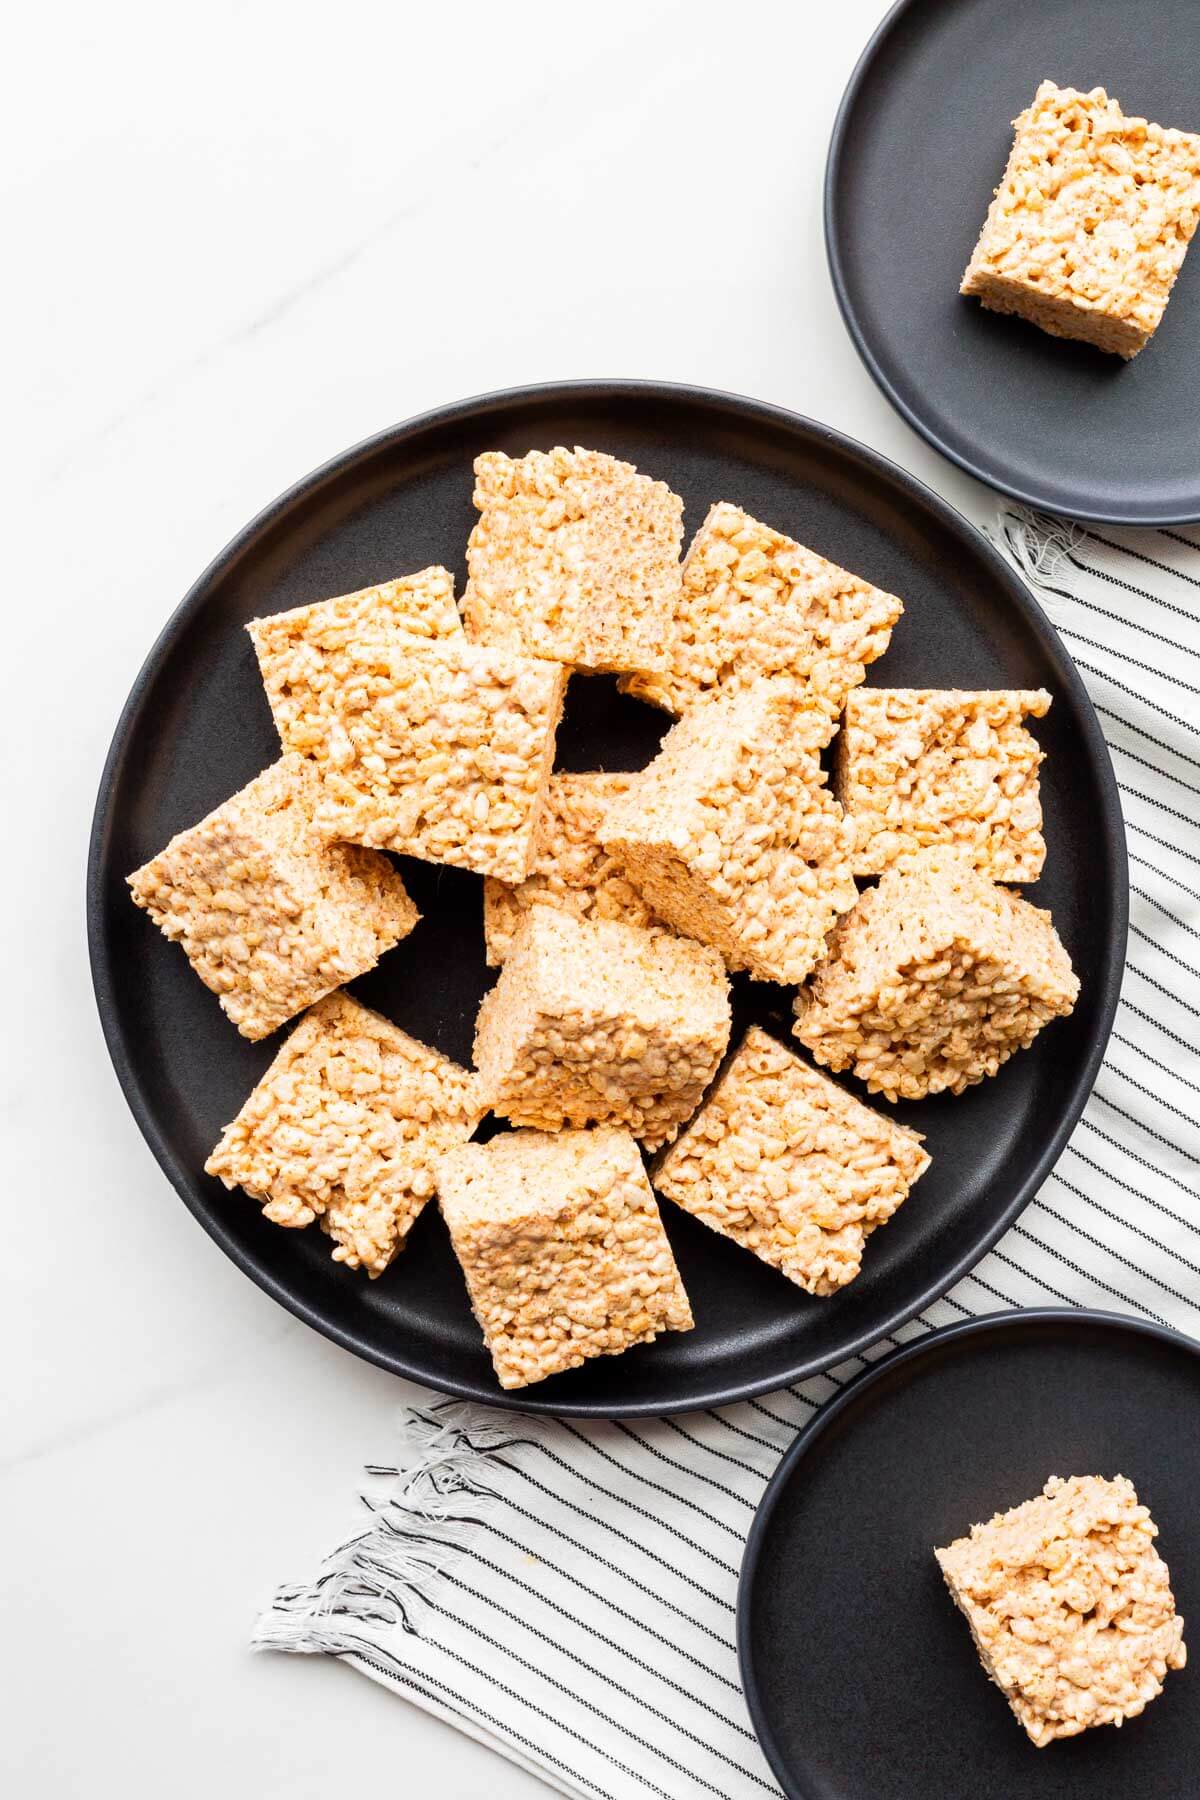
Step 6-Lift the Rice Krispie treats out of the pan and set them down on a cutting board to cut them into 16 equal squares (image 16).
Hint: Use a ruler or measuring tape to cut the pan of bars into equal squares after unmoulding them from the pan.
Storage
Store homemade Rice Krispies treats in an airtight container in a cool dry place.
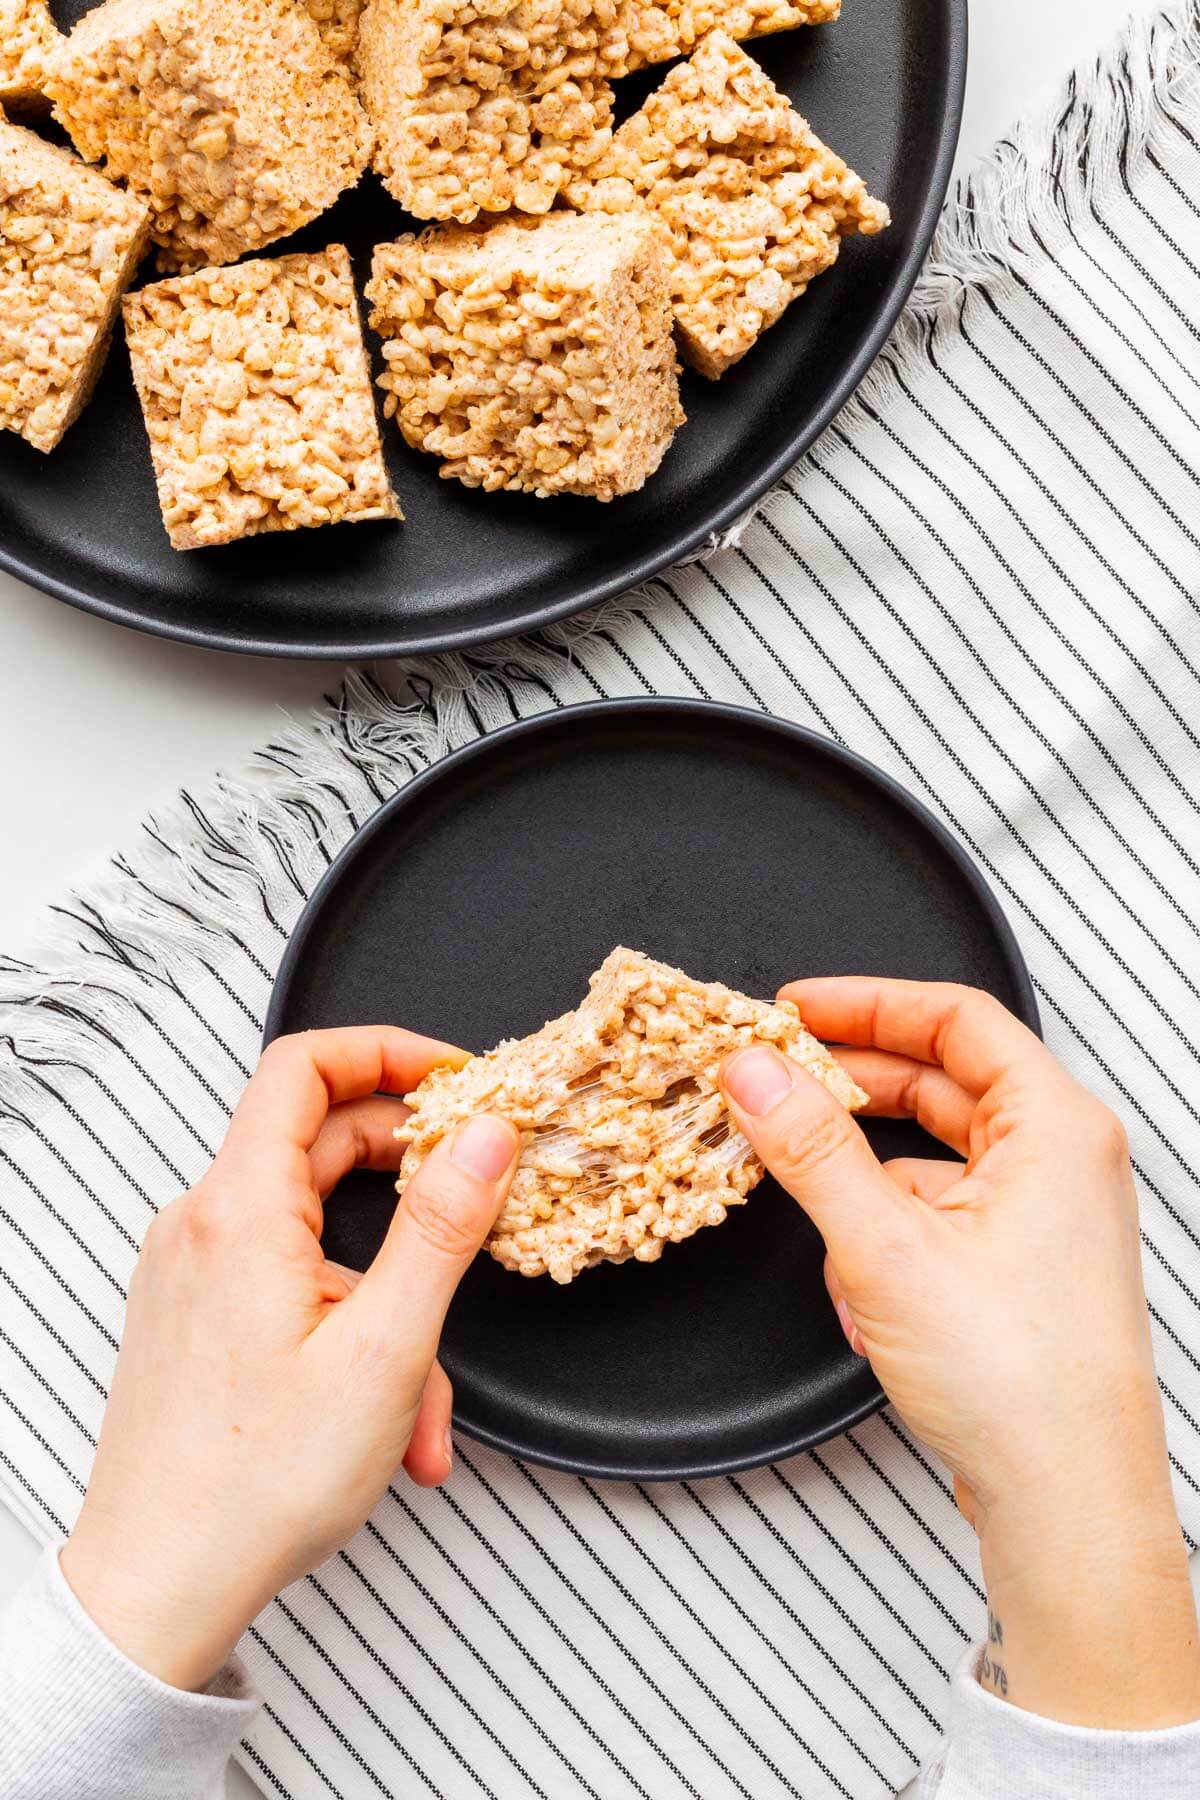
The Secret To Gooey Rice Krispies Treats
If you want soft, chewy, gooey Rice Krispies Treats, turn off the heat of the stove and melt the marshmallows off the heat, using only the residual heat of the pan of melted (browned) butter. This residual heat is sufficient to melt all the marshmallows without overcooking them.
Overcooked marshmallows cause crunchy, overly hard Rice Krispies treats that are hard to bite and chew. This can happen if you keep the pan on the stove and continue to heat the mixture of marshmallows and butter (or heat them too high) which creates a more crunchy, brittle marshmallow texture that isn't very pleasant to bite.
Related
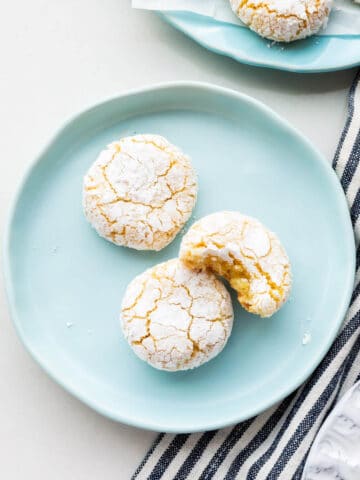
If you'd like to see more gluten-free desserts, try these:
If you tried this recipe for salted brown butter Rice Krispies treats (or any other recipe on my website), please leave a ⭐ star rating and let me know how it went in the comments below. I love hearing from you!
📖 Recipe

Salted Brown Butter Rice Krispies Treats
Equipment
Ingredients
- 115 grams salted butter
- 25 grams nonfat dry milk powder
- 5 mL pure vanilla extract
- 1.25 mL Diamond Crystal fine kosher salt
- 300 grams mini marshmallows
- 160 grams puffed rice cereal I like Kellog's Rice Krispies
Instructions
- Prepare a square 8x8-inch (20x20-cm) pan by lining it with parchment paper in both directions, creating overhangs. You can clip them in place with small binder clips. You can also lightly butter the parchment paper to ensure no sticking. Set aside.
- Place the butter in large saucepan and heat it on medium to melt it and then brown the milk solids.
- Add the milk powder to the browned butter and continue heating on low heat stirring constantly until the additional milk powder turns golden brown.
- Take the pan off the heat and add vanilla, salt, and marshmallows. Stir to melt the marshmallows completely, creating a smooth, even mixture.
- Pour the marshmallow mixture over the Rice Krispies in a very large mixing bowl and fold everything together to combine as evenly as possible. You want all the cereal to be coated in melted marshmallow.
- Immediately transfer the mixture to the prepared pan and press it down from edge to edge to even it out and smooth it out a little. You can do this with the palm of your hand and a piece of parchment or leftover butter wrapper (the marshmallow sticks to the paper a bit, but it's not too bad).
- Let sit for 1 hour to firm up before unmoulding onto a cutting board and cutting into 16 squares. Store in an airtight container.
Notes
- There are a few ways to modify this recipe:
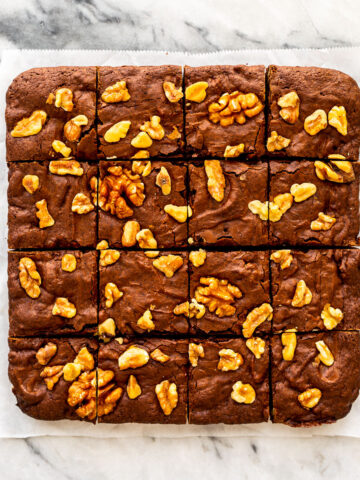
- Add nut butter: replace half the butter with ½ cup of smooth peanut butter to create peanut butter Rice Krispie treats, adding it after the butter has browned to melt it in.
- Change the cereal: replace puffed rice with the same weight of puffed wheat or your favourite puffed cereal (like Corn Puffs)
- Add chocolate: you can fold chocolate chips or chopped Mini Eggs at the end before transferring the mixture to the pan to create Easter Rice Krispies treats
- Add berries: fold in freeze-dried strawberries or raspberries before transferring to the pan to create berry Rice Krispies treats
- If using regular table salt, add half the amount to avoid the treats being too salty.
- Use an 8x8x2-inch pan if you can - shorter pans don't necessarily have enough height to accommodate all the Rice Krispies treat mixture.
- This recipe calls for Diamond Crystal fine Kosher salt. If using regular table salt, add half the amount or the recipe may be too salty!
Explore More With AI
Nutrition
Nutrition information is automatically calculated and should only be used as an approximation.

Catharine says
Easy peasy. Thanks