

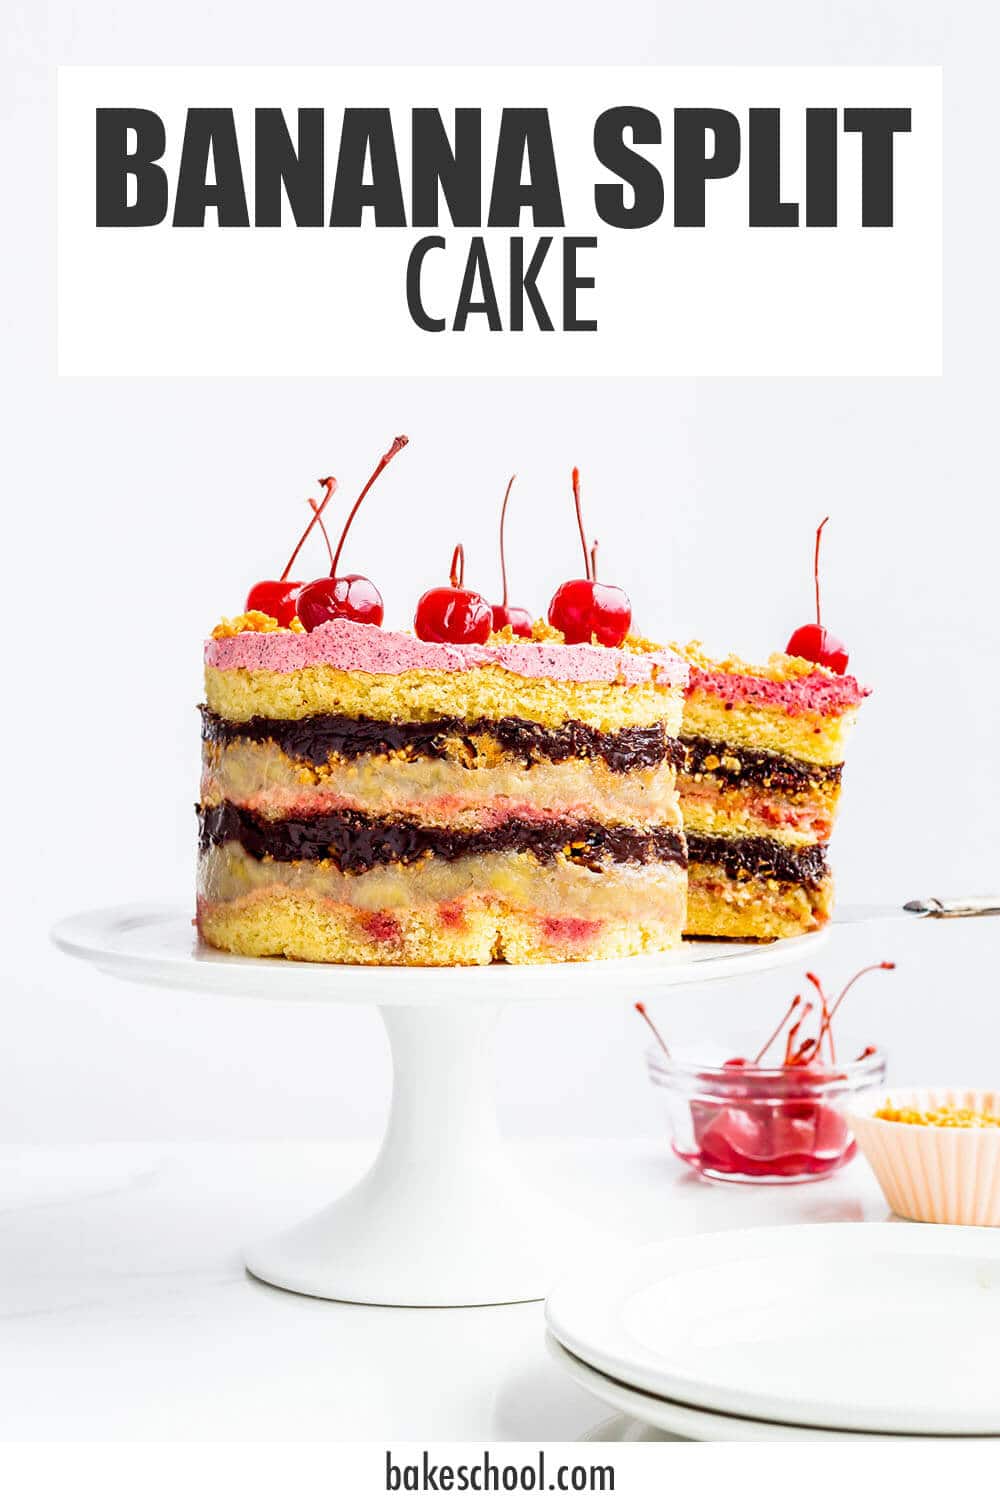
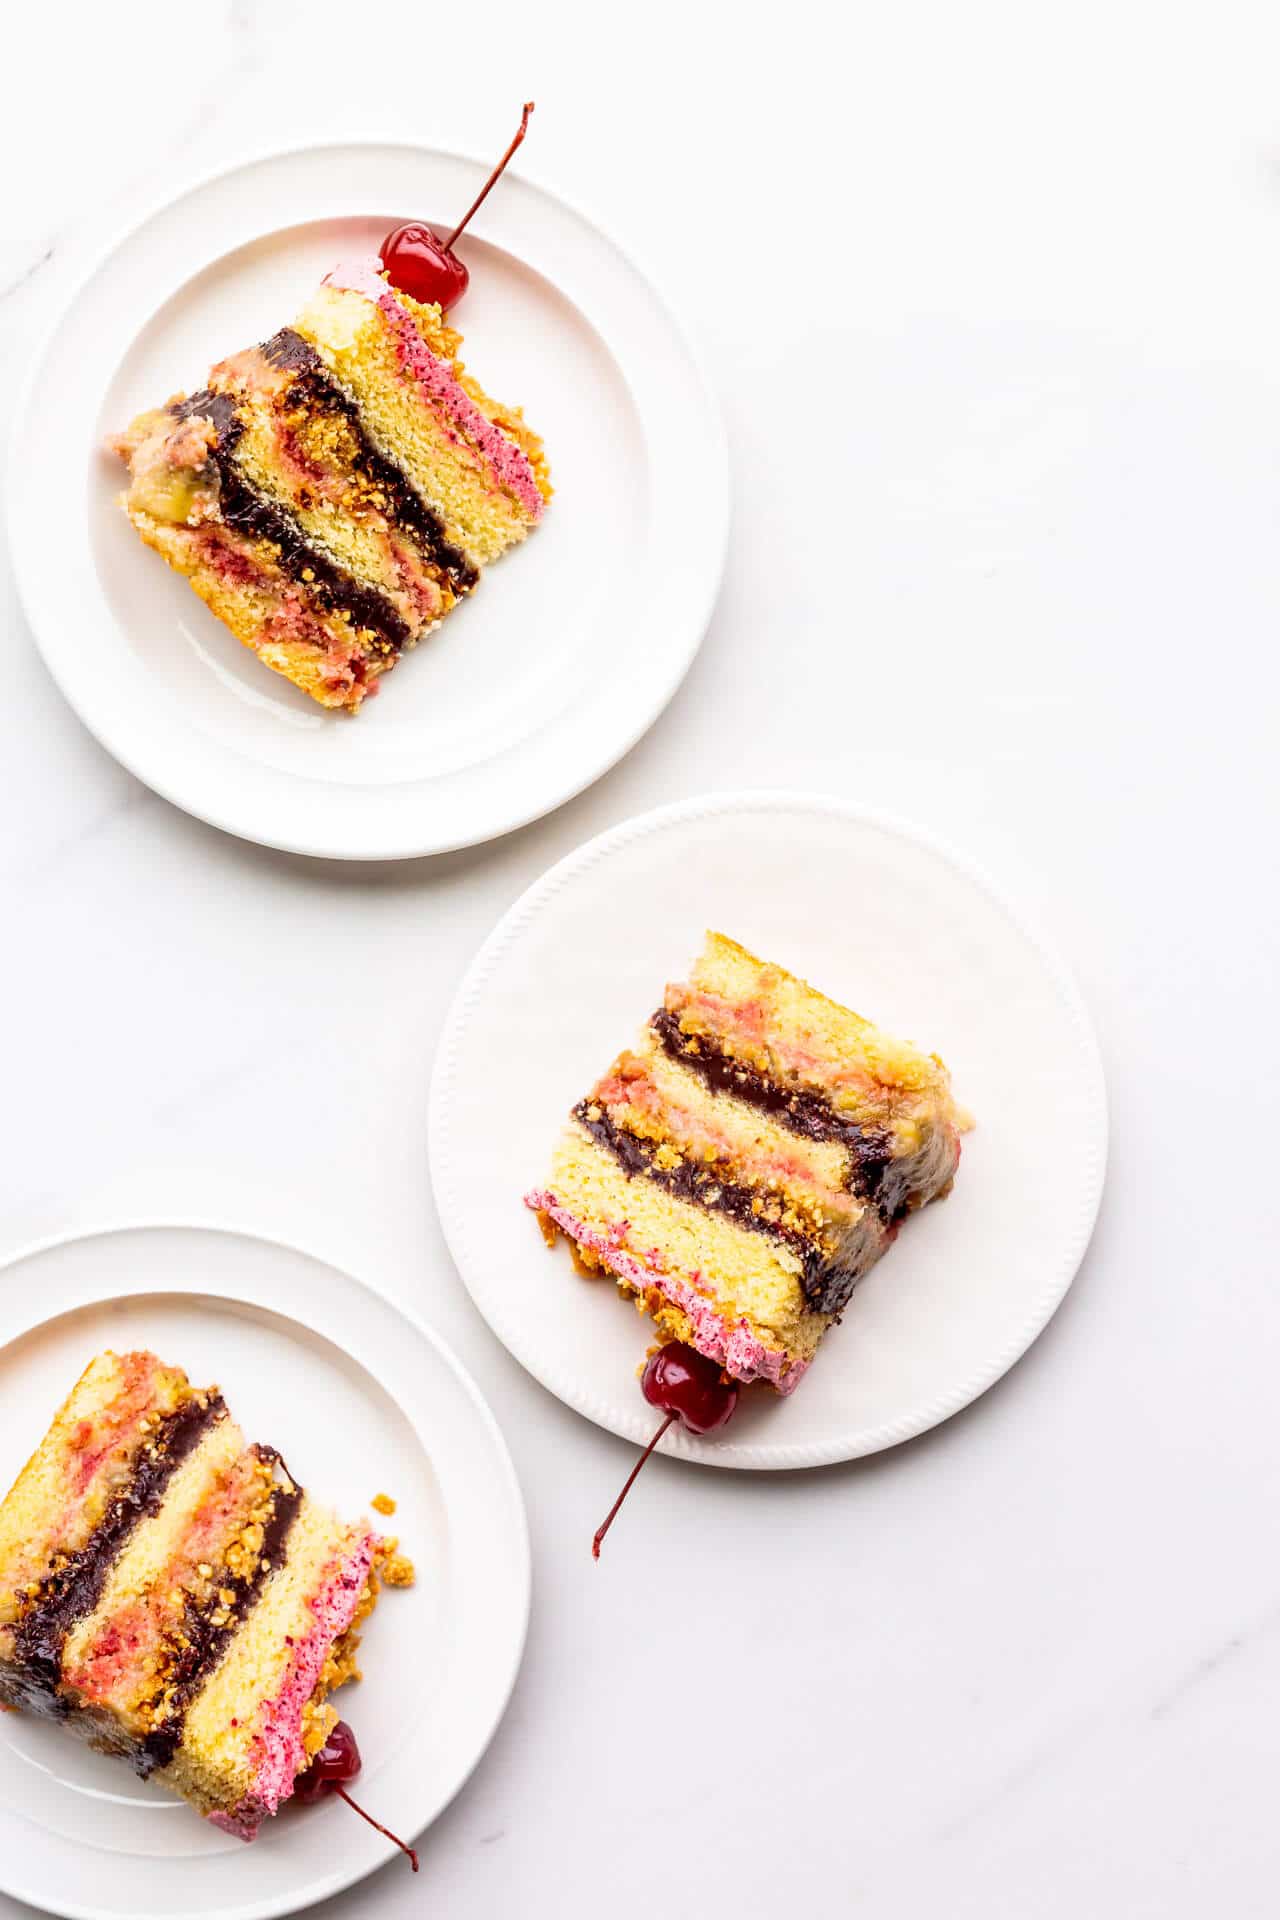
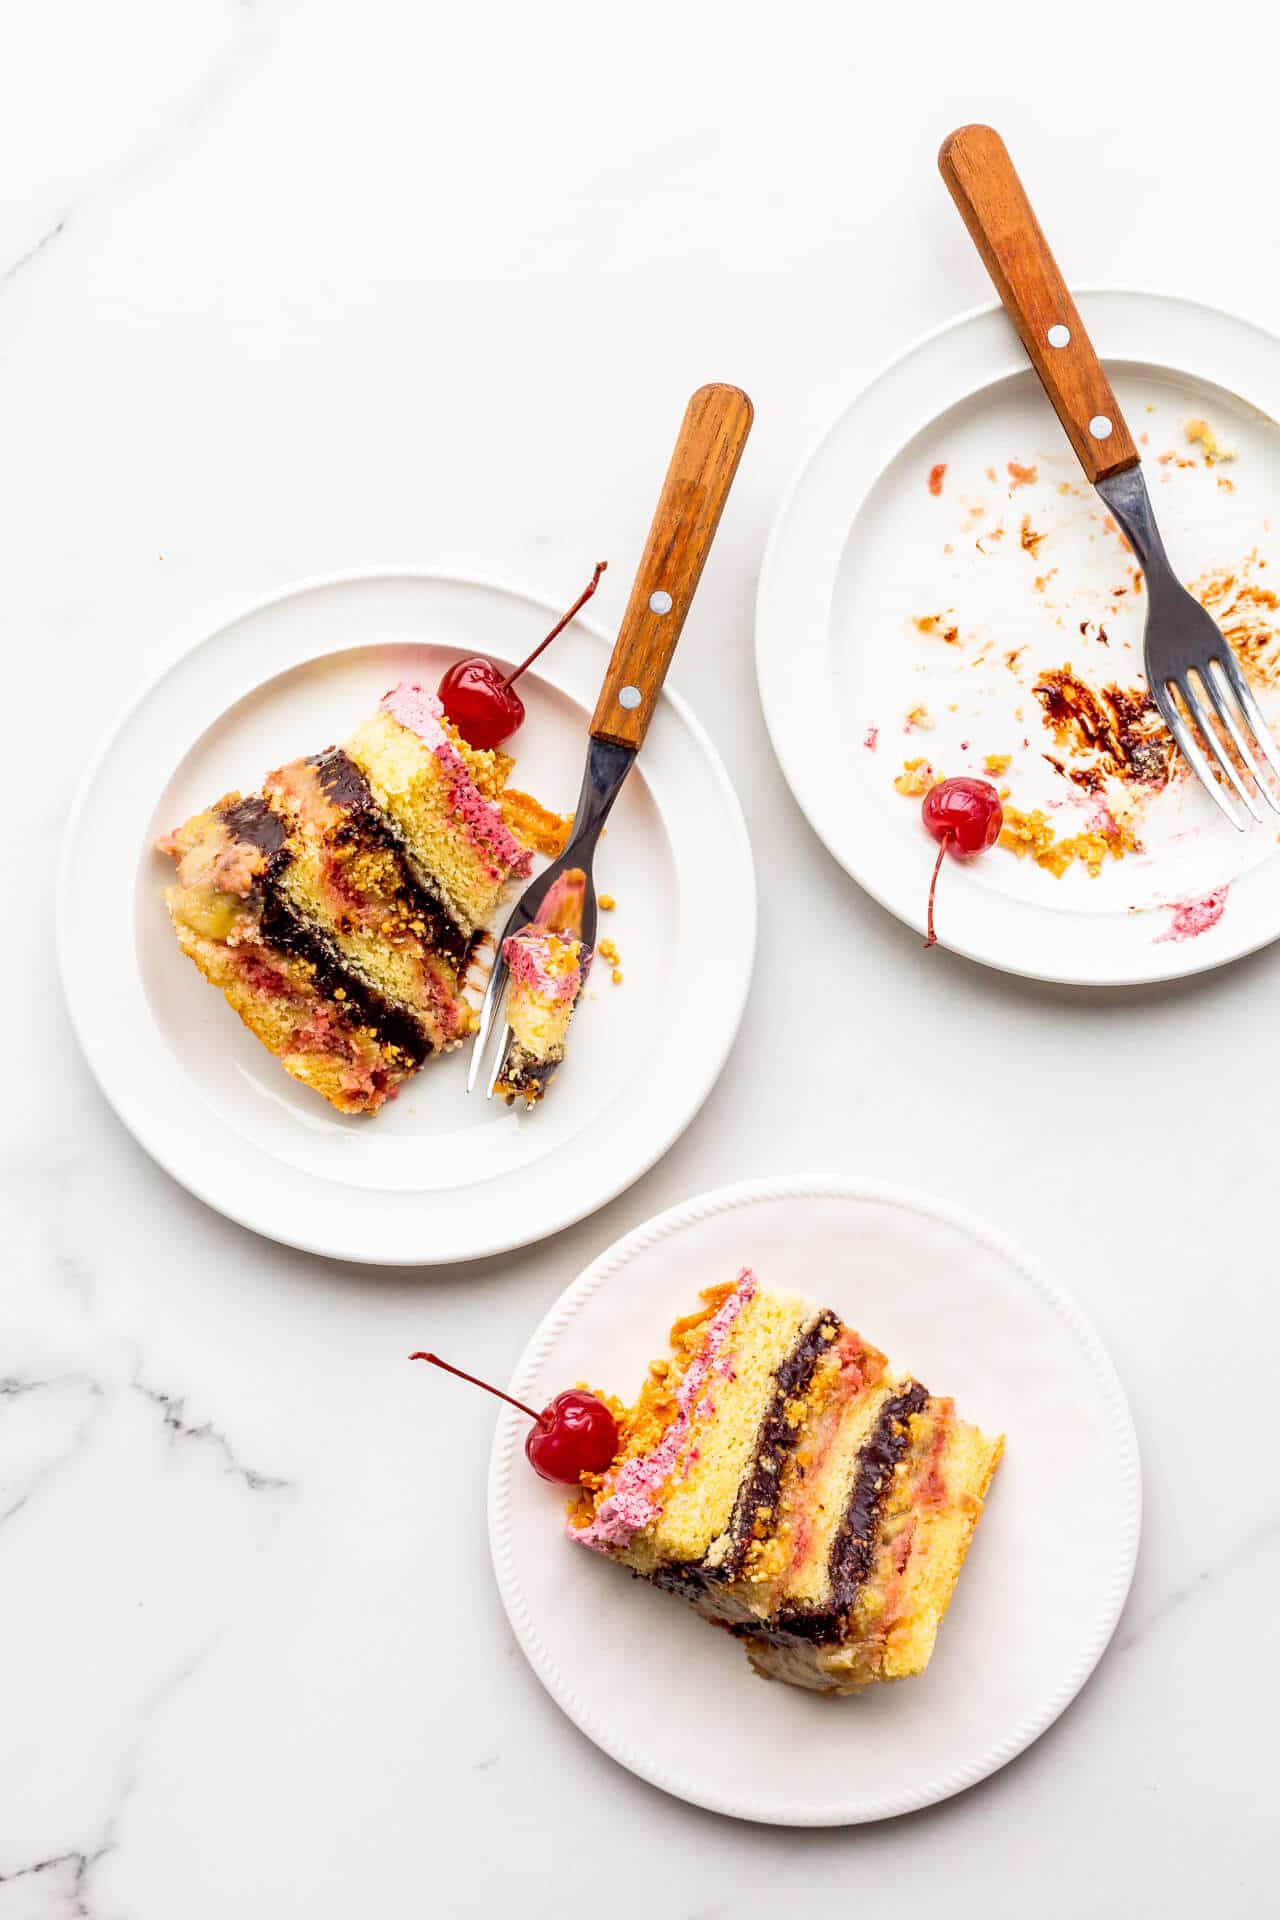
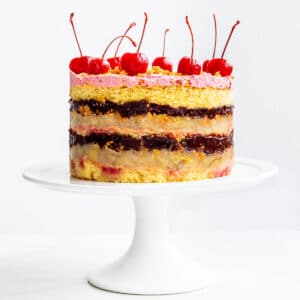
This banana split cake is made with fluffy vanilla cake layers brushed with a cherry pomegranate cake soak, and then stacked with sautéed bananas, peanut crunch, and chocolate fudge sauce. The cake is topped with a layer of cherry strawberry frosting and maraschino cherries.
What is a banana split?
A banana split is a classic American ice cream dessert where a banana is split in half, lengthwise, then topped with three scoops of ice cream, vanilla, chocolate, and strawberry. The dessert is drizzled with chocolate fudge sauce, strawberry sauce, or even pineapple topping, and then garnished with dollops of whipped cream, maraschino cherries, chopped nuts, and even sprinkles.
Ways to turn it into a layer cake
There are so many ways you can translate a banana split into a layer cake. The goal is to pinpoint the key flavours of the classic dessert in order to incorporate them into a layer cake
Here are a few ideas:
- For the cake layers, you can use vanilla cake, banana cake, chocolate cake, or even strawberry and/or cherry cake.
- For the fillings, you can use:
- sliced bananas and incorporate them as is, or sauté them in butter and brown sugar to soften them.
- chocolate fudge sauce or salted caramel sauce
- fruit fillings, like strawberry jam or pineapple compote
- For the frosting, you can flavour it with vanilla extract or go with bolder flavours, incorporating nut butter or even freeze-dried berries.
- For the toppings, chopped nuts or nut crunch work well, as do Milk Bar milk crumbs or berry milk crumbs, and maraschino cherries, the classic topping for most ice cream sundaes and desserts.
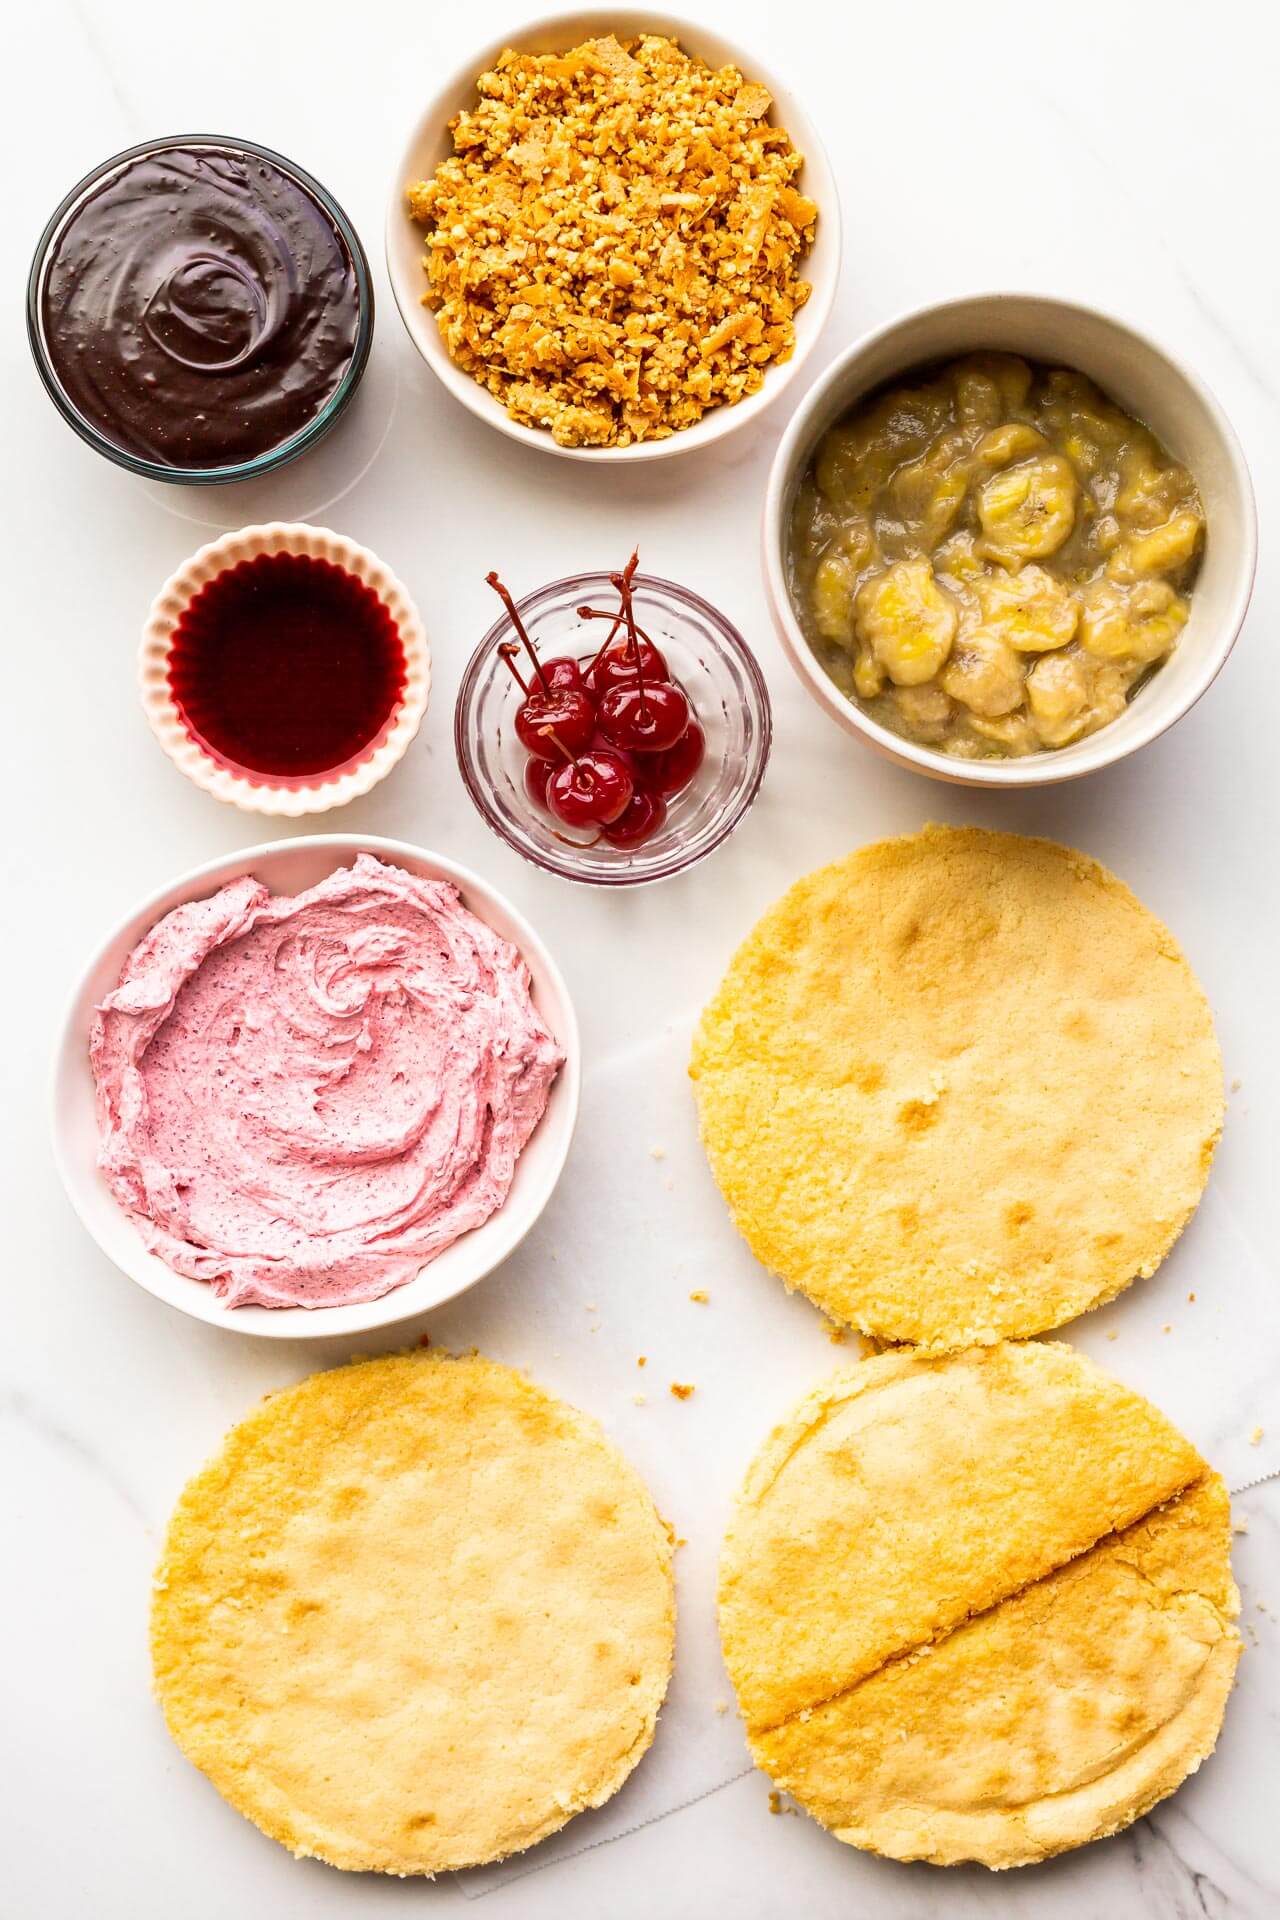
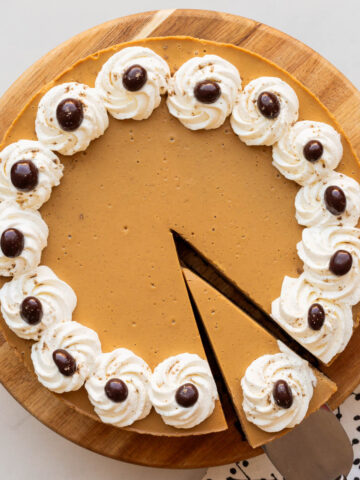
After testing out a few combinations with these components, I felt like the combination that best represented the banana split is a vanilla cake with a cherry-pomegranate soak, sautéed bananas, peanut crunch, chocolate fudge sauce, cherry-strawberry frosting, topped with maraschino cherries.


Most of the components for this layer cake are adapted from either Christina Tosi's first book Milk Bar, available on Amazon, or her third book All About Cake, also available on Amazon. I highly recommend both books.

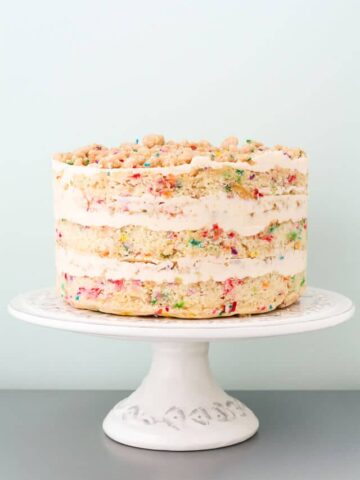
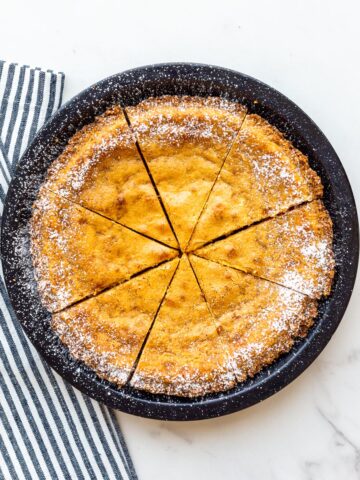
The layers of cake are cut out from a large vanilla sponge sheet cake. This is the secret to achieving the flawless "naked cake" look with no golden brown edges to be seen. Tosi isn't a fan of the golden edges.
The bottom layer of the cake is actually made from cake scraps, patched together and pressed gently to create the base that you build on.
This method will still leave you with leftover cake. Save the cake scraps and make cake truffles, using the same method as the birthday cake truffles.
Special ingredients you need to bake Milk Bar recipes
- liquid glucose: you may find it at Bulk Barn or your local bulk ingredients store, or restaurant/baking supply stores in your area. If not, you can buy Wilton brand glucose from Amazon.
- cake flour: cake flour has a lower protein content and higher starch content than regular all-purpose, which will help you achieve a fluffier, more tender cake. This type of flour is better at absorbing more liquid. You can find it on Amazon if your grocery store doesn't have it.
- grapeseed oil: grapeseed oil is a flavourless oil. If you don't want to buy grapeseed oil, Tosi recommends using canola oil. If you feel like buying grapeseed oil, you can buy it on Amazon. I use canola oil because it's cheaper, so feel free to swap them!
- pailleté feuilletine from Cacao Barry is what gives the nut crunches that crispy light texture. You can buy it on Amazon, but I used Gavottes crispy crêpe cookies, and they worked perfectly. I got them at the grocery store from the cookie aisle, but you may have to order them from Amazon.
- freeze-dried fruit powders, cherry and strawberry for this recipe-you can buy whole freeze-dried cherries on Amazon and whole freeze-dried strawberries on Amazon, and then grind them down in the food processor into a fine powder.
Special equipment and tools to make Milk Bar layer cake recipes
- stand mixer: Christina Tosi has a very specific way of mixing cake batters and they require a ton of beating. Unfortunately, this means using a hand-held electric mixer is a terrible option for this recipe (as is a wooden spoon for mixing by hand). Your best bet is to use a KitchenAid Artisan 5 quart mixer or their 6 quart professional mixer. If you don't have one and you want to bake more, I highly recommend getting one on Amazon.
- 6-inch cake ring: I actually used the ring of a 6-inch springform pan from Amazon to build my cake, but it was not ideal because of the rim/seam on the springform which made it extra hard to unmold. Buy a cake ring from Amazon if you can.
- acetate: when I made this cake, I didn't know where to buy acetate, so I used acetate sheets from an office supply store. No clue if it's food grade. Don't do that. Buy a roll of acetate from Amazon.
- mini offset spatula: I love my mini offset spatula from Ateco and I use it all the time when I am making cakes. You can buy it on Amazon! Tosi actually uses a spoon that she's bent to assemble cakes. That's another option if you don't mind bending one of your spoons.
- quarter sheet pans with rims: I like these Nordic Ware quarter sheet pans on Amazon, which are like the ones Tosi recommends. I actually bake the sheet cakes in a 10x15 pan from Chicago Metallic. The darker finish of this line of baking pans means you have to watch the baking time because cakes brown faster in darker pans
If you are a fan of Milk Bar's baked goods, here are some other Milk Bar recipes to explore:
How to store this cake
Given this banana split layer cake is made with fruit filling, it's best to store it in the fridge. If you've cut into the cake, just cover the cut edges with pieces of parchment to prevent them from drying out. Place the cake in the fridge until the frosting is firm and cold, then cover the whole thing with aluminum foil. You can store this cake for up to a week, or freeze slices for later.
For a detailed explanation, read about how to store cake.
Notes on this recipe
For this three-layer banana split cake recipe, it's very important to follow the directions, especially when it comes to the mixing times for the cake batter and the frosting.
The cake batter is high in fat and sugar, and you need to beat it for several minutes at specific stages in order for the ingredients to emulsify properly. Otherwise, your cake may be heavy or greasy.
The same goes for the frosting, which contains a higher amount of butter than most American buttercream frostings. Make sure to beat the butter and the sugar for a long time to lighten the mixture, incorporate a ton of air and improve its taste and mouthfeel of it.
For the filling components, you might have a little leftover chocolate fudge sauce, for example. Save it in the fridge to top your next bowl of ice cream! All you have to do is warm it in the microwave for 30 seconds to 1 minute to warm it up so that you can use it.
📖 Recipe
Banana Split Cake
Equipment
Ingredients
Vanilla sponge sheet cake
- 115 grams unsalted butter room temperature
- 250 grams granulated sugar
- 50 grams light brown sugar
- 3 large egg(s)
- 110 grams buttermilk (1 % fat)
- 75 grams canola oil
- 15 mL pure vanilla extract
- 185 grams cake flour
- 5 mL baking powder
- 5 mL Diamond Crystal fine kosher salt
Chocolate fudge sauce
- 60 grams dark chocolate (70 % cocoa content)
- 36 grams Cacao Barry extra brute cocoa powder
- 1.25 mL Diamond Crystal fine kosher salt
- 200 grams Wilton glucose
- 50 grams granulated sugar
- 110 grams whipping cream (35 % fat)
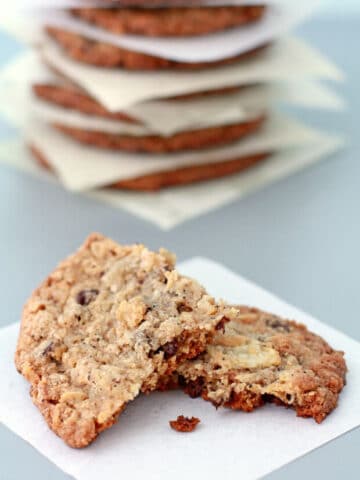
Peanut crunch
- 125 grams chopped toasted peanuts
- 40 grams canola oil
- 20 grams light brown sugar
- 2.5 mL Diamond Crystal fine kosher salt
- 60 grams feuilletine
Cherry frosting
- 115 grams unsalted butter room temperature
- 95 grams icing sugar for a sweeter frosting, use a little more
- 10 grams freeze-dried cherries more or less depending on how much flavour you want
- 5 grams freeze-dried strawberries more or less depending on how much flavour you want
Banana compote
- 30 grams unsalted butter
- 60 mL light brown sugar
- 4 ripe banana(s) sliced
Soak
- 30 grams cherry pomegranate juice
- 30 grams maraschino cherry syrup strained from a jar of maraschino cherries
Toppings
Instructions
Vanilla sponge sheet cake
- Preheat the oven to 350 °F (175 °C).
- Combine unsalted butter, granulated sugar, and light brown sugar in the bowl of a freestanding electric mixer with a paddle attachment. Cream together on medium-high speed for 2 to 3 minutes.
- Use a rubber spatula to scrape down the sides of the bowl. Mix in the eggs, one at a time, then increase speed and mix on medium-high again for 2 to 3 minutes. Scrape down the sides of the bowl once more.
- On low speed, stream in buttermilk, oil, and vanilla. Continue mixing for 4 to 6 minutes, until the mixture is practically white, twice the size of your original fluffy butter-and-sugar mixture, and completely homogenous. Be patient and don't rush the process! It takes a long time to force so much liquid into an already fatty mixture that doesn't want to make room for the liquid.
- Stop the mixer and use a rubber spatula to scrape down the sides of the bowl.
- With the mixture on low speed, add cake flour, baking powder, and kosher salt. Mix for 45 to 60 seconds, just until your batter comes together and any remnants of dry ingredients have been incorporated. BE CAREFUL NOT TO OVERMIX. Use a rubber spatula to scrape down the sides of the bowl - if you see any lumps of cake flour in there while you're scraping, mix for another 45 seconds.
- Prepare a quarter sheet pan by generously spraying with cooking oil and line with parchment. Lightly spray the parchment as well.
- Using a rubber spatula, transfer the cake batter to the sheet pan, spreading the cake batter in an even layer in the pan. Give the bottom of your sheet pan a tap on the countertop to even out the layer.
- Bake the cake for 30 to 35 minutes. The cake will rise and puff, doubling in size, but will remain buttery and dense. At 30 minutes, gently poke the edge of the cake with your finger: the cake should bounce back slightly and the center should no longer be jiggly. Leave the cake in the oven for an extra 3 to 5 minutes if it doesn't pass these tests.
- Take the cake out of the oven and cool on a wire cooling rack. The cooled cake can be stored in the fridge, wrapped in plastic wrap, for up to 5 days.
Chocolate fudge sauce
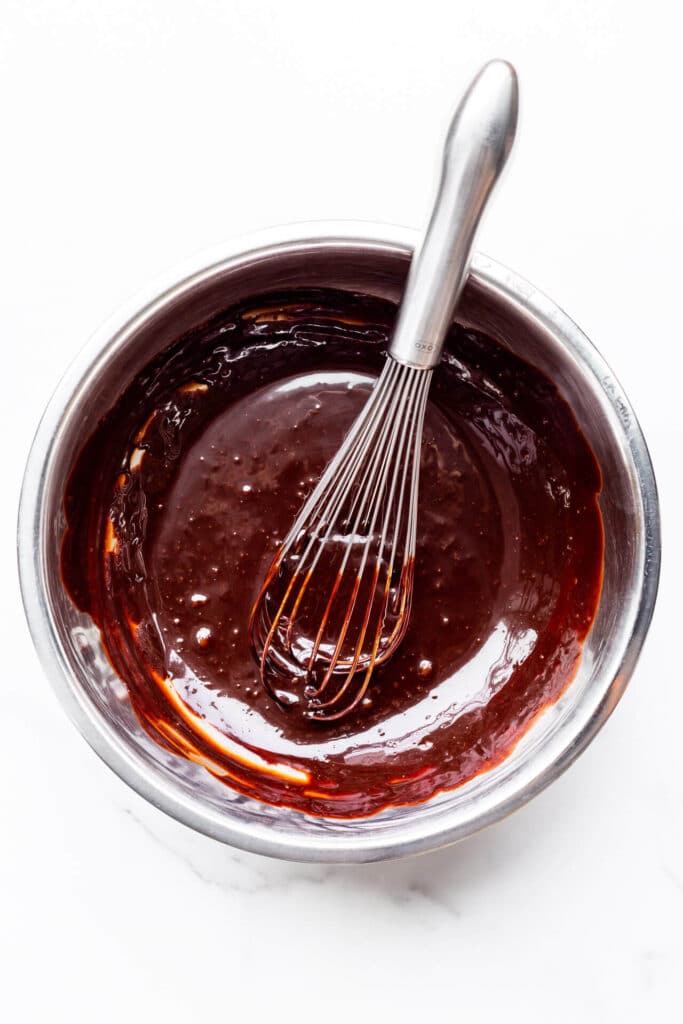
- Combine the chocolate, cocoa powder, and salt in medium bowl.
- Combine the glucose, molasses, sugar, and heavy cream in a heavy-bottomed saucepan and stir intermittently while bringing to a boil over high heat. The moment it boils, pour it into the bowl holding the chocolate. Let sit for 1 full minute.
- Slowly, slowly begin to whisk the mixture. then continue, increasingly the vigour of your whisking every 30 seconds, until the mixture is glossy and silky-smooth. This will take 2 to 4 minutes, depending on your speed and strength. You can use this sauce at this point or store it in an airtight container in the fridge for up to 2 weeks.
Peanut crunch
- Purée the chopped roasted peanuts with the oil, brown sugar, and salt in a food processor until it's the consistency of wet sand.
- Transfer to a bowl and stir in the pailleté feuilletine (or crushed Gavottes cookies). Store in an airtight container at room temperature for 5 days or in the fridge for up to 2 weeks.
Cherry frosting
- In the bowl of a stand mixer fitted with the paddle attachment, cream together the butter and icing sugar for 5 minutes on medium-high until very light and fluffy.
- Grind the freeze-dried cherries and strawberries together in a food processor until you get a fine powder.
- Add the powder to the frosting, and stir on low to combine. Use the frosting immediately.
Banana compote
- In a non-stick fry pan, melt the butter. Add the brown sugar and sliced bananas and stir.
- Bring the mixture up to a simmer, and continue cooking for about 10 minutes, stirring every so often, until the bananas are soft, but still hold their shape. The goal is to form a chunky compote while removing some of the moisture from the bananas.
Soak
- Combine the juice with the maraschino cherry syrup. Stir well to mix them together. Use immediately.
To assemble
- Cut out two 6-inch (15.25 cm) circles of cake, and two half circles. Fit the two half circles of cake at the bottom of the acetate-lined ring, filling any gaps with the leftover cake scraps.
- Brush the cake with half the soak (~30 grams), then smooth on half of banana compote (roughly ⅔ cup).
- Sprinkle one third of the peanut crunch over the compote. Dollop with half of the warmed chocolate fudge sauce frosting, then gently spread into an even layer.
- Gently fit a second strip of acetate between the first acetate strip and the ring to give your mold more height. Then, place the next layer of cake over the chocolate sauce, and repeat the previous step by brushing with soak, smoothing with compote, sprinkling with peanut crunch, then dolloping/smoothing with warm chocolate sauce.
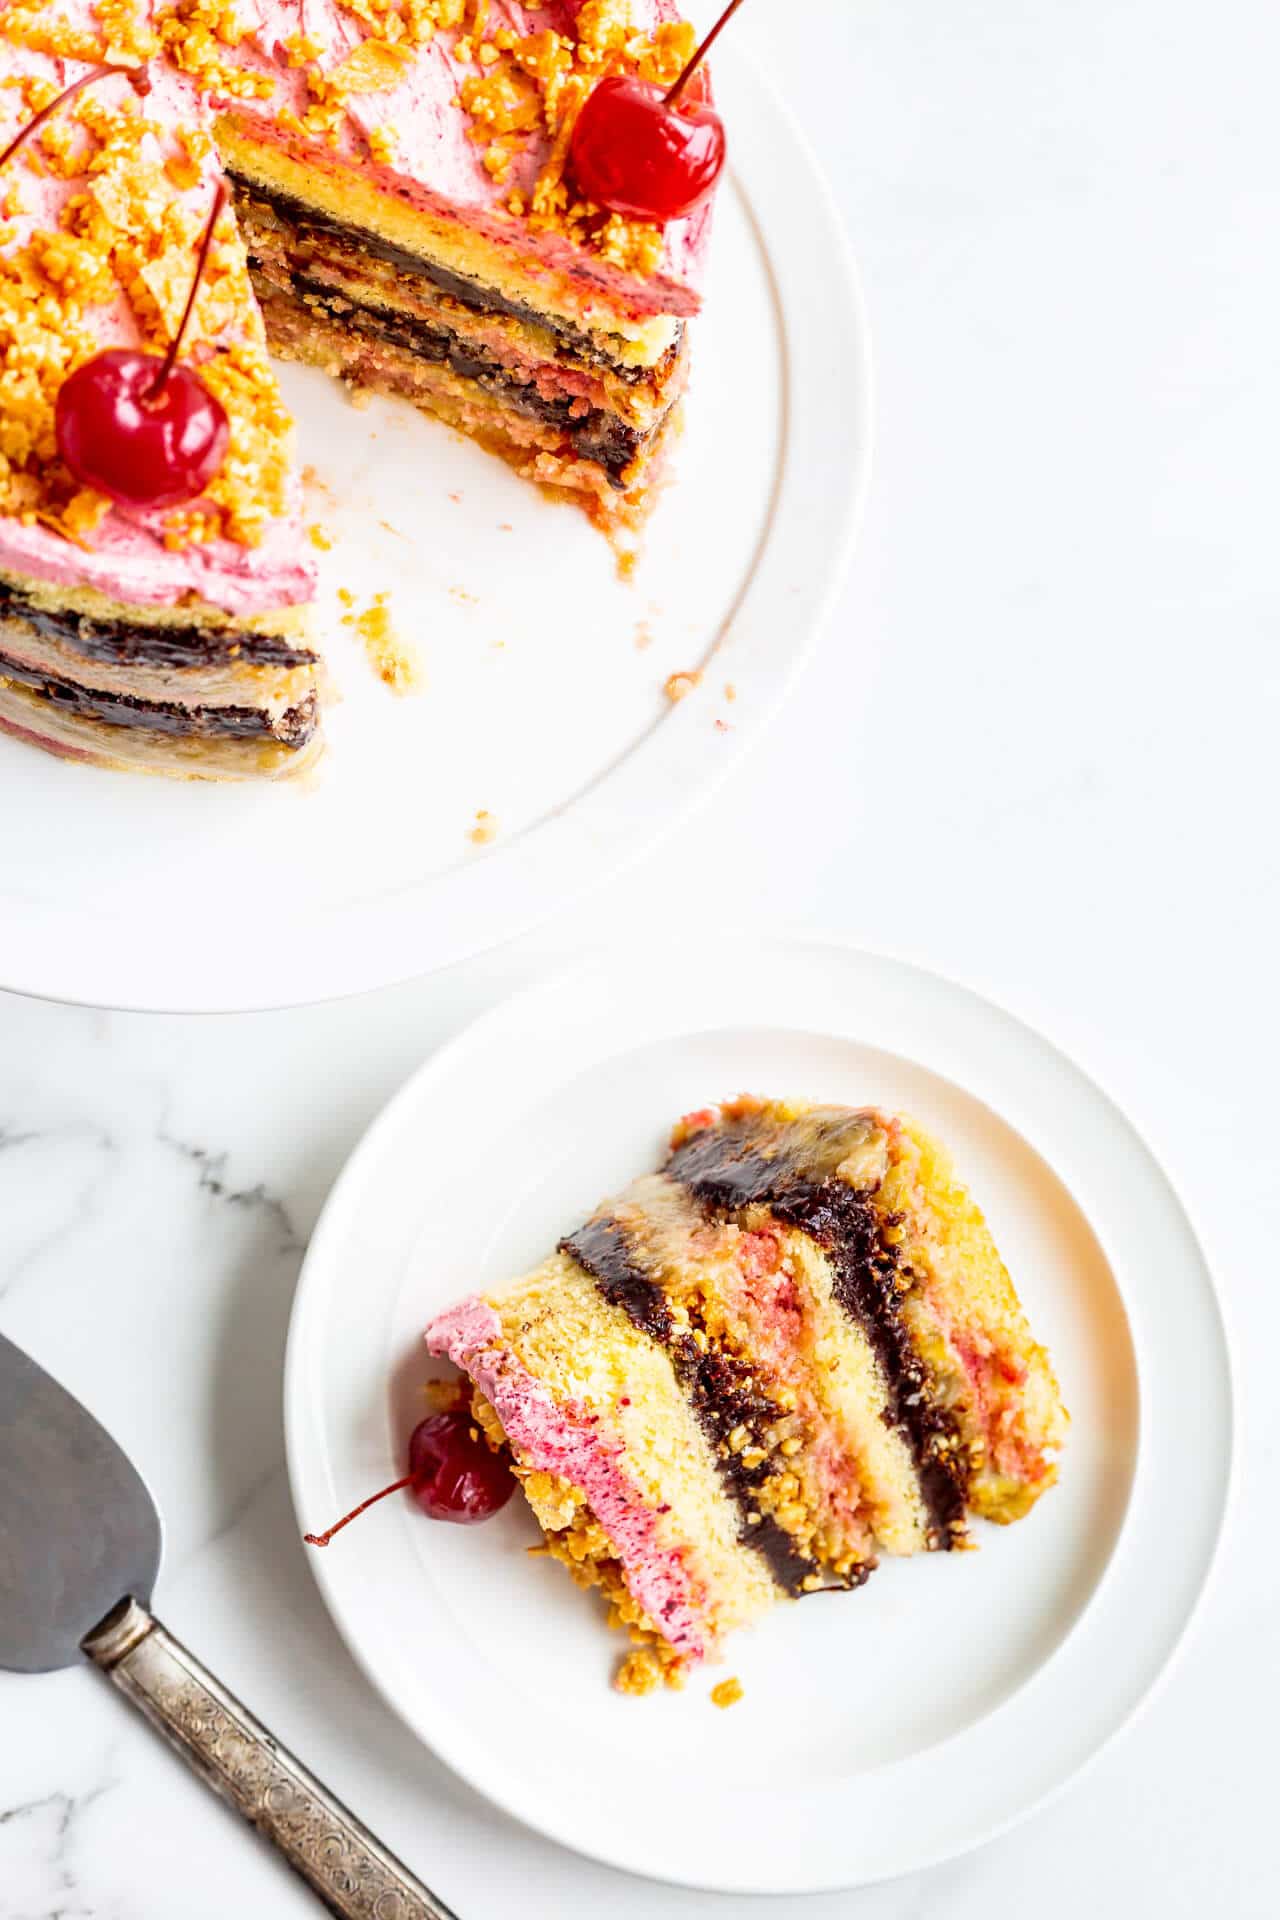
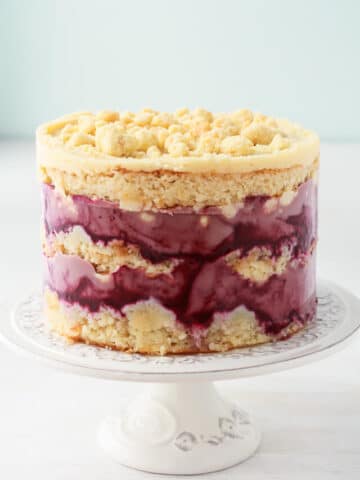
- Place the final layer over top, pressing slightly. Spread with the frosting and sprinkle with the rest of the crunch.
- Freeze for a few hours to set, if not overnight.
- On the day you are serving the cake, pop the frozen cake out of the ring, placing it on a cake stand. Pull off the strips of acetate and let the cake defrost for about 3-6 hours in the fridge before serving.
Notes
- I highly recommend to use a kitchen scale to weigh out ingredients because the conversions for some to volume/cups is approximate, which is not ideal! Please weigh your ingredients!
- This recipe calls for Diamond Crystal fine Kosher salt. If using regular table salt, add half the amount or the recipe may be too salty!
- If the fudge sauce is too thick to spread, microwave it for 30 seconds to loosen it up. I highly recommend this because otherwise, the fudge sauce will pull up the crunch layer and it will be hard to achieve the distinct layers we are looking for!
- If you can't find pailleté feuilletine, you can replace it with crushed "Gavottes" which are a thin crispy rolled crêpe cookie from France, which we can find in grocery stores in Quebec. This is what I used to make the peanut crunch.
- The banana compote may darken with time from the fruit's exposure to air. This is a natural browning process and nothing to worry about. A splash of lemon juice may help preserve the colour, temporarily.
- For the dark chocolate, I used Cacao Barry Ocoa 70 % dark chocolate.
Explore More With AI
Nutrition
Nutrition information is automatically calculated and should only be used as an approximation.
Michael says
I've decided to make this my next project. Can I make the banana compote a day before assembling the cake? When I do Milk Bar-style cakes, I typically make the components over the course of a few days so it's not so overwhelming. I am worried it might turn very dark if refrigerated overnight. I wonder if adding a bit of lemon juice or citric acid powder might help preserve it.
Janice says
Hi Michael, I would definitely suggest making the components ahead of time! I prepped all the components and baked the sheet cake on day 1, then I assembled on day 2, and then I served on day 3.
The banana compote did discolour when I made it. I really thought by cooking the bananas, they'd keep their colour, but that didn't work out as well as I'd expected and it definitely greyed with time.
I think lemon juice or a pinch of citric acid powder could help, as you suggested. I haven't tested it though. With citric acid, a little goes a long way because we don't want to introduce too much of a flavour. I think it's definitely worth trying.
Janice says
One more thing: make sure to warm up the chocolate fudge sauce to make it easier to spread. Just 30 seconds in the microwave can make a big difference and this way it won't pull up the other layers as you try to spread it out.
I'd microwave it just a little each time you need to spread it.