I am a very lazy baker, but I don't skip the first step in most baking recipes where the recipe tells you to prepare the cake pans for baking. Whether the recipe indicates to grease the pan or butter it, to grease and flour the pan, or to line it with parchment, there's a reason for these extra steps and they are worth the time they take. Here's why.
Jump to:
- Is greasing and flouring a cake pan important?
- When you shouldn't grease a pan before baking
- Parchment vs paper liners for muffins and cupcakes
- Silicone bakeware and liners
- Parchment vs wax paper: what's the difference?
- What about aerosol baking sprays?
- How to prepare baking pan for brownies
- How to prepare sheet pans for cookies
- How to prepare intricate cake pans
- Need more help with cake pans?
Is greasing and flouring a cake pan important?
How do you do it?
Most cake recipes will tell you to grease and flour your pan. Here's how you do it:
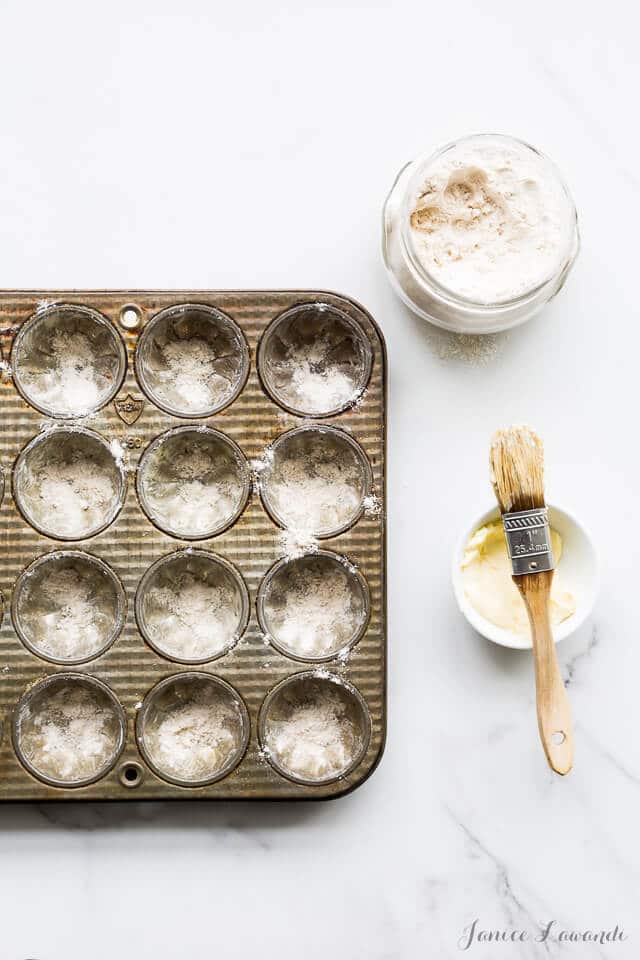
- To grease your pan, you can brush on a liquid fat, like canola oil or melted butter, with a pastry brush, or you can use softened butter and smoosh it all over the inside surfaces of the pan. You can do this with a little piece of parchment to help you. Some might even use a pastry brush to brush on softened butter. If you've just finished a block of butter, the butter wrapper makes a great greasing tool!
- To flour the pan after it's greased, you drop a tablespoon or two of flour in the pan (use the same flour you are baking with), then tap the pan, tilting from side to side so that the flour glides over every inch of greased surface to dust all the sides of the pan and every inch that is greased. Once completely coated with flour, invert and bang the pan over the compost bin, garbage, or sink to tap out the excess of flour.
When I'm greasing cake pans, I usually prefer to work with softened butter because it coats pans more evenly. A trick is to use a small piece of the butter wrapper to apply the softened butter. This works really well!
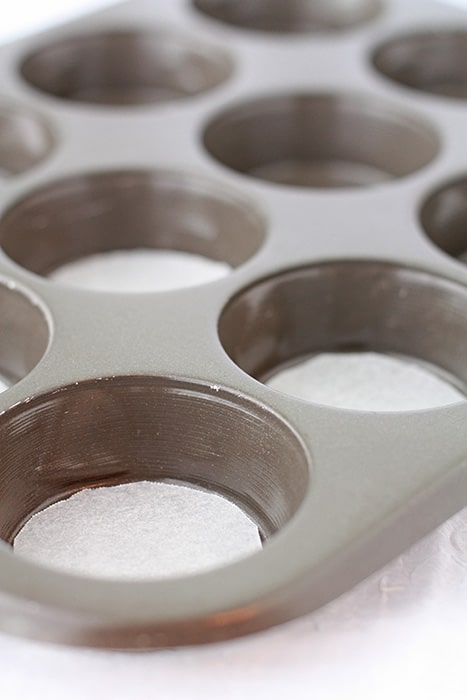
Some recipes will encourage you to add a piece of parchment to the bottom of your cake pan AND grease and flour it as well. I do. I grease, flour, and line the bottom of round cake pans, square cake pans, loaf pans, brownie pans, and even springform pans. Lining the bottom of a springform pan with parchment allows you to easily get the pan off of the springform base so that you can serve it on a plate.
Lining the bottom of a cake pan is extra work, but there's nothing more satisfying than flipping a cake over onto a cooling rack and having it fall out in one piece, without any resistance. Just do what the recipe tells you to, or risk running into problems when it comes time to unmold your cakes!
Don't be too heavy-handed with the grease and flour
Make sure you do these steps carefully: coat the pan thinly and evenly with a solid fat (I use butter) and make sure to tap out the excess of flour before proceeding. Any clumps that are formed at this stage will either ruin the smooth finish of your cake or lead to holes or gaps, especially noticeable with bundt cakes where the underside (pan-side) of the cake becomes the decorative top of the cake that everybody sees! Take the time to prepare the pan if you want to bake in a bundt pan.
What grease and flour do
With many cakes, you can get away with just greasing the pan with butter, shortening, melted butter, or vegetable oil. But there's a reason most recipes suggest you coat the greased pan with flour.
The flour coating creates a barrier between the cake batter and the fat you used to grease the pan, which prevents the batter (or dough) from absorbing the fat, preventing it from doing its job.
The flour keeps the grease in place and cakes will slide right out of the pan if you take the time to apply a thin coating of both.
When you shouldn't grease a pan before baking
I always grease and flour my cake pans EXCEPT if I'm baking an angel food cake. Angel food cakes are very low in flour and therefore low in gluten. In fact, angel food cake is mostly egg whites. Some recipes have you whip a dozen or more egg whites, which act as the leavening agent by incorporating and retaining air.
That lack of gluten in angel food cakes leads to a lack of structure when the cake bakes and if the sides of the pan are greasy, the cake batter has nothing to cling to and the cake collapses. And when you cool angel food cakes, you do so upside down so that, again, the cake stuck to the sides, will help the crumb retain it's airy height. If the pan was greased, the cake would fall out and collapse under its own weight.
For this reason, do not grease the tube pan when baking angel food cakes!
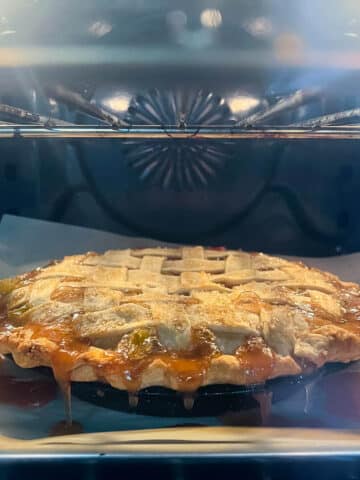
I don't grease pie plates whether I'm making a fruit pie with an all-butter pie crust like this rhubarb lattice pie or this maple apple pie. The pie crust doesn't stick and if anything does, it might be the pie juices that overflow as the pie bakes: the juices caramelize and even burn between the crust and the pie plate. I don't think buttering the pie plate would have helped in this case...
I don't grease tart pans and as long as you use my trick for how to remove a tart from a tart pan, you shouldn't run into any issues with most tart crusts. When I'm in a hurry, I unmould tart shells when they are still quite warm, and they never stick to the pan, regardless of if the pan is non-stick or not.
Do you grease parchment paper?
I don't grease parchment paper unless the recipe specifies. Quite frankly, very little sticks to parchment, and it would surprise me if a recipe would tell you to grease it.
If you use parchment paper to line the bottom of a cake pan, you will notice that when you peel the paper off the bottom of the cake, a very thin layer of the cake may get pulled off by the paper. Nothing to worry about!
Parchment vs paper liners for muffins and cupcakes
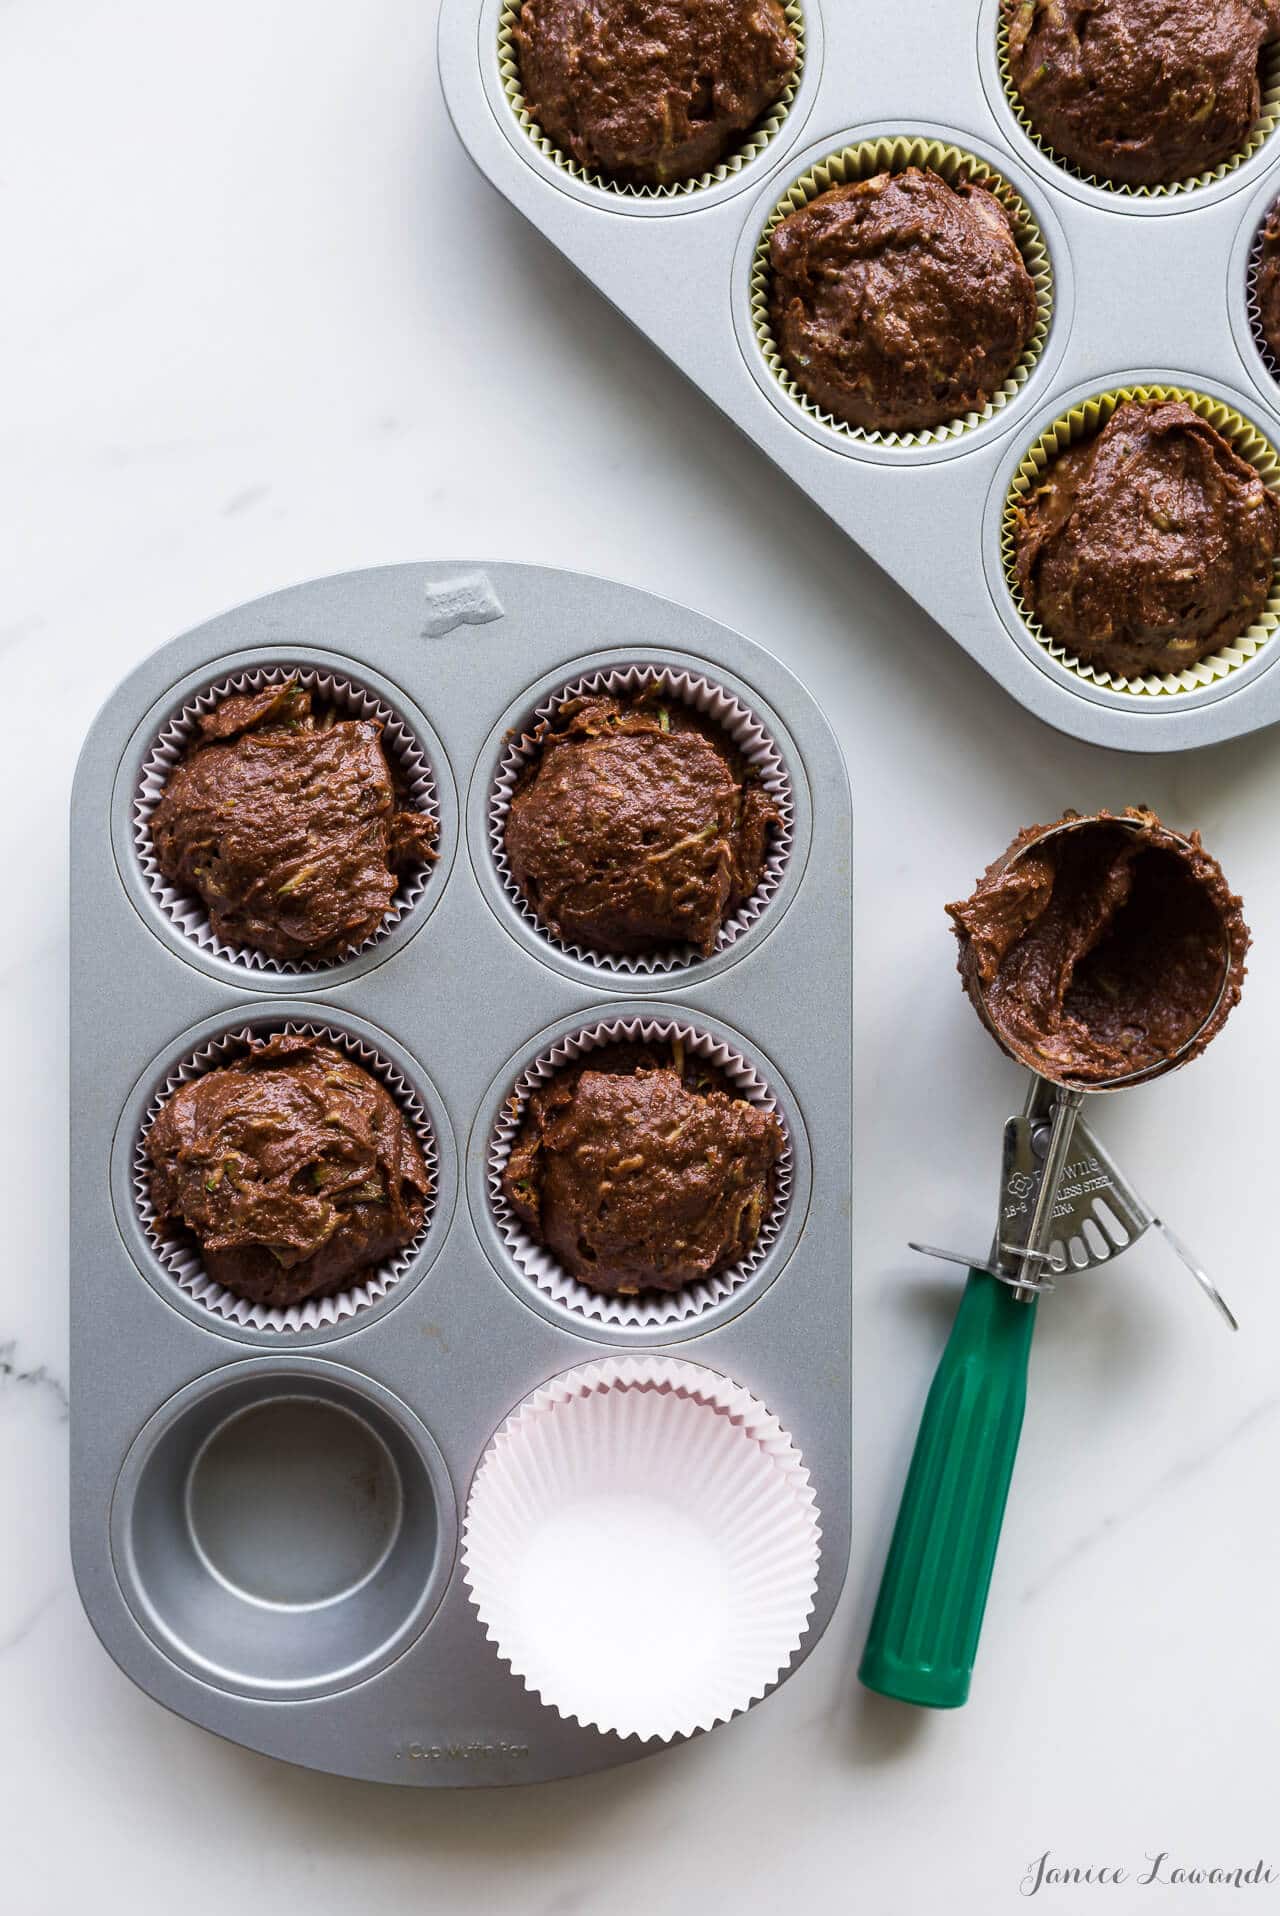
Did you know that most cupcake and muffin paper liners are not made of parchment paper, actually? It doesn't really make much of a difference and if you use regular paper liners, you can still unwrap the baked cupcakes and muffins fairly cleanly from the liners EXCEPT if you are baking a recipe that is very low in fat and sugar.
For most muffins, you can use regular paper liners, but if your recipe is low in fat, like most savoury muffins, they will stick to paper muffin liners, so much so they become impossible to eat. So for certain muffin recipes, you will need to invest in parchment liners. My grocery store sells them now, so your's might too. Otherwise, buy them on Amazon.
Silicone bakeware and liners
Silicone liners and pans (for muffins, cake pans, or even baking sheets) work extremely well and it seems like almost nothing can stick to them. Silicone doesn't have to be greased, which saves you from doing that tedious step.
However, baking with silicone can have certain drawbacks:
- Silicone is insulating so your baked goods will take longer to bake and to brown.
- Your baked goods may end up softer, especially if you are baking cookies on a silicone-lined baking sheet.
- Silicone can develop a sticky film on it if you don't wash it properly. Make sure to wash it well with soap and water, or better yet, read the packaging it's sold in so that you know exactly how to treat the product.
- Some silicone bakeware can't handle higher temperatures. Read the packaging to know the range of temperatures your products can handle. While this can be an issue, remember that parchment can't handle high temperatures either and will start to burn if you bake with it for a prolonged period above 425 ºF.
- You can't cut silicone liners to fit your pans. If you want to switch to silicone liners for cakes, you will have to invest in multiple liners of various sizes and shapes to accommodate all your pans.
- They can be pricey, but then again, buying and throwing out and buying more parchment also adds up.
When I bake cookies, for example, I tend to use parchment paper to line my sheet pans, not silicone liners, because I want the bottom and the edges of the cookies to brown and silicone would delay that.
For muffins, I've successfully tested both the Wilton white silicone liners (from Amazon) and the Amazon Basics rainbow silicone liners (from Amazon). Both work well!
Parchment vs wax paper: what's the difference?
Contrary to popular belief, parchment and wax paper are not the same thing and they are not interchangeable. Parchment paper is also called sulfurized paper because the paper is treated with sulfuric acid. The acid-treatment transforms the surface of the paper, rendering it heat-stable, resistant, and non-stick.
Wax paper is wax-coated paper, and wax paper isn't heat-stable. The wax can release a lot of smoke in the oven for this reason, so when you are baking, use parchment paper.
What about aerosol baking sprays?
Products that are aerosol sprays of oil are very convenient but they are very hard to apply evenly. To use oil sprays, you need to spray at a distance from the pan. Read the label of the spray you are using for advice on how to use the spray properly!
If you spray too close to the pan, you will end up spraying too much oil on too small an area. And that excess can drip down and pool in areas of the pan, and that oil can also bake onto the pan creating a sticky film that is hard to remove from baking pans. This is one of the main reasons I am not a huge fan of aerosol oil sprays.
To achieve an even coating of fat (butter or oil), brush it on with a pastry brush (this is the brush I use from Amazon).
How to prepare baking pan for brownies
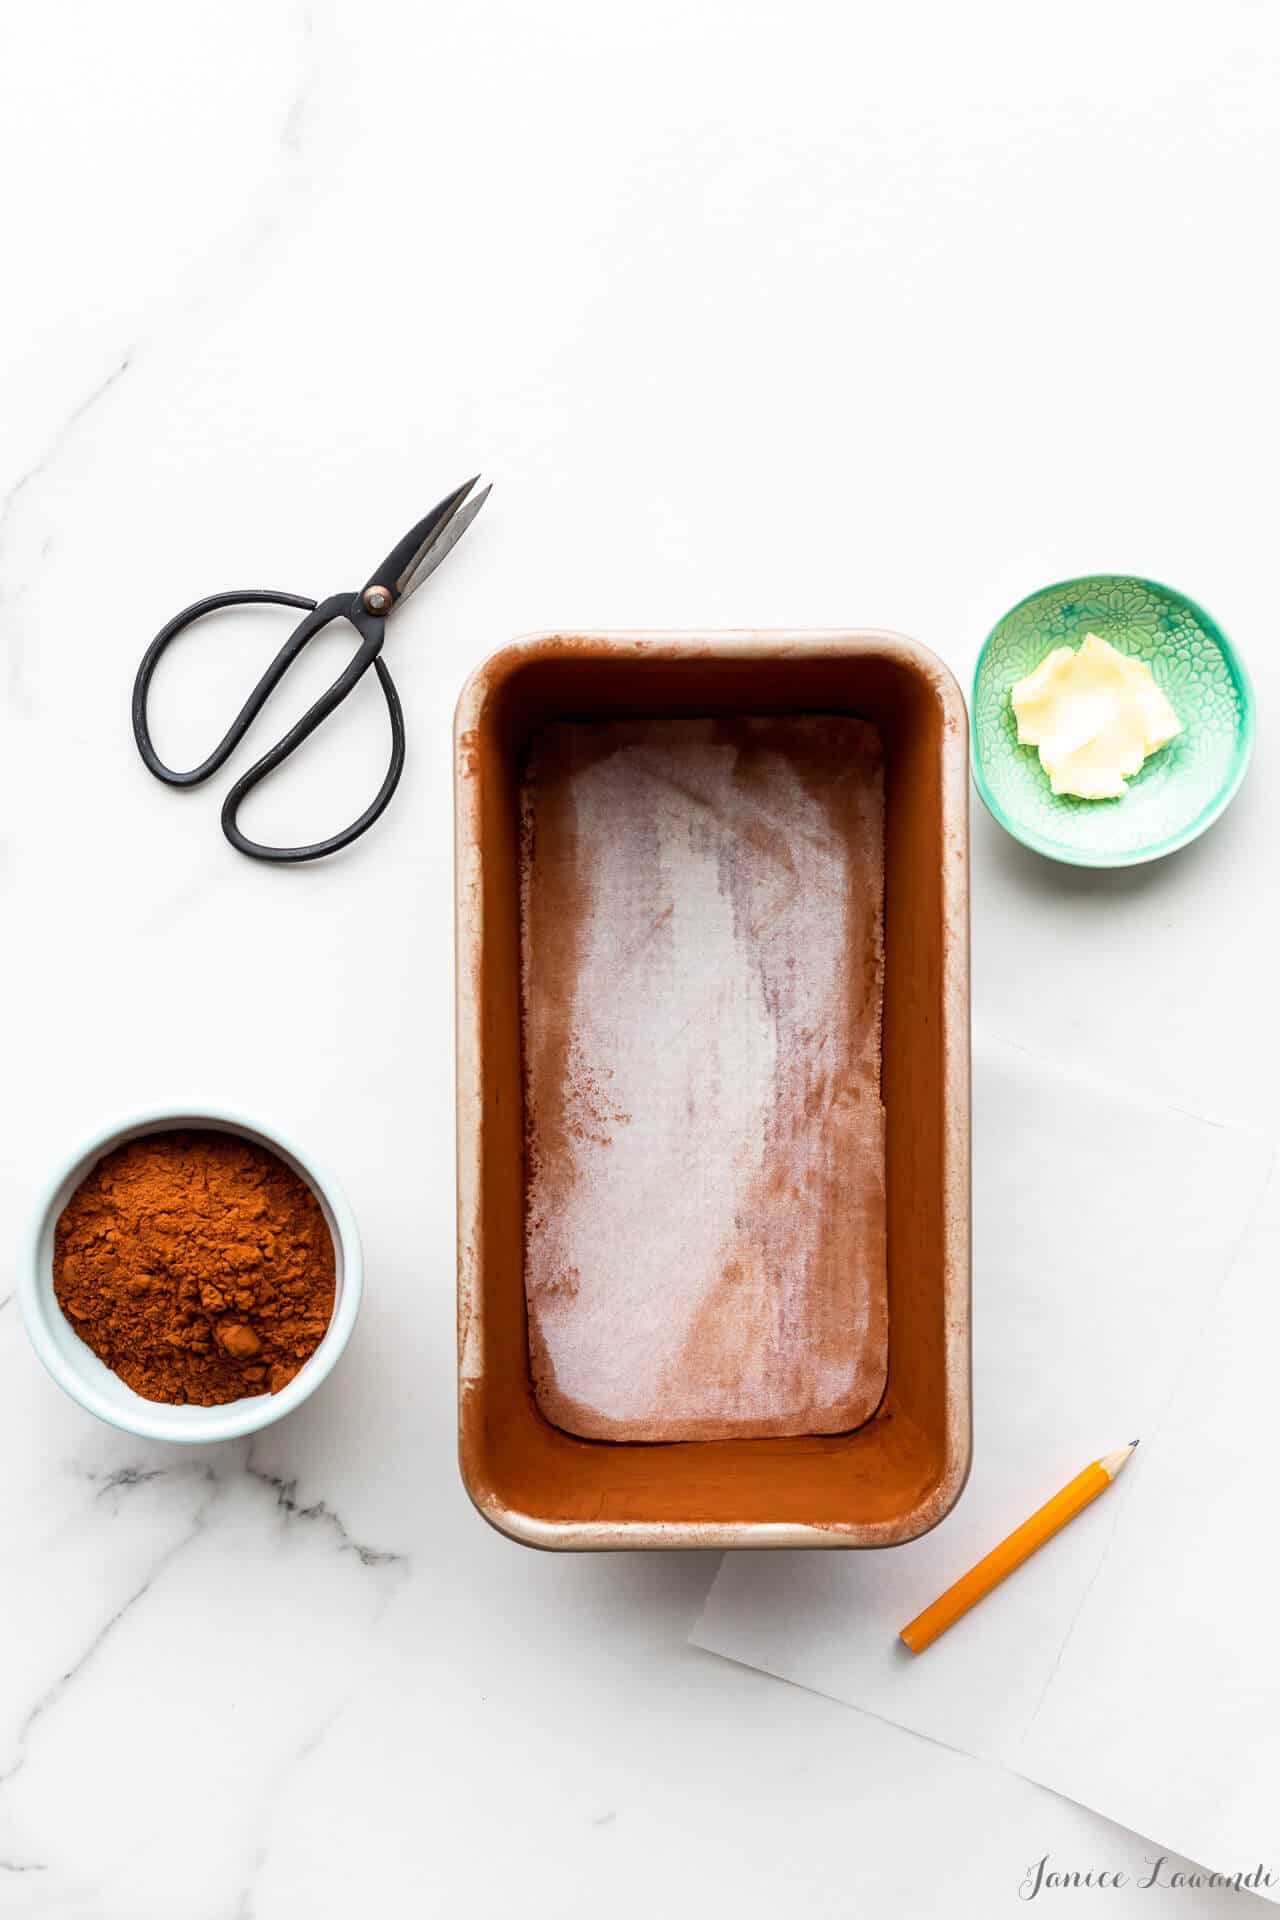
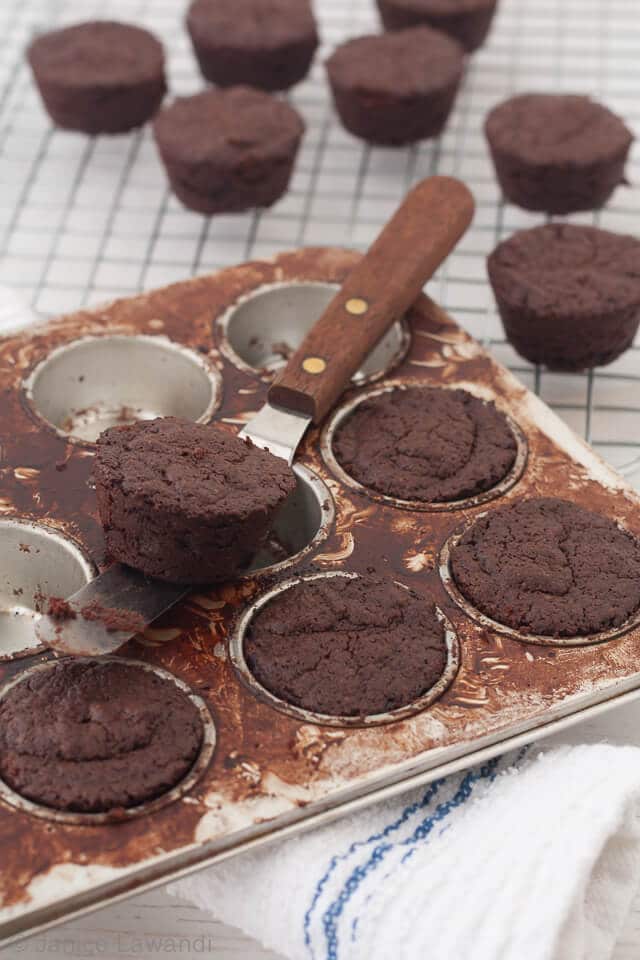
When I bake brownies, I like to grease the pan, but I also like to dust the pan with flour, or even better: dust with cocoa powder. Flour can leave a white film on the edges of brownies and that can look a little weird. So if you grease and dust with cocoa, the edges will have a dark cocoa finish to them, which nobody will notice! For these heart-shaped one-bowl brownies, I prepared the cake pan by buttering and dusting with cocoa powder before pouring in the brownie batter.
I also like to line the bottom of brownie pans with parchment, especially with under-baked gooey brownies that might be more likely to stick to the brownie pan and they can be harder to remove from the pan.
Just like for brownies, I used this technique on a loaf cake pan I was baking this chocolate espresso pound cake:
- butter
- dust with cocoa
- line bottom with parchment
How to prepare sheet pans for cookies
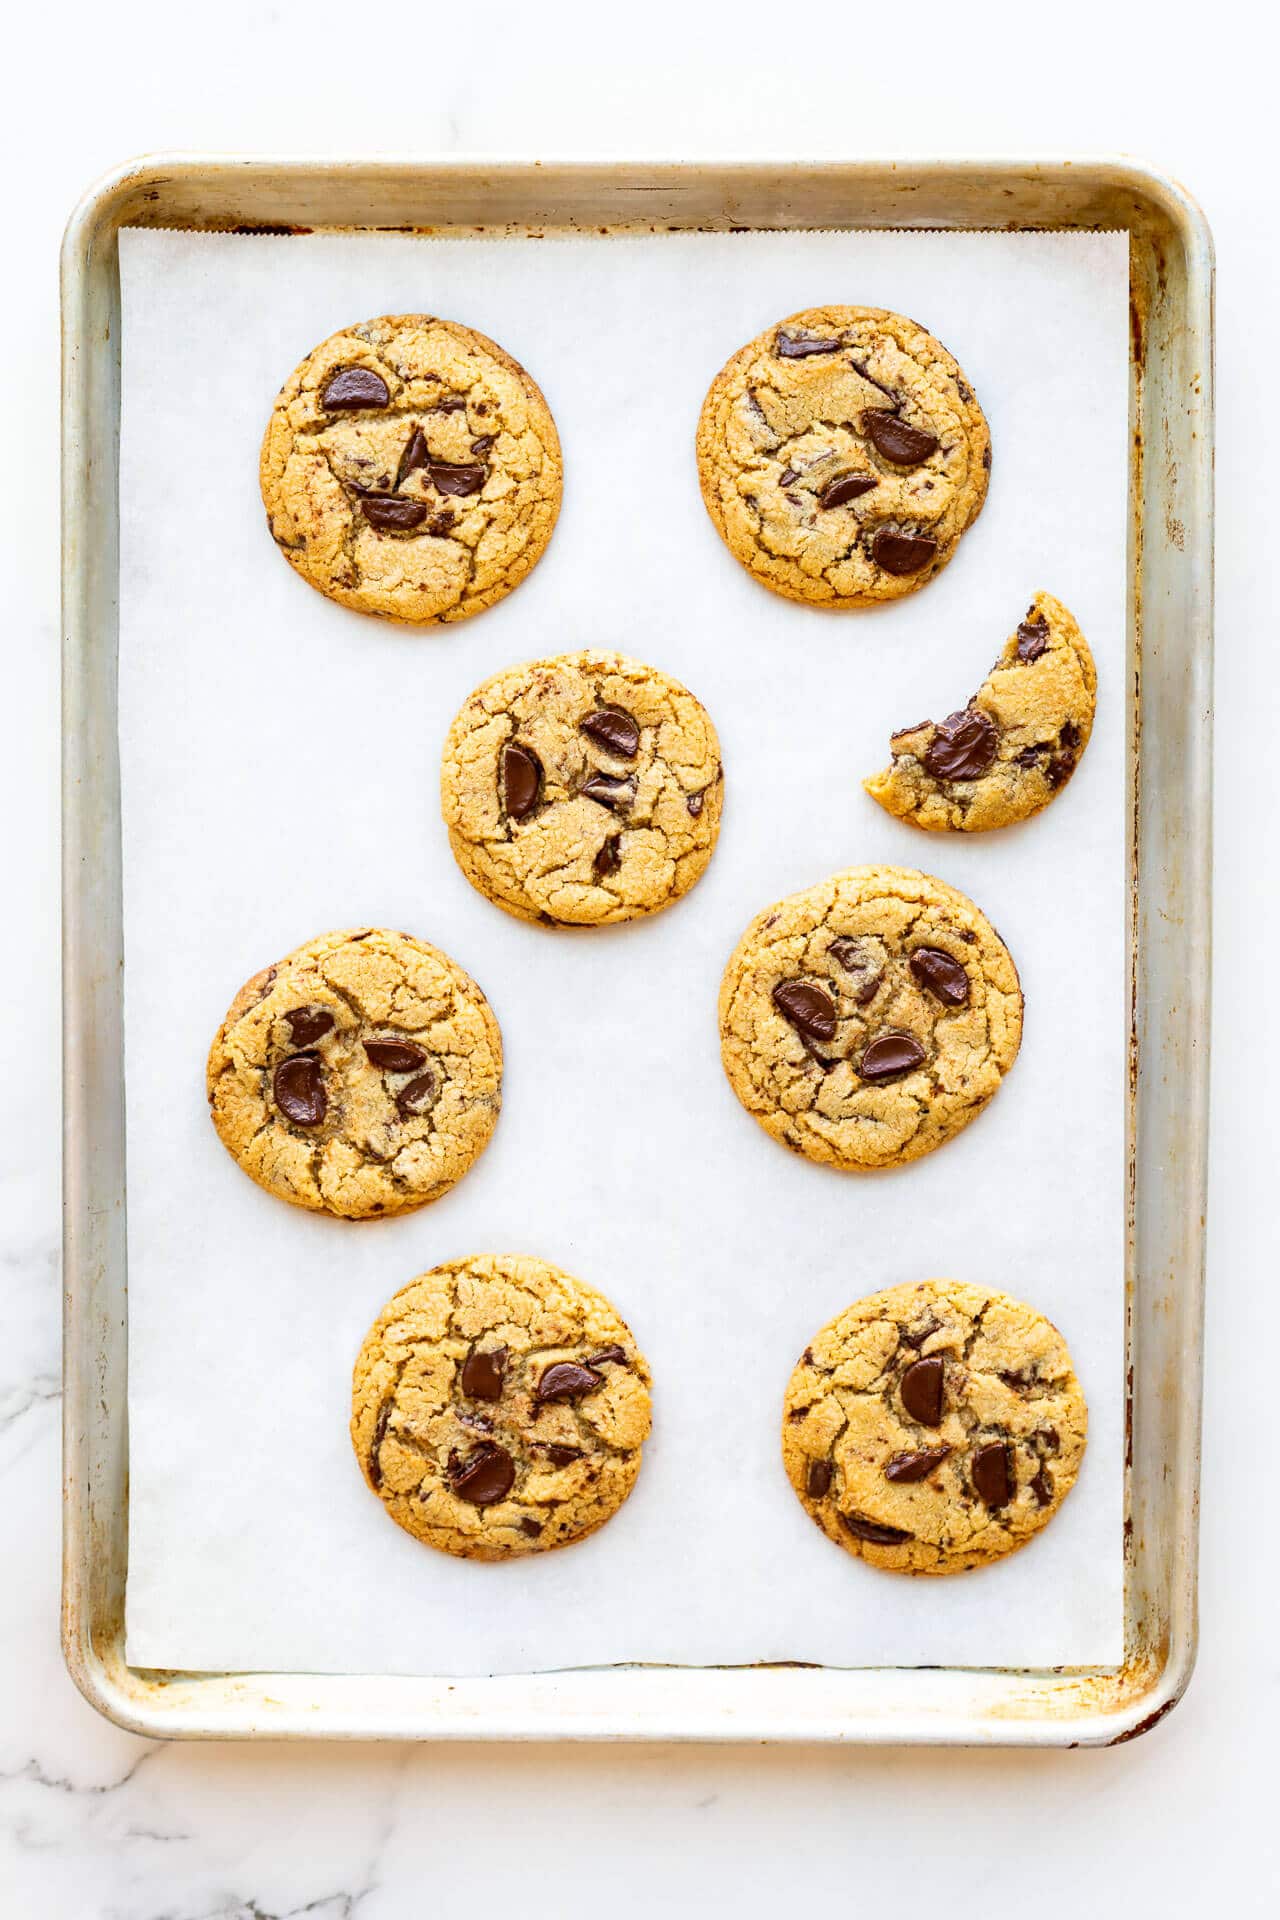
When I bake cookies on a sheet pan, I prefer to use parchment paper to line the pan. This makes cleanup a breeze. All these thick and chewy oatmeal cookies were baked on parchment-lined baking sheets, for example.
You can use a silicone liner instead of parchment to bake cookies on sheet pans, but remember, your cookies will end up softer, they may spread more, they will brown less.
When I bake cakes on a sheet pan (like the Milk Bar birthday cake or this blackberry almond cake), I prefer to line the pan with parchment. Again, I like to avoid silicone because it reduces browning of cakes and cakes take longer to bake.
How to prepare intricate cake pans
Bundt pans
Bundt pans make beautiful cakes, but sometimes these pans have very ornate or intricate patterns with lots of nooks and crannies that cake can stick to. This Nordic Ware Heritage bundt pan on Amazon is a prime example of an intricate bundt pan.
Nordic Ware doesn't recommend aerosol cooking sprays for their bundt pans for the exact reasons mentioned above:
- the oil will pool in the intricate bends of the pan, and this can lead to patches on the outside surface of the bundt
- the aerosol sprays leave a sticky residue on the pan and ruin the finish
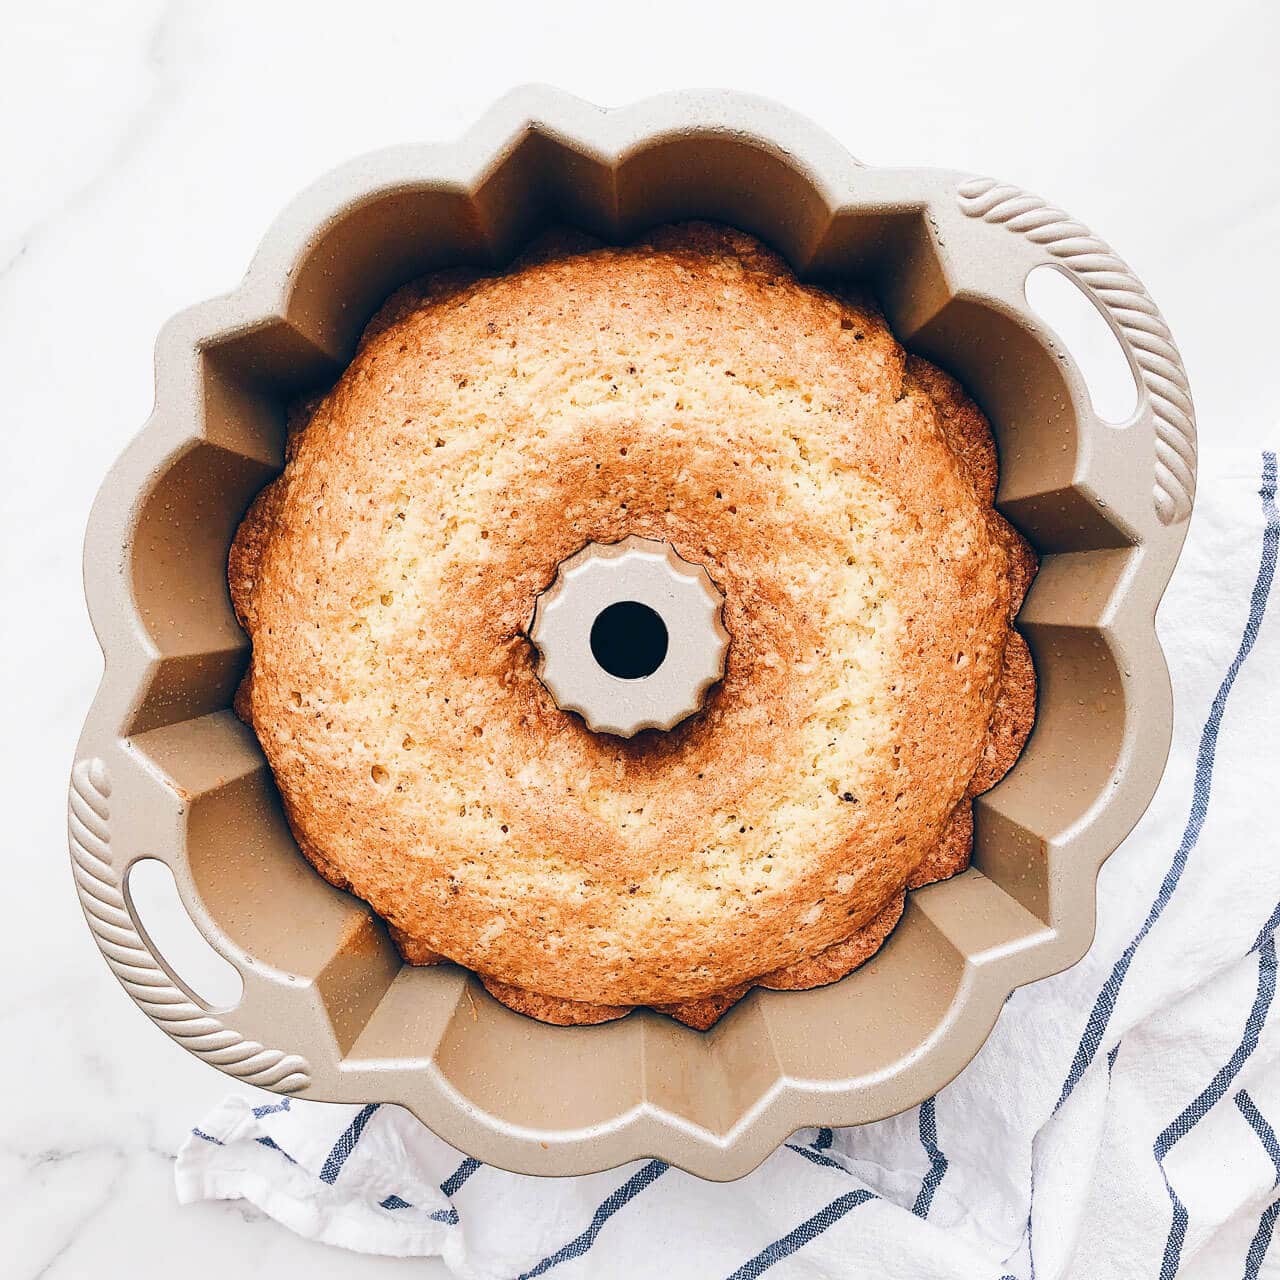
Nordic Ware recommends the following for preparing bundt pans:
- brush on a fat (oil or butter) and flour if your recipe recommends it
- use an oil mister to spray on canola oil evenly
- use a baking spray that contains flour. Note this is different than cooking spray. Cooking spray is an aerosol oil spray that WILL leave a residue, baking spray has flour in it and it won't leave a residue
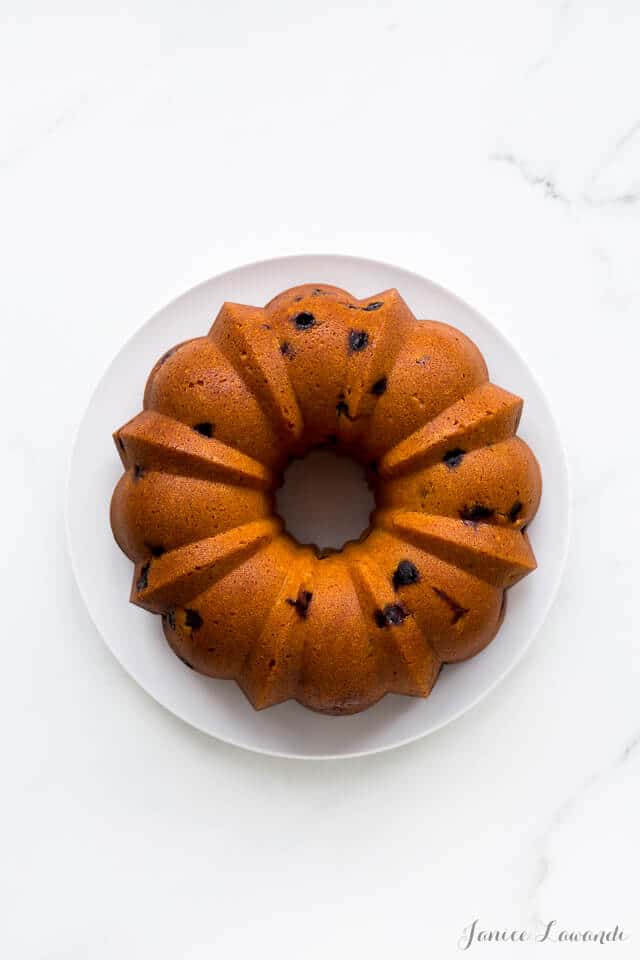
For this chocolate chip bundt cake, I only oiled the bundt pan, and that worked great! But please note the Nordic Ware pan I used is quite new, and so the non-stick finish is intact. Your bundt pan may be older and so you may have to grease and flour the pan to be sure nothing sticks.
When it comes to unmoulding bundts, make sure you only allow the cake to cool for up to 10 minutes before unmoulding. The longer you let it cool, the more the cake surface will stick to the pan, the harder it will be to unmould it. But if you don't cool the cake enough, the bundt may be too fragile to unmould.
I once let a bundt cool completely in the pan and suffered the consequences. The cake was stuck to the pan and wasn't budging. The trick I have found if your bundt has stuck to the pan:
- preheat the oven to 300 ºF, or a little lower than the baking temperature
- place the pan with the cake in the oven
- let the pan/cake heat up until the pan has warmed up significantly. The goal isn't to bake the cake more, but you need to heat up the pan
- when the pan is warm, the cake may unstick from the pan and slide right out
You can also try heating the outside of the pan with a hairdryer set to blow hot air. The goal is to warm the pan and the edges of the cake just enough to melt the fat just enough to unstick the cake.
Madeleine pans
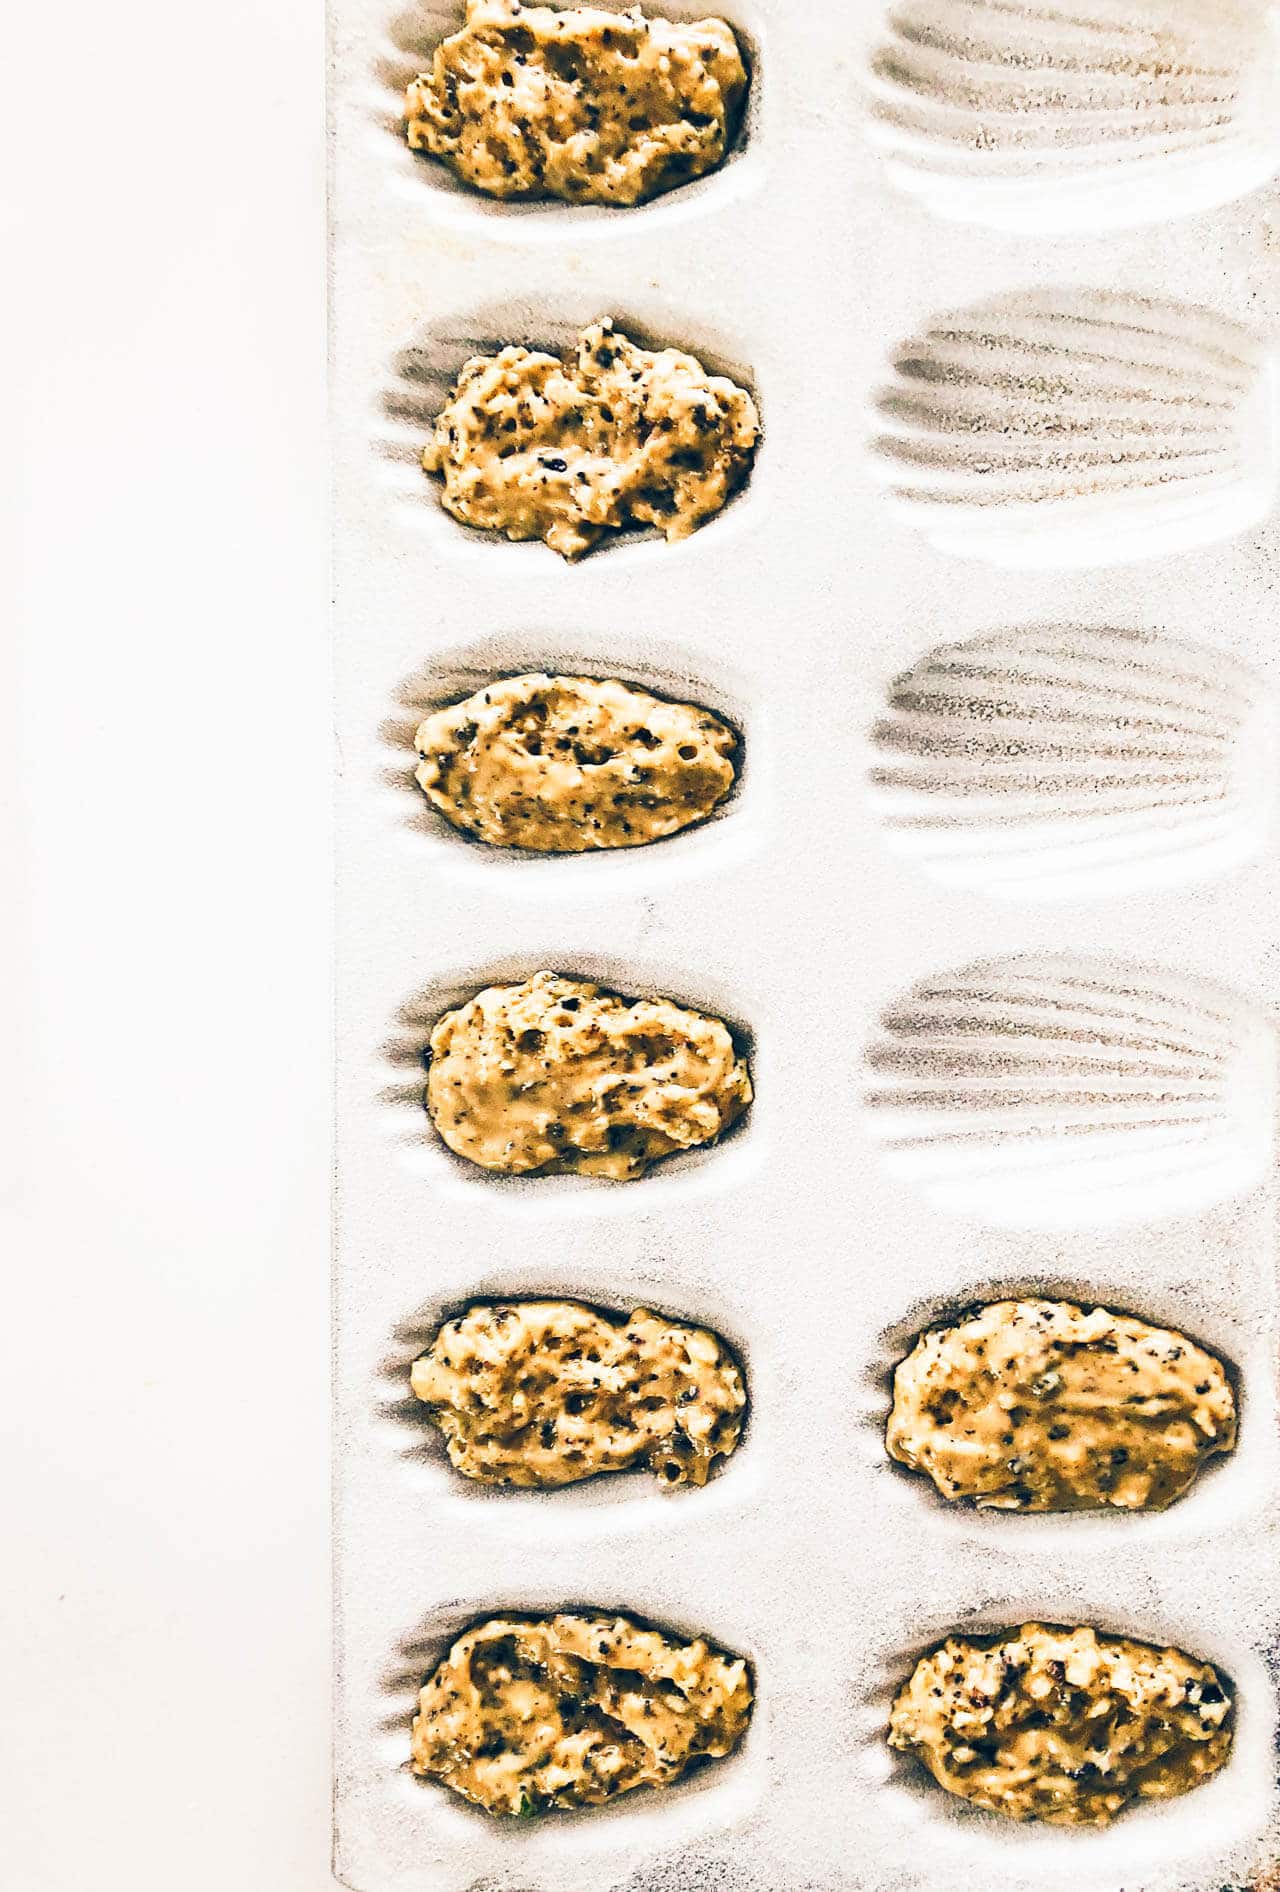
Madeleines are so cute and so tasty, but they can be a real pain because of the seashell shape. So many areas where the little cakes can get stuck to the pan. Just like with bundt pans, it's super important to properly prepare madeleine pans before baking. Madeleine pans require specific steps to prep them for baking:
- brush the pan with a thin, even coat of melted butter.
- chill 5 minutes
- some bakers repeat these 2 steps so that the pan is twice coated with fat
- dust with flour, tapping out the excess
- store in freezer until your batter is ready to bake
For these jasmine madeleines, you have to butter and flour the pan evenly to ensure they don't stick.
To be ready for any of your next baking projects, make sure you have the following items that are useful for preparing any pan for baking:
- parchment paper (buy it on Amazon)
- pastry brush (buy it on Amazon)
- muffin paper liners (buy them on Amazon) and parchment liners (these are the ones I use on Amazon)
Need more help with cake pans?
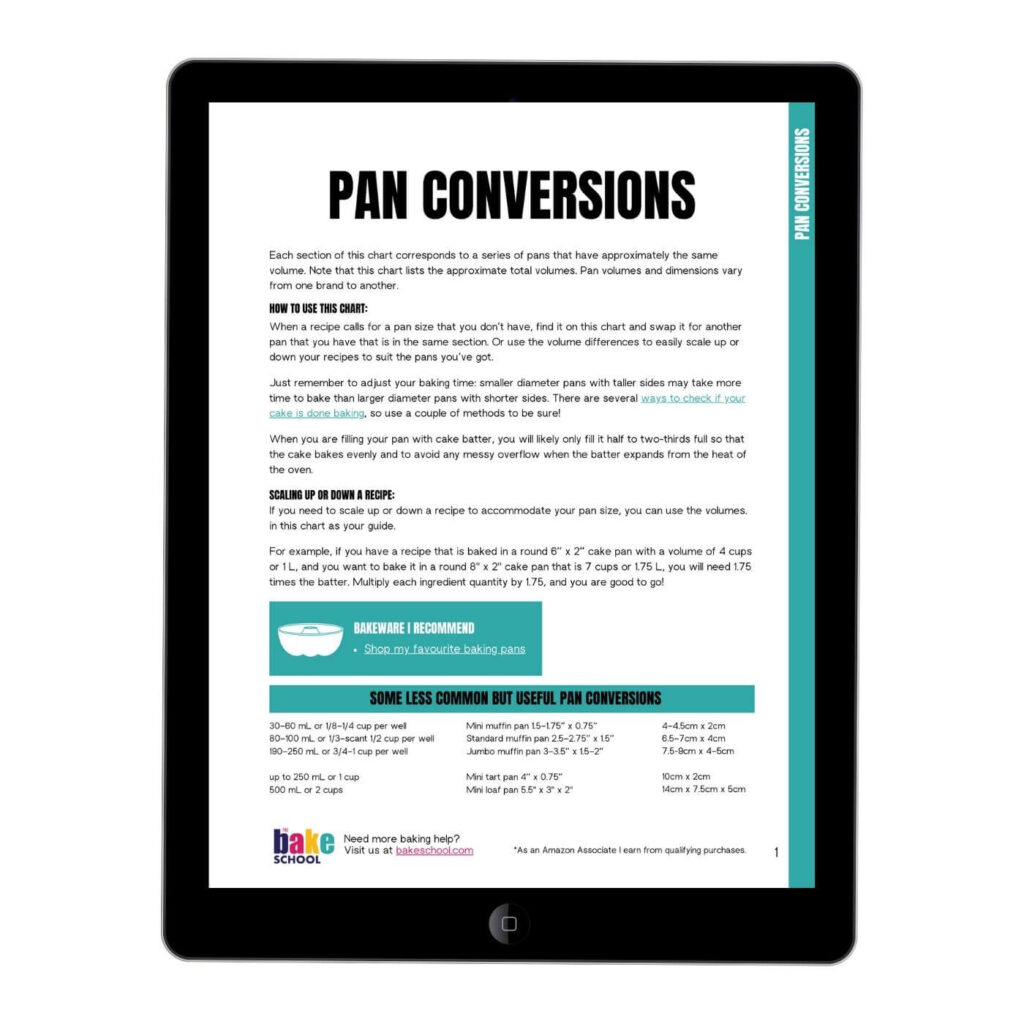
Most of us aren't born with a natural ability to guess the exact size of any cake pan. If you would like to learn more about converting recipes from one pan type to another, you need the Baking Pan conversions chart.

Leave a Reply