If you've ever wondered how to make maple butter, this post is for you. Making maple butter from pure maple syrup is fairly easy. Grab your digital thermometer and follow these steps to transform pure maple syrup into a pure maple cream spread.
Jump to:
What it is
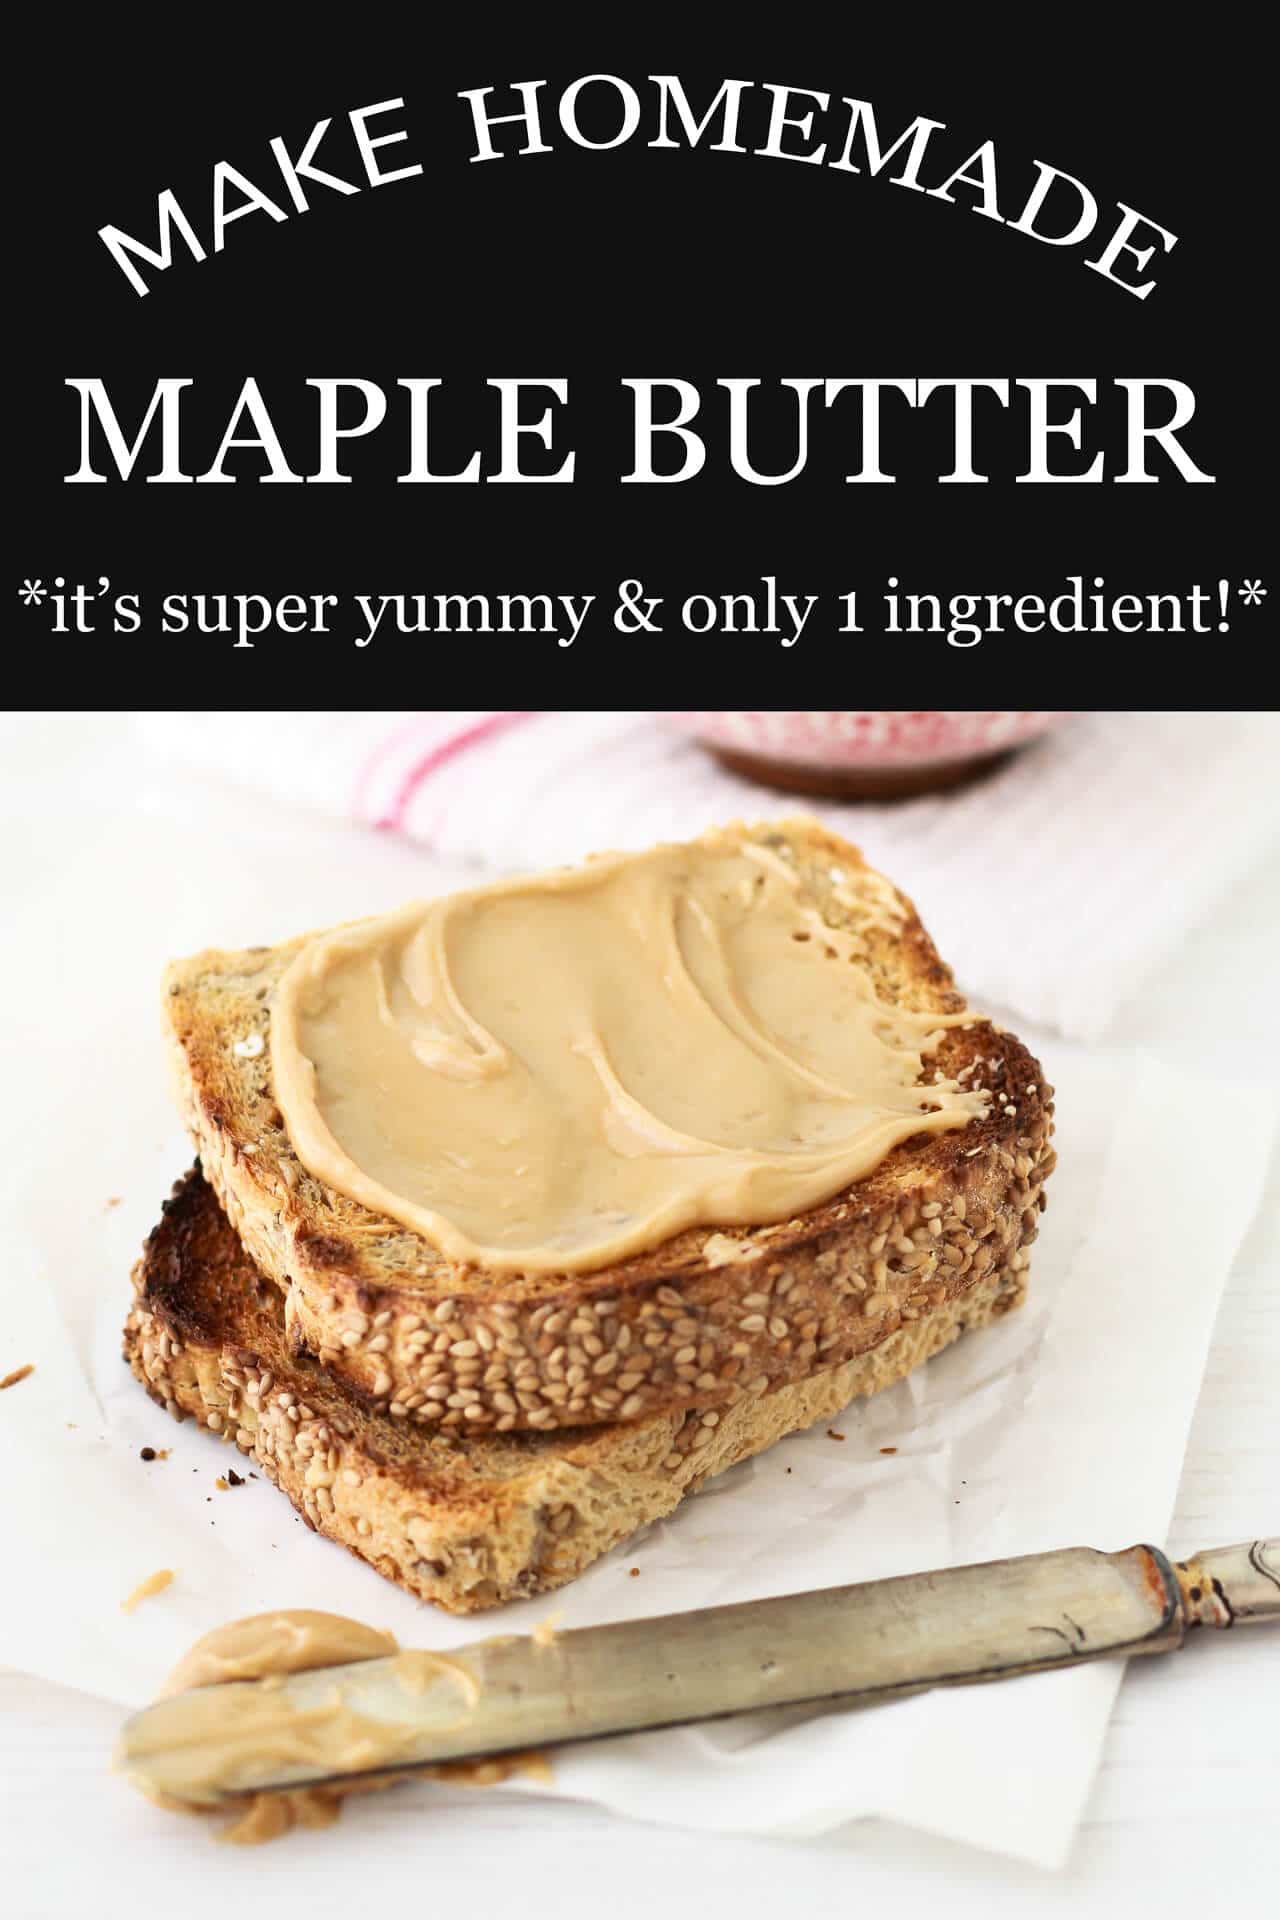
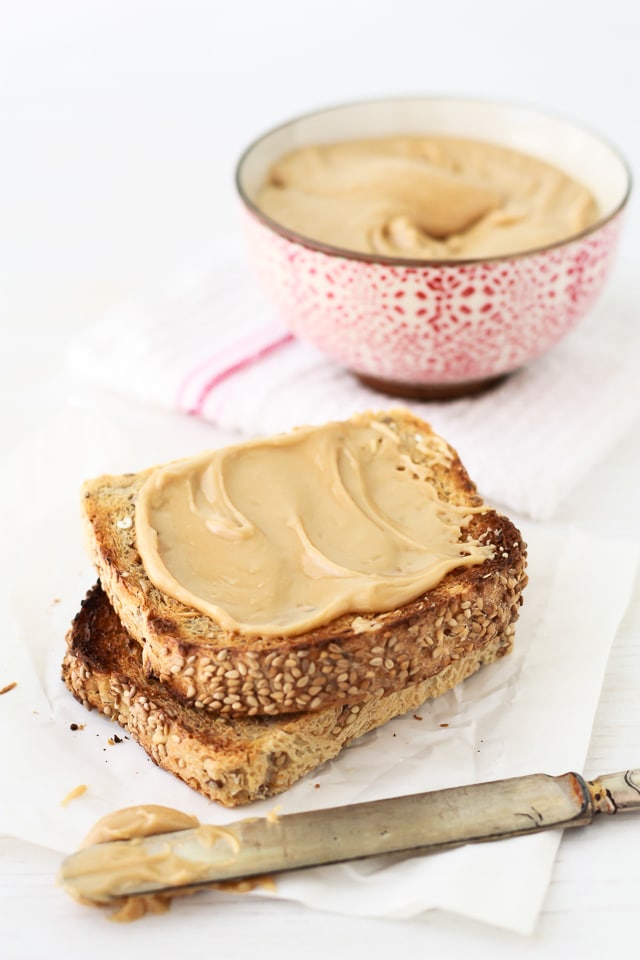
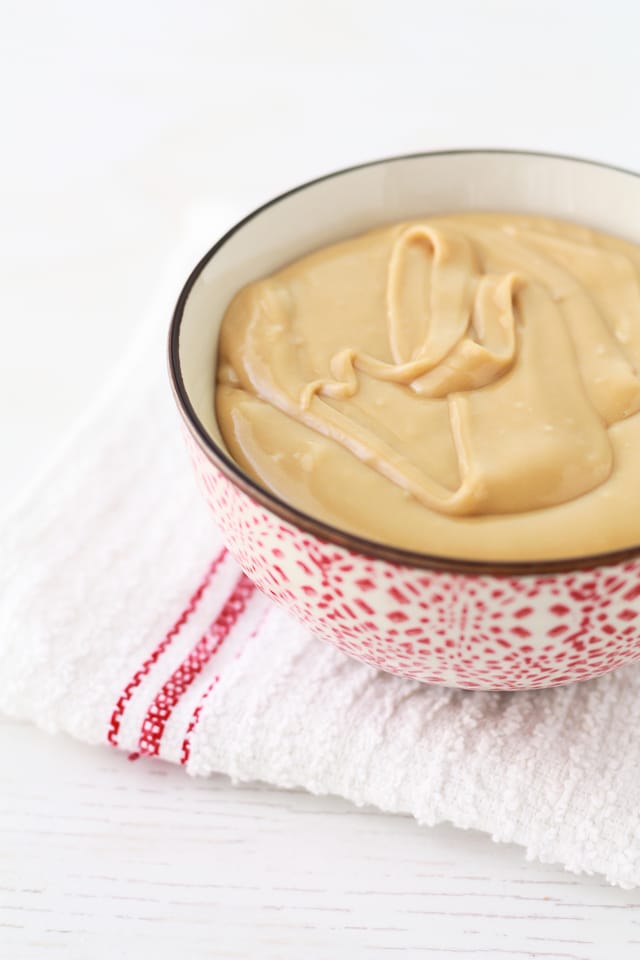
The name maple butter, also known as maple cream, is a misleading name: there's no cream or butter in pure maple butter. Maple butter is a spread made from pure maple syrup that has been boiled, cooled, and whipped so that the syrup crystallizes in just the right way to give it this spreadable smooth, creamy texture.
Maple butter is made through the controlled crystallization of sugar. So, while you are trying to prevent sugar crystallization when making caramel sauces, with maple butter, you are aiming to force the sugar to crystallize in just the right way to achieve the correct, soft, smooth, spreadable consistency. It's readily available in the New England area, as well as Quebec and Ontario, where most maple products are made. In Quebec, it may be labelled as "beurre d'érable."
Maple butter versus maple compound butter
Though some will post "easy maple butter" recipes that are made by creaming together softened butter and maple syrup, that's actually not what maple butter is at all! Don't be fooled! Real maple butter is made from pure maple syrup. It's a maple spread that is vegan and dairy-free. If you want to make maple compound butter by mixing butter and maple syrup, that's another option, and you can follow this honey butter recipe.
What's in it
Maple butter is made from pure maple syrup and nothing else. You may also add a tiny amount of vegetable oil (or canola oil) when you make it to prevent the maple syrup from boiling over, but there are no other ingredients in pure maple butter.
How to use it
There are so many recipes you can make with maple syrup. You can use maple syrup to sweeten an apple pie. You can use it in this maple fudge recipe or a maple syrup pie. However, maple syrup is quite fluid and "loose" so it doesn't make the best topping or filling in certain instances. This is why maple butter is more interesting in baking: it has less water!
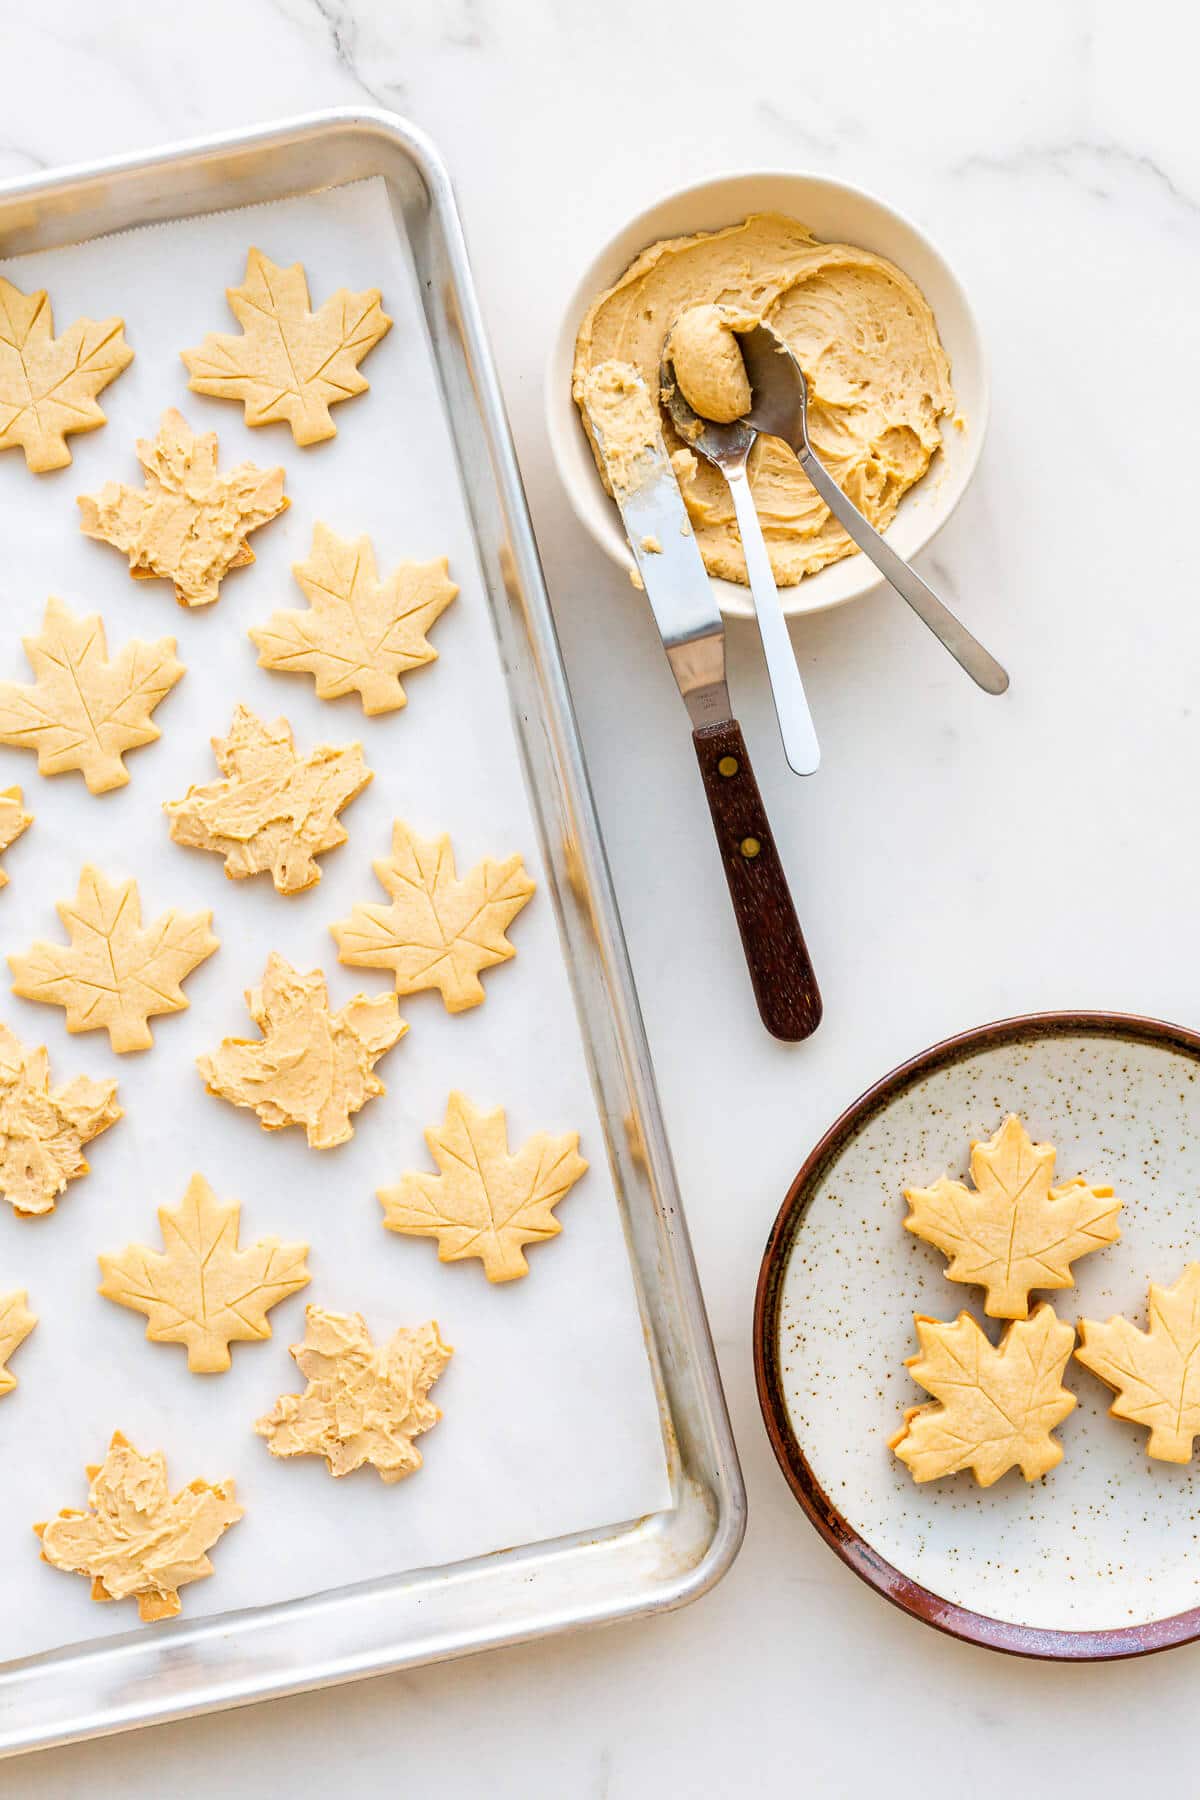
This delicious, creamy, thick maple spread is a more practical way of baking with maple syrup without the mess of dealing with the extra water in the syrup. In instances where you want a maple-flavoured filling, maple butter is what you should use:
- sandwich it in between two cookies to make maple cream cookies where the maple butter is mixed with butter and maple sugar to make a filling for maple shortbread cookies
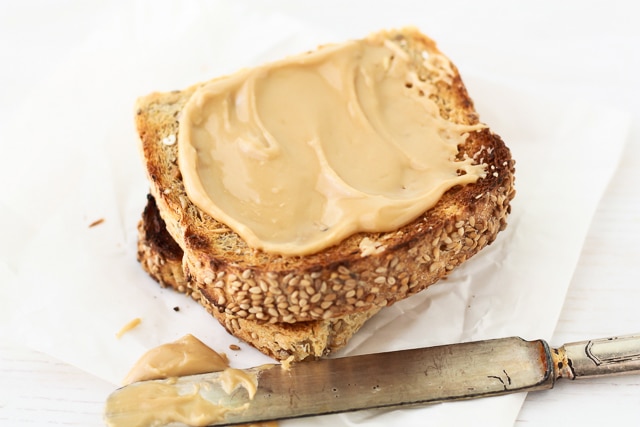
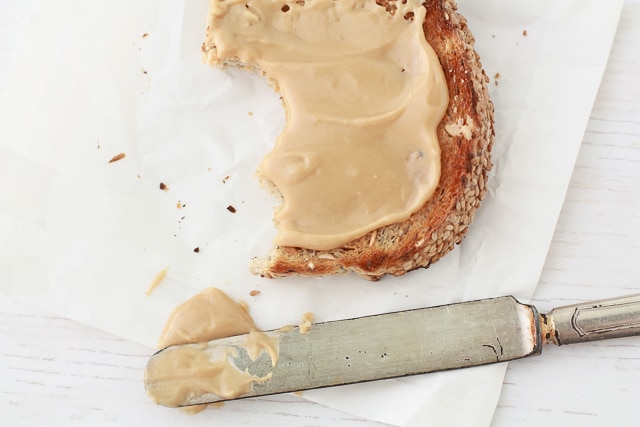
- spread it on toast for breakfast, like this no-knead cinnamon raisin bread or this Irish soda bread with raisins
- spread it on homemade brioche bread for the ultimate decadent breakfast!
- eat it straight with a spoon
How to make it
This maple butter recipe is the simplest of the maple syrup recipes and it's made from only 1 ingredient, as a rule: maple syrup. The science behind maple butter is relatively simple but the temperature is key to success!
- Boil maple syrup until it reaches 235°F (that's 112ºC), which is 22–24°F (12ºC) over the boiling point of water. By doing this, you are basically concentrating the sugar, making it easier to crystallize because all the tiny sugar molecules are now really close to each other in the syrup.
- Cooling the concentrated syrup in an ice bath quickly drops its temperature. This is an essential step favouring crystallization (and specifically smaller, finer crystals over bigger, chunky crystals).
- Stirring the cooled mixture for a very long time (crystallization is a process, so patience is key here): eventually, it will turn opaque/creamy-looking and become maple butter.
I encourage you to sample after cooling the syrup both before and after the long stirring process because the mouthfeel is really quite different, and that's how you know it's "done". However, avoid sampling the boiling hot syrup. It may be tempting, but it'll burn you really badly. Hungry for more recipes with maple syrup, I have a whole category of posts dedicated to baking with maple syrup to explore.
Trick to prevent sugar syrups from boiling over
Though maple butter or maple cream is made from pure maple syrup, you might have noticed that this maple butter recipe also calls for ¼ teaspoon of canola oil (you could also add a little butter, if you prefer). There's a reason for that oil. If you've ever boiled a large amount of maple syrup, you will probably have noticed that boiling maple syrup has a tendency to boil over and make a real mess of your stove if you aren't careful.
By adding a tiny amount (¼ tsp) of canola oil to the pot, the chances of maple syrup boiling over are greatly reduced because the oil helps burst the larger bubbles. This trick with oil works with boiling pasta water, though some purists will argue that the little bit of oil may interfere with the sauce sticking to the pasta. I'll leave that discussion for another time.
Top Reader Tip
A reader gave an excellent tip for this recipe that I thought I'd share:
If you have an electric hand mixer, pour the warm syrup into a large mason jar and attach only one beater to the mixer. Then mix the syrup in the jar until it becomes opaque.
Troubleshooting and FAQs
Temperature is key when making maple butter, just like when making maple fudge. Cooking the syrup enough to achieve the right sugar concentration is key, but the cooling phase is also very important. You need to cool the syrup enough that the sugar will crystallize, but if you cool it too much, it will harden into a block that is impossible to whip.
So, how do you know how much to cool the mixture? A thermometer is your best bet, but it's important to use the right thermometer for this job. Your thermometer has to be instant-read, which means your thermometer is fast to record a change in temperature. Some cheaper thermometers are not instant read. They can take several minutes to register an increase or a drop in temperature. This kind of thermometer will not work here, and you will inevitably cool the mixture too long. It will be too hard to beat.
I use a Thermoworks Thermapen, which can register temperatures and temperature changes within 3 seconds. This means you can catch the maple butter at exactly the right temperature! The Thermoworks ChefAlarm thermometer would be better suited for this recipe because it's a hands-free probe that comes with a pot clip.
If you beat your cooked/cooled maple syrup for a long time and it never forms a creamy, opaque spread, the syrup isn't concentrated enough. Your best bet is to transfer the mixture back to the pot and cook it again.
Storage and shelf life
Maple butter, also known as maple cream, is a creamy spread made from 100% pure maple syrup. This spread is dairy-free and vegan. Maple butter can be stored at room temperature in a sterilized mason jar for up to a month, but it's best to refrigerate maple butter to help improve shelf life.
The maple cream is more likely to break down and liquefy at room temperature: maple syrup may separate out. At room temperature, mold may also be an issue to watch out for. Maple butter can be stored in the refrigerator for up to 6 months. The same goes for maple syrup: store maple syrup in the fridge too to reduce mold production.
📖 Recipe
Maple Butter
Ingredients
- 500 mL pure maple syrup I used Grade A, amber syrup from Quebec
- 1.25 mL canola oil
Instructions
- In a deep saucepan, boil the maple syrup with the oil, until it reaches about 235°F (112ºC) on medium–high heat. Monitor the temperature using a fast-reading digital probe thermometer (see notes).
- Immediately, transfer the boiled syrup to your stand mixer bowl, and drop the bowl into a big ice bath to cool the syrup down to about 60°F (15–16ºC). Then let the syrup warm back up to room temperature.
- With the paddle attachment, beat the syrup on low for a very, very long time (like 30 minutes even) until it turns opaque and the color of sesame butter (the texture on your tongue when you sample it will go from syrupy at the beginning of the process to very finely powdery).
- Quickly transfer the maple butter to a large jar and store in the fridge.
- If the maple butter separates at any point, just give it a good stir before using.
Notes
Nutrition
Where to buy it (if you have zero desire to make it at home)
Maple butter spread, also called maple cream, is available where other maple products are sold, but as you can see, you can also make it at home. In Canadian grocery stores, it's either in the aisle with the maple syrup or stocked next to the breakfast spreads (jams, jellies, peanut butter, caramel spreads). In Quebec and Ontario, maple producers usually have stores where you can stock up on maple products, including maple syrup, maple butter, maple sugar, and maple flakes. Farmers' markets in Ontario, Quebec, and the New England area usually have maple stands run by local maple producers where you should be able to find maple butter.

Margaret Gerrietts says
230 or 235?
Allison says
I have tried twice and can’t get it up to 235 degrees. It only goes up to like 225. i am using a powerful nuwave induction burner. What am I doing wrong?
John says
Mine went quickly to the color of sesame butter within minutes with the hand mixture, was tough to beat but softened over time then turned to cookie dough consistency that relaxed. The entire beating process took less than 15 minutes. At what point did I go too far?
Lori Bolton says
Hi I made this a couple of weeks ago and it worked and well didn't last long. Made it again last night and it just didn't set. It was too much like a caramel sauce. Put it in the fridge over night. Should I let it come to room temperature and then try to churn it in the mixer again? Or should I boil it again to 235, cool & remix?
Janice says
If it didn't set, even after refrigeration, I suspect that it might mean you didn't hit that key temperature when you boiled the syrup. It'll still be yummy served on ice cream, or pancakes, or crêpes, but if you want that spreadable thick consistency, you might want to reboil and go through the cooling and whipping process again. Hope that helps!
Pam Tanner says
I made this today and love the taste! However, I seemed to have stirred it just a bit too long... it became unpourable quickly and had to scrape it out of my pot. It 's not real pretty in the jar or easily spreadble. I'm wondering if I can restore it to a softer, smoother, more spreadable texture at the point?
Blair says
How long will this last after you make it? Can you freeze it? I suppose if you can hide it in the freezer, you wouldn't inhale it too quickly!
Looks delicious!!
Mark says
It will last a month in the fridge. You can freeze it indefinitely no problem.
Irena says
Thanks for sharing this great idea! However I have already tried to make this maple butter twice without success. I've followed the instructions exactly and used a candy thermometer to determine the temperature. It seems to me that my maple syrup is weird. Every time I heat it up to 235 F it already becomes similar to a thick very sticky caramel, that is extremly hard to stir. After I've been stirring it continuously, it changes its color but gets really really thick and sticky, more like a caramel ball than a spread. When I try it, I can't taste any cristals and the consistency seems ok, but its just not spreadable. The only thing I think might have made a difference is the maple syrup I've used. Has anyone had similar experience? I've used grade A maple syrup.
Mark says
I've made it once by hand and it sounds like you didn't stir it enough. It takes a REALLY long time, almost an hour. I am going to try it in my kitchenaid this morning.
Shareba says
I've seen maple butter for sale before, but I had no idea it was this "easy" to make. And by "easy" I mean, I think it looks simple enough but I will probably mess up my first batch 😛
Teresa says
Okay, this is one recipe I DON'T need to know how to make! Maple butter is my Kryptonite - I can't leave it alone. 🙂
Seriously, though, this is a great recipe and it's cool to find out how to make it.
Jasmyn says
Three questions...
1. We don't have a stand mixer. Will it work with either a blender or an electric mixer? Does it really have to be a half hour of mixing?
2. Since real maple syrup is in low abundance here in Hawaii and, subsequently, ridiculously expensive, we've always made our own out of corn syrup and maple extract (or is it called maple flavoring?)... would it work with that or would it HAVE to be maple syrup?
3. I also have a barley malt syrup. Would it work with that, too? I'd love a malt butter!
Janice says
Hi Jasmyn,
To answer your questions:
1. I think an electric handheld mixer should work but yes it really does have to mix for that long, which is why a stand mixer makes it even easier. Technically you could even make this by stirring with a wooden spoon, but personally I'm too lazy to mix something by hand for that long...
2. you definitely cannot add in corn syrup to the maple syrup because the corn syrup will prevent the crystallization process of the maple syrup, so don't try adding in corn syrup. I wrote a post about sugar crystallization explaining this: https://bakeschool.com/focus-on-crystallization/
3. As for using barley malt syrup, to be honest, I'm not sure. I know malt syrups contain maltose (while maple syrup is over 90% sucrose). Again, I'm worried the malt syrup won't crystallize... If it's cheap, I'd give it a try, but I have never attempted to make malt butter (though now that you've brought it up, it sounds yummy!). If you try, let me know how it goes please!
Good luck and I hope my answers were helpful!
KK says
I used a candy thermometer and mine is half rock hard in the pot after the ice bath. Help! What am I doing wrong?
Kate says
Mine too, had the throw the whole thing away. Such a waste
Janice says
Hi Kate,
I'm sorry this happened to you. You could try to dissolve the crystallized syrup to recover it and use it for something else so that it doesn't go straight to the garbage. Could it be your thermometer isn't registering temperature correctly? I'm also wondering how fast your thermometer is to register. The last time I made this, I tested two thermometers simultaneously, and when I was cooling the mixture, they showed vastly different temperatures, so I could see how this could lead to the mixture getting colder than it should and crystallizing into a block. I think this could be the problem if you followed the recipe as written. Anyways, I'm sorry this happened. If you have questions, please write back or you can also email me!
April Sims says
I know this is back from January but I just wanted to throw in my 2cents on the mixer situation. As far as using corn syrup and barley syrup I have no clue about that subject.
I've made this recipe 3 times (first 2 by hand after I burned the motor out on my hand mixer) this last time I used my ninja blender and it worked out excellently. You can only let the mixture cool to 135 ℉ to 125 ℉ so it can be easily removed from the pot. Based this recipe and many others the sryup must be taken off the burner and cooled in the pot or poured from a hot pot to an "iced" pot and then cooled down to 100 ℉ to room temperature ( around 60 to 70 ℉). Because my ninja a plastic container not glass one (if your blender is glass you don't have to let it cool as much but still will need some cooling) you can't pour the extremely hot mixture directly into it. But if cooled to the stir temperature it's a beast to get into the blender.
Hope this helps about the mixing question.
Janice says
This is so helpful, April! Thank you for all the extra info and for taking the time to add in your suggestions in the comments here!
Pookie says
I make the occasional candy, mostly old fashioned fudge and some caramels. I am wondering how the mixture should be stirred as it's heating. For some caramels you shouldn't stir at all to encourage the right crystals to form, but with fudge you have to stir constantly to prevent burnt spots. Any insight on what to do here?